
The Wheel of the Year is all about our relationship with the sun, so a respected and tended fire is always a perfect addition to any solstice celebration. Because we are outside more at this time of the year, that can also be a campfire, a small bonfire on the beach or even some burning potted candles to keep the bugs away. Please make sure to follow the burning regulations wherever you live.
The full moon in June is known in North America as the Strawberry Full Moon as this is the time to begin harvesting the first berries of the season. In Europe it is referred to as the Honey Moon, in honour of all the bees buzzingly collecting pollen and making honey. Mead, a honey wine, is bubbling away, to be ready for hand fasting celebrations, traditionally held at Summer Solstice.
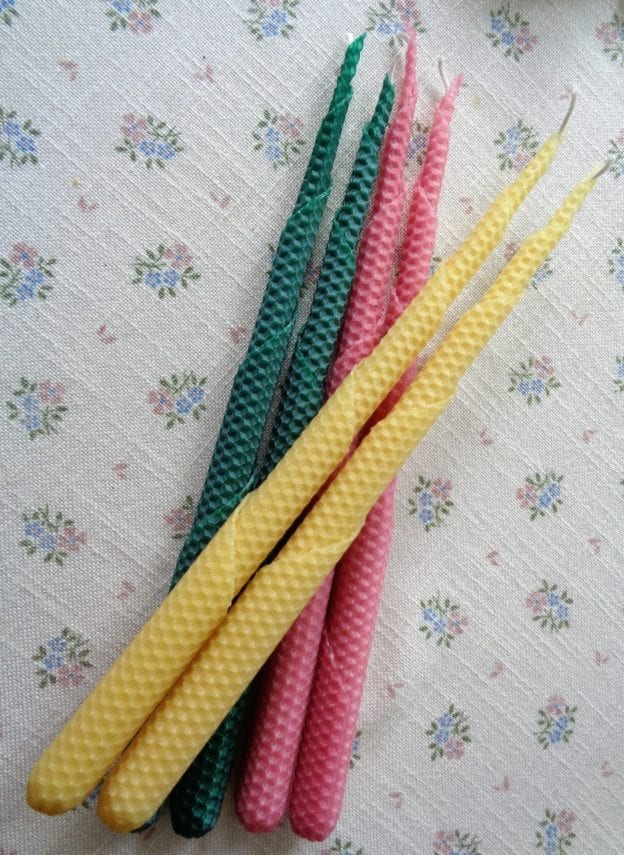
This connection to honey makes beeswax the perfect wax choice for Litha candles and tapers are a quick roll up, easily done in five minutes.
You will need:
1 sheet of honeycomb beewax approximately 16 x 8 inches, in the colour of your choice
28 inches of #2/0 wick or the recommended choice of your supplier, cut in half
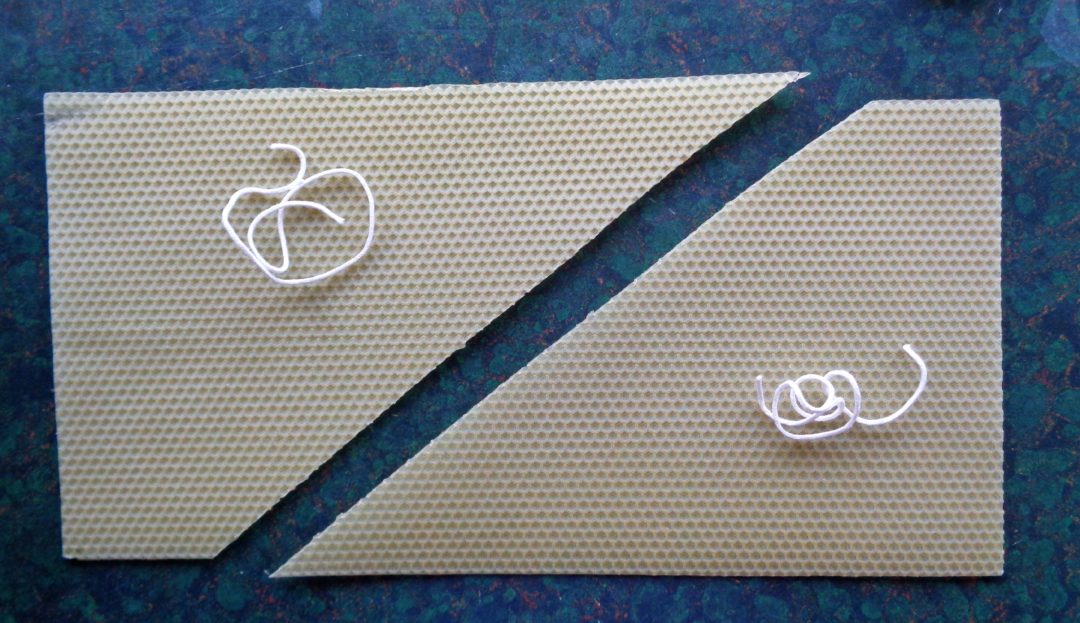
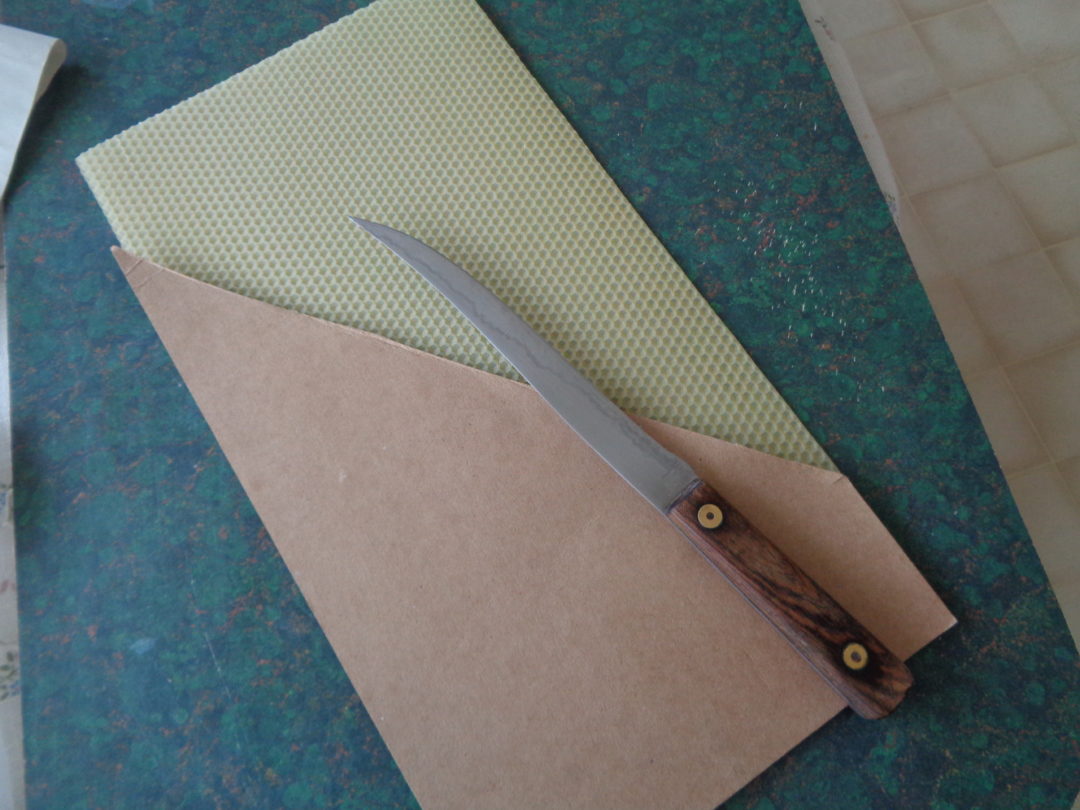
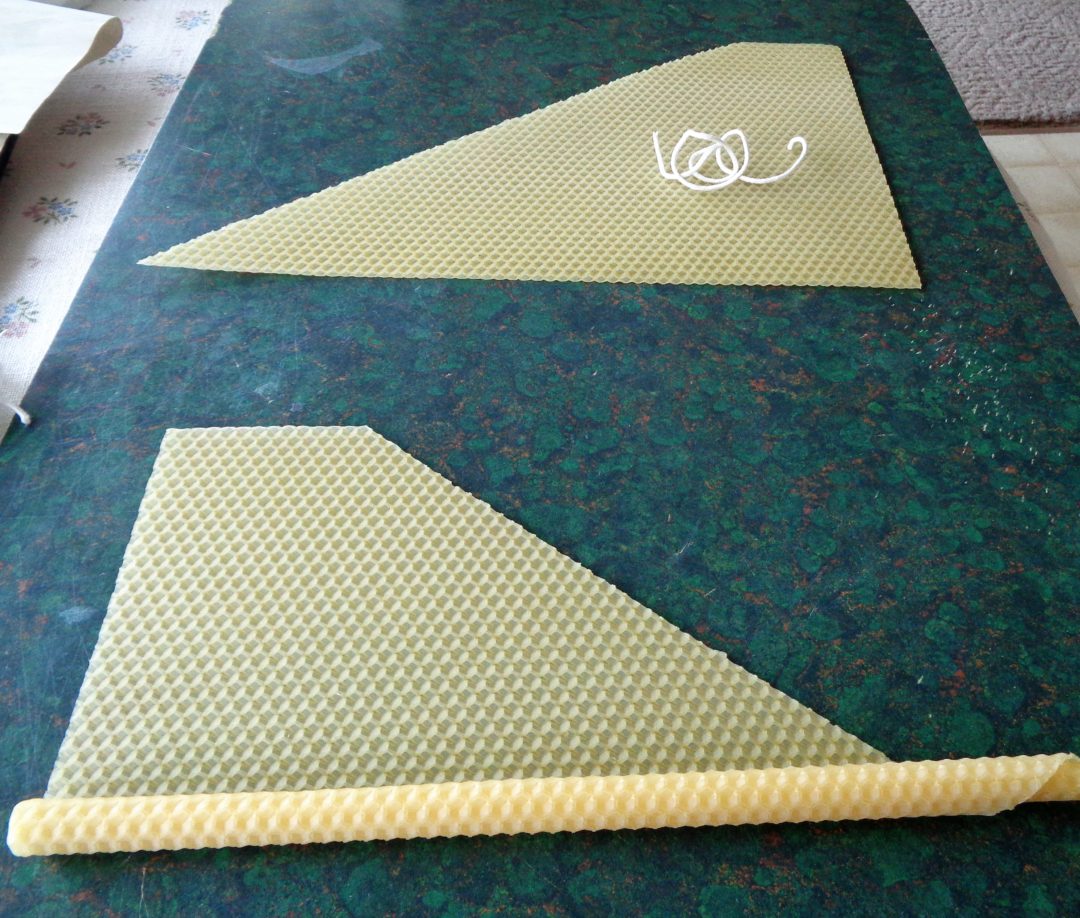
There are many ways to cut a sheet of beeswax. In this case I used a jig that was cut diagonally, four inches from each end. That will give me two 14 inch candles when finished.
Changing the angle of the cut can give you anything from eight inch high candles that will have no taper to 16 inch candles with lots of taper. The choice is yours.
Begin by making sure that when you look at the two pieces, the points are pointing in opposite directions with the longest edge side closest to you. This will ensure that when the candles are rolled, they will roll in opposite directions, creating complimentary curves when set together on a table.

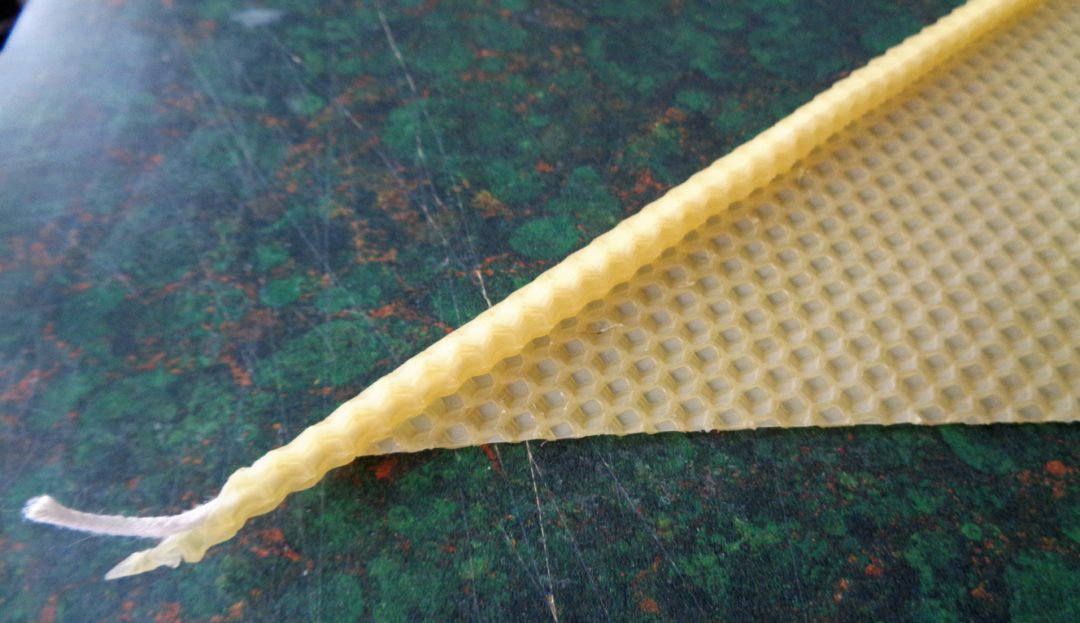
Lay the wick on the edge of the longest side and fold the beeswax over. It does not need to cover the wick entirely on the first fold. One third is just fine with the wick still visible. You will be working from the other side and not able to see the wick as the beeswax will be folder over it. I just wanted to show you what people will see from the other side.
The wick should go from top to bottom and leave 1/4 inch protruding from the top. If for some reason the wick is a little short, pull it up from the bottom as candles rarely get burned all the way to the bottom.
Once the wax has been folded from top to bottom on the longest side, repeat by folding over a second time. This will completely enclose the wick.
Roll again. You will see that the taper is being to be formed at the top of the candle as the angled side gets shorter and shorter.
In this picture you can see that the beeswax pieces are pointing in different directions as mentioned above. At this stage, it is possible to roll the candles up using the palm of your hands. Keeping an eye on the bottom edge as it is rolled up is the best way to keep the candles straight. Make sure it aligns and does not begin to curve in either direction.
Honeycomb beeswax is forgiving and if you find yourself off the straight and narrow, gently unroll, correct your positioning and reroll.
Beeswax can be sticky so working on a surface that is easily cleaned is a good idea.

The edge at the end of the rolled candle can be helped to stick to the taper by rolling back and forth a few time, edge down, pushing down just enough to press the beeswax layers together.
A nice optional finishing touch is to use your thumbs and round the bottom. This will help keep the finishing edge in place and also create an angle so that no matter the size of your candlestick holder, the taper will fit.
Choose colours that work best with your intentions. The yellow in the picture is natural beeswax and it is usually possible to find in several shades. White beeswax has been charcoal filtered to take out all the “honey” components and will not have the aroma of natural beeswax. All other colours have vegetables based dyes added to the beeswax. Choose for the season, the intention or the table decoration.
These directions are to begin a simple taper candle. It is possible to turn the edges back, creating a flair. They also can be decorated or scribed with a gold or silver pen.
These candles will last eight hours and it is possible to double the burning time by using two half sheets while making one taper candle. The wick size will need to be raised to #1/0 to accomodate the extra wax.
Cut the wick length to 1/4 inch before lighting and clip if needed.
If there is no supplier close by, Wicks and Wax will happily ship sheets and wick. I can vouch for the fact that these are 100% beeswax sheets.
Candles are used more often on the dark side of the wheel, but if you are choosing an indoor event this year, then beeswax candles will bring the symbols of fire and bees together perfectly on your summer solstice table.

Litha Beeswax Tapers from My Kitchen Wand
