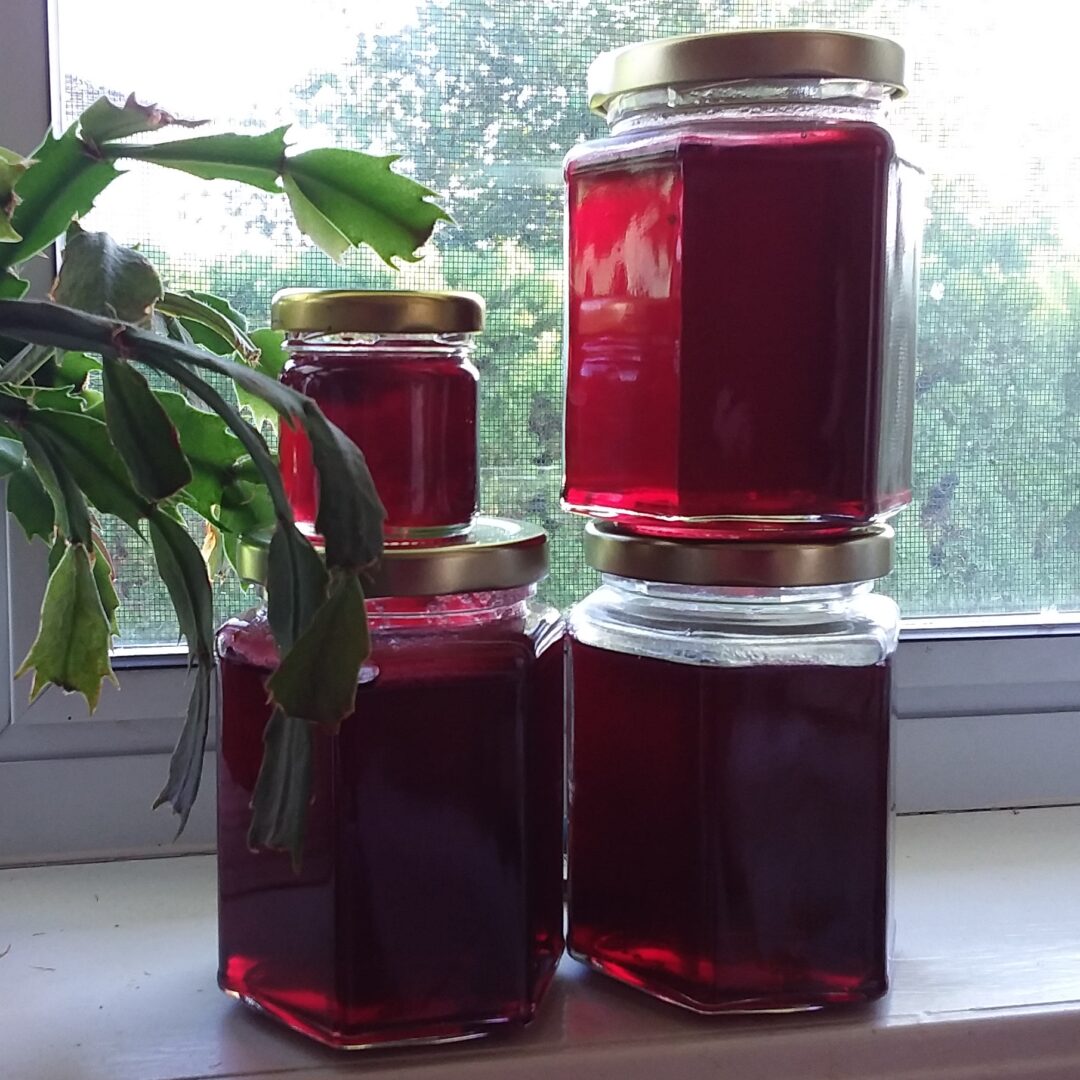
I so enjoy black currants as a flavour and even had several bushes in a previous home. They do not require full sun and do well in shadier areas, unusual for berries. They also do not generally need a lot of attention and can be left to their own devices. Black currants grow wild across Europe but are not as well known here in North America. They are well worth a try.
In the valley where I now live, there was a heat dome two years ago that destroyed the berries. There was no crop that year and very little the following year. This year however, I have been on the phone and last week I was able to pick up several pounds for which I have many plans!
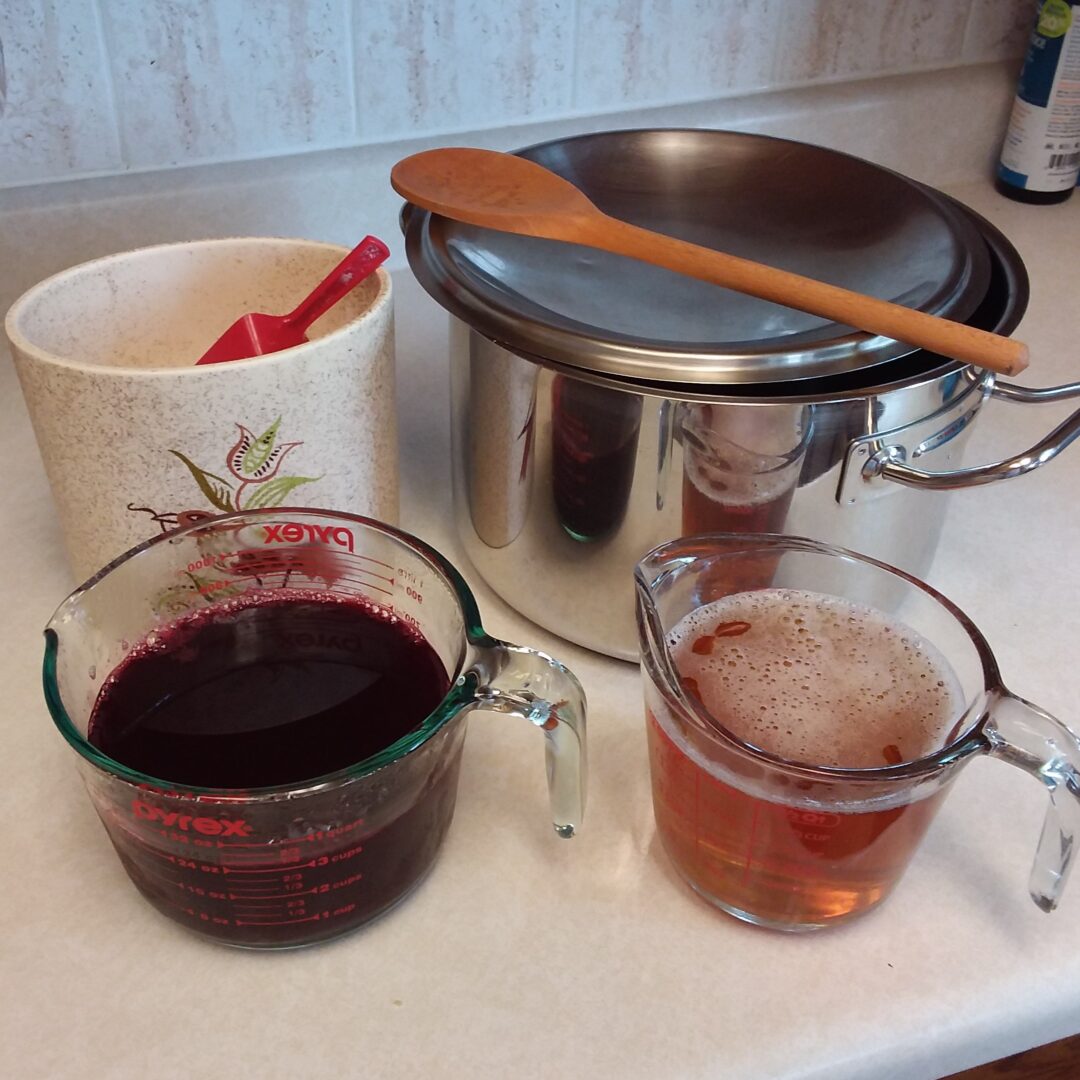
First off is jelly. The berry juice makes beautiful jewel toned jars of bright and clear jelly, lovely for Yule gifts with an intense and uniquely flavoured reminder of summer during the winter months. The berries come with high levels of pectin so the only other ingredient needed is sugar. If you prefer something not quite so intense or would  just like to spread the bounty to other options like, cordials and curds then try a mix of black currant and apple juice for the jelly.
There may only be two/three ingredients but there is prep work before getting to the jelly making part.
I went with 3 cups of black currant juice but four to five pounds of black currants should supply 5 cups of juice. Begin by washing, cleaning and plucking the blackberries off any stems. Separate out any soft berries and place the good ones into a bag for freezing. This last step is optional but helpful. The purpose is to aid in breaking up the cellular structure of the berries when cooked so that more juice can be extracted. The extra bonus is that since this time of the year has many different foods in need of preserving, the jelly can be put off until later in the year as long as they are in the freezer.
As a side note, the black currant stems also contain pectin and can be cooked along with the berries when making the jelly. We are not going to do that here because the left over mash will be used for other projects but if that is not your plan then by all means include the stems for extra firmness in your jelly.
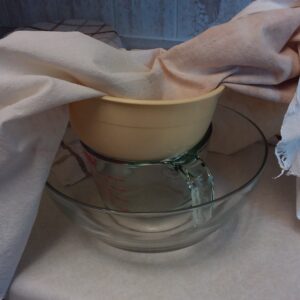 When ready to start the juicing, take the berries out of the freezer and let them thaw. Put together a way to drain the cooked fruit. I placed a sieve over my widest measuring cup and placed that inside a bowl as I was going to be away and did not want any surprises. I then placed my muslin cloth into the sieve and set the combination aside.
Place the thawed berries into a medium to large pot and add one cup of water for each cup of cleaned berries.
Bring the mixture to a steady simmer and cook for about 25 minutes. Just like cranberries, the intention is for the berries to pop open. Black currants will just take longer.
Transfer the mixture to the lined sieve and allow it to drip for about 3.5 hours.
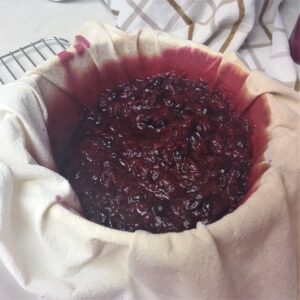 Check underneath to see if there are still drips dropping into the juice. If so, wait a little longer. Lightly pressing down on the mash is okay. For the clearest finished jelly do not squeeze.
Letting the mixture sit overnight is also an option.
Keep what is in the sieve to make puree ice cubes for freezing after the jelly is finished.
Although much colour came out when I washed the cloth, my muslin will never be the same again.
Measure out the amount of juice needed for the recipe. If you are short a small amount either reduce the amount of sugar until even and finish with less jelly or add a little water. Black currants are intense enough that the flavour will not be diluted a little additional water.
If you happen to have a steam juicer, please know I am turning green. Follow the manufactures directions and enjoy.
Now we can get into the actual jelly recipe!
3 cups blackcurrant juice ( or 5 cups with no apple juice if your prefer )
2 cups apple juice
5 cups sugar
Take a deep breath, hold it for a moment, then slowly exhale through your mouth. Feel your shoulders relax and drop. Repeat. Wash your hands under warm water and feel the niggles of the day wash away with the water. Find a place of gratitude within for all the bounty that the earth offers us each year. Thank all the circumstances that have brought you into sacred space today to preserve love, the energy of berries and sugar. Begin.
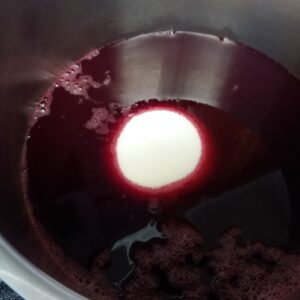 Place your juice(s) into a large pot with a heavy bottom. The mixture will increase in volume before collapsing again when it reaches the correct temperature, so be sure to leave room.
As a general rule the ratio of sugar to juice is one to one but it is possible to reduce the amount by one third if you would prefer a less sweet, lower sugar version. The pectin and sugar are both needed for the jelly to gel so less sugar will produce a softer jelly.
Place the pot on the stove, bring to a boil and allow it to continue cooking until the mixture reaches 220 degrees F.
Watch the bubbling and be prepared to remove the pot from the heat if it looks like it will bubble over. Find a larger pot if needed.
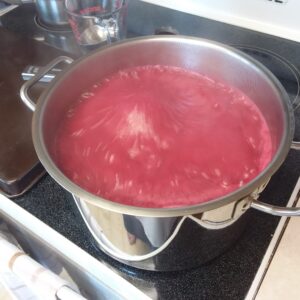 Using a thermometer you trust check the temperature of boiling mixture. Be careful as the temperature goes up, it can begin to spit.
My apologies for the quality of the pictures here, there was a lot of steam coming off the pot.
While the pot is boiling, prepare your lids and jars. There was enough in this batch for 6 6oz jars and a little extra. The jars should be sterilized and heated to about 250 degrees. Cold jars will crack when filled with hot preserves. Lids can go into boiling water for about three minutes.
The jelly will begin to reduce volume and have fewer bubbles as it reaches gel stage.
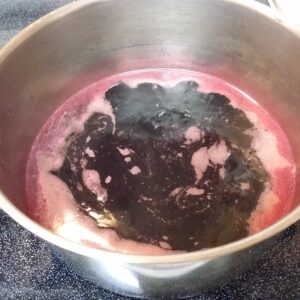 Note: There is a second way to test the readiness of the jelly. Place a few saucers in the freezer before starting. Put a teaspoon of jelly onto a saucer and return it to the freezer for about a minute. Push the jelly forward with your finger. The jelly will wrinkle up in front of your finger if it is ready.
Gather your equipment for filling the jars before taking the pot off the heat. Fill the jars, leaving 1/4 inch of headspace. Clean off any drips before adding the sealers or lids.
What will be used right away can cool and then go in the fridge. What is being stored is best processed in a water bath canner for 10 minutes.
I noticed the other day when I was looking for sealer lids that it now says right on the front of the box that you can count on the seal for 18 months.
The jelly can take up to 48 hours to fully set so be patient if it looks a little runny only a few hours in.
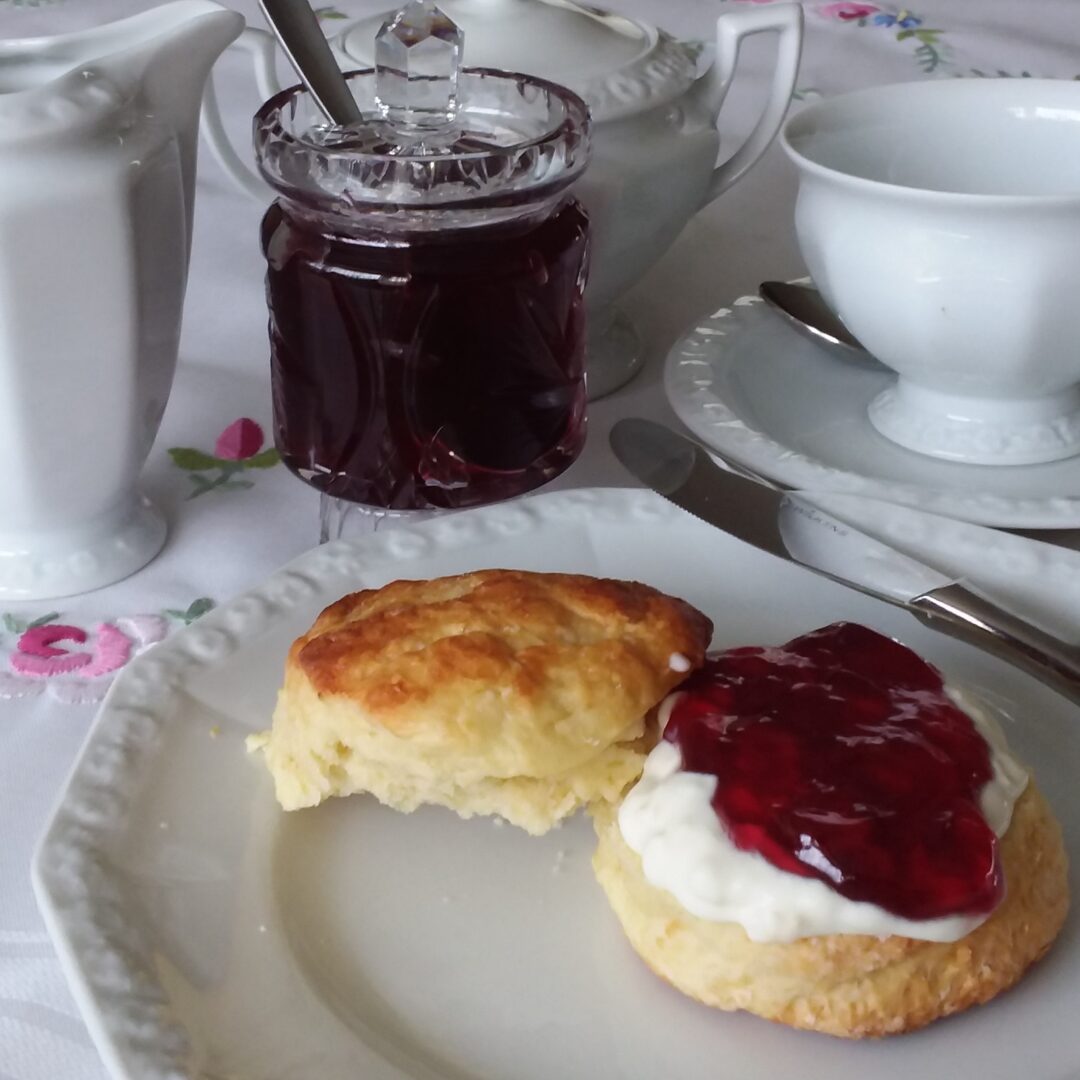 Enjoy on toast or scones. Use as a glaze on sweet and savoury dishes. Spread a little joy to friends and family. If you have any of the small jams jars like in the picture below, they are just the right size for seniors who would like a little taste down memory lane but find a full jar too much.

