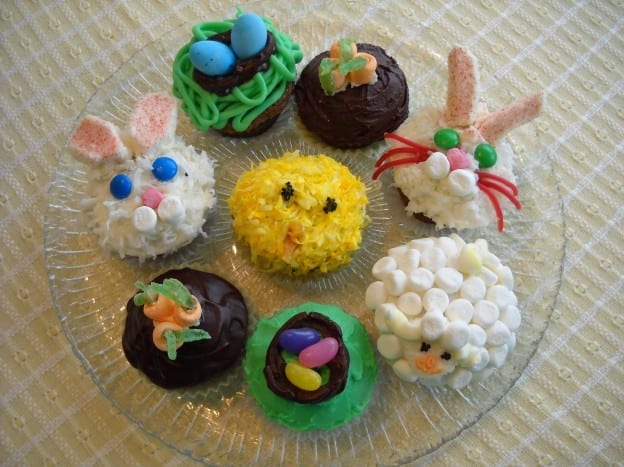
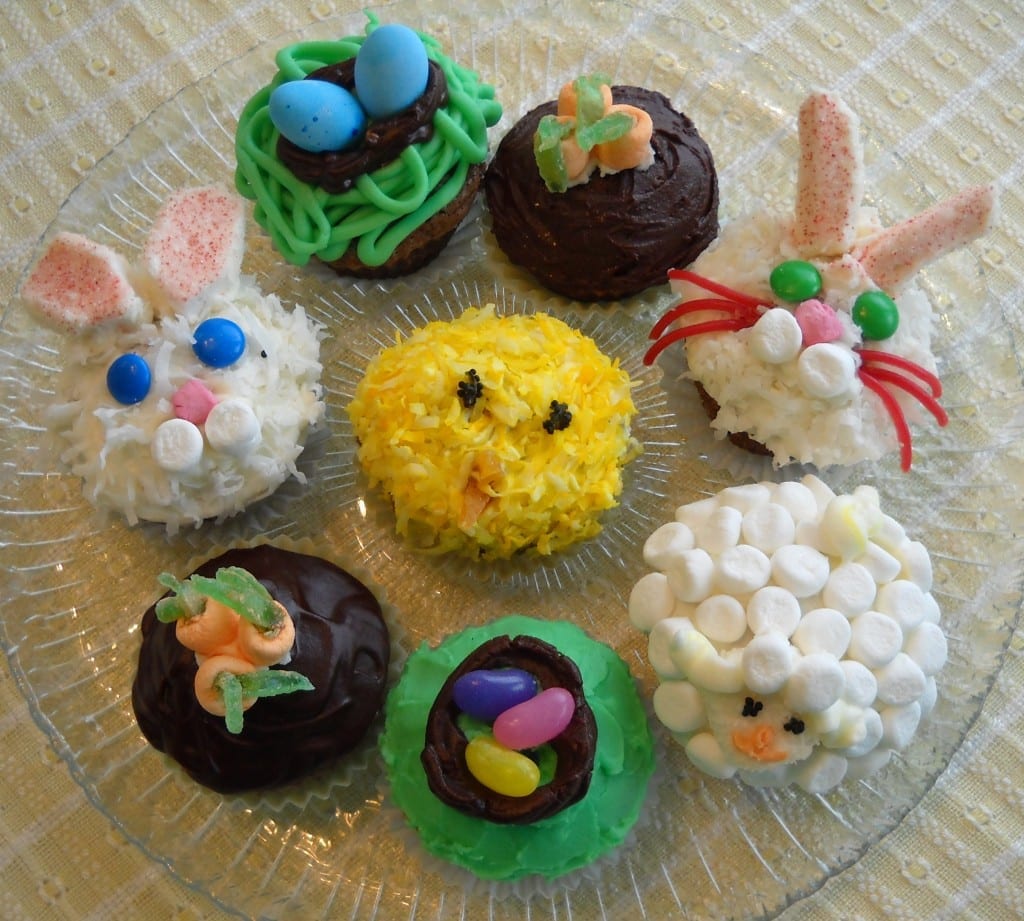
Looking for a play day in the kitchen with the kids? I took a trip to my local bulk foods store and spent under $3.00 for all the trimmings needed to make a batch of cupcakes that most people would relate to as something for Easter. Ostara may be behind us but with the weather the way it has been there is still time for welcoming spring. The lambs are frolicking in the fields somewhere, so why not do the same in the kitchen?
You can see what I got but really just take a few minutes to walk around your local bulk section and pull out what will work for you. You don’t need huge amounts as each item will only be used two or three times.
Now you can use what ever chocolate cupcake recipe you have, even a cake mix or a gluten free version. Just below is my simple fall back recipe (cake mix from scratch) but really use the thing that works best for you. Play time is in the decorating; the time spent together being creative and sharing tales.
For Wacky Cake you will need:
1 1/2 cups all purpose flour
1 cup sugar
1 tsp. baking soda
1 tsp. baking powder
1/2 tsp, salt
3 Tbsp. cocoa
1 egg
1 tsp. Vanilla
5 Tbsp. oil
1 cup cold water
Blend together all the dry ingredients. Make a well and add all the wet ingredients. Mix until smooth. This recipe will make an 8×8 pan or 11 medium cupcakes. I used my silicone cupcake cups so no paper liners needed but paper liner will make the clean up easier. I try to match the paper liners and the decorations, so either all white or a few of yellow and green as well.
When using this recipe for a cake there is no need to grease the pan. I will often turn it into a snacking cake with 1/2 cup ( or more ) semi sweet chocolate chips on top.
Bake at 350 until done. Time will depend on size. Cupcakes take 20 minutes ish and the cake a little longer.
Now comes the fun part!
For the butter icing you will need:
- 1/4 cup unsalted butter, softened
- 1 pinch salt
- 1 cup icing sugar
- 1 Tbsp whipping cream or milk
- 1/4 tsp vanilla
Whip together until smooth. You might need to add a few extra drops liquid or tablespoons icing sugar to get the consistency you would like. If salted butter is the only thing at home, delete the salt.
Bunnies
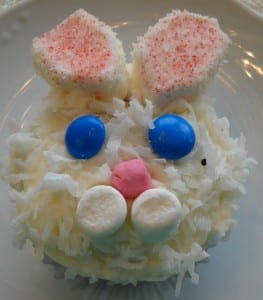 Cover with white icing and roll in coconut. I use the longer variety because it makes the fur look furrier. The ears are made from marshmallows.
Cut a large marshmallow in half and dip the sticky side in regular sugar that has been tinted pink. The sugar will stick and look like the inside of bunny ears.
( Truth time, I had mini marshmallows at home but not the regular ones and I didn’t want a whole bag for one marshmallow, well two. So at the bulk store I found coconut covered marshmallows. Ten cents solved the issue and that is why they look a little different in colour and shape. Trust me the kids did not notice and Nature loves variation. )
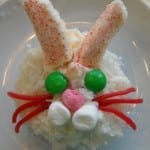 The noses were made from a licorice all sorts rolled into a ball. The whiskers were made from raspberry flavoured licorice wheels, pulled apart and cut to length. I think the bunnies without are just as cute.
As the wheel of the year turns, we turn to Nature for the symbols we can all relate to. Bunnies, chicks and lambs all represent, new life and new beginnings, youth, innocence and possibilities. Spring brings life back to the land and everything is fresh and active. Rabbits or rather hares have a strong link to the moon in European Pagan traditions as well.
Chicks
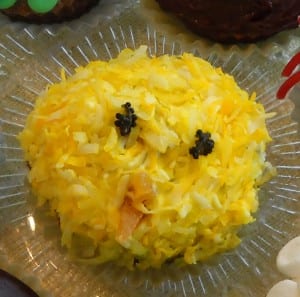 Once all the white needed was done, we added a drop of yellow to the icing and the coconut and got our fingers all coloured as we mixed it up.
Ice the cupcake and then roll in yellow coconut. When you are only doing one or two of each style it can be a little difficult to get pastel colours in small amounts of icing.
Add eyes and beak. Little black sugar beads off a candy were used for the eyes and licorice pieces would work as well.
The beak is cut from dried apricot. If the yellow weren’t quite so bright it would have stood out more. This is the least complex of all the choices, especially if you cut the beaks, so great for the smallest of fingers.
Birds Nests
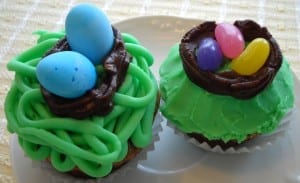 Green icing can be applied in lots of ways. Here are just two easy ones for small hands.
You could also go the coloured coconut route but since that was used on the bunnies and the chicks, I encouraged other options.
Brown icing or in this case left over ganache from another project was used to create the baskets. My first choice for the eggs would be Cadbury eggs, they are closer to the colour of wild eggs ( Yes, this is me being anal. ) Jelly beans will work in a pinch, especially if you can pick out the colours you would like ( I couldn’t ). The Robin’s eggs have caramel inside and were the single most expensive thing I bought at the bulk foods store.
Birds nest were the original “Easter Baskets”. Families would go out into the woods to look for the first eggs of the season. They would use the nests as baskets to collect the eggs they had gone hunting for and to carry them home.
Lambs
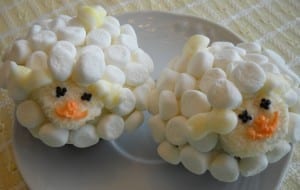 Ice your cupcake with white icing. Take one regular size marshmallow and cut in half. Place it sticky side down to create the face. ( Again, I opted not to buy a whole new bag of marshmallows for this project and found coconut covered ones to use instead. They created a creamier coloured face that we tinted the icing for the ears to match. ) Take about 20 mini marshmallows and cut them in half. Apply all over the cupcake, sticky side down. Add a little extra icing and apply two halves to the top of the face. Small candy beads were used for the eyes and the nose and mouth were piped on. Pink would probably have been a better colour but there was so much else going on, we went with the orange.
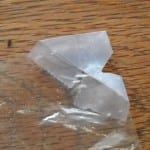 Now to pipe on ears and a tail take a baggie of some sort, taping the tip as shown below.
Fill your bag with a couple tablespoons of icing, You won’t need much.
Cut out a wedge at the point of the bag and slowly press the icing down to the opening. The picture may look a little off side as this bag had a 1/8 inch lip at the edge. You might want to practice this a bit on a plate first. Start by attaching the icing to the side of the lambs face and then moving down to the fur. Oh! and add a tail if you would like to at the back.
Carrots
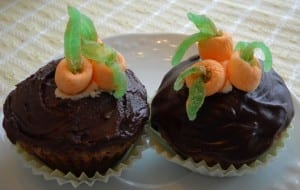 Easter Bunnies may deliver Easter eggs but they need carrots to stay healthy themselves. There is the option of making these from carrot cake cupcakes but today that was just a step too far.
Ice your cupcake with chocolate icing for the earth. (Again I had left over ganache so that was used instead. )
To make the carrots drop mini marshmallows in a mixture of icing sugar and powdered orange dye.
The tops were made from green jellies found at the bulk store, rolled with a rolling pins and cut into thin pieces. There are many more complex ways to create these, including dipping the marshmallows in cake pop coating.
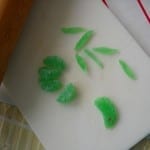 Poke the strips through the marshmallows and place in top of the cupcakes.
A word to the wise. Do not leave the cupcakes sitting long enough to dry once the topping is on as it makes if difficult for the carrot tops to stick to the dried surface.
It is best to complete one variety and then move on to the next. Of course if you have several little hands busy, maybe two.
There is no right or wrong here if the choice is to play. It is amazing what is shared when there is no pressure to be right. So, gather the brood around the kitchen table once the cupcakes have cooled and let loose. Having plenty of milk on hand would help.
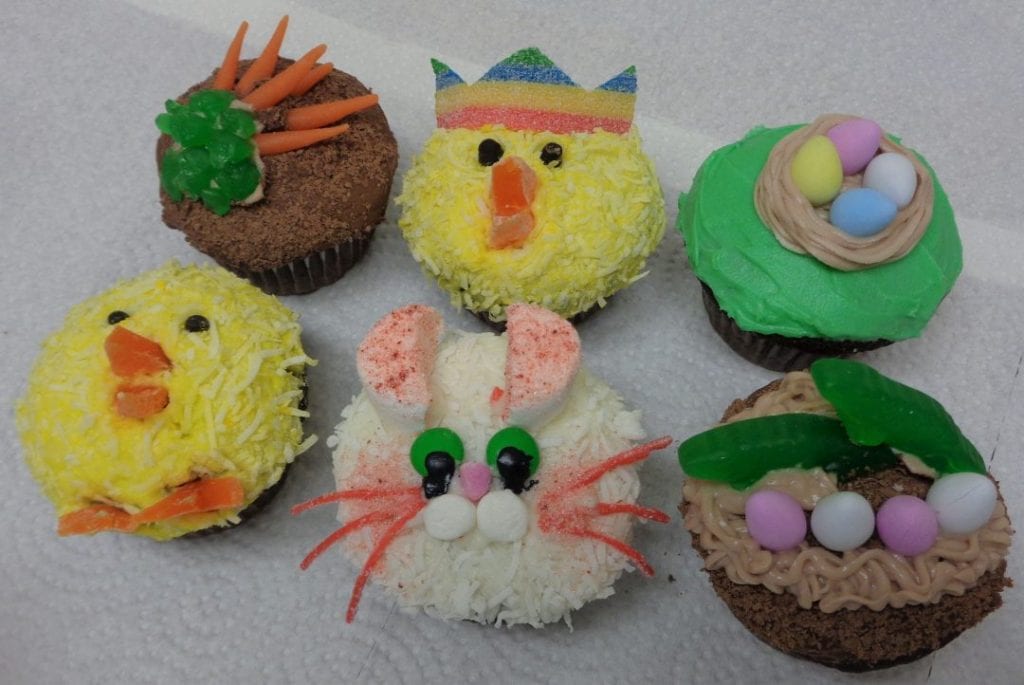
The creative specimens above were made at last nights class with several additional ideas. Carrot patch made with coloured marzipan; chicks with a crown and added feet; a dragon’s nest; a very carefully constructed birdsnest and another option for making bunny ears with the help of rainbow sour strips for whiskers. All done by adults enjoying for a tasty playdate.
Decorated Spring Cupcakes from My Kitchen Wand

