Folding paper shapes is an ancient craft. In Japan it is called Origami and there are hundreds of figures that can be made from a single piece of Kami paper. A popular shape is the crane and the accompanying legend is that if someone folds 1,000 orizuru (cranes) they will be granted a wish.
In Germany, a Fröbelstern (Froebel star) is a popular Christmas decoration made from 4 strips of paper that are folded and woven. Once finished they are traditionally dipped in wax and sprinkled with a little glitter. They look nice plain as well.
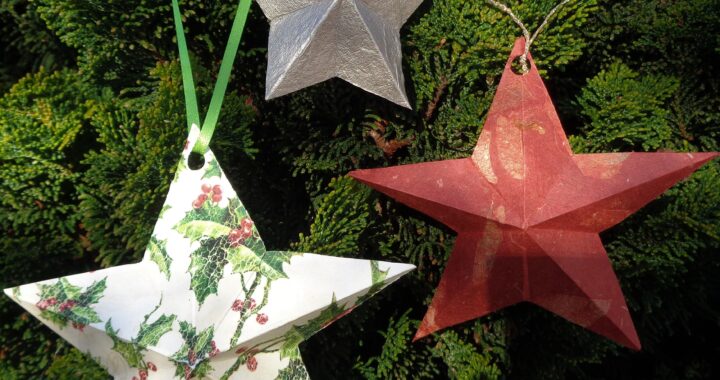
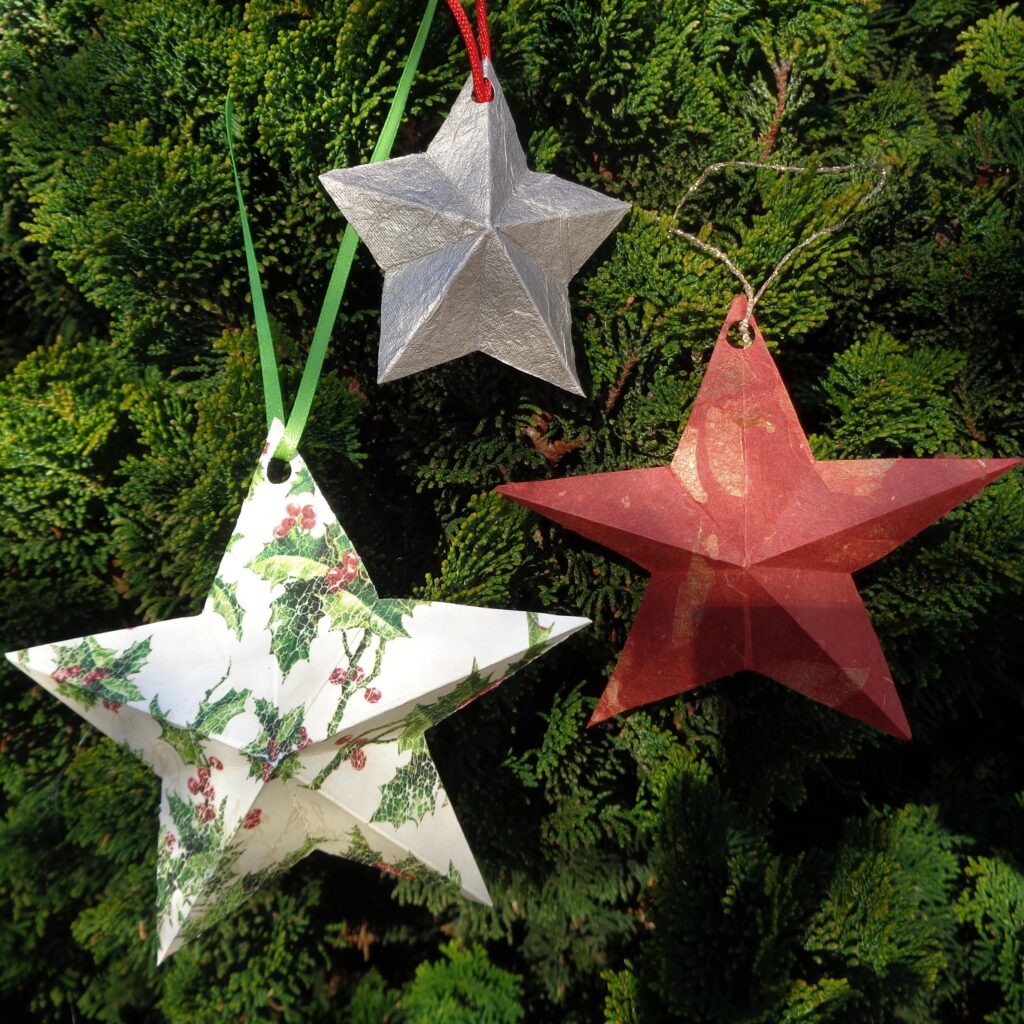
This post is a simple Swedish design for folding paper stars and a first step towards more complicated designs. Perfect for children and beginner paper folders. These were made to decorate a tree but they can also be made larger to fill a window or hang on a wall. It depends on the size of paper started with.
The lighter the weight of the paper, the easier it is to fold, so naturally we are going to begin with a heavier stock.
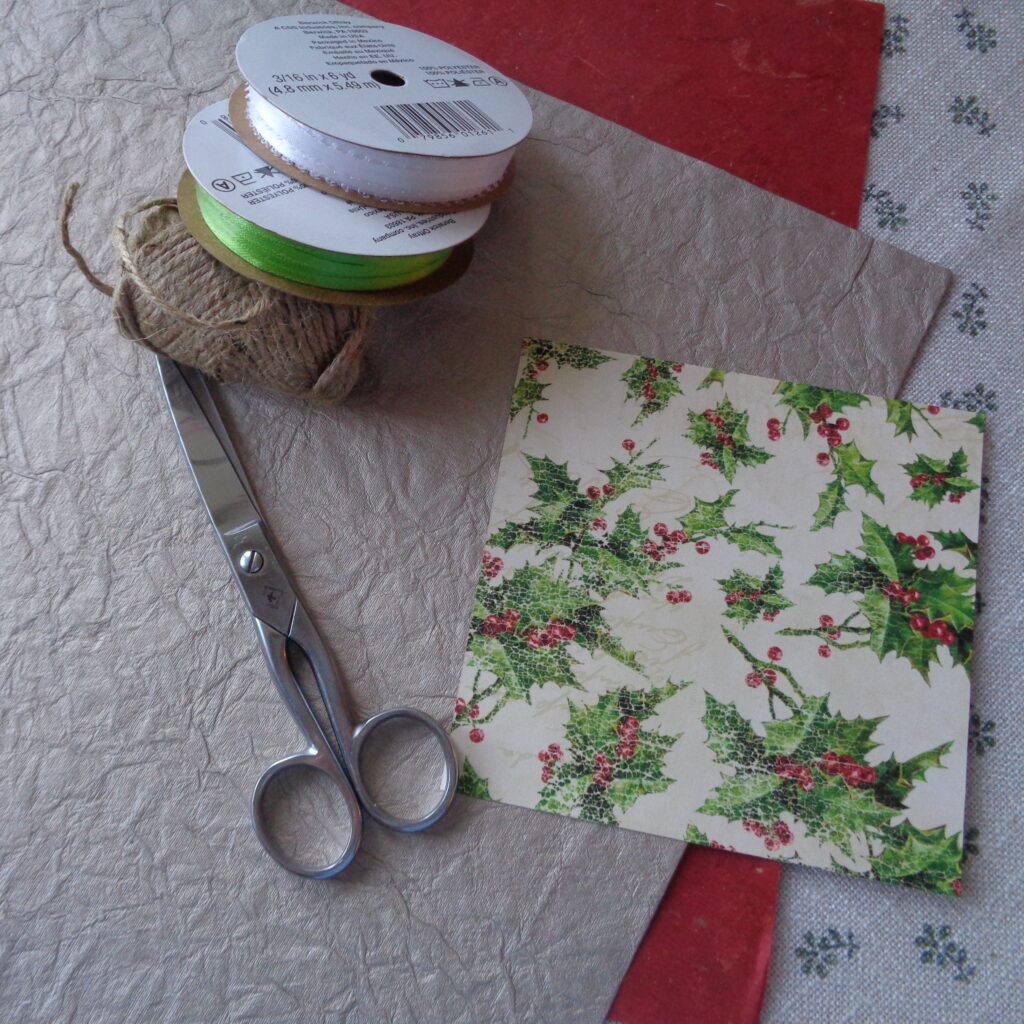
Various sheets of paper in a pattern(s) of your choice
Scissors
Ribbon, thread or twine for hanging
Bone folder or something similar to help create crisp folds
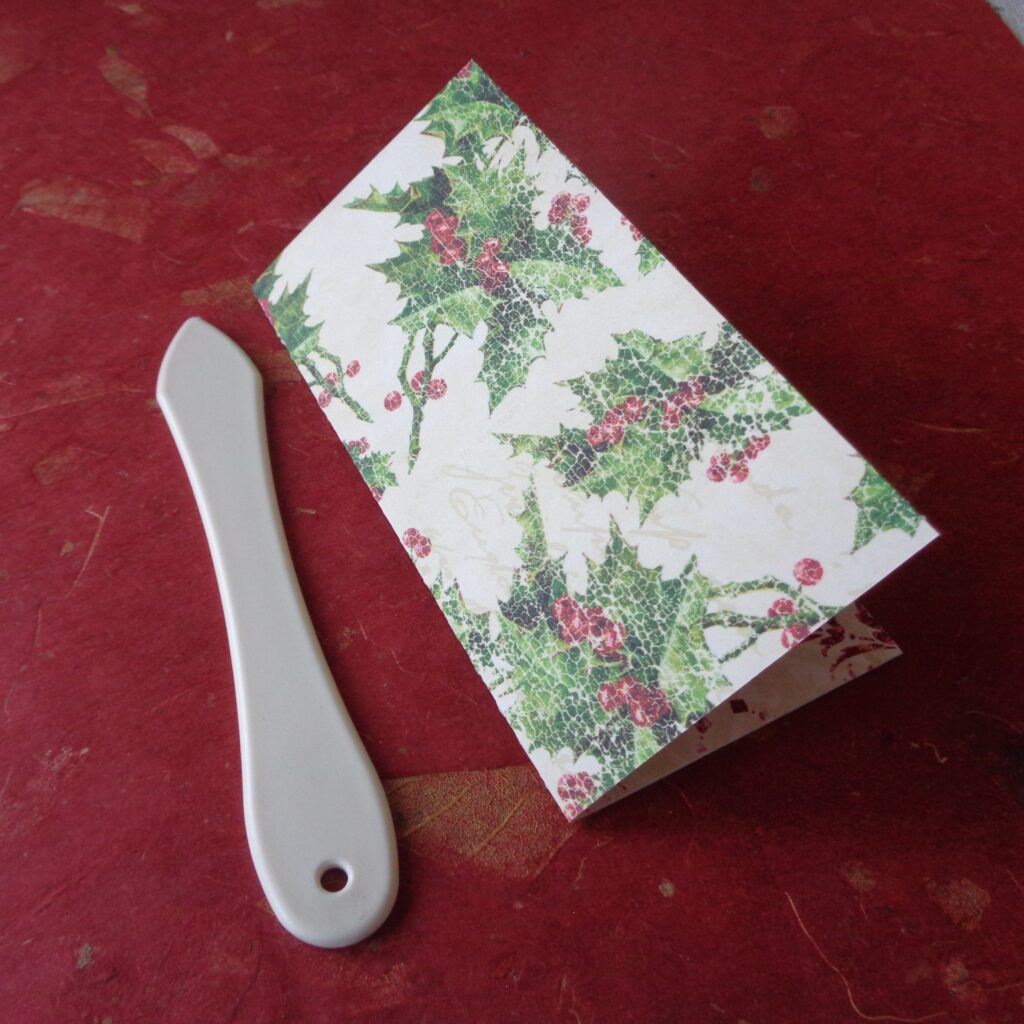 Take a pre-cut square of paper and fold in half, creasing the fold into a clean line and creating a rectangle.
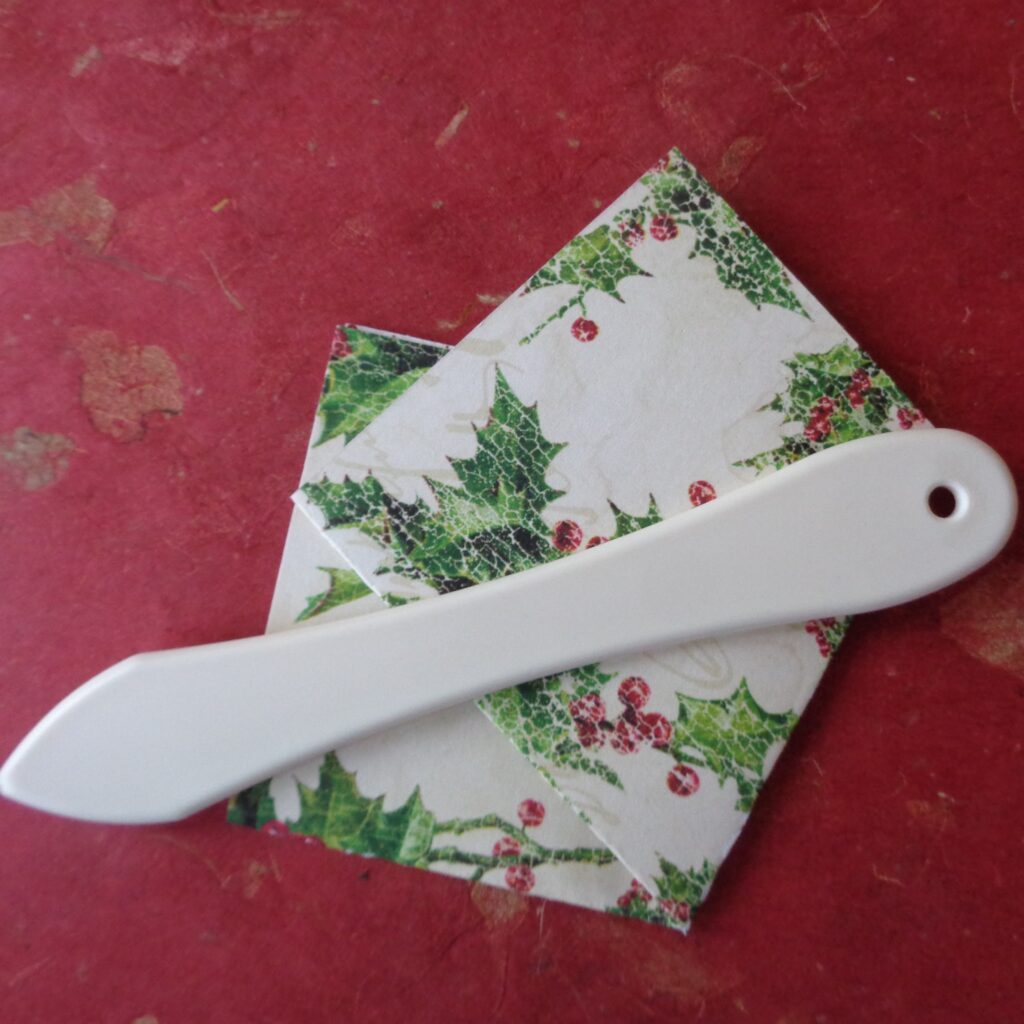 With the folded side closest to you and the open edges at the top, take the right corner and place it 2/3’s of the way up the left hand side of the rectangle. Cleanly crease the paper. I would suggest measuring it the first time. Eyeballing is easier after the first few stars have been made.
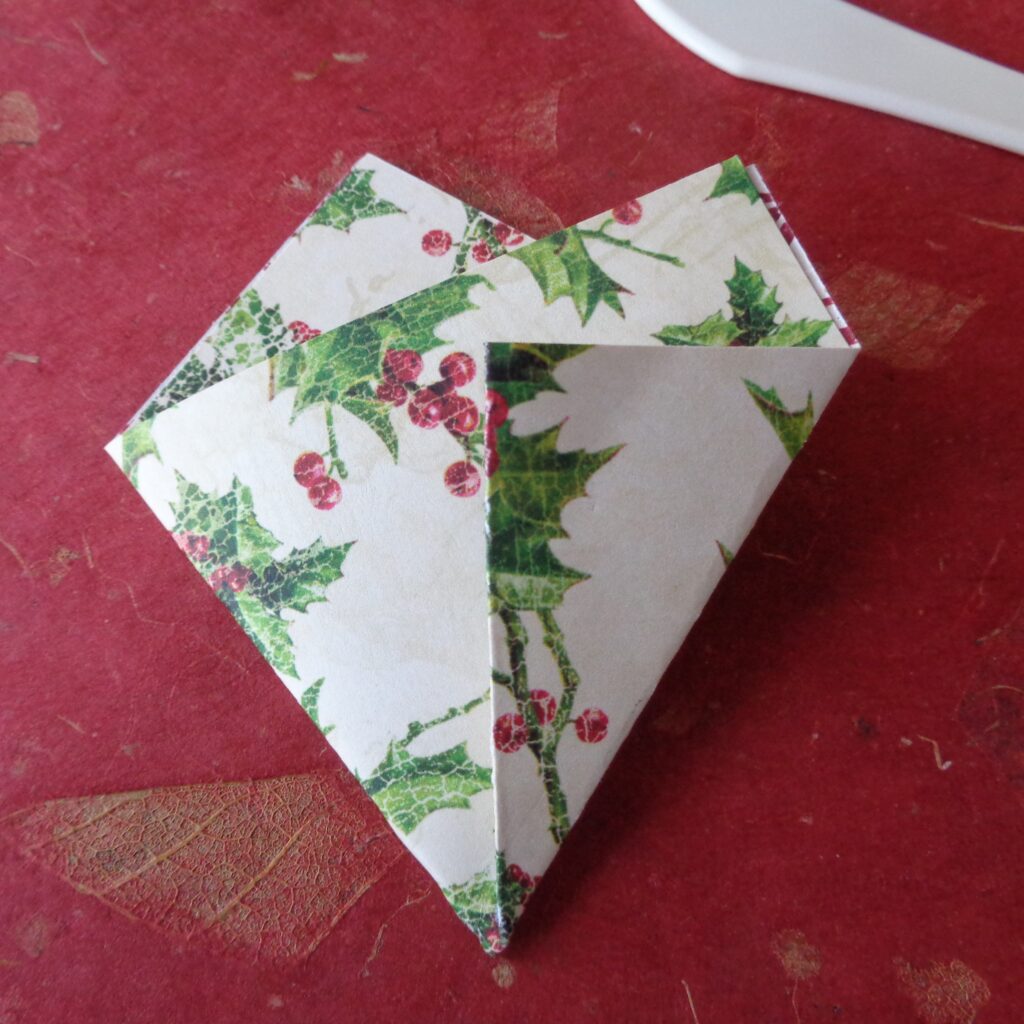 Turn the folded paper over. Position as shown above and then fold the right side to the middle, creating a straight perpendicular edge. The edge will be of folded paper not a cut edge. Used the bone folder on the folds, running up and down the edge.
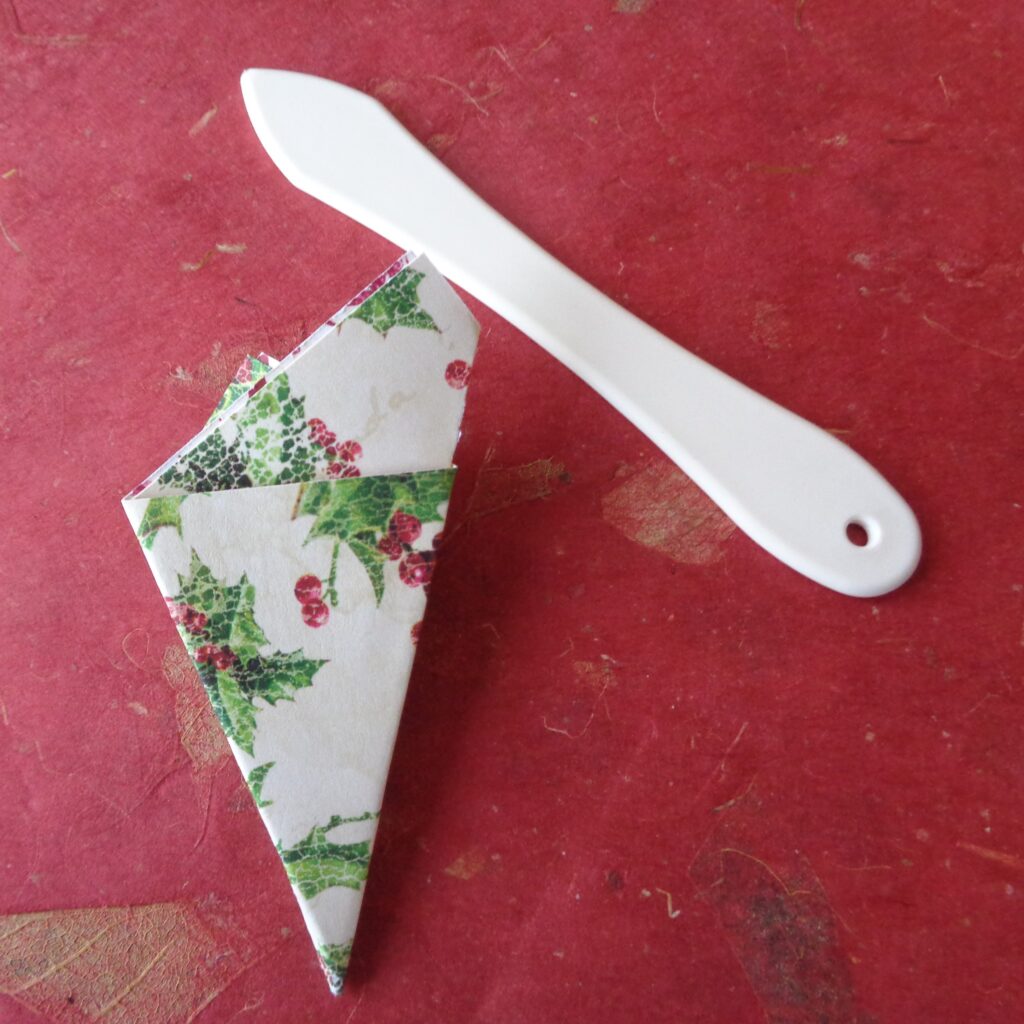 Turn the folded paper over again and folding along the previous perpendicular fold, fold the paper in half. Run the bone folder over all the edges once more before cutting. This will keep the edges as clear and clean as possible.
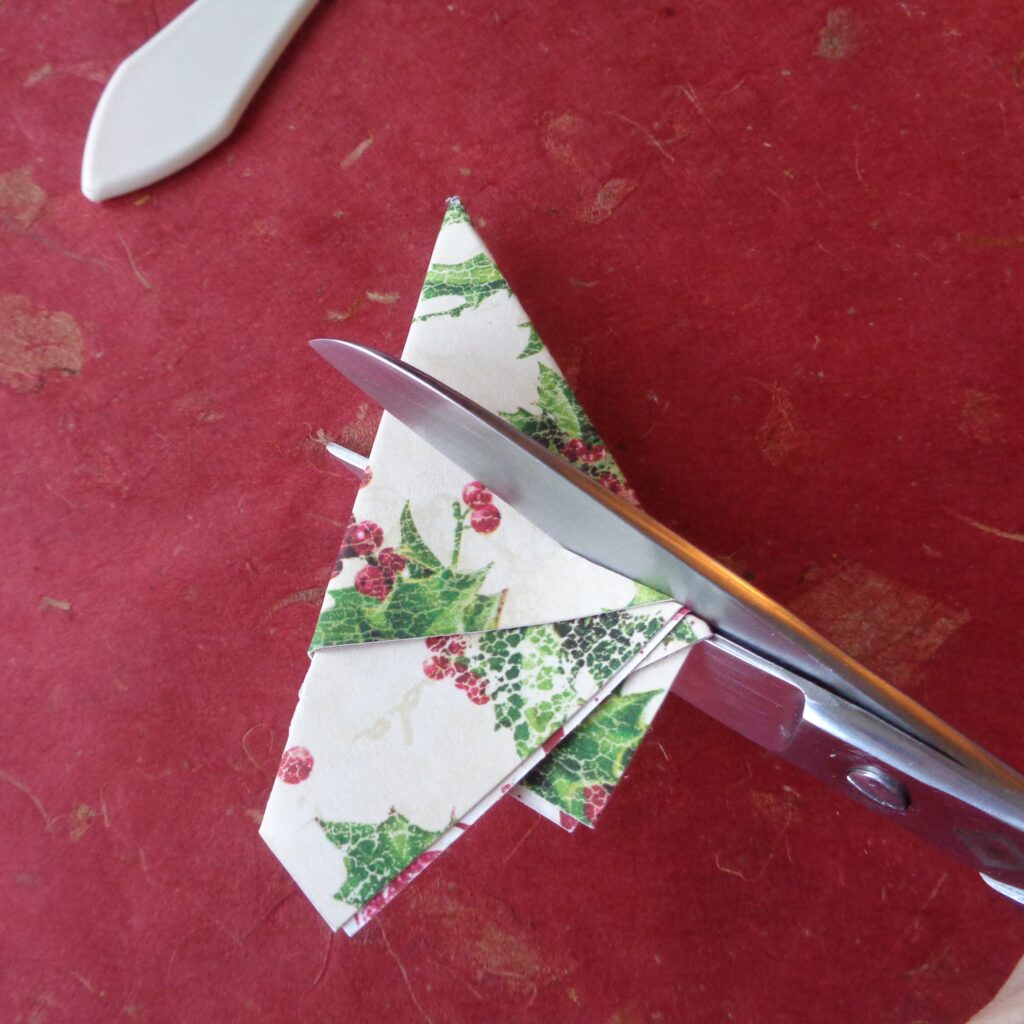 Time to cut. The section above the scissors in the picture will be the star. The section below is left over paper. The angles of the star points will be determined by how this cut is made. Angled towards the tip will created longer, thinner spikes and angled towards the center of the fold will create wider, shorter points.
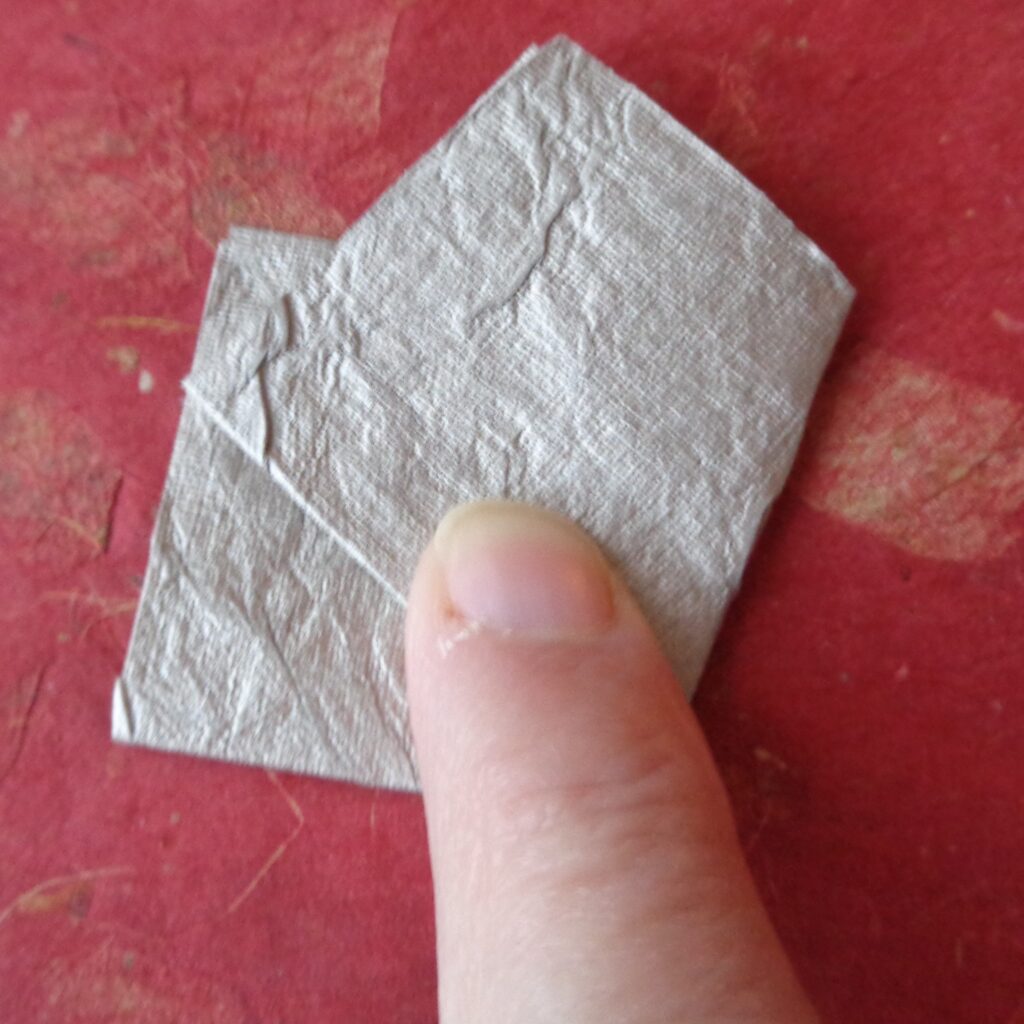 So let’s go over that again. Square piece of paper, folded in half. Fold at the bottom, fold the paper from right to left with the bottom corner 2/3’s of the way up the side.
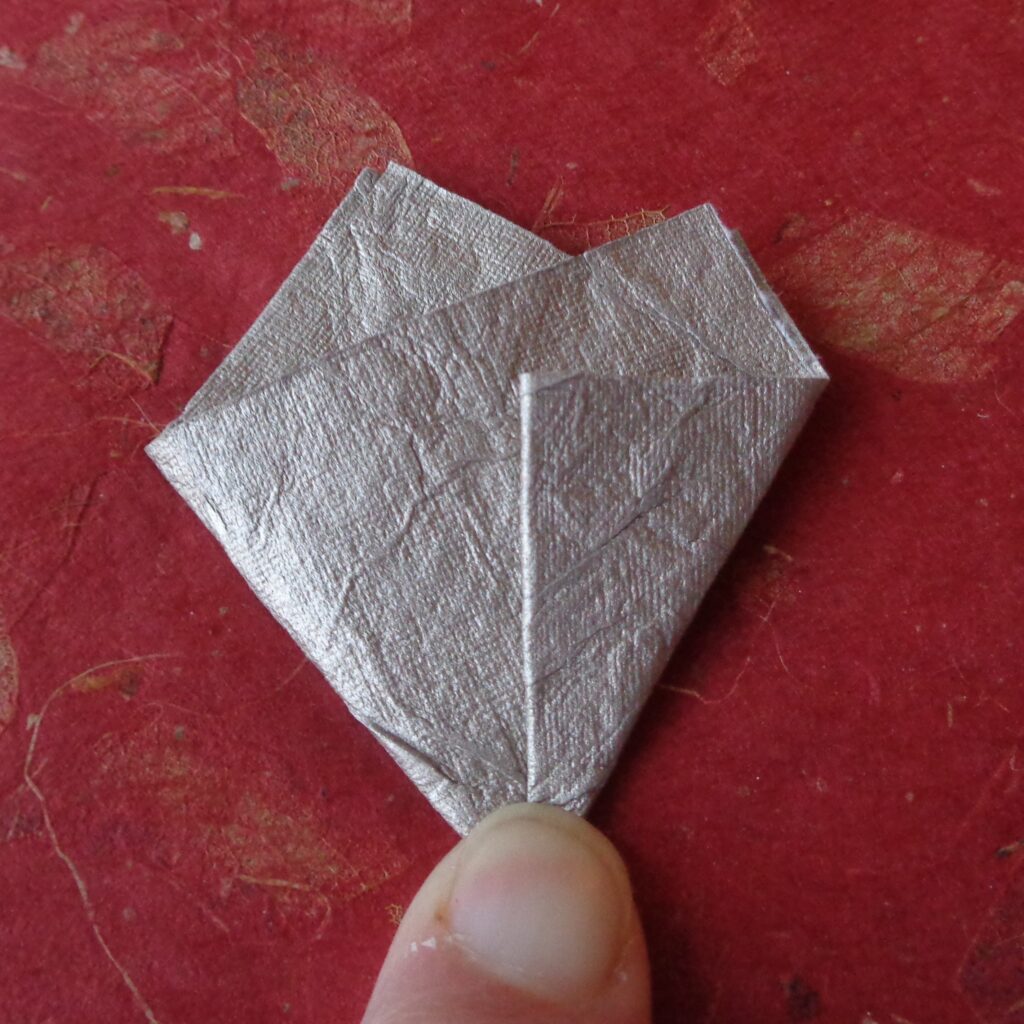 Turn the paper over and fold the right side into the middle, creating a folder edge up the middle of the folded paper. Run the bone folder over each fold to keep things crisp.
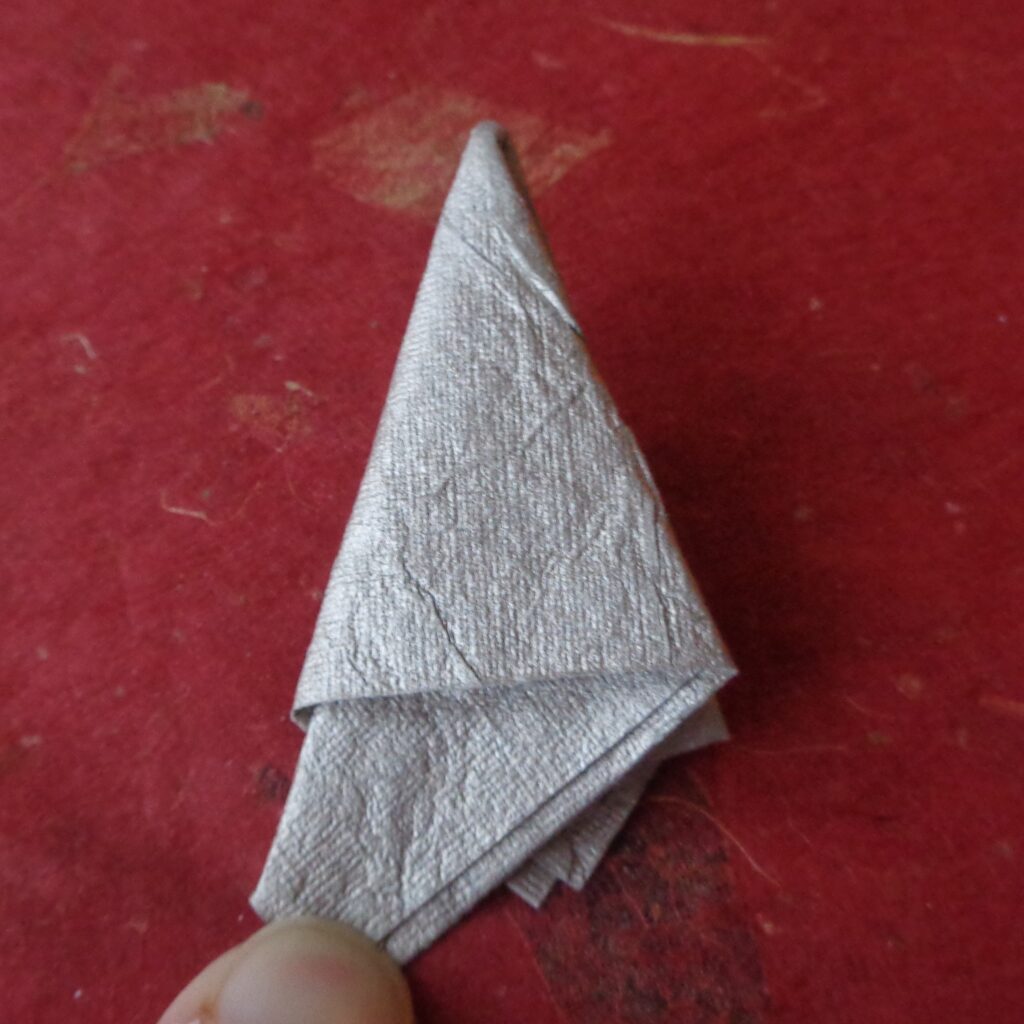 Turn the folded paper over and bring the outside edges together, folding the soon to be star in half. Starting at the point on the right hand side, cut through to the left side, somewhere between the middle and about 3/4’s of the way to the top depending on the shape of the star points you would like.
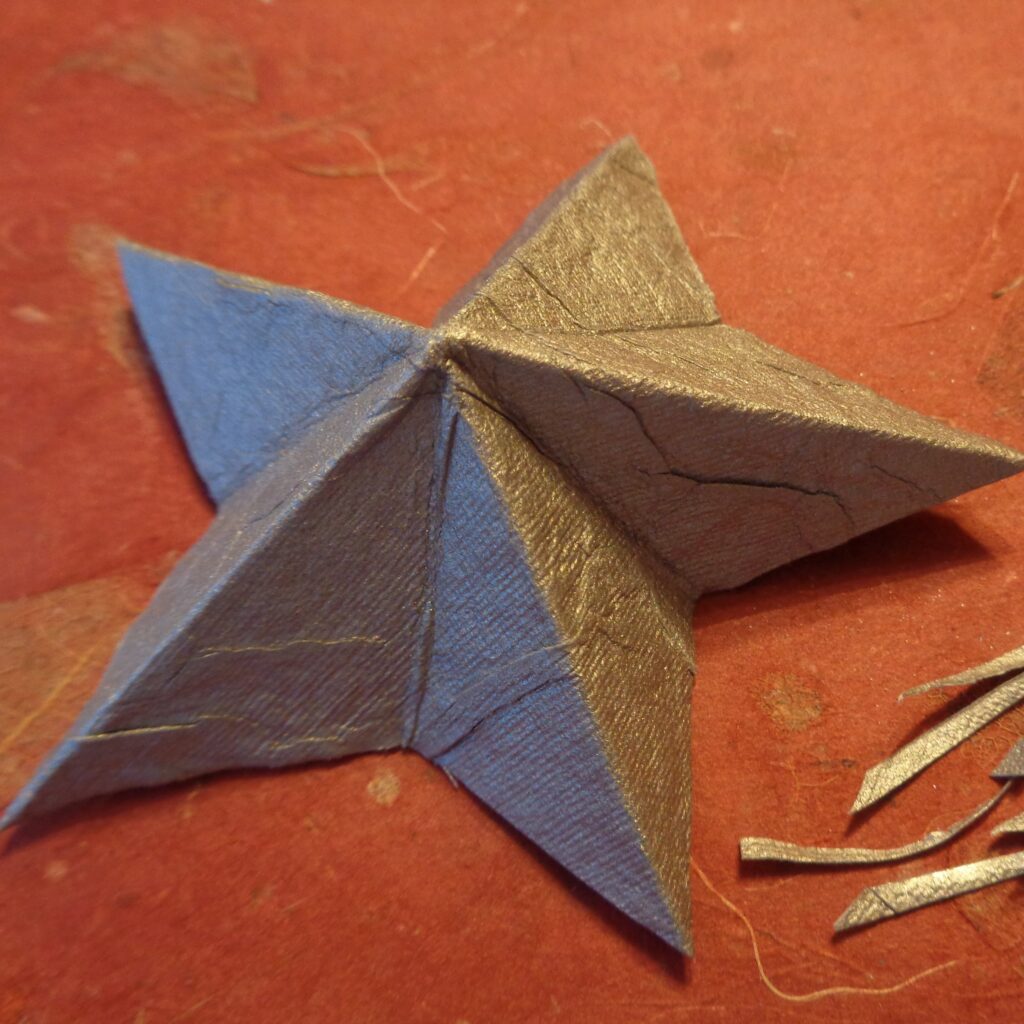
Fold and refold the sections of the star so that they alternate in and out. This also a good time to trim anything that might be a little “off”. Punch a hold and thread with ribbon, twine or thread if the plan is to hang on your tree.
Simple to make, easy to store, decorations. Family craft time! Useful as gift tags, place settings, and of course, tree decorations. Change up the paper and place on branches all year round. You can also write out wishes, qualities you would like in your home or goals on each star. Does anyone ever have enough pentagrams hanging around?

