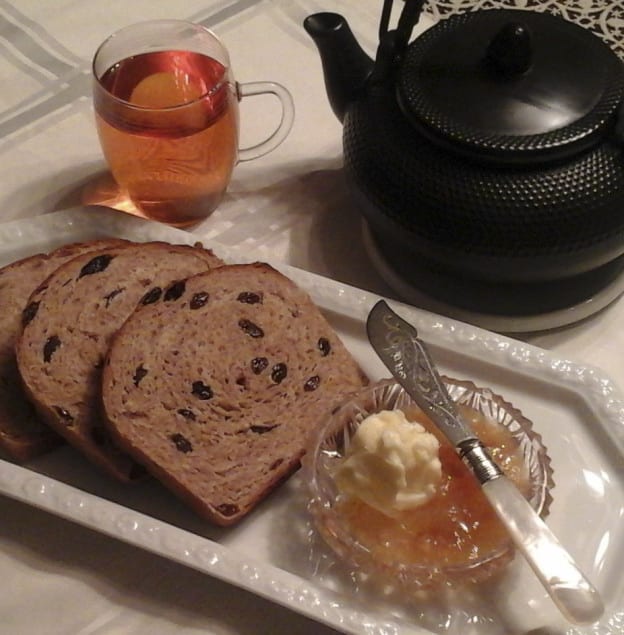
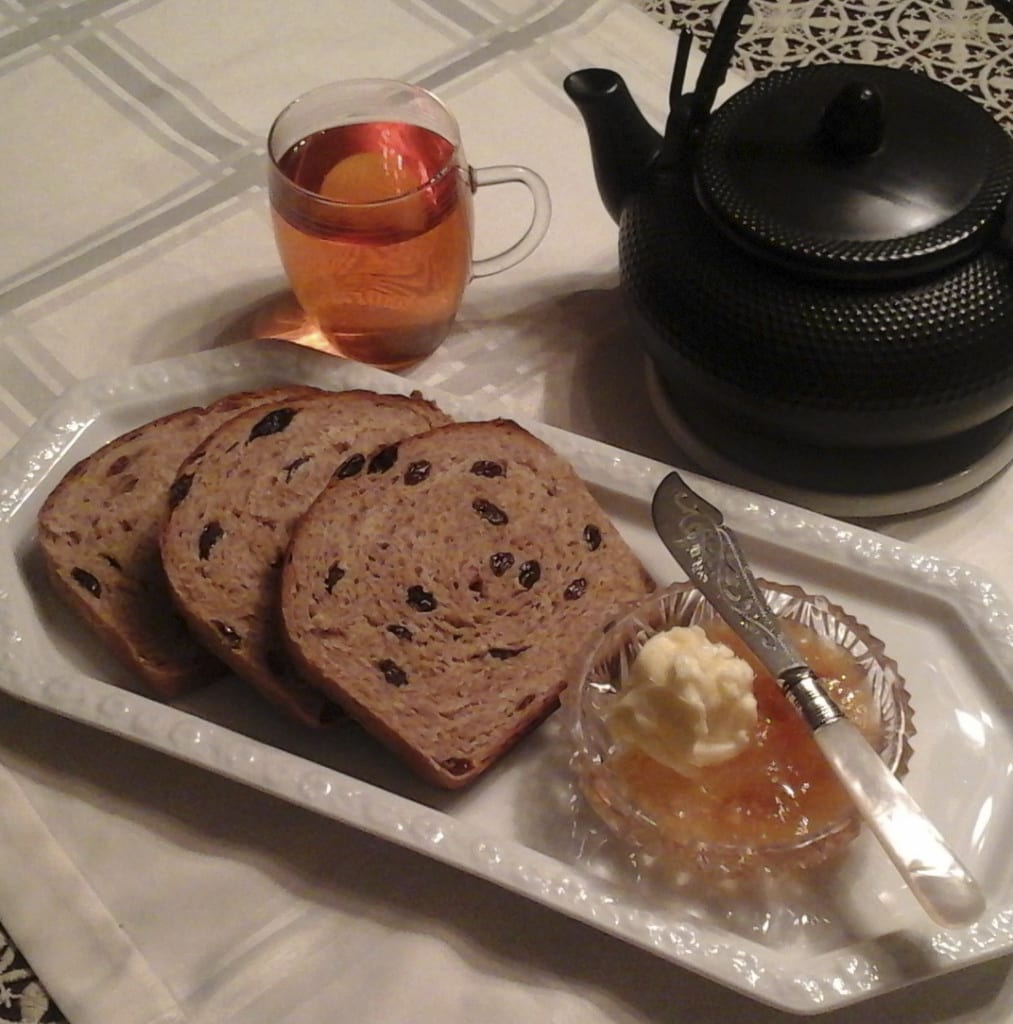
Some days you just want the memories back. My grandfather baked bread. He had a homemade box that went over the gas stove in the kitchen. He was also a carpenter and there was just enough heat raising from the oven to make the box a fabulous proofing space. It sat next to the wood burning stove that he made 18 grain porridge on most mornings. I loved walking through the door after work to a home smelling of fresh baked whole wheat bread. It makes the BEST toast (in my humble opinion).
As I have some whole wheat flour to use up (It goes rancid more quickly than all purpose flour) and I have been doing some research on grains and offerings, the thought of a couple of loaves of cinnamon raisin bread was feeling like a warm hug. This isn’t a pretty, sexy recipe. It is a true hearth and home, pillar of the family kind of recipe.
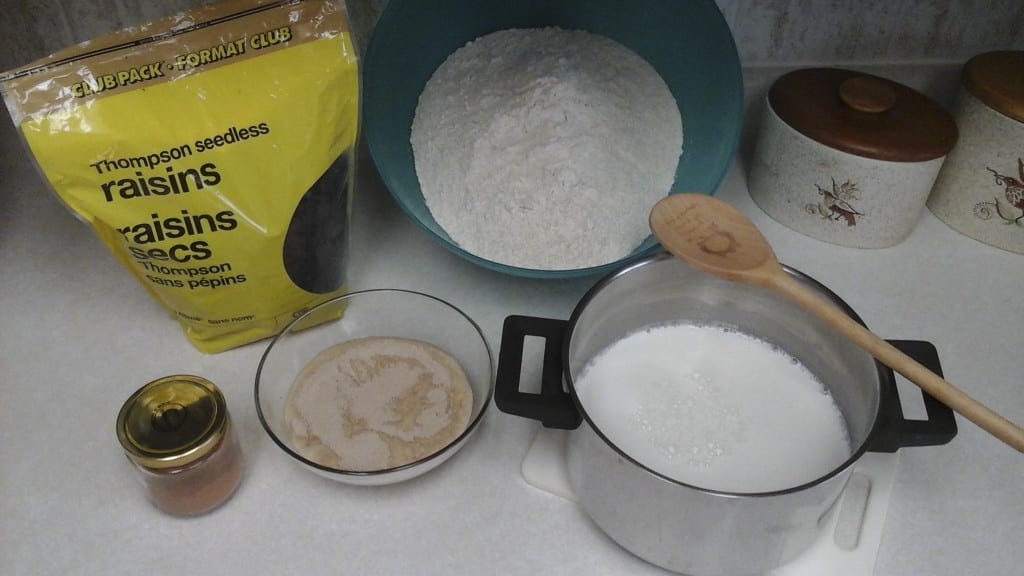
You will need:
3 1/2 cups milk
3/4 cups white sugar
4 1/2 tsp. salt
5 Tbsp. shortening or butter or margarine or coconut oil
1 Tbsp. sugar
3/4 cup lukewarm water
6 3/4 tsp. yeast ( 3 pkgs )
10 cups whole wheat flour
1 1/2 cups raisins
3 Tbsp. cinnamon
As always, begin with a shift in your attention, bringing your focus into the kitchen. Close your eyes and take a deep breath in, hold and release letting go of all the nigglies that are keeping you from being in the present moment. “Work is Love in action” is the starting point of any project at the Findhorn community in Scotland. All the members of the work team would gather together, to do the same thing before beginning any project. Invite in inspiration, creativity and gratitude. Begin.
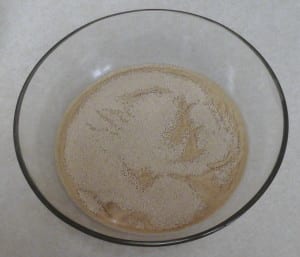 Place 1 Tbsp sugar in the lukewarm water and stir to dissolve. Add the yeast by sprinkling on top and getting as much as possible wet. Allow to sit for at least 10 minutes. The yeast should start to develop bubbles and grow in volume. If it just sits there, it is time for fresh yeast.
There are some yeast recipes that say add the yeast directly to the flour mixture but if your yeast spends most of it’s time tucked in a corner, then you will want to be sure it will still do the job before mixing in all the ingredients. This is the traditional start to baking bread.
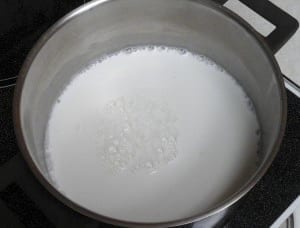 On the stove, place the milk in a pot and heat until the milk is scalded, just below simmer. Add the remaining sugar, salt and butter and allow to melt, dissolve and cool to lukewarm.
Once the milk has reached lukewarm, add the bubbling yeast, mix and then add in 2 cups of flour three times, beating well after each addition. Sprinkle the cinnamon in with one of the additions of flour.
 I use my hand mixer for that last part. You can use regular beaters or the hooks if your mixer comes with a set. It not required, you can do this by hand but I find it easier when mixing the slurry (the first mixture that is more like a batter).
Do not overwork your hand mixer. If you hear funny noises, stop and switch to hand mixing.
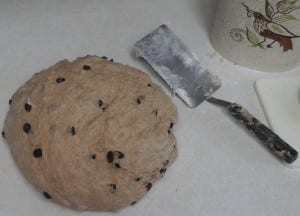
Spread three of the remaining cups of flour on a clean counter and transfer the mixture on top. Work the flour into the dough by kneading. Kneading develops the gluten in the bread, the part that makes the dough elastic and gives it strength and texture. As the yeast does it’s work and creates the carbon dioxide in the dough which makes the dough rise, the dough needs that developed strength to hold it’s shape around the bubbles. This ensures a light, not dense final product. This can be work and is why regular bread makers (not me) usually build strong biceps. Keep dusting with the last cup of wheat until it is all worked in and the counter is clean. You can add a little more flour is the dough seems too “loose”.
Sprinkle in the raisins while you work, kneading them into the dough.
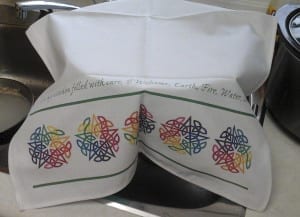 When you are happy with the dough, place it in a greased bowl and roll it around so the top also has a thin film of fat and cover. This covering will stop the top from drying out and cracking.
You want the dough to rise away from drafts and not get too cold or too warm. A friend of mines uses the top of her water tank. Another option would be to turn the oven on low for about five minutes and then open the oven door to let out enough heat so that the space is comfortable but not hot. You only want a temperature of 80 to 85 degrees. Too hot and it is possible to kill the yeast. Over 85 degrees and bacterial growth occurs which is where that yeasty odor comes from. Place your bowl inside and close the door. You can also add a pan of hot water to the bottom shelf of the oven.
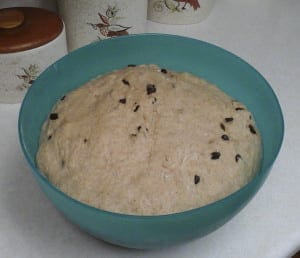 Allow the dough some quiet time for the yeast to do it’s work. You want the mass to double in size and generally that takes about an hour to 90 minutes but you can check at about 45 minutes if you live at higher elevations.
Push your finger into the dough and if the hole remains the dough in ready. If it fills back in give it extra time.
Punch down the dough. You should hear a “wooshing” out of the carbon dioxide from the dough as you gather it together and then cut into three equal pieces.
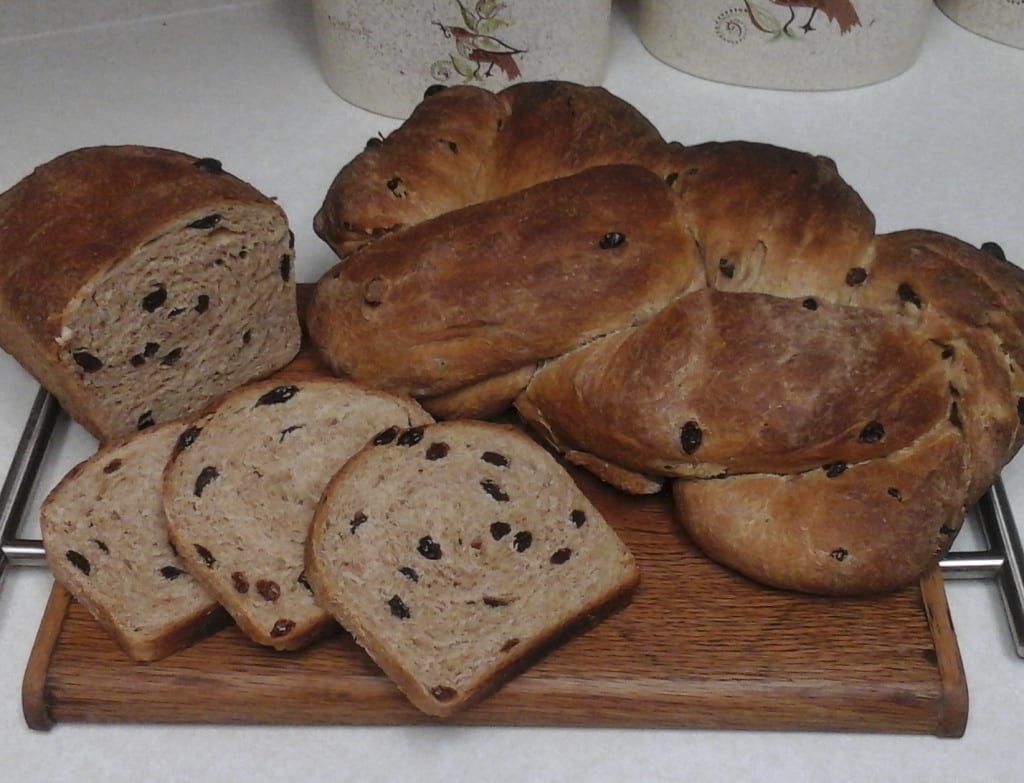
Roll each third into a shape that will fit into the bread pan, placing any seams at the bottom of the pan. You want the ends of the loaf to have the same thickness as the middle.
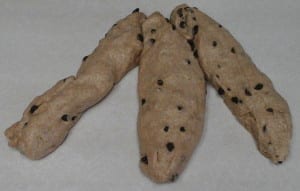 Another option is to make a braided load. That is done by dividing the dough once again into three pieces and rolling them into logs.
Place the three ends together and then braid the dough by folding the right hand log into the middle and then the left hand log into the middle. Now what was the center piece is on the right hand side and it is folded back into the center putting what was originally on the right now on the left and it is also folded back into the center. Continue until you reach the end of the logs. Fold the ends under and tuck them away under the braid.
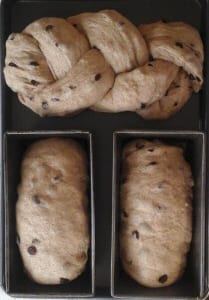 Place all the loaves back into a cozy location to raise again.
Once ready for the oven, heat the oven to 375 degrees and once the temperature is reached bake for 35 – 40 minutes. (If you put the loaves back into the oven to rise, take them out while you heat the oven, before putting them back in to bake.) Check at about 40 minutes and if the tops are getting too brown you can cover them with brown paper for protection and bake another 15 minutes.
The loaves will be done when the crust is an even colour and the loaf sounds hollow when tapped.
Braided breads are common to many cultures and are usually thought of as a “special” bread. Challah is probably the most well known variety, a light white bread baked for Jewish Sabbaths and holidays. If your have read The Red Tent by Anita Diamant , the practice of taking away a little of the dough and burning it as an offering is today known as “taking challah” and is intended to symbolically replace sacrificial offerings. If this practice is not completed the bread is not considered kosher.
Hoska is a Czech variety and Kolach and Korovai are traditional Ukrainian options for Christmas and weddings. I also remember hearing a story that Swiss women would cut off a braid to be buried with their husbands and that over time the tradition was replaced with a braided loaf of bread. Braided breads hold a place of honour in many of the ways we mark occasion.
I have on a couple of occasions, spent time at Hollyhock on Cortez island. The food is wonderful. Fresh bread comes out of their ovens every day and it was not uncommon to find the kitchen full at 10:30pm with guests getting that last slice of warm bread or toast before walking back along the wooded paths to their beds.
As I said at the beginning it is not a sexy recipe but basic traditional bread making is one of the closest connections to the spirit of the grains/hearth we have.
100% Whole Wheat Raisin Cinnamon Bread from My Kitchen Wand

