
 I was visiting the other day and nestled on the kitchen counter were jewel toned bottles of marmalade. I asked what flavour they were and was told it was Ma Made. Ma Made? My mind went in several different directions. “Have you never heard of Ma Made?” I was asked. “No”, was my reply. Thus began my education.
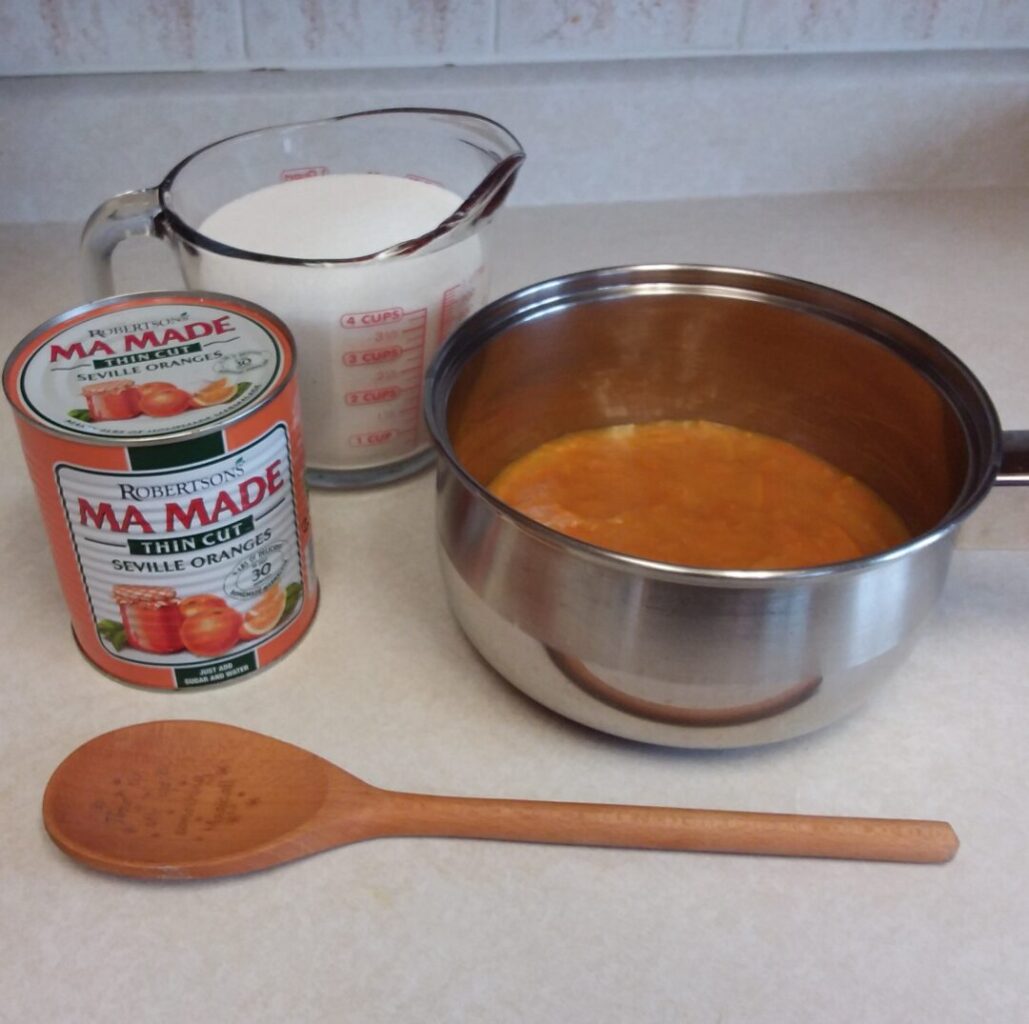
Ma Made is produced under the Hartley and Robertson labels. They are tins of thin cut Seville orange rinds with water, pectin, citric acid and a gelling agent added. Open tin, add sugar and water (usually but not always), boil for 15 minutes and bottle. Done.
If you have been coming to My Kitchen Wand for awhile, you will know that I most often share recipes and cook from scratch. I like knowing what ingredients go into my food. Not always a successful goal but I try. I also tend to think that made from scratch tastes better but we all do the best we can when interest, time, budget and availability combine.
The idea of not having to spend days making Seville orange marmalade was intriguing, so I invited a friend, found 3 tins at the local grocery store and decided to play.
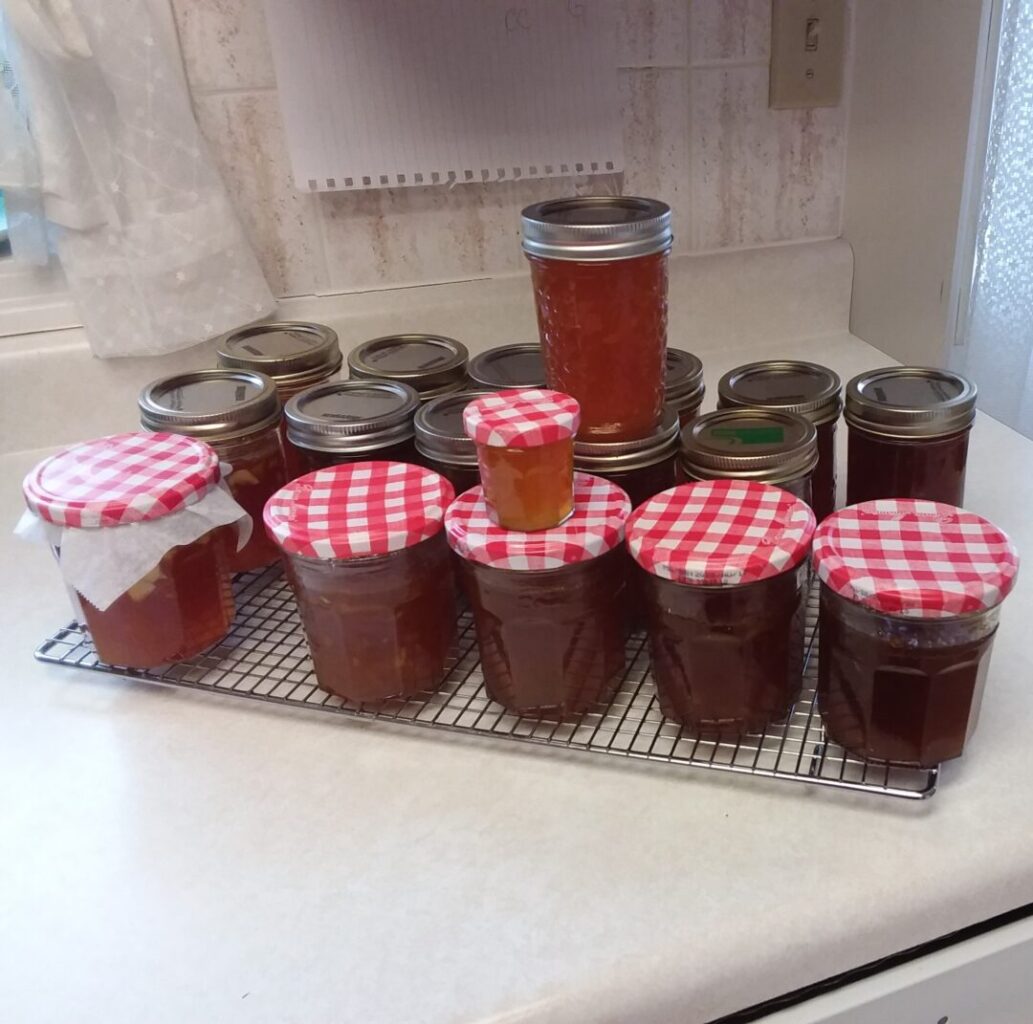
Ma Made is also available online but it is heavy and therefore pricey to ship. If you can find a local supplier it will help your pocket book. Local grocery store pricing was $12.39CAD. Online was $9.99US plus $18.90US shipping within the U.S. Just saying. We ended up with 18 jars of six different varieties (again, playing). That averaged $2.00 per bottle plus cost of sugar. Including shipping comes to almost $5.00US. At that point it might be more cost effective to buy a bottle of Robertson’s marmalade but there will be no playing.
So here we go!
You will need:
1 tin of Ma Made thin cut Seville orange rinds
4 pounds of sugar
1/2 tin of water
As the ingredients are gathered, may you find gratitude for the work done in Spain and now off your shoulders, friends who are willing to stop by and play and the opportunity to create gifts for friends and family. Take a deep breath in, hold and slowly release. Let go of the nigglies of the day, wash hands and let the nigglies drop away as warm soapy water flows over your hands. Come into the present moment, relax and begin.
Place clean jars into a 250F degree oven until needed. Don’t get the jars hotter than 250F or there will be a possibility the jars will crack due to the temperature difference between the glass and the marmalade.
Place sealers into hot water and allow to simmer until needed. This practice is no longer required when putting up preserves but it is my habit.
Open the tin and drain the contents into a large pot. Fill the tin to the marked line with fresh water and add to the pot. Add the sugar and stir together to combine. The instructions on the tin say 3/4 pint or 425ml water if that works better for you. We divided each tin into 2 equal smaller amounts and made on average three small jars of each variety. The variations in finished volumes were due to improper measuring, longer cooking time and additions.
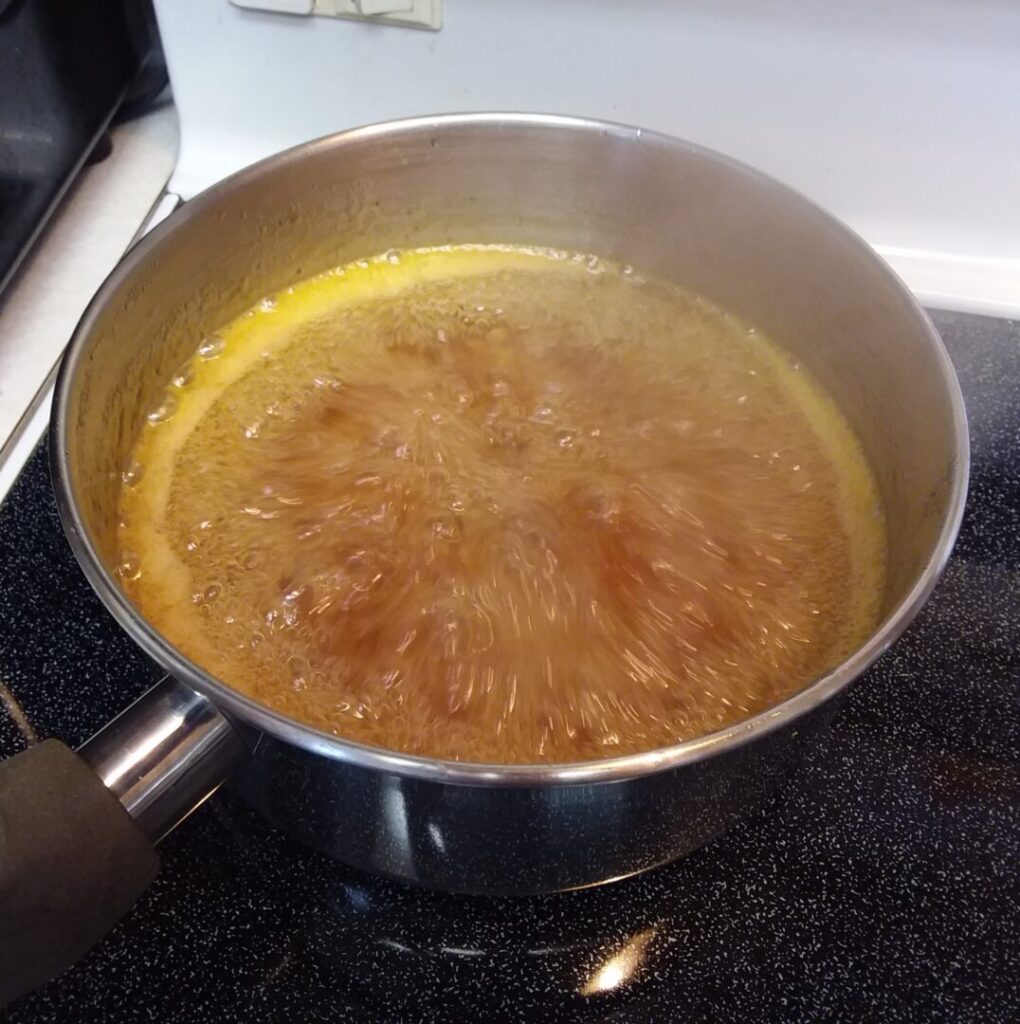 Place pot over heat and bring to a boil, stirring.
Once it has reached a boil, turn down the heat but keep it boiling. Continue cooking for about 15 minutes, stirring occasionally. If it looks like the pot may be too small once things are boiling, don’t lift, just gently slide the pot off the heat and that will reduce the volume and the chance of anything spilling over.
This is a great time to also test your thermometer. The set point for marmalade is 220F. We played with thermometer, saucer in fridge and time to see what worked best.
At about the 13 minutes mark we started testing the mixture via a thermometer. Aiming for 218F before putting a 1/2 teaspoon of liquid in the freezer for one minute. As the mixture was in the freezer, the pots continued to cook with the temperatures rising. When the minute was up we had ripples on the test saucers when a finger was pushed along the sample. Add a small dollop of butter to aid in reducing the foam and pour into warmed jars. Seal.
The pots that were cooked to 220F before testing were definitely firmer and if everything is measured properly, 15 minutes of cooking time should do the trick. You will notice that the marmalade will change as the water is boiled away and becomes thicker.
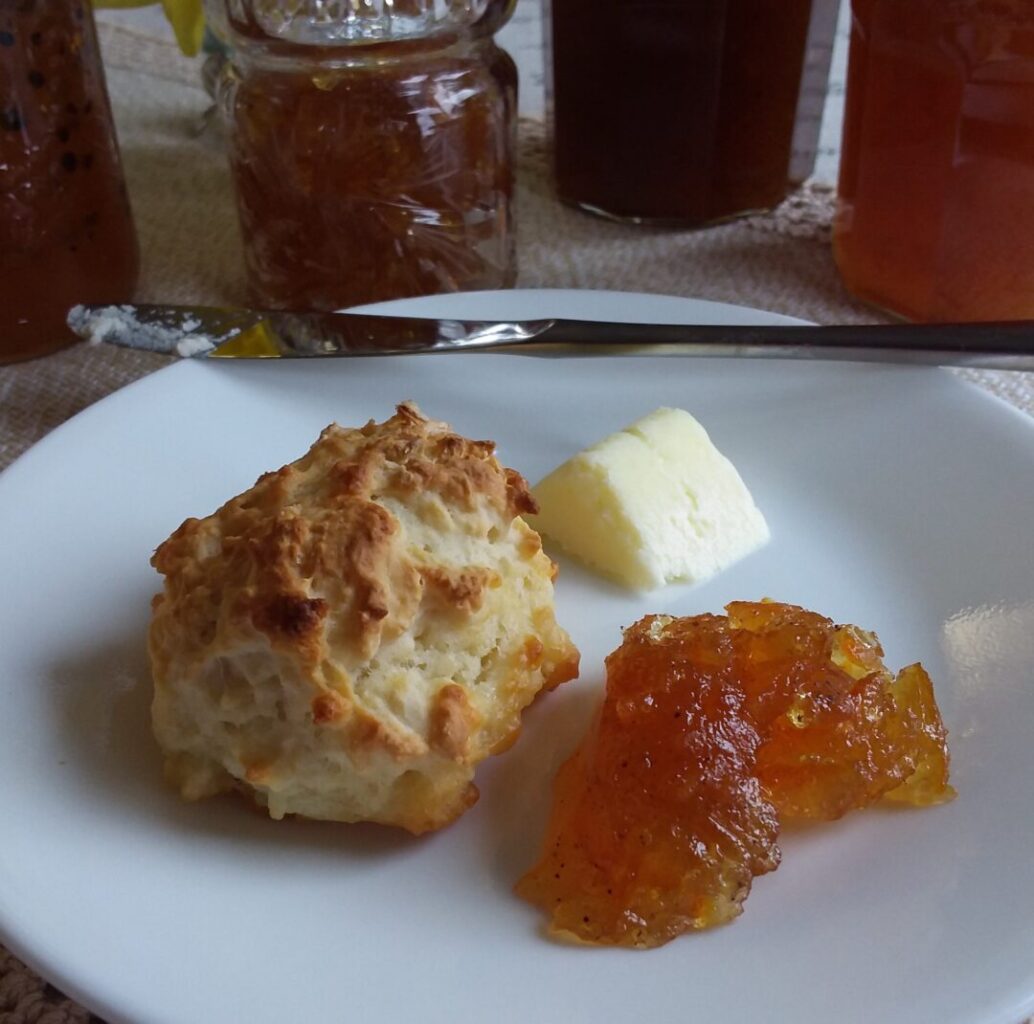
Bottle when the temperature is too low and the marmalade will be more syrupy, too high and you will be cutting the finished product. Neither of which will be a problem. It all depends on what the optimum spreadability is for what you will be doing with your marmalade; toast, scones, cakes or squares.
 Additions by 1/2 tin:
1. Plain as per the instructions
2. 1 tsp. ground cardamom and an extra 1/4 cup of finely diced cooked Cara Cara rinds
3. 1 tsp. each ground cardamom and finely minced ginger. We got our signals mixed up.
4. Zest of 1 lemon and 1/2 lemon grated with juice
5. 1/4 tsp. cardamom seed added once jar was filled and stirred in before sealing
6. The water was replaced with brandy and 3 tablespoons of flaked almonds were added after the marmalade had thickened and before bottling.
The bottles on the rack are not in the same order as the additions listed above. The paper attached to the wall above, helped keep track of what we were adding and the shift in colour in the bottles was due to the spices included ( Yes, “someone” had a thing for cardamom) and a little extra cooking time.
In the picture below, you can see the seeds in the jar on the left, ground spice on the plate, the ginger and cardamom in the dark jar and the lemon in the far right.
Seville orange marmalade is definitely a popular Irish treat. It’s fruit season is coming to an end and some of the results of our playtime will get used up quickly. My plan for next week is to make squares and a loaf cake.
 Ma Made Marmalade from My Kitchen Wand
