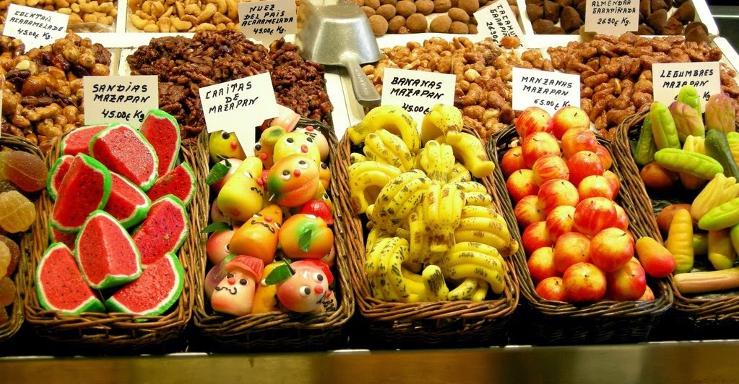
Marzipan modelling has a long history in many parts of the world. There are even museums to the art of decorative marzipan. Szabo Marzipan Museum in Budapest is just one. Take a peak at the video and I promise we are not doing anything as complicated.
Fruits and figurines, cities and celebrities have all been made from marzipan.
Today with air brushing many blended shades and details can be created. Marzipan is pressed into moulds for mass production. This post however is about creating an uncomplicated decorative topping by hand with the hope that it might spark some additional ideas for other projects.
You will need:
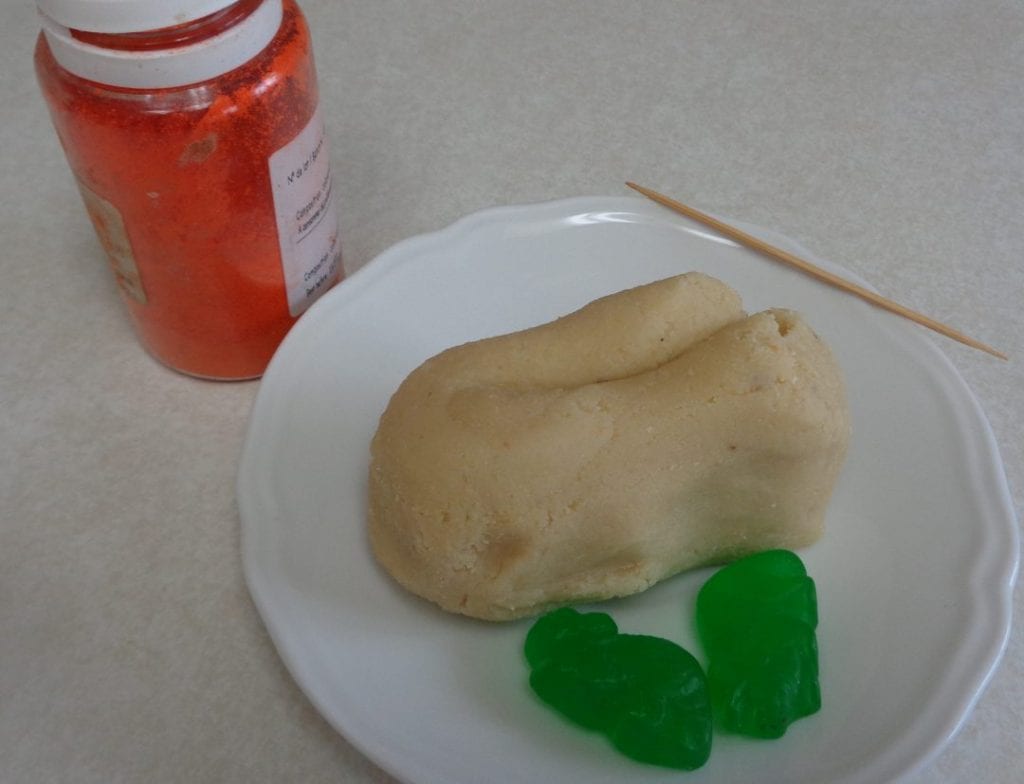
1/4 cup marzipan ( less actually but somehow it always seems to need tasting, just to make sure.
orange food colour powdered (powder keeps the marzipan firmer, gel is another option)
green jelly candies
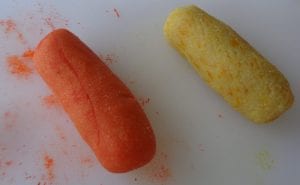 Knead the powder into the marzipan until well blended and no longer streaky.
The marzipan on the right has orange zest as an alternative. As you can see the colour is nowhere near as intense and the more zest that is added the softer the mixture will become. It was worth a try and would certainly work as a chocolate filling.
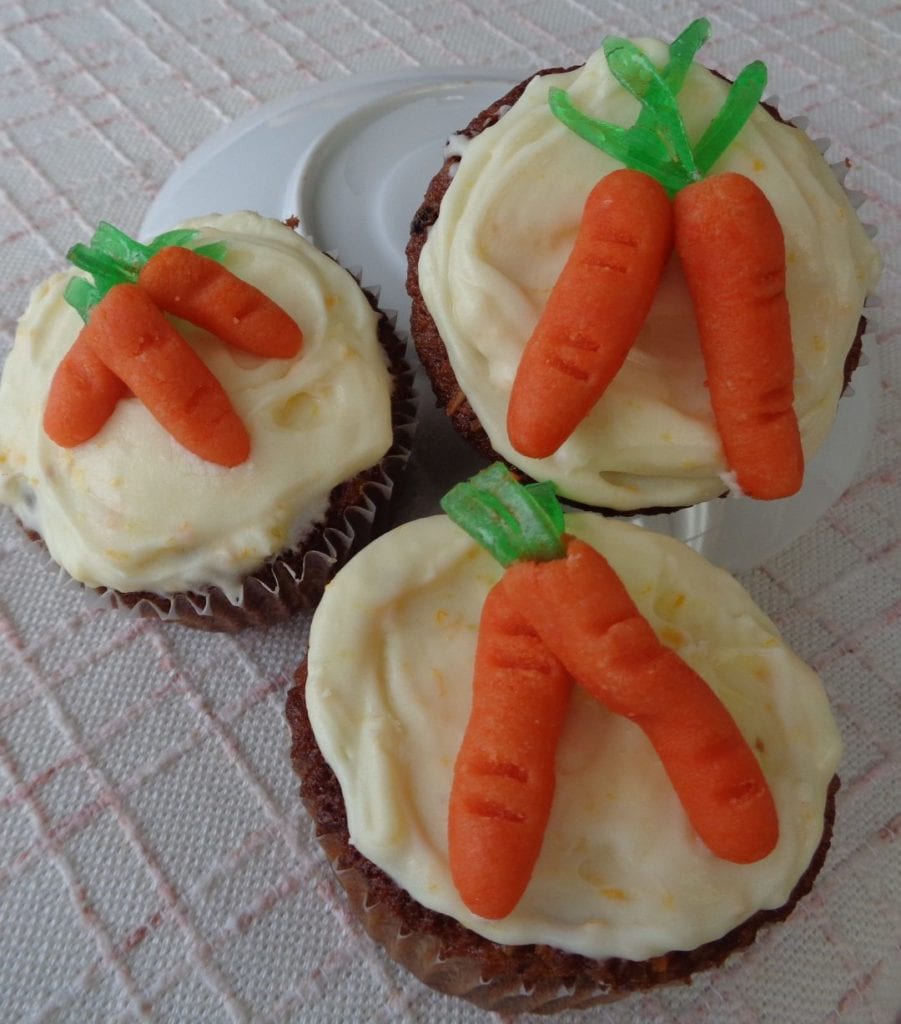
Pinch off a small amount and roll into the shape of a carrot. Carrots come in many shapes and sizes so when working with kids (and by yourself), remember, all carrots are perfect.
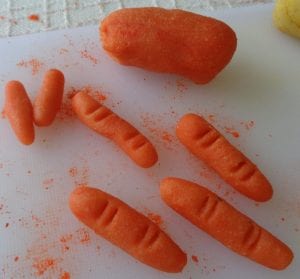 Once the carrots are formed, add a few marks across the shape with a toothpick.
Just lay the toothpick on the marzipan and then push gently.
Using the toothpick again, push it into the top and wiggle it around creating space for the carrot tops to go in.
The carrot tops are made from fruit jellies. Step one is to use a rolling pin to flatten the jelly into a thickness that is sliceable. Continue to roll back and forth from both directions until the jelly is flat and stays that way when the rolling pin is lifted.
Something around 1/8 of an inch.
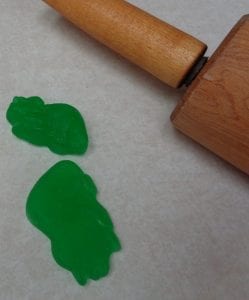 Cut a slice off the jelly and then cut down but not through the length, giving you two long thin sections that stay connected at the bottom. This will make it easier to push the “carrot tops” into the carrot.
Using the toothpick, guide the tops which will be sticky, into the hole created at the top of the carrot and push down in the hole. Wiggle the toothpick around to loosen and remove, leaving the carrot tops attached inside.
The length of the carrot tops is up to you but drooping off the edges of a cupcake is not the best choice.
I made these with two green leaves each but add as many tops as you would like.
Also consider your flavour choices when buying the jellies. Sour or sweet will make a difference when eating the finished product.
I used the carrots to top cupcakes but they can go on slices of cake as well.
The marzipan will dry out over time so my recommendation would be to store them in an airtight container and do not leave them unserved indefinitely. They are still edible and drying is a good thing if liquid food colouring was used.
A simple modern update on a centuries old tradition. The shift in how cakes are decorated these days, also makes marzipan an alternate option to some kinds of fondant work. I say alternate though in truth that would be a North American perspective as it is very popular in Europe and would often be the first choice.
Although orange is traditional, remember that carrots come in all sorts of colours, purple, black, white, red & yellow. ( Maybe the orange zest coloured ones would work after all?)
Marzipan carrots for carrot or any other kind of cake, just in time for spring and a tasty way to decorate, especially if twirl top icing, so popular these days, is not your thing.
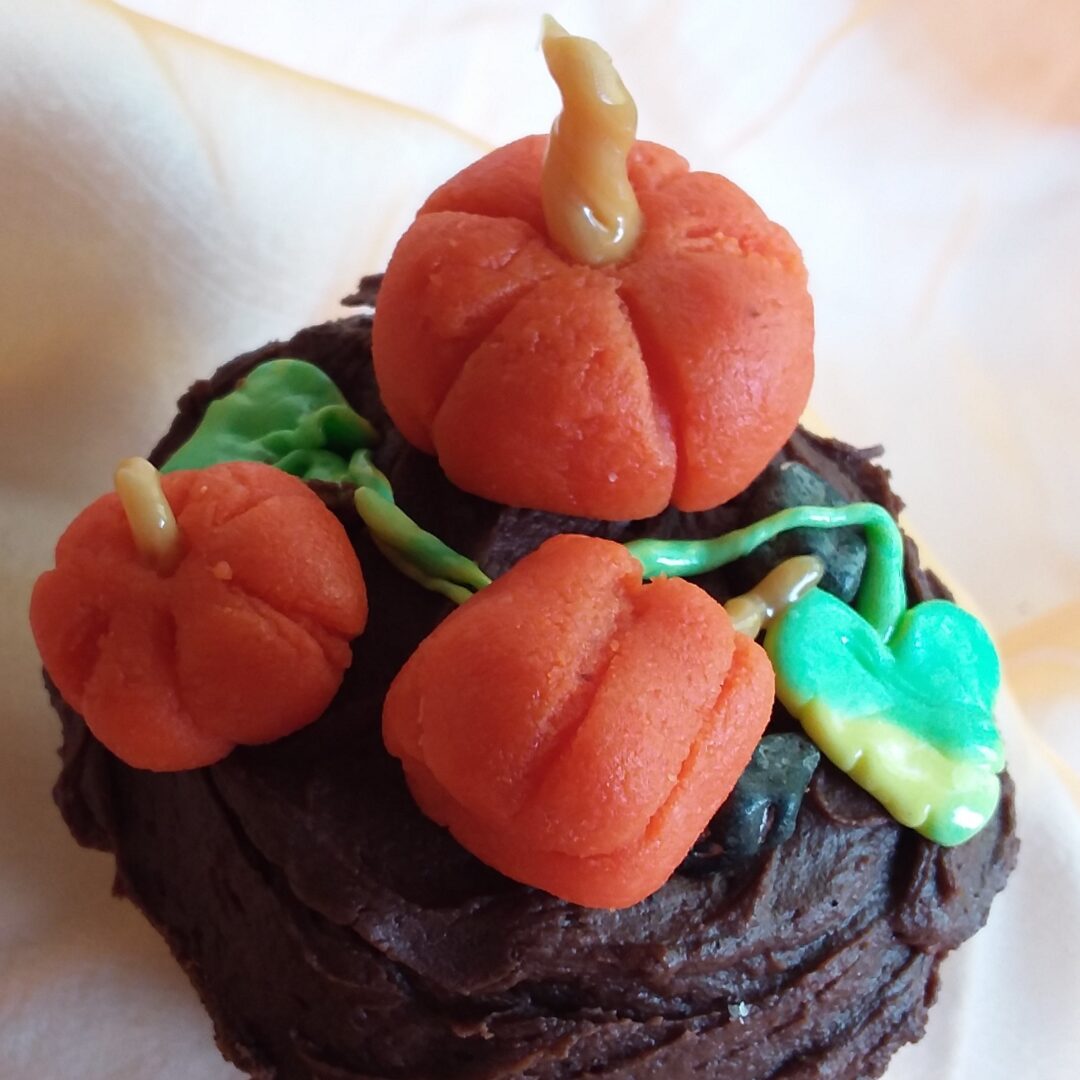
 If pumpkins are more your thing then, simply shift the shapes to something squatter and use the toothpick to create the ribs on your squashes. A Tootsie roll or one of those square wrapped caramels will work for the stem. Well twisted pieces make for the best vines. These leaves were made from salt water taffy that in real life was much more green in colour.
Marzipan Carrots & Pumpkins from My Kitchen Wand

