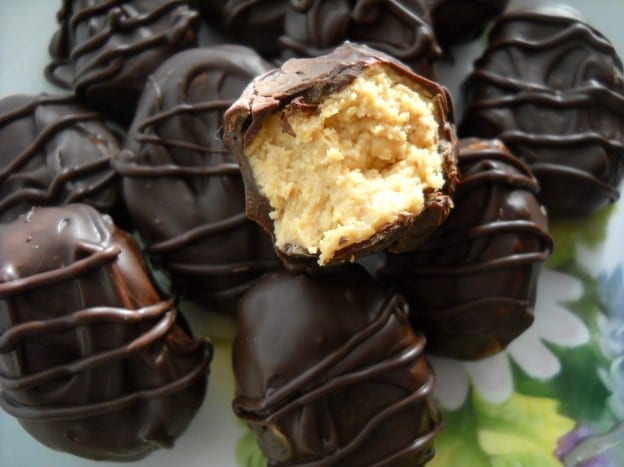
Peanut Butter eggs are a favourite kid friendly recipe for this time of the year and you can find many recipes on line. Most of them start with goodly amounts of icing sugar added to peanut butter.
Now I know it may seem like I don’t watch sugar intake if you saw the last post for decorating cupcakes but they really are intended as a treat not a steady diet. These nibblies have two ingredients only, nut butter and chocolate. I used peanut butter but almond, cashew or a mixture will work as well.
Eggs are a symbol of fertility and rebirth, the spark of new beginnings. They were given by Egyptian parents to their children each spring. Decorated Ostrich eggs have been found in Africa that date back 60,000 years. The celebration of the New Year in some Middle Eastern countries included decorated eggs and the traditional egg decorating craft of Pysanky is still popular in Poland today.
On a more practical note, eggs were on the no go list during Lent ( the time preceding Easter in the Christian calendar ) and while people were not allowed to eat eggs, hens still laid them so it is not surprising that egg dishes such as hornazo and braided sweet breads or brunch style meals are popular during Easter as the excess eggs needed to be used up. Hard boiling eggs was another way to keep them from spoiling.
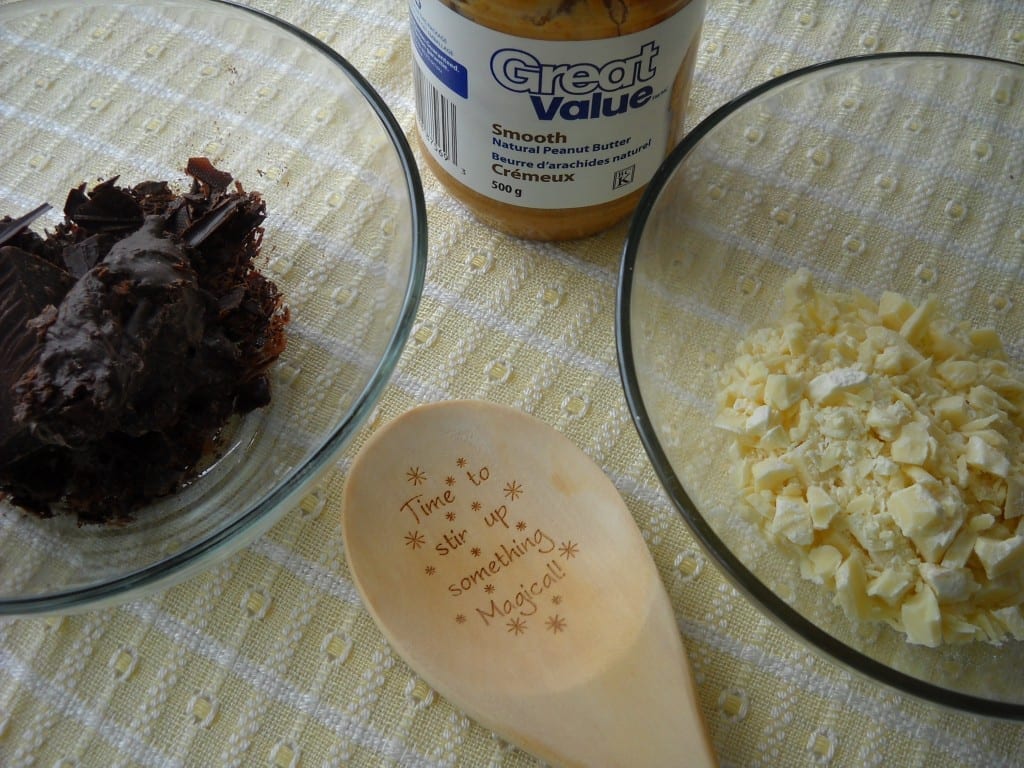
You will need:
1 part nut butter
1 part white chocolate
1 part dark chocolate
We used 1/2 cup of each of the above ingredients and ended up with 13 eggs.
Start with a moment of gratitude for the space and place within which to play, the availability of chocolate and nuts from places around the world and the good fortune of having time together.
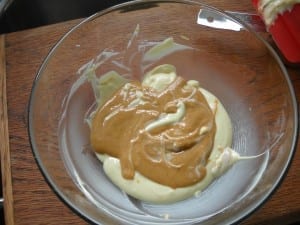 Chop the white chocolate into small pieces and melt in a microwave using 30 second blasts between each good stir.
It is also possible to put your chocolate over a bath of simmering water and while stirring constantly allow the chocolate to melt.
Add the nut butter and mix well. I used a new to me brand of peanut butter that I would not use again as it was very runny. Adding nut oil to your mixture will soften the filling so a medium to thick nut butter would be my suggestion. It is also possible to add finely chopped nuts to the mixture as well if you like your eggs crunchy.
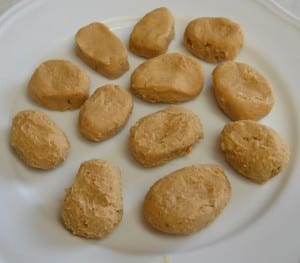 Once mixed put the bowl in the fridge or freezer and allow to cool until the mixture is firm. Get everyone to wash hands and use a final cold rinse as this filling will melt easily. Roll into balls and then flatten and pinch into egg shapes. This is supposed to be fun time so I don’t get too worried about everyone making the same size and shape.
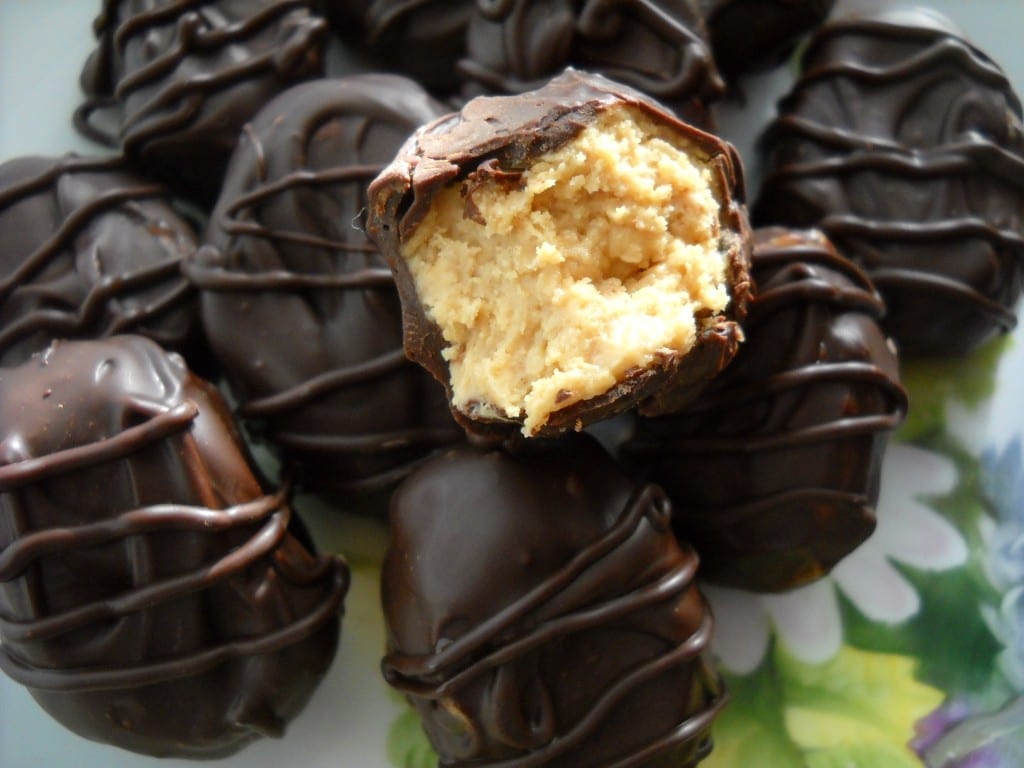
If you are the only person working the filling and if you have a small egg shaped cookie cutter, try rolling it out between waxed paper sheets and cutting. When the mixture gets too soft just pop it back in the cold for a few minutes. Put the eggs back in the fridge. You can see on the picture, the bottom eggs look a little stickier. That is because it is starting to warm up.
Repeat the melting process with the dark chocolate. If you are using a confectionery coating ( chocolate flavoured coating with no cocoa butter and therefore no need to temper ) you are good to go once the chocolate is melted.
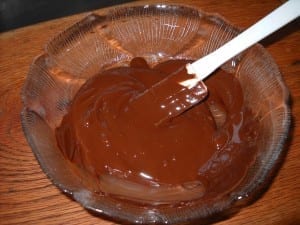 If you are using chocolatier’s chocolate ( with cocoa butter ) there are three options.
1. Temper on a marble slab.
2. Stir 2/3’s of the chocolate in a bowl until it feels slightly cool to the touch. This will take some time as there is no marble to absorb the heat. Make sure you are mixing all the melted chocolate together, not just stirring the part in the middle as the outside section will cool more quickly. Add in the remaining 1/3 and stir well. This is a modified tempering process for small amounts of chocolate.
3. Stir well once melted and store in the fridge after the eggs are finished as they will melt when picked up at room temperature. If you are only making a small amount and they will be gobbled up quickly, this is the easiest rouet.
Dip the eggs one at a time and allow the excess chocolate to drop off before placing on waxed paper to cool. ( You can shake a little to help the dripping along ). The dipping can be done with your fingers or with a fork, just ensure the eggs are fully covered.
 Start at the far edge of the paper and work your in so that you are not dripping on top of your finished eggs.
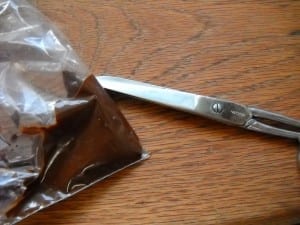
Put the last of the chocolate in a food safe plastic bag and cut a very small amount of the tip of a corner off. Gently squeeze the ribbon of chocolate coming out of the bag back and forth over the top of the chocolate eggs,
You can also do swirls and decorations but for youngsters getting the back and forth under control is a good first step.
Allow to cool until the chocolate to dry and step out of the way once you put the plate down.
The inclusion of chocolate eggs to celebrate spring began in Germany in the early 1800’s and it seems as though it is here to stay. Enjoy!
Nut Butter Eggs from My Kitchen Wand

