Winter was a time of lack. Villages survived on what had been stored away and what little edible growth could be found. There was no big box store down the road and the symbols of the season came from what was easily available on the land or in the larder.
The added egg would not have happened in years past as there is still not enough light for this to happen naturally but as it is was possible to pick up a dozen from the farmer, I like the added lightness to the dough for this special occasion.
The artistic option at the end is up to you. Freehand drawing is not in my skillset but simple designs can be accomplished and they can certainly help set the stage on a celebration table.
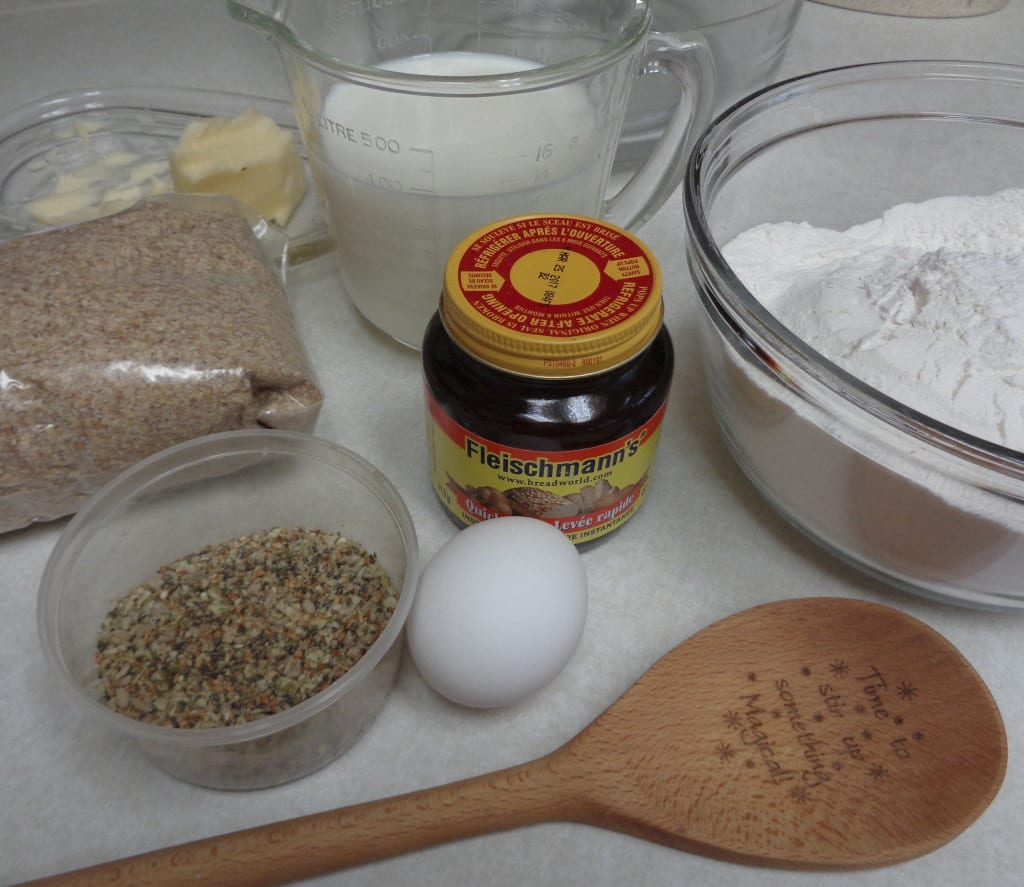
You will need:
1½ cups whole milk, 2% or whey
1½ Tbsp. white sugar
1 Tbsp. salt
2 Tbsp. butter
2 1/4 tsp. yeast ( 1 packet )
1 egg, lightly beaten
3½ cups all-purpose flour, plus more for the board
1/4 cup wheat germ
1/4 cup mixture of finely chopped seeds ( I used sunflower, pumpkin, toasted sesame and chia but use what is handy for you)
3 Tbsp. grated parmesan cheese
1 tsp. garlic powder
1 tsp. onion powder
olive oil
1 Tbsp. butter, melted
Be aware of the warmth in your kitchen. Yeast works best in a cozy environment, away from drafts.
Close your eyes and focus inward. Take a deep breath and release anything distracting, anything that take your attention from the present moment. Taking another deep breath, hold and release. Invite Brigid to your hearth, request a blessing for your home and begin.
 In a large bowl add the yeast to 2 Tbsp. warm water. Allow it to sit for several minutes to make sure that the yeast is viable. The very beginning of bubbles should be visible by the time the milk has cooled to luke warm.
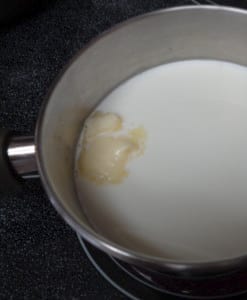
Using a small sauce pan gently heat the liquid. Do not boil. Heat only until small bubbles begin to form around the sides.
Remove from heat and add 2 Tbsp. butter, the sugar and salt. Stir while the butter melts to help the sugar and salt dissolve and then put aside and allow it to cool further to luke warm.
If you are not sure about the temperature, try holding your finger in the milk mixture for a count of ten. If that is not possible the milk is still too hot.
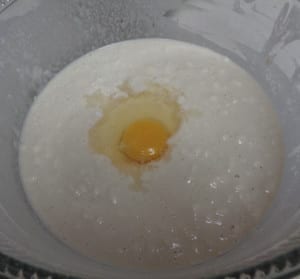 Combine the yeast with the milk mixture and then add in the egg and mix well.
Add in half the flour and stir quickly with a wooden spoon.
The rest of the flour can be added now. Use the spoon to mix until the dough comes together into a roughly shaped ball.
Knead for an additional 10 minutes. This can happen in the bowl of it is big enough or on a lightly floured surface.
Divide the dough into three even sections.
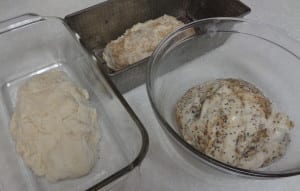 I weighed mine but you might be able to do it be sight. Into one third knead the wheat germ. Into the second third knead the ground seeds and in the third section add the cheese, onions and garlic.
Place the three sections in oil wiped containers and keeping them out of drafts, covered with a cloth, allow them to proof in a warm space for at least one hour, until doubled in size.
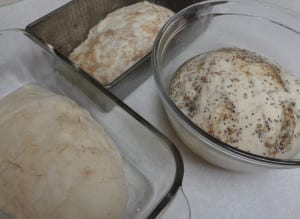 Once the dough has risen, turn each section onto a lightly flour covered counter space and divide in half, giving six pieces of dough, two of each flavour.
Using your hand roll one of each variety out into a rope 13 – 15 inches long.
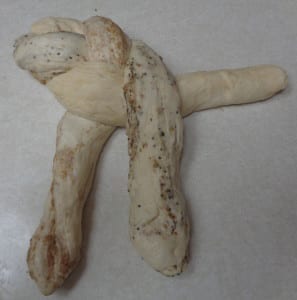
Pinch them together at the top and fold under. The next step is just like braiding hair.
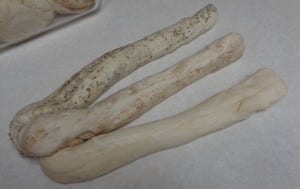 The outside rope goes over the top of the middle rope and into the middle.
First from the outside of one side and then from the outside of the other.
Repeat until all the rope has been used up.
If you find that the rope is too loose, unbraid and reposition. Tuck the ends together and under the bottom of the loaf.
 Place the loaves on an oil greased baking sheet and brush with the remaining melted butter.
Gently drape with plastic wrap, leaving it unattached. Cover with a tea towel. Keep away from drafts and allow the final rise to take place for another hour.
The loaves will again double in side.
To test the proofing, gently press your finger into the dough, about 1/2 inch in depth.
Release and watch the dough, if it gently rises back into place over the course of half a minute, it is ready. If the hole stays, it needs more time and if it immediately springs back and feels tight it is a little past its time and should be headed to the oven pronto.
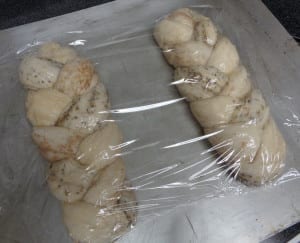 Preheat the oven to 400 degrees and when ready, bake for 20 – 25 minutes. Once golden brown and sounding hollow when tapped on the bottom. Remove to a rack and allow to sit until cool or at least cool enough to cut.
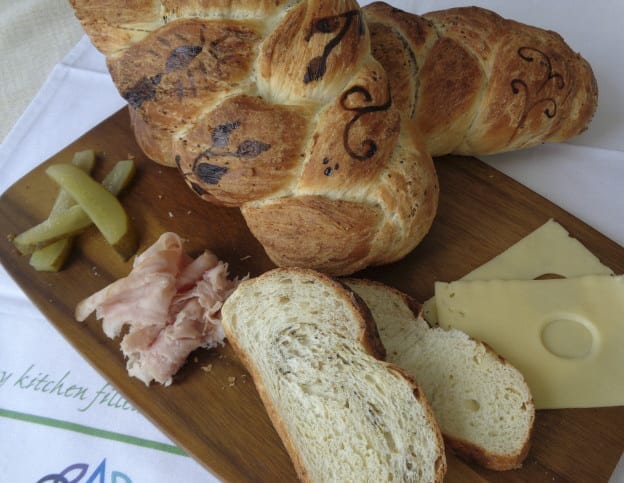
I baked for 20 minutes as it was my intention even with my undeveloped art skills to have a little fun with these Imbolc loaves.
In a small bowl combine 1 egg white and a very small amount of water with a drop red food gel and 1 drop green food gel. Stir well. Hopefully you will now have a deep brown. Different colouring kits have different intensities and they may require a little tweaking. Once you have your brown “paint” ready and with a clean fine paint brush, paint on your desired design. I used vines and candles and seeds as they are the symbols of Imbolc. The bread will be hot but if you feel the need, then pop the breads back into the oven for those extra five minutes and to set the design.
My original intention was to create three different threads through the bread that each contained the symbols of Imbolc, braiding them together to layer additional symbols of a Triple Goddess and Brigid’s connection to weaving. As you can see there was not enough difference in the ropes to separate them visually once the loaf was cut so next time I may well, add all the extras into the dough and carry on from there. With the butter browning the top is was also not easy to tell the different ropes from the outside. In the end it didn’t matter one iota. Light and fluffy on the inside with a crunchy crust. The bread was sooo yummy, that all the things I was fussing about did not matter. It disappeared into people tummies without any extra thoughts.
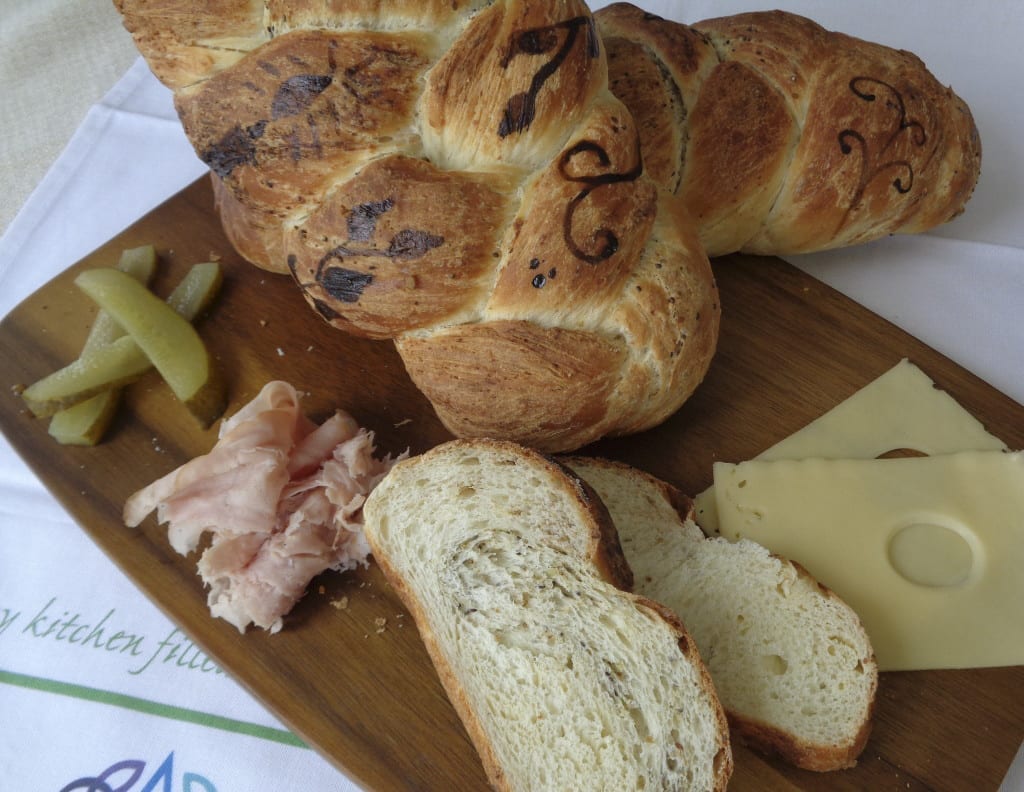 Painted Imbolc Bread from My Kitchen Wand

