Welcome Back! Around the world and through recorded history, people have attempted to organize their stories. We watched and recorded to know where in the cycles of the seasons we were. How long before the first snow fall? When might the earth be ready to plant? How many more sleeps before Saint Nicholas comes?
From those observances came calendars and we have been through many in our history. Right now, there are over 8 other calendars in use, some only for religious purposes but more often they are a blending of the sacred and mundane. In the Celtic Calendar there are 4 Solar Festival Days. These are the Solstices and the Equinoxes. The times we here in North American use to say the seasons have changed. The Festivals between these days are Fire Festivals and they include Lammas/Lughnasa and days more readily recognized as Hallowe’en, May Day and Candlemas. All eight Festivals have a connection to fire as they recognize the relationship we have to the big ball of fire that keeps us alive, giving heat and light to the thin crust of dried lava we live on. In England, community bonfire traditions are sourced from a time before the written word.
For our Lammas tea, a smaller amount of flame is in order. Now it is possible to drop by the local dollar store and pick up something but I have been a professional chandler for 15+ years so I am going to drop by my “bits and pieces box” and see what I can find instead.
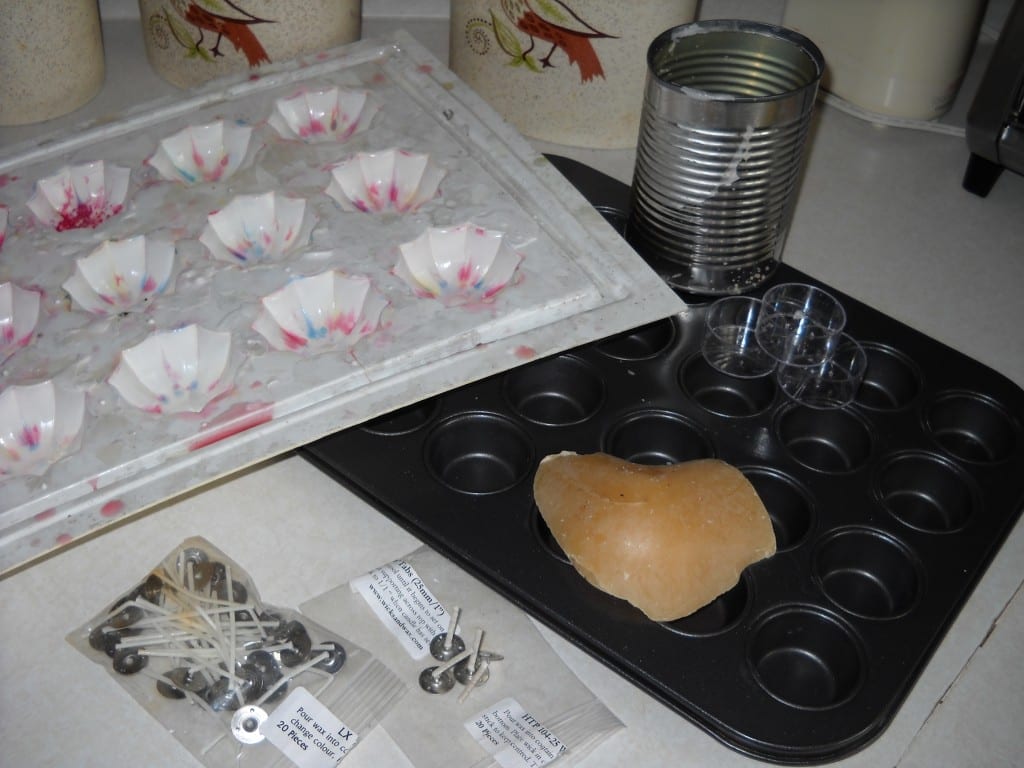
You will need:
A mold of some type ( I will share more below )
Wax of some type ( Again… below )
Wick of the right type for the wax you have chosen
I am going to make very simple floating candles and although I have floater molds, I thought today I would use something simpler as not everyone will have candle molds sitting around the house. Most people though will have one of few other things; empty T-lite holders, mini muffin tins, heavier duty individual yoghurt containers. All are options and any chandler who is willing to be honest will admit to having raided the kitchen for equipment.. If you want to use a regular size muffin tin, that is also possible, just know the wax will not melt to the edges unless you use a bigger wick size.
All wax floats. All candles are, by definition, floater candles. It is just that a taper or pillar candle will float on its side and be of no use at all, as a candle. Effective floater candles are candles that are wider than they are deep. A t-lite shape will work well, but not a votive shape. Mass produced t-lites and other candles are usually made by crushing sand size pieces of wax together into a mold, drilling a hole afterwards and popping in a wick. These candles will not work for us as the water the candle will be floating in will extinguish the flames by coming up the space between the wick and the t-lite.
By making your own, they will be waterproof and burn longer as there will be no air in the wax: it is a great way to recycle small amounts of left over bits and pieces and as the wax is reforming its’ crystals you can apply the work of Masaru Emoto and share the Love.
Masaru Emoto wrote a book called The Hidden Messages in Water. In the book, he documents the changes in the crystalline structures formed in the cooling process. Showing that the feelings directed at the water as it cooled changed the shapes of the crystals formed. Wax is also a crytal structure, as is chocolate and during my candle making years, I very often put on music or hummed while the wax was cooling, focusing on the purpose for which I was creating the candles, not so different from the monks in medieval monasteries. You can do the same.
You will only need about 1 Tablespoon of wax per t-lite candle, a little more if you choose something wider to put your melted wax in. Now if you have no left over bits then, there are 3 choices, beeswax, soy/vegetable wax and paraffin. Check with your local supplier and if you don’t have one go to wicksandwax.com.
Each variety of wax will need an appropriate wick for the wax. A paraffin t-light will usually take the smallest wick possible ( something like an LX 12 ) and a beeswax t-lite of the same size, the largest ( LX 20 ). Your supplier may purchase from a different wick manufacturer so just let him know the diameter of the candle you are making. If you are using soy or recycled wax, this is a simple melt and pour process. If you are using beeswax or paraffin you will need some additives ( polybar and mold release ) to help stabilize and release the wax when cooled from your mold.
My wish is that you not empty your bank account to make a few candles, so I am going to keep this simple. If ease is the focus go with a soy pillar wax. If the highest level of negative ions released when burning is the determining factor then beeswax is the answer, additionally the most expensive. If cost is the criteria, then paraffin is the way to go.
One sentence and I will get off my soapbox. In past years, there has been a shift to soy wax usage as a way to be green. The amount of deforestation happening in the world in order to grow soy beans makes it questionable that a proper cost/benefit ratio is being achieved. I’m stepping down now.
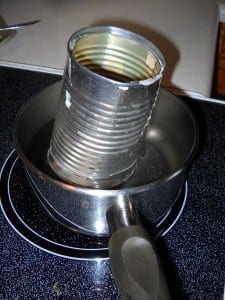 You will need a container to melt your wax in and for small projects like this, I find a used tin can does the job just fine. I squish it together to form a spout and am good to go. Put the wax in the tin and the tin in some water. It is never a good idea to apply direct heat to wax, it doesn’t boil like water to let you know it is getting hotter and will melt around 145 degrees depending on the wax. Melting it in water makes sure the wax never gets too hot. which is good as at about 350 degrees Fahrenheit the wax will start to smoke and eventually burst into flame.
You will notice that the tin can is tilted that is because there is such a small amount of wax in the container that it is floating. You can reduce the amount of water in the pan, add more wax, or just pay attention that is doesn’t tip over. Water and wax don’t mix!
Heat the wax gently until all the bits are melted. Different waxes have different best pour temperatures and I don’t want to turn this into a journeyman’s thesis on chandling. So we will go with “watch until all the wax is melted and pour into molds”, carefully. I put a pan under the molds. The wax can be easily cleaned but the dyes can be an issue on counter tops, so protect your surfaces.
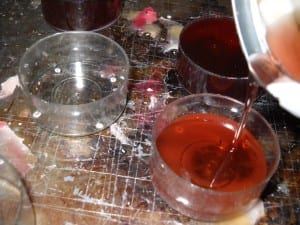 I am using a combination of left over beeswax and soy wax from other projects ( Yes, you can combine waxes.You will also need to adjust the wick size ). The colour is coming from the beeswax. I am choosing not to scent these candles as they will be on a table with lots of other aromas.
Taking pictures with one hand while pouring wax with the other…. not advised. Fill wax right to the top of the t-lite mold or about 1/2- 3/4 inch in the muffin tins or yoghurt containers and once completed, place wick in the center of the molds.
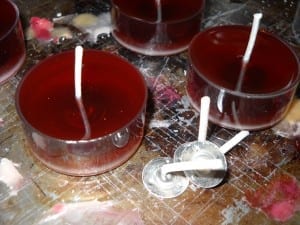 The wicks may move or tilt. Just recenter before the wax cools and hardens.You can see that the wax is already starting to cool by the light coloured line at the bottom of the molds. As the wax hardens it will shrink a bit, so expect a bit of a dip around the top of the candle and once the candle is solid and cool it will release from the sides and can be pulled out. If you do this too soon, while the wax is still warm, it is possible to pull the wick out.
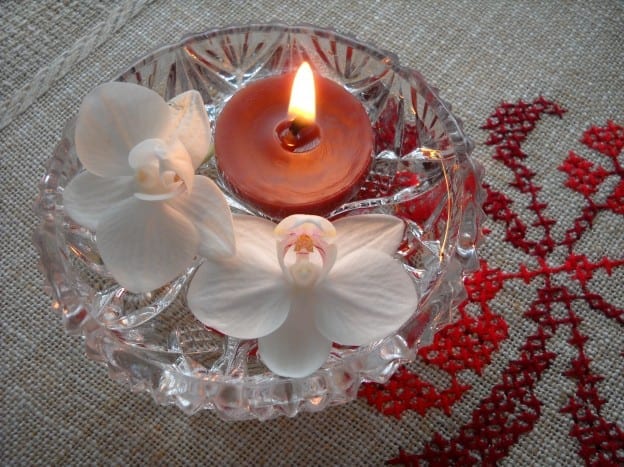
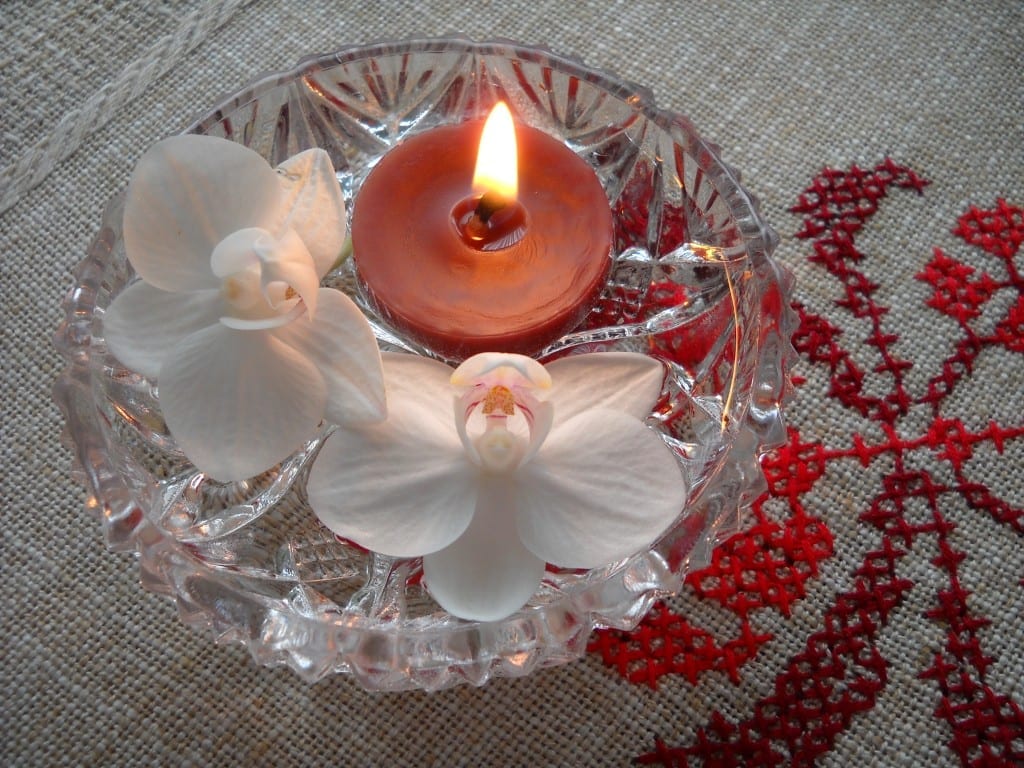
Allow all newly made candles to sit for at least 24 hours before using them so that the internal structure can stabilize itself. My plan is to find some flowers with the colours of Lammas, a little closer to the day and to put them in a low open glass/crystal bowl with all the candles but for now I thought we still needed a product shot.
Whichever way you choose to go… making your own, pulling from in home stock or buying candles you will need an open flame on the table to activate the invisible ink we will be making next time.
Lammas Floater Candles from My Kitchen Wand

