

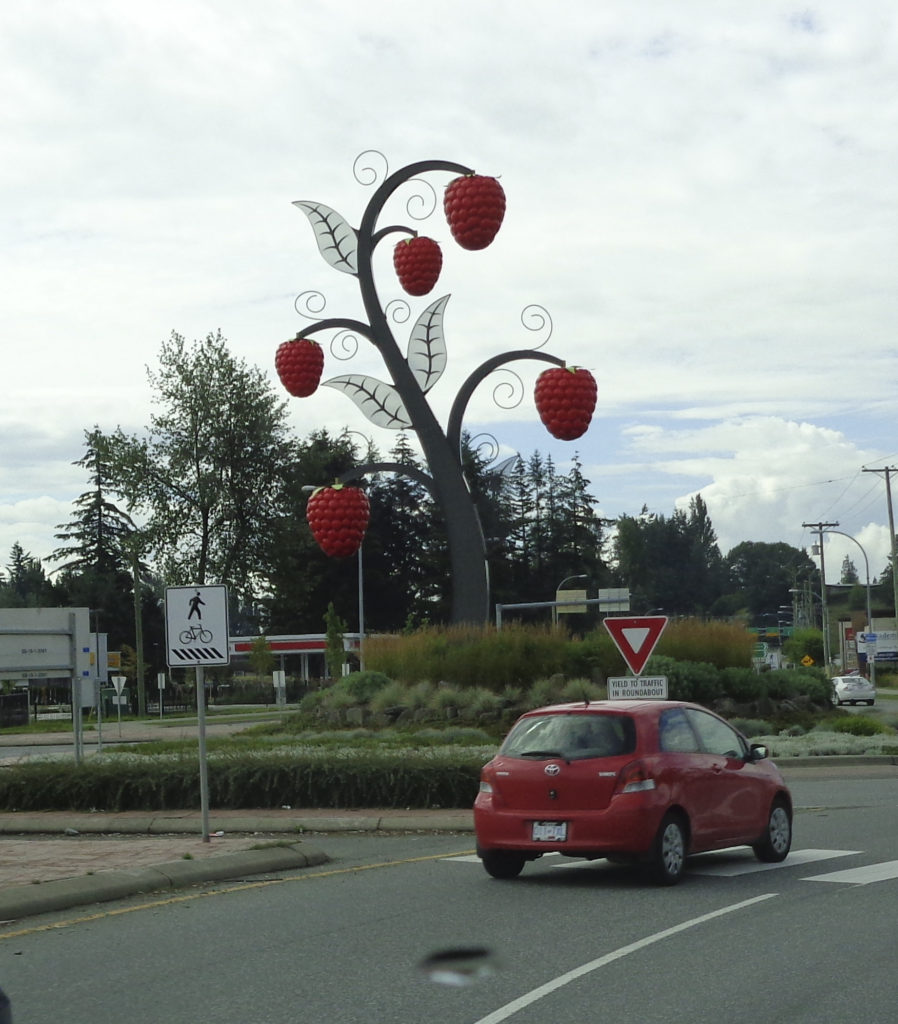
 I mentioned in a previous post that Abbotsford, B.C. is berry growing territory. During the season the roads take a little more patience and public art honours the work done in the fields and the benefit berries bring to the local economy.
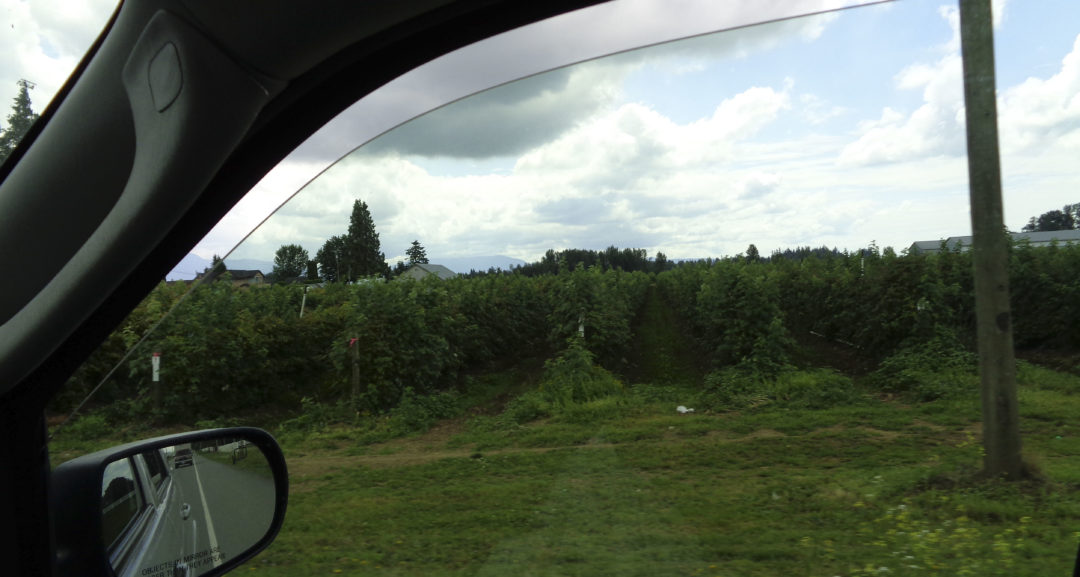
There are also the many people here who have a row or two of their own canes so that when the berries are at their very best, that flavour can be enjoyed and preserved for the coming year.
Preservation is not a new concept. There is evidence that food gathering and it’s inevitable question of what to do with any leftovers has been addressed for many thousands of years.
 Probably one of the first methods used was drying. The sun evaporated the water content of fruits and meat, making them a poor place for food spoiling bacteria to live. Smoking also stoped bacteria from finding a healthy environment.
There were two ingredients that, when added, protected food, salt and sugar. Through osmosis these two additions halted the growth of all those “bad” little bugs. They also had a big effect on the finished taste of the food they were combined with.
Preservation was tremendously important. Tribes and villages lived and died by their ability to feed themselves. In Britain during the 1700 and 1800’s, the wheat crop would typically fail one out of four years. Having food to get people through the winter was imperative.
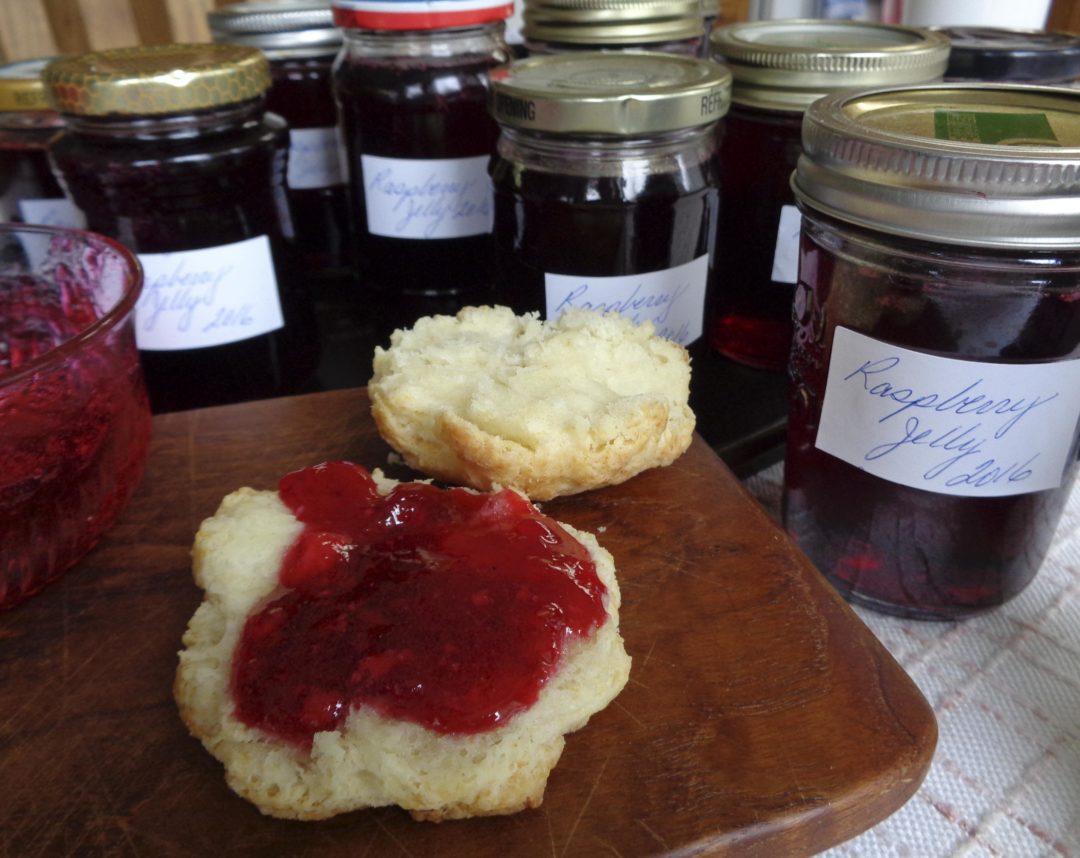
Today fruits are generally preserved in sugar, through jams, jellies and preserves that keep the flavours of spring and summer easily available until next year’s crop is ready. Jelly has an additional step that is not really needed but spoonfuls ruby red deliciousness are always worth the time.
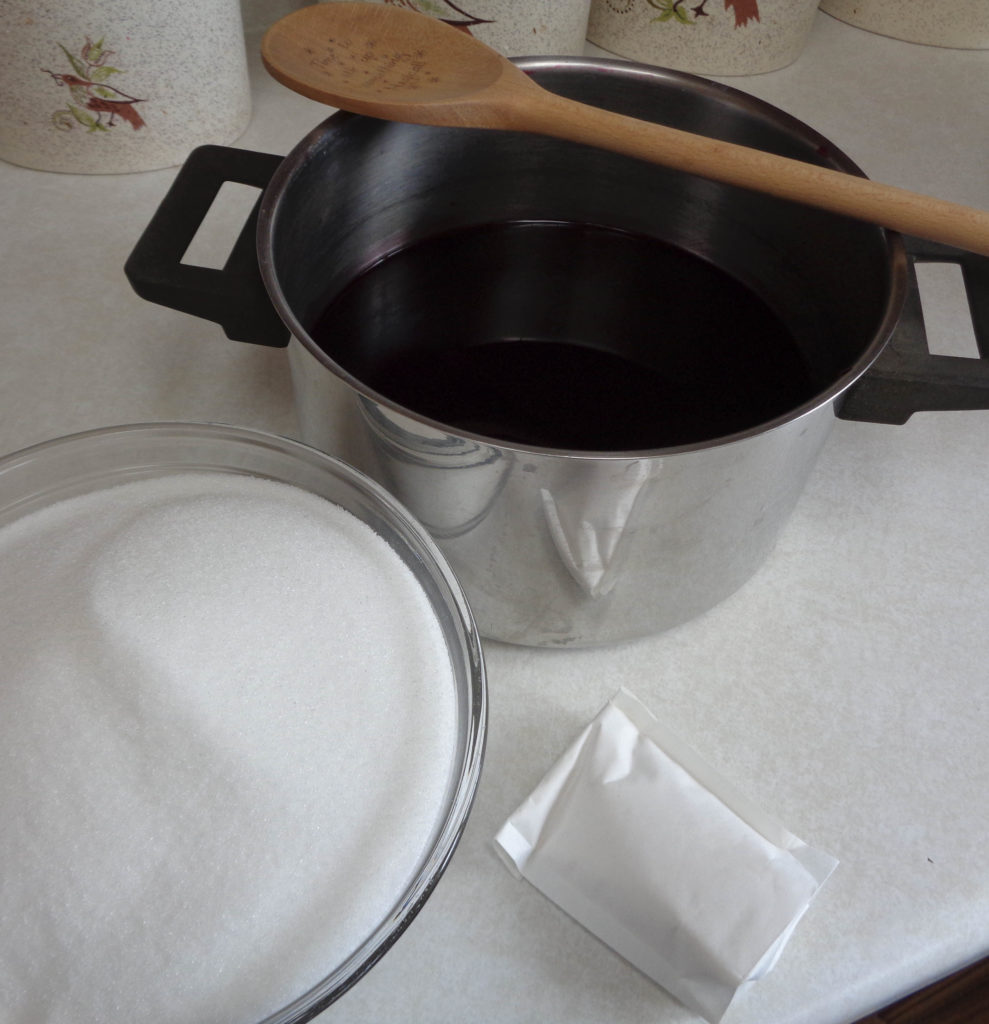
You will need:
4 cups fresh raspberry Juice
5 1/2 cups sugar
1 box Certo
Release the nigglies by taking in a deep breath, holding and releasing. Repeat if needed. Preserving requires a bit of concentration. Letting go of things that are bothering you is valuable. Washing your hands and visualizing the nigglies running off your fingers and down the drain can also help. Bring your focus into the present moment. “In my Kitchen, filled with Care, I Welcome, Earth, Fire, Water Air“.
“To 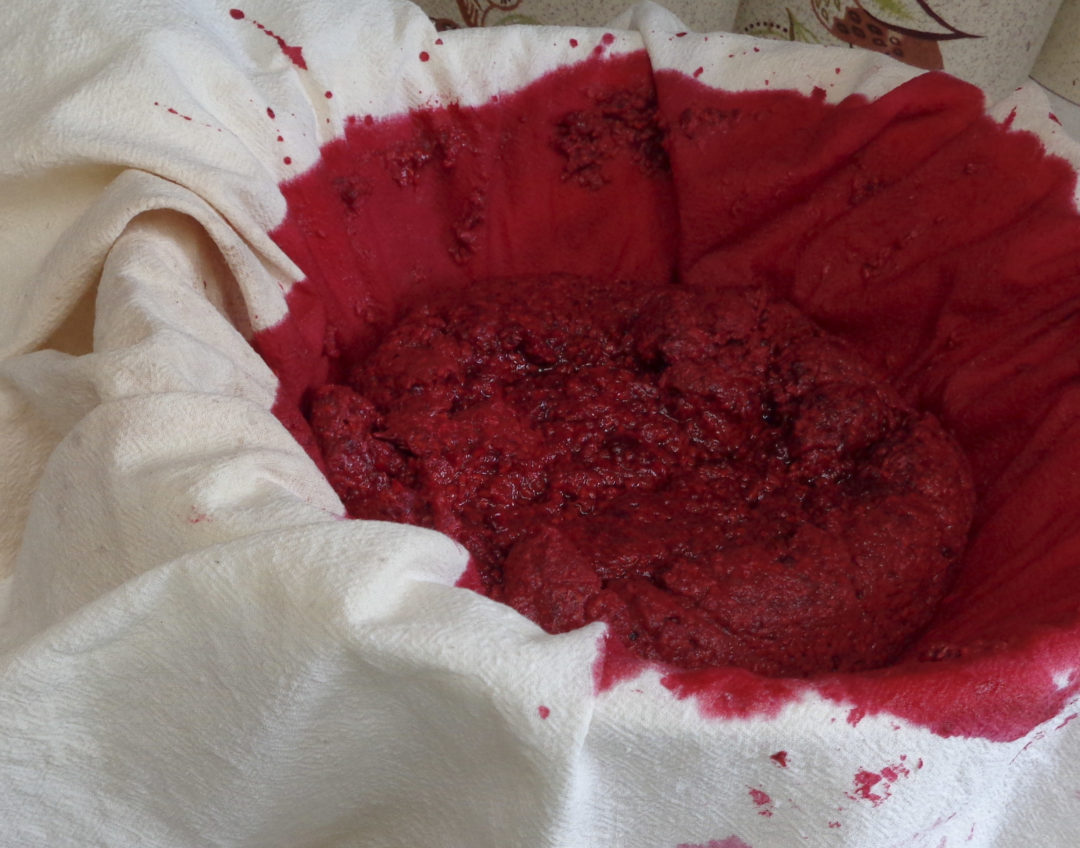 create the juice you will need, squish the fresh berries one layer at a time and place into a sieve lined with several layers of cheesecloth or a piece of unprocessed muslin that is sitting over a bowl. Allow the juice to drain through the cloth.” are standard directions. They will work. This time however, I put the berries in my Nutribullet; pulsed until the fruit was broken down and then transferred to the sieve.
From 10 cups of fresh fruit should come about 4 cups of raspberry juice. The riper the berries, the more juice you will get. If there is not enough juice to reach four cups, top up the last 1/2 cup with water.
 There is debate amoungst jelly makers as to whether squeezing the material containing the crushed fruit is allowed. The choice is yours. No squeezing will give you clearer juice and probably not as much liquid. Squeezing will get out the last of the liquid along with more of the cell structure of the raspberries, making the juice cloudier. From my point of view, which is in no way written as law, if I am going to make cloudy jelly, I might as well make raspberry jam and save myself this first step. As in all things, the choice is yours.
It will take several hours for the fruit to drip.
 As it gets to the end and you are reaching 4 cups, begin to get your jars ready. I collect the jars and re wash them before putting the wet jars on a cookies sheet and placing them into a 250 degree oven.
When I have the foresight and can pop the jars in the dishwasher that will be ending a cycle about the time I need the clean jars I go that route.
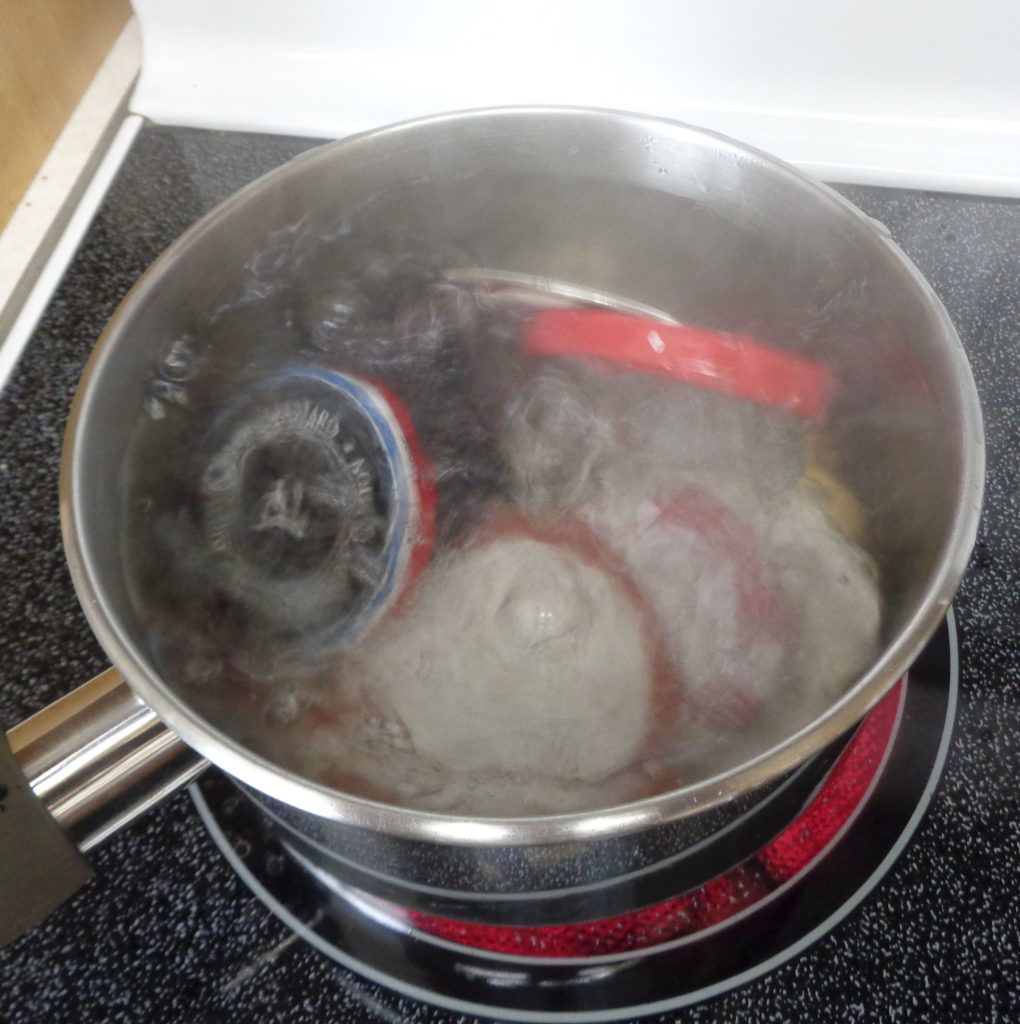
Place the lids for the jars in a small pot, top with water and place over medium heat to bring to a boil while the jelly is being cooked.
Boil for at least three minutes. I know some people who just heat but I find I have fewer jars that do not seal when they are in the water longer.
 In a big pot combine the juice and the pectin crystals. I used Certo as that is the local, easy to find option. If you are feeling adventurous, making your own pectin from apples is also and option. It will require some pre planning and is an art as much as it is a science, but fun.
Some fruit juices need a little extra lemon juice.
Not raspberries but if you are switching things up, please read the specific instructions for your fruit of choice that come with the pectin.
Bring the juice and pectin to a boil on high heat.
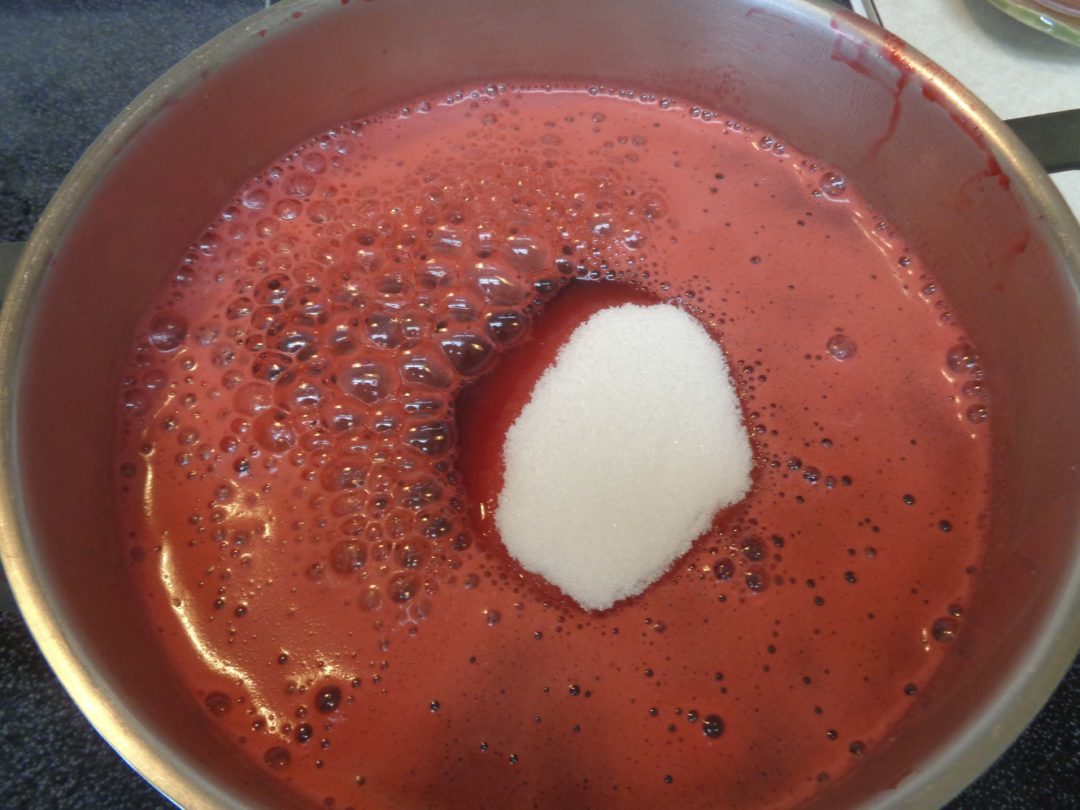 Once a boil has been achieved, add the sugar.
Stir well and then return the pot to the heat.
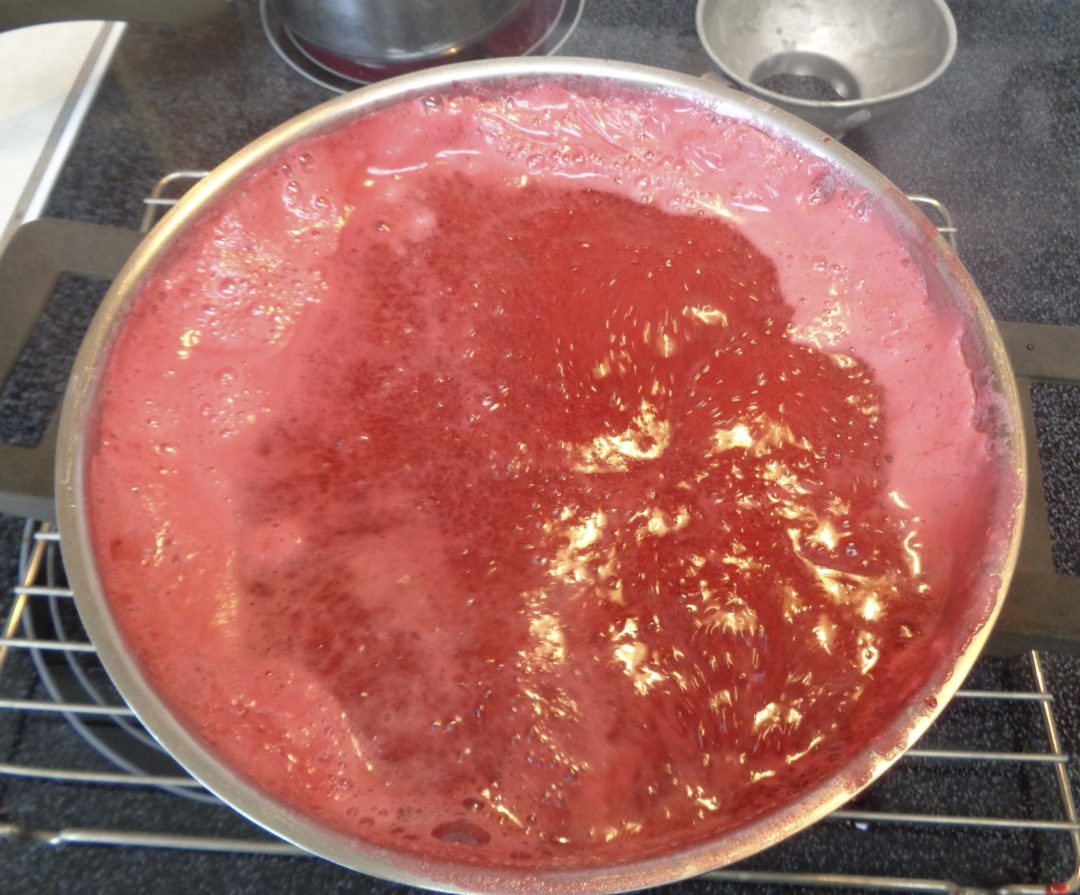
Once the jelly mixture is boiling, keep it at a full boil for 1 minute.
The mixture will expand as it is boiling so do not walk away.
Keep an eye on the mixture and lift off the heat if it looks like there might be adventures to avoid, like the one about to happen below.
 Once the jelly has boiled for the full minute, remove the pot from the heat and stir for about five minutes.
My grandmother used to add 1/2 tsp. of butter at this point. She said it helped with get rid of the bubbles.
Keep stirring.
Skimming off the bubbles is another choice. The purpose of skimming is to have no bubbles at the top of the jelly jar. Something that will get you extra points at the fall fair.
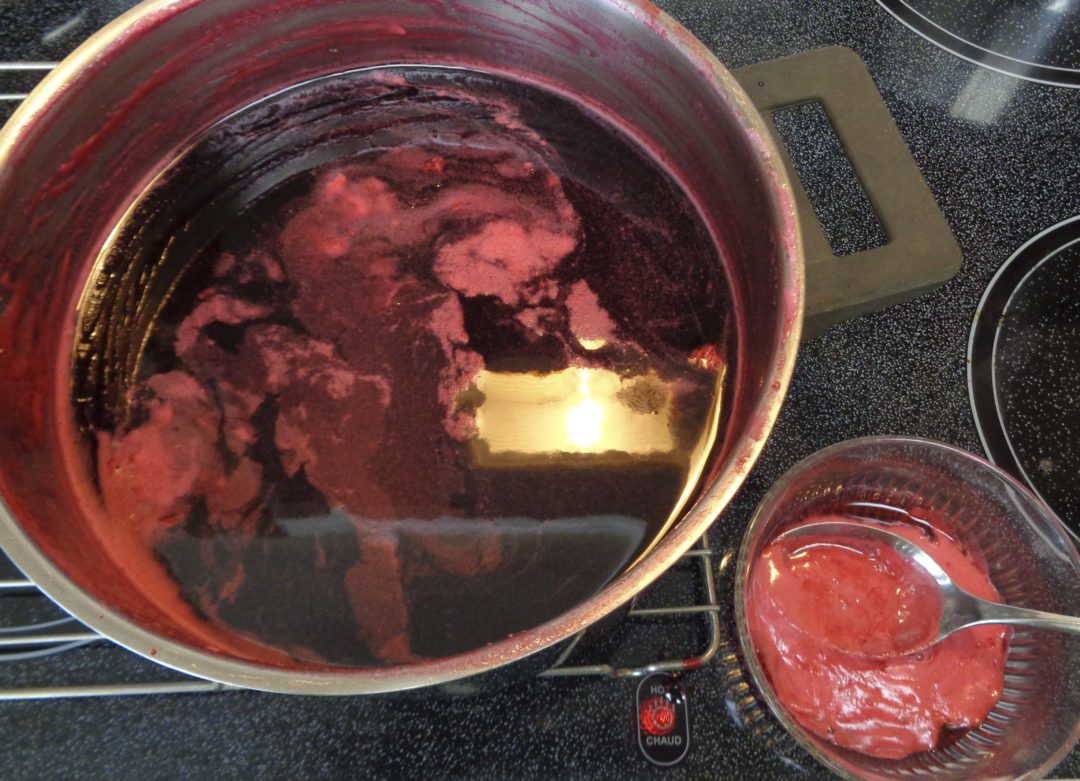 Skimming off the bubbles into a side dish for first tastes is one option.
Pouring some into each jar and calling it by a special name such as the crowning jewel or jelly clouds is option two.
Again your choice.
Remove the jars and cookie sheet from the oven and place near the jelly.
Transfer the HOT liquid to the jars, leaving 1/4 inch from the top of the jar and keeping the tops clean. Wipe the edge of each jar and secure the proper lid to the jar.
 If the jelly bubbles up when poured into the jars it means the jelly has been sitting and cooling for a bit longer than is good for the jars. Pour slowly so as not to crack the jars.
As the jars and jelly cool, the sealers will pull down and during the next few hours you will hear the snapping of the lids as they seal. This is a good thing. When cool, check the jars and if there are any that have not sealed properly, store in the fridge. Use first. Lable and store the rest in a cool dark location.
 This style of making jelly with fresh first press juice will give you the clearest truest raspberry jelly.
However it is also possible to stretch the value of the raspberries by heating the mixture up again and adding a little more water to the seeds and pulp that are still useable. I boiled up the mixture with added lemon and orange zest and star anise. The second press is not as strong in raspberry flavour but I have 4 additional jars with a nicely different flavour that will work well as Yule gifts this winter.
Raspberry jelly is not the most economical jelly to make, even when you live where the berries are grown but a batch like this will last for several years and you are not likely to find anything close on a grocery shelf.
And isn’t it nice to be able to say you made it yourself when serving up hot buttered toast or fresh baked scones? There is something really satisfying about going to your pantry and taking your clear, sparkling, delicious jelly off the shelf.

Raspberry Jelly from My Kitchen Wand
