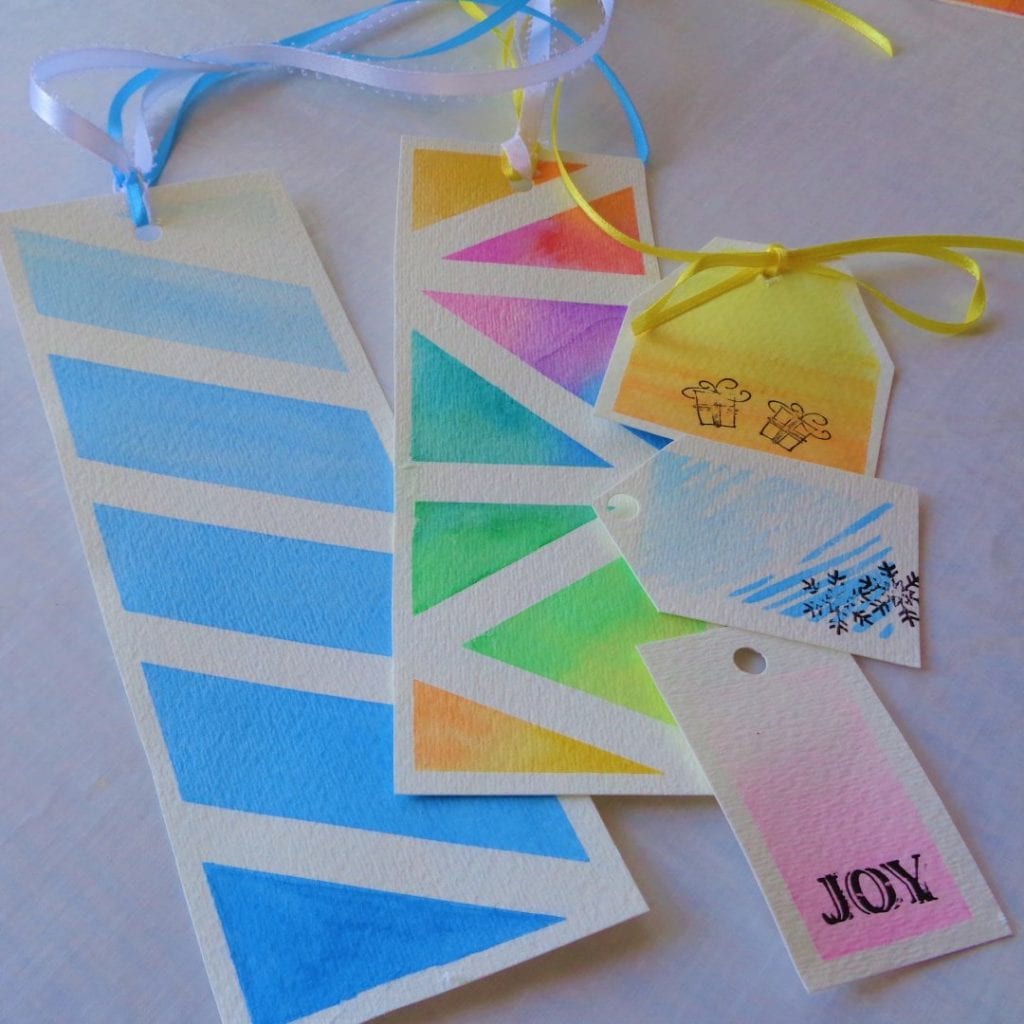
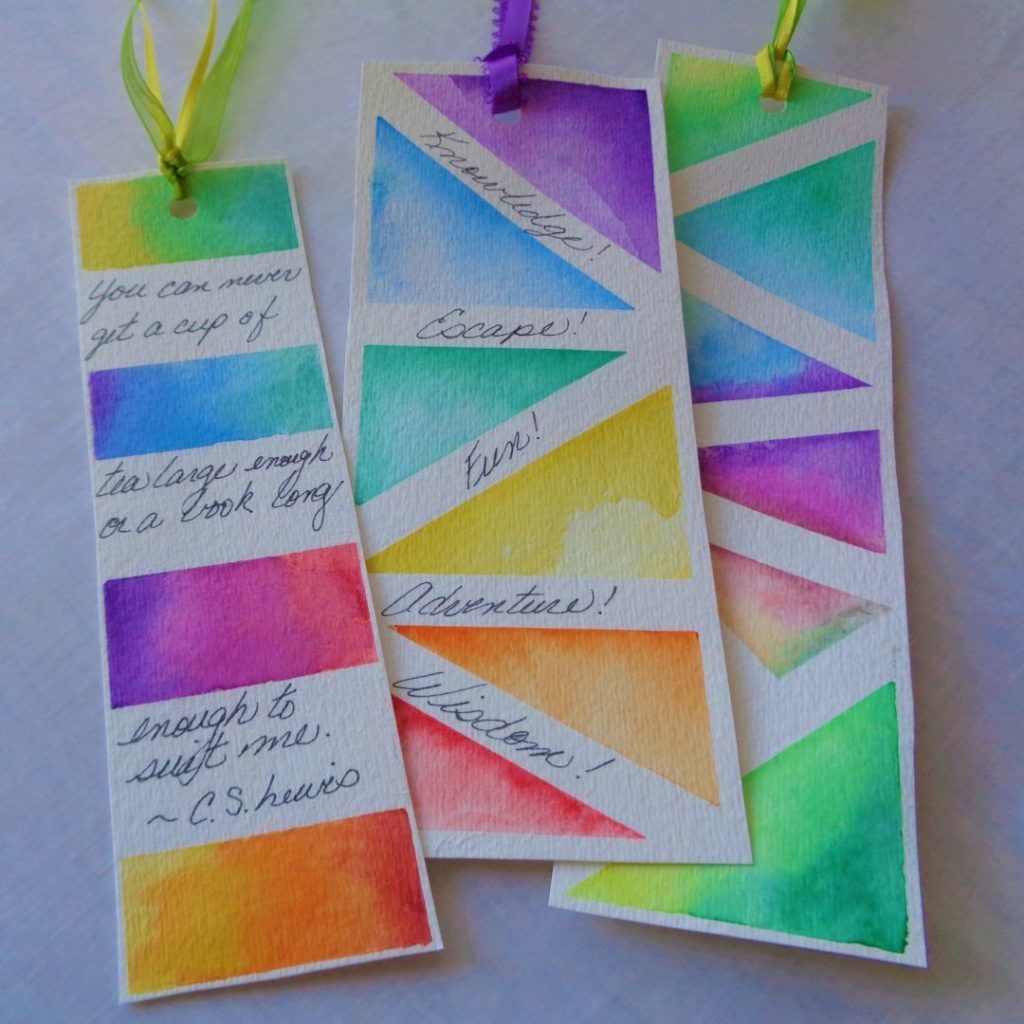
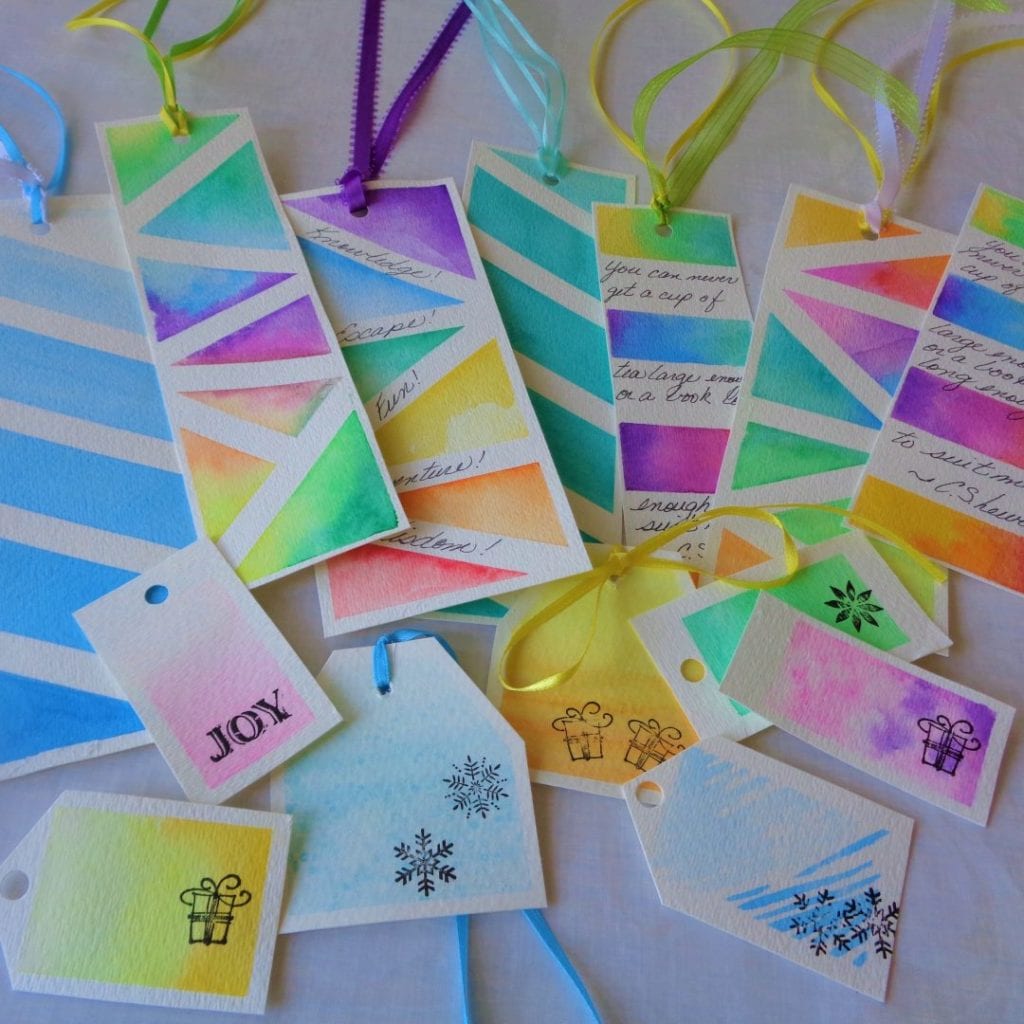
This post is for those who do not consider themselves artistic and would never even think to pick up a paint brush.
People like me.
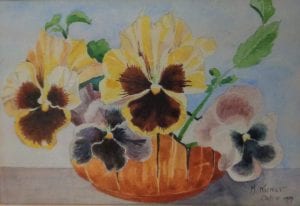
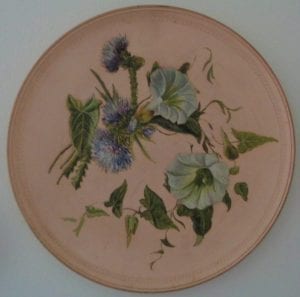
My mother, grandfather and great grandmother were what I would consider artists. They could transform a blank page or object into lovely, detailed and colourful beauties.
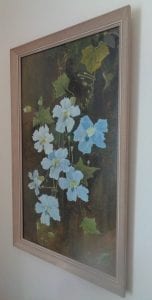 I am more creative. I can put things together but DO NOT ask me to draw an apple or a straight line.
This past Christmas, though I got to thinking that maybe I was missing out by closing off an opportunity without really experiencing what might be possible.
I think we all do that at one time or another. Someone may have been critical of a first attempt, funds were not available for a teacher, a choice had to be made between two or three paths. There are many reasons we leave possibilities behind. If we are lucky we can take a second look.
I headed off to the craft store, purchased a child’s set of watercolours, some watercolour paper(with my 50% off coupons) and brought my treasures home.
I am going to share what I made because January 31st is “Inspire your Heart with Art Day” and that is how I felt by the time I decided call it day. Additionally, in February, in Canada, is Family Day. The intention being that families spend time together doing things they enjoy. A couple of hours around the kitchen table playing together is quality time.
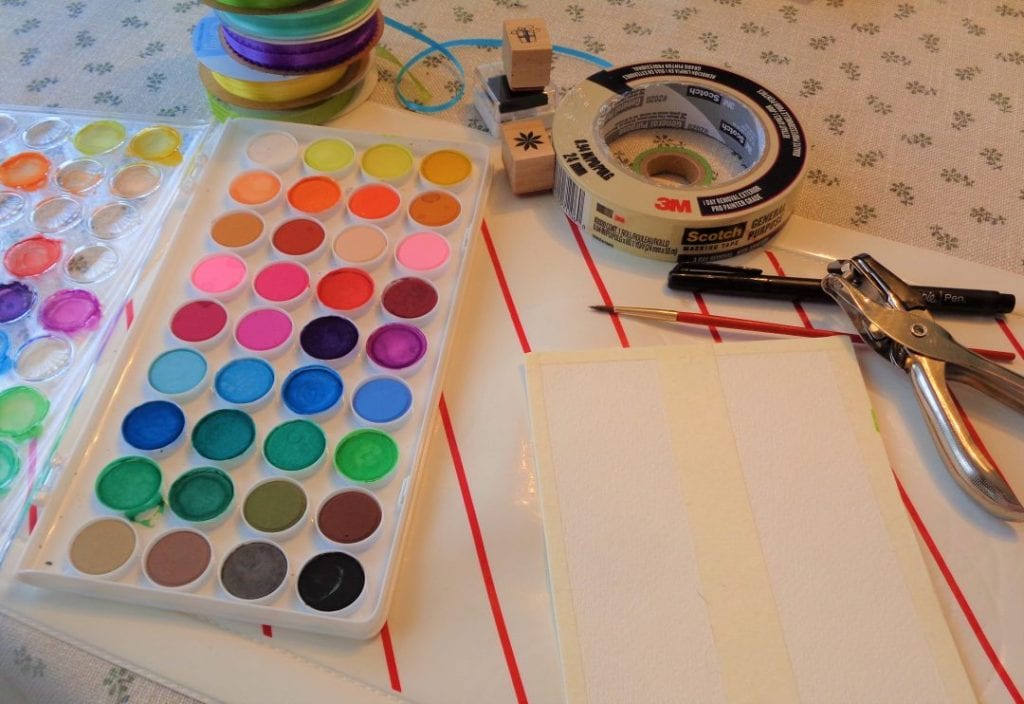
The watercolour set I purchased was the basic house brand at the store. It even came with a paint brush. With the coupon it was $3.50 Canadian and will last for years (if I use all the colours evenly). There are many different qualities of watercolours. The more expensive ones generally have more pigment in them but I was only putting my toe in the water and was very happy with these.
The more costly supply was the watercolour paper but with specials I was able to get a medium quality block for about $10.00 Canadian. Regular paper will not work as it is too flimsy and will not absorb water effectively.
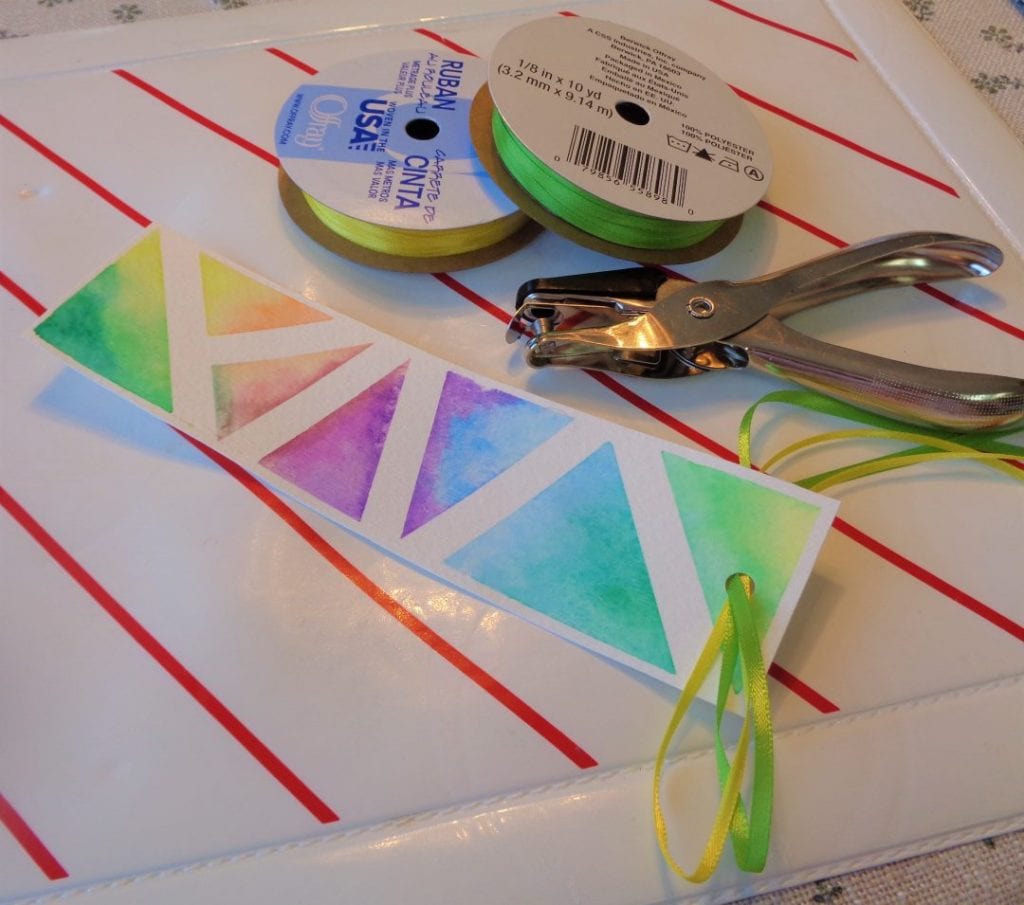
I had at home, masking tape, hole punch and ribbon, plus a fine tipped pen and two small containers for water. Knowing I was nowhere near creating something to be framed but still wanting some finished products, the decision was bookmarks and gift tags.
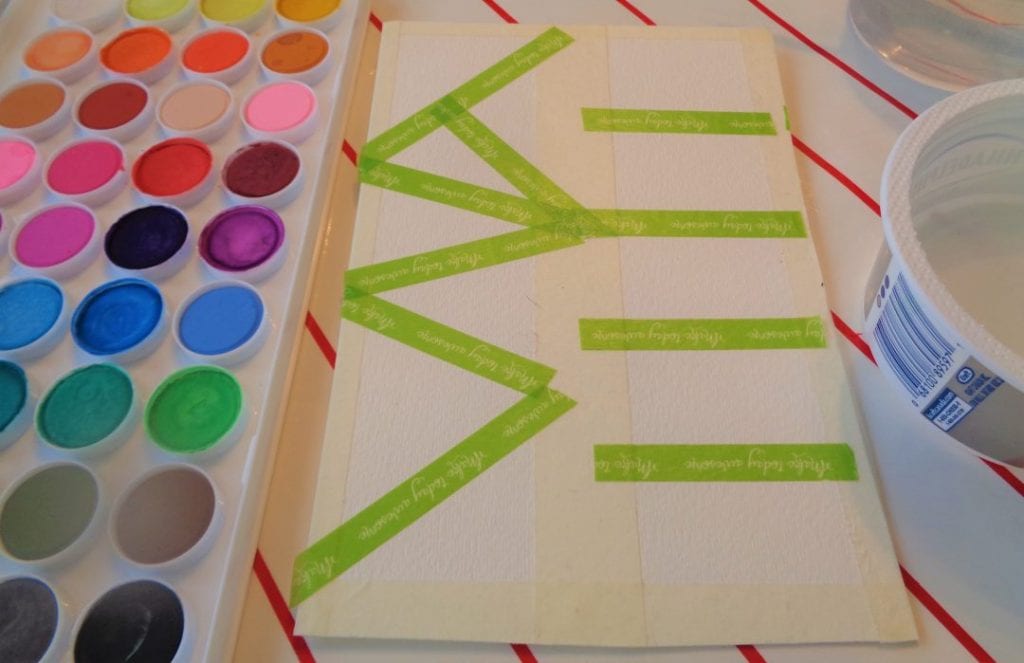
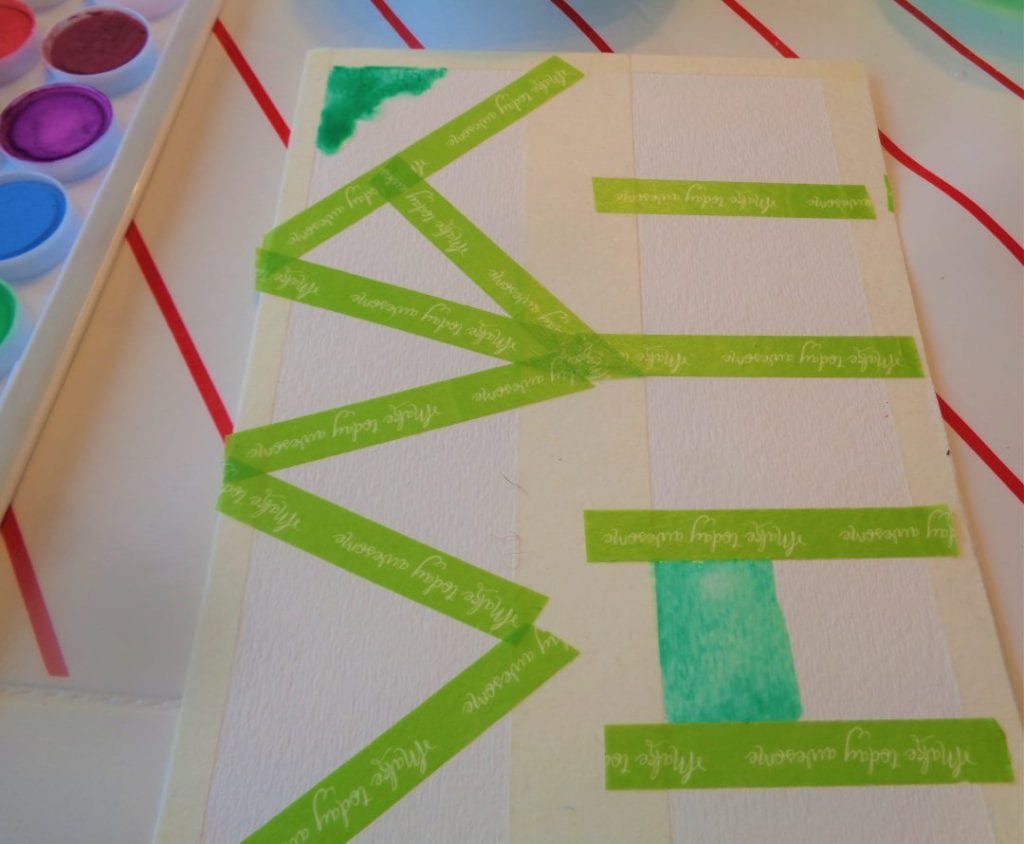
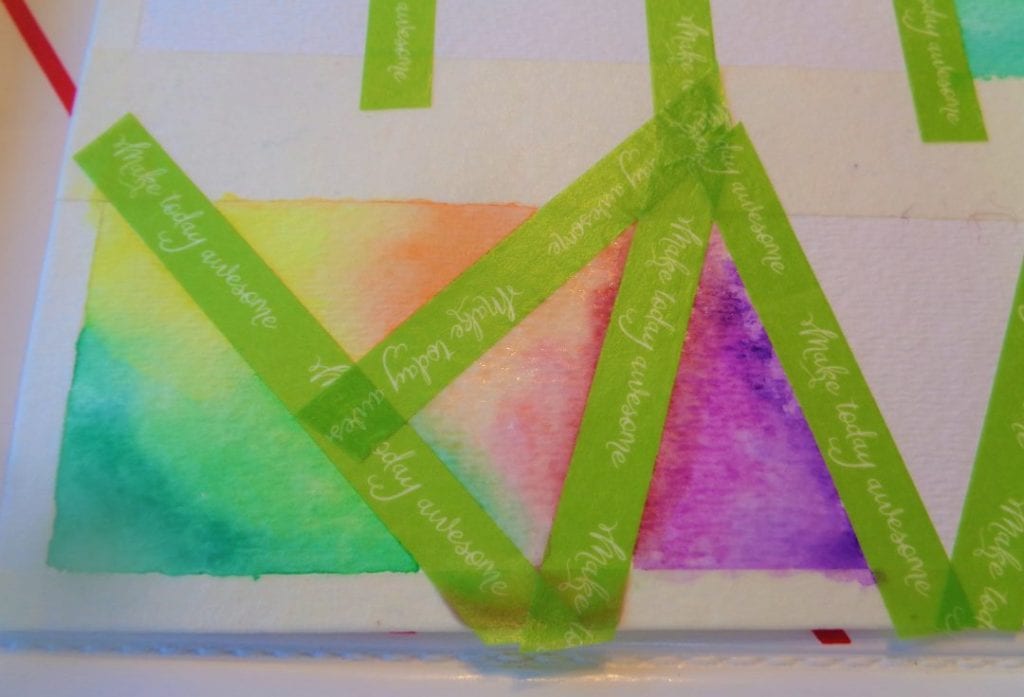
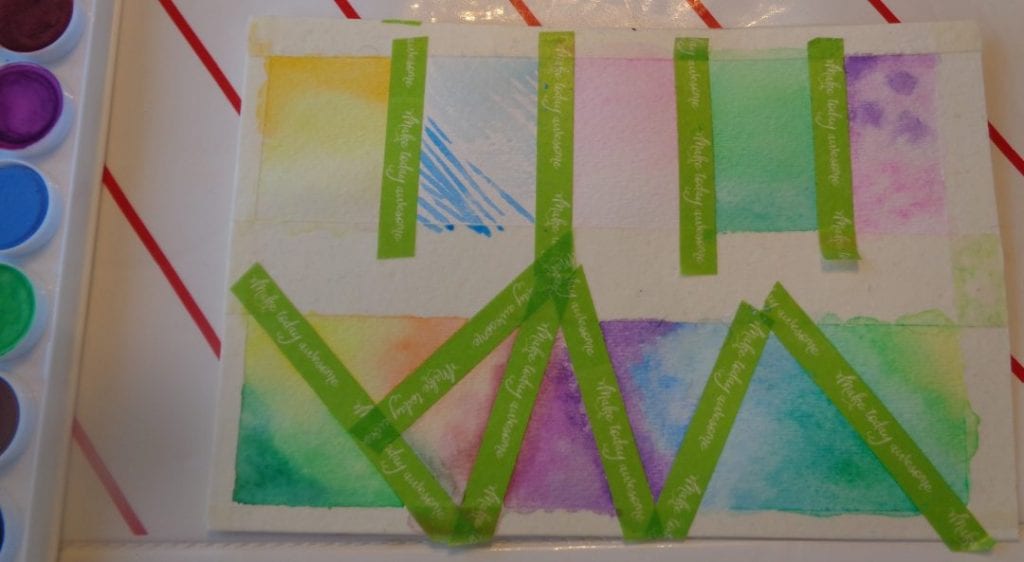
I remembered someone talking about keeping the edges clean with masking tape, so I divided the paper down the middle and around the edges with a full strip of tape that might be hard to see in the picture above. I wanted the inside strips to be narrower and splitting the masking tape was not working for me, so back to the store for washi tape (on sale for .50 a roll).
Tip: These pictures are not of my first time around and I damaged the paper when taking the tape off the first time as it was too sticky. A solution is to press the tape onto something with lint a couple of times before placing the tape on the watercolour paper. You might need to pull off a couple of small threads that are in the space that will be painted but the tape then has enough stickiness to hold back the water and the paint and still come off nicely once everything is dry.
Ensure you have two small containers with fresh water, ready to go. The first one is for washing the brush out and will get the dirtiest. The second one is for painting the section of paper you are planning to work on BEFORE the actual wet paint goes on. This is a two step process:
Wet the paper.
Add wet paint to the wet paper.
It is easy to forget in the beginning.
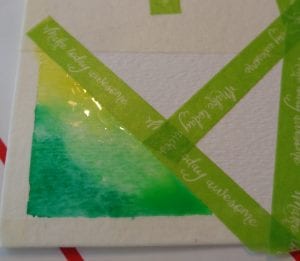
Choose your first colour and with a wet brush swirl the disk of pigment. The set of watercolours I bought has little places for mixing so transferring the paint to another location was easy. It is not a good idea to twirl the paintbrush in the pigment and then go directly to what is to be painted. The colour will usually be too intense. Add a little clean water to soften the colour and then paint the area to be worked on. If the paper dries, add a little more clean water before continuing.
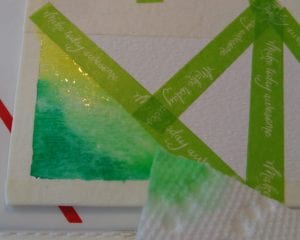
Tip: If you feel there is too much moisture on the paper, a small piece of paper towel, gently touching the top of the water will absorb the excess. A small sponge might also do the job.
Carry on through your colour choices. Wet the area to be worked on, blend your colour choice and apply. Repeat. Repeat. Repeat.
You will not really know what you have until things are finished and dry.
Tip:It is possible to go back and build layers if the colour mix is not to your liking. It is also possible add a little more water once the paper has dried a bit if more blending is helpful.
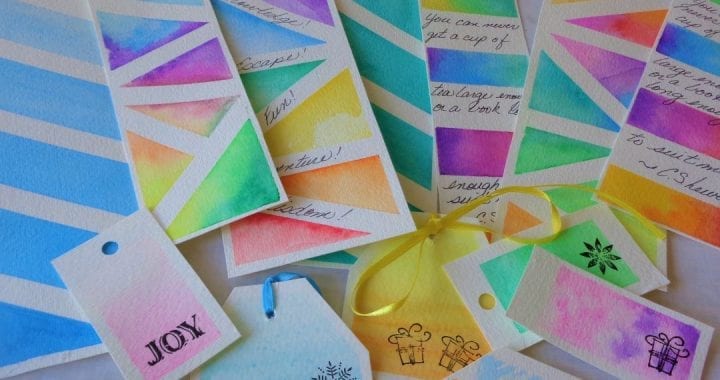
These are the five gifts tags and one bookmark, drying. I did not measure anything as finished size was really not important. Each tag will get used on a different gift at a different time of the year. Nothing needed to match.
Tip: Be patient. You never know where something may still be a little wet and paint travels in mysterious ways, ending up in unintended places.
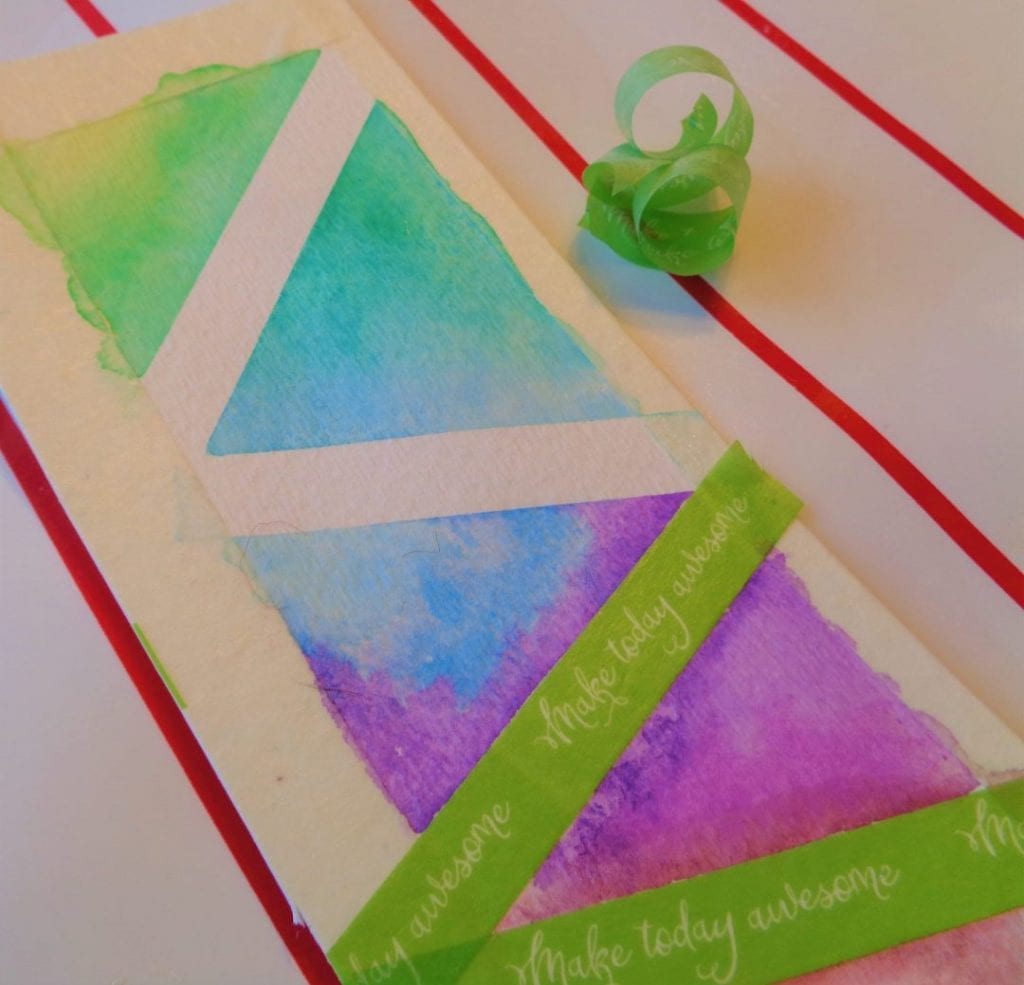
Once the watercolours have dried, the tape can be gently removed.
Tip: Slow works well. If something is sticking, stop immediately and try from the other end.
The projects will need trimming. With a hole punch create one hole at the center of the top of the bookmark and where appropriate on the gift tags. Cut one or two ribbons and insert into the bookmark hole. Tie a knot. These items were painted with unmuddled colours and I had reasonably matching ribbon available to finish.
Tip: If you don’t happen to have a supply of appropriate ribbon at home. Take the projects to the store after they are dried and trimmed to match colours. It will be more cost effective than guessing how things will turn out ahead of time.
There are a few additional things that can be added to complete these projects. Simple hand drawings are always an option but I am not there yet. Stamps from another project is where I landed. If you happen to have hole punches in fancy shapes, they can be used as well.
Tip: Practice before stamping on a separate sheet of paper.
Writing on your bookmarks can be fun too. A favourite quote about reading or all the things you get out of reading is an option as is a list of your favourite books or authors. What you appreciate about the person the bookmark is going to, if gifting, can bring a smile each time it is read.
There is no need to be a professional calligrapher, just use your best handwriting. Thinking about spacing is a good idea though as you don’t want to loose something you really like.
Tip: The bookmark on the right is the one painted in this post. It is still wrinkled and will benefit from some time being pressed between the pages of a book until flat again.
There are many different techniques to explore, adding salt to the wet paint to create star bursts, dabbing with crunched up paper that gives added depth to patterns to name two.
My idea that maybe I could actually pick up a paintbrush and create something pretty and useful was a success. Cheery colours in contrast to winter blues and an opportunity to play.
Making these together offers good family connections, skill building and maybe even the miracle of off technology time. Now that there is a bookmark, might there be a book?
Tip: Doing art ended up being very good for my soul. I hope it can be good for yours as well. It is not an indulgence, rather creative therapy for your spirit. Who knows what doors might open?
Watercolour Bookmarks and Gift Tags from My Kitchen Wand

