The basic recipe comes via my grandfather’s go to book on bread making. Edith Adams Bread Book! “Edith Adams was a Vancouver Sun (Newspaper) institution for three quarters of a century (in Vancouver, Canada), an institution because she never really existed in the flesh. Edith was our apocryphal homemaker.
The invention of an editor in 1924, Edith was given life by generations of reporters and editors who doled out sage advice, homemaking tips and — most of all — recipes.
If you are lucky you might have your grandmother’s recipe book, full of hand-written recipes, ingredient substitution notes and newspaper clippings of recipes. If you were unlucky, probably your sister has it (like she’ll ever use it).”
For those who didn’t get the recipes, Edith Adams was for many years, almost as good.
It is not a done in 90 minute recipe, but the old fashioned rise four times version. The kind of project that you start after breakfast and come back to every hour or so. The seed selection is a perfect addition for Imbolc. Cracked wheat or wheat germ would work equally well for Lammas. Both these festivals have strong connections to bread making, one at the beginning of the planting season and the other at first harvest of the freshly grown wheat.
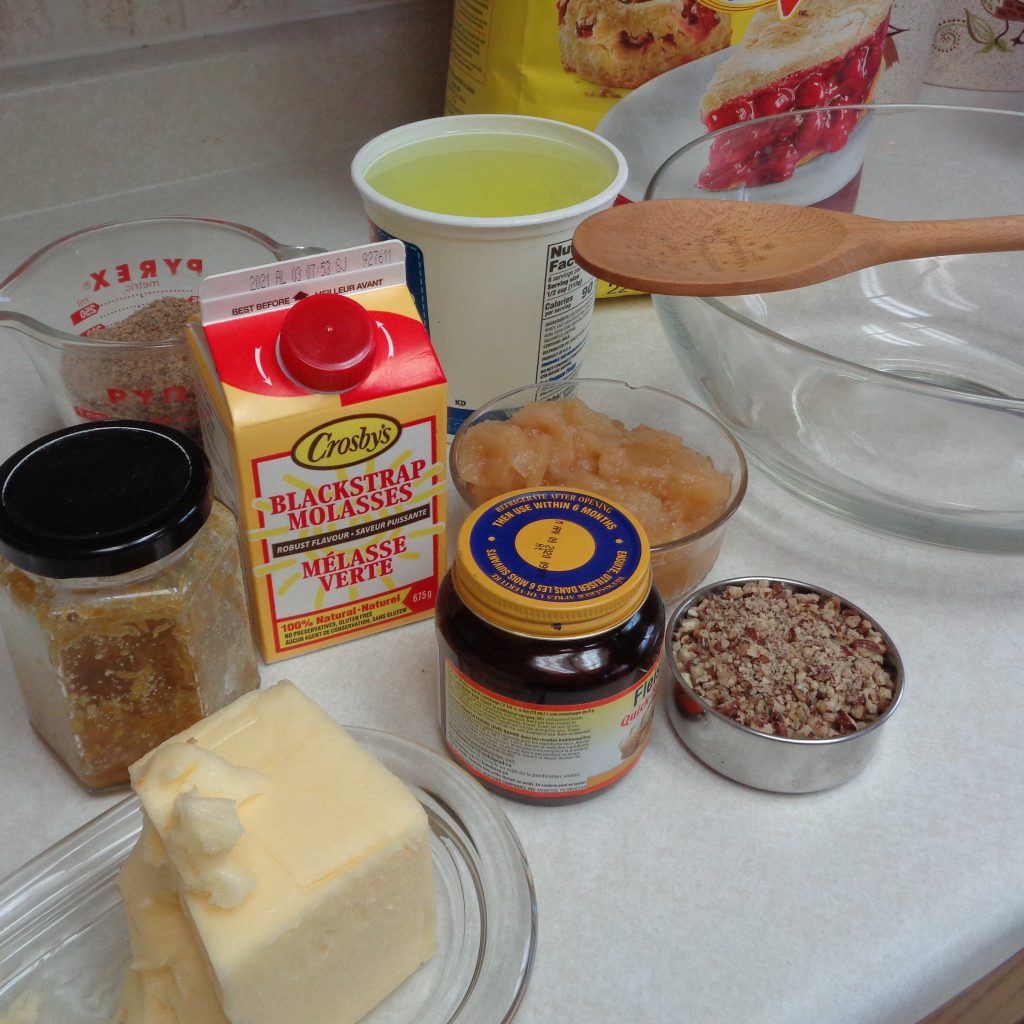
I opted to change my plan (a woman’s prerogative?) and did not add the molasses or zest, so please just ignore them in the picture below. This recipe will make two large or three medium loaves. If making three, pre-think the placement of the loaves in the oven, making sure the racks are far enough apart to allow for a switch up half way through the baking time.
You will need:
1 1/2 cups whey or milk
1/2 cup butter or shortening
3 Tbsp. sugar
1 Tbsp. salt
1 Tbsp. sugar
1/2 cup whey or milk
4 1/2 tsp. yeast or 2 packets
2 eggs
2 cups flour
1/2 cup chopped walnuts
2/3 cup thick applesauce
1 cup of mixed seeds ( I used 1/2 cup pumpkin seeds, 1/3 cup poppy seeds, topped off with ground flax seeds)
1 Tbsp. cinnamon
5 cups flour (ish)
Bread combines all four elements, a truly transformational project. Something where the magic can be seen over time changing flour to bread. A great project for children if time allows. “In my kitchen filled with care, I welcome, Earth, Fire, Water, Air.” Invite the compassionate spirits and enjoy.
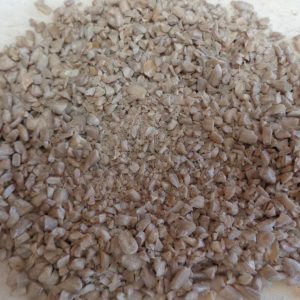 Begin by chopping the sunflower seeds and nuts.
I prefer that they blend into the dough and not be things that need extra chewing. If your preference is bigger that is okay too. It is what your family likes.
I used walnuts but pecans will work as well if they are on hand. I am all for using what is available and not making an extra trip to the store. Besides Imbolc is also about cleaning, including using up leftovers.
The other reason I chose walnuts, applesauce, flax and sunflower seeds was that they were ingredients more likely to have been available for use in previous centuries.
Ground flax seeds will allow more nutrition to be absorbed than uncracked flax seeds.
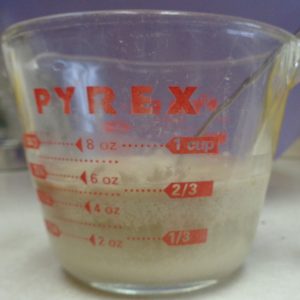 Heat the whey and add the butter so it can melt into the liquid. If using milk then scald the milk before adding butter or shortening.
Sprinkle in 3 tablespoons sugar and 1 tablespoon salt before putting aside to cool.
In a small container, pour 1/2 cup warm whey. Add the sugar and yeast. Allow to sit and begin to bubble. The sugar is food for the yeast and the purpose of letting the mixture sit for about 10 minutes is to ensure “proof of life”.
The bubbles prove that the yeast in viable and can be included in the next steps.
Best to know if there are any issues before adding all the other ingredients and waiting for an hour to find nothing has happened.
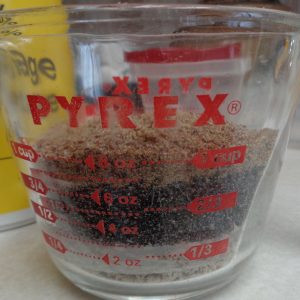 In the main mixing bowl, crack 2 eggs and begin to mix with a hand mixer.
Pour in the yeast, cooled whey mixture, cinnamon and seeds.
Add two cups of flour and mix well. This will be very liquidy ( let’s just pretend it is a real word).
Cover the bowl and let sit, away from any drafts, for 45 – 60 minutes.
The bowl should be full of bubbles and ready for the addition of 4 – 5 cups of flour.
The seeds will have absorbed some of the moisture while sitting but best not to think of them as a substitute for flour.
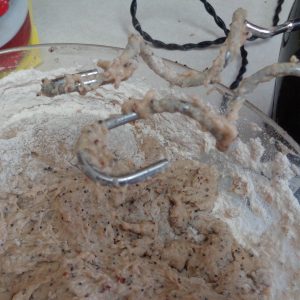 Continue to mix with a hand mixer until the mixture becomes too stiff to handle. If the machine has dough hooks then changing the beaters and letting the hooks do some of the work is just fine.
If not, turn the dough out onto a clean and floured surface. Now is the time to strengthen the gluten. Knead the dough until it is nice and smooth, a little tacky and holds it shape.
You can try lifting the ball of dough up with your hand. Does it sit pretty or look like slime? If the ball holds it shape it means the gluten is strong and tight.
Place the dough back on the counter and poke it with your finger. If the hole stays a hole, more kneading is needed. If the hole fills back in you found the sweet spot.
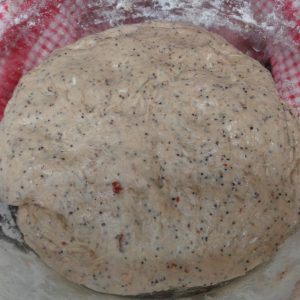 Another way to check is to break of a ball of dough, about the size you would need to play golf. Stretch the dough out in all directions until it is thin, like a windowpane. If the dough breaks quickly it is back to kneading. If the dough stretches. You are done.
Your arms will most likely get tired when kneading and can be another indicator of being done. If, for any reason, you feel the bread has been over kneaded, allow the dough a longer time to rise and relax. Over-kneaded dough leads to hard crusts, dry insides and crumbly texture near the middle.
Pour a little oil into the used bowl and return the dough to the bowl, turning it to make sure the entire ball is nicely covered. Place a cloth over the bowl and allow the dough to rest until doubled in volume.
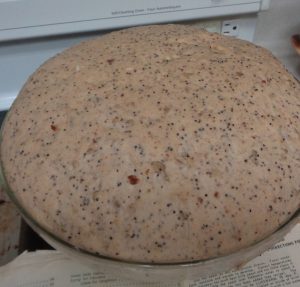 This will take at least an hour, possibly 90 minutes.
Keep the bread between 80 – 85 degrees F. Yeast can be killed with heat so no sunshine, hot air vents, radiators or overly hot ovens. Keep away from drafts.
One suggestion is a pan of warm water on the bottom of a cold oven. It will need changing as the water cools but the dough will be happy.
This time when you test the bread with your finger, good is having the hole remain in the dough.
Punch your fist into the ready dough. Turn the entire mass out and divide the dough into six equal amounts.
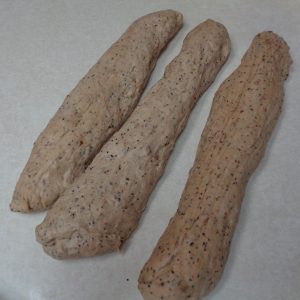 Roll into six balls and let sit for 15 minutes. I used a scale. If you have one handy it just makes sure the balls are all the same.
Roll out three of the six balls into rolling pin shapes and begin weaving.
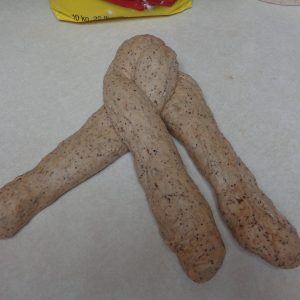
Connect the three pieces of dough at the top and then taking the roll of dough on the left side, pick it up and place it back down between the center and right hand side rolls.
Repeat the process with the right hand roll coming off the counter and being laid between the center and the left hand roll.
You should see that the original left hand roll is now on the extreme right hand side. This process is also known as a French braiding.
Make sure the tops continue to stick together as you work your way 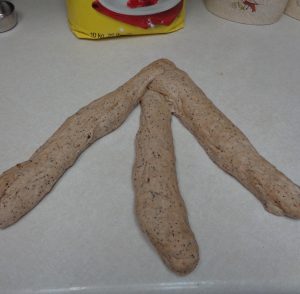 down the roll.
The rolls themselves may be pulled a little in the process and that is alright.
When you get to the end of the braiding, the tops and bottoms will be the thinnest sections.
It is fine to tuck them under so they help the bread be a little shorter and taller.
Place the braided bread on a cookie tray and cover with a tea towel or other clean cloth.
Let the formed bread rise until doubled, another hour minimum, possibly more at sea level and quicker at higher altitudes.
 When the bread has finished rising. Place it is a 350 degree oven and bake for about 50 minutes. Exchanging cookie sheets if using two about the half way point.
If the oven was being used for rising. DO NOT turn the oven on to preheat while the bread is in the oven. Take the bread out, preheat and then return to the oven to bake.
The bread can go in as is.
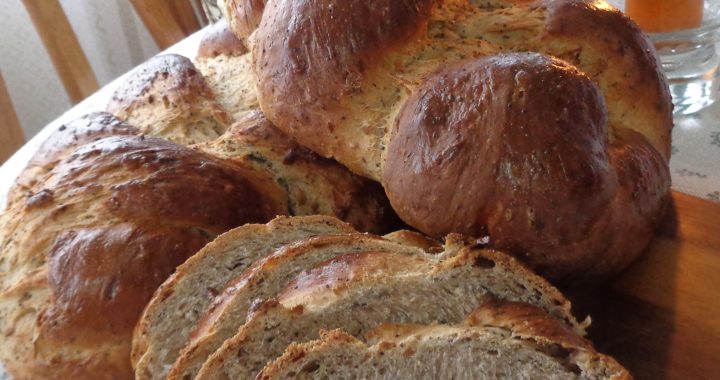
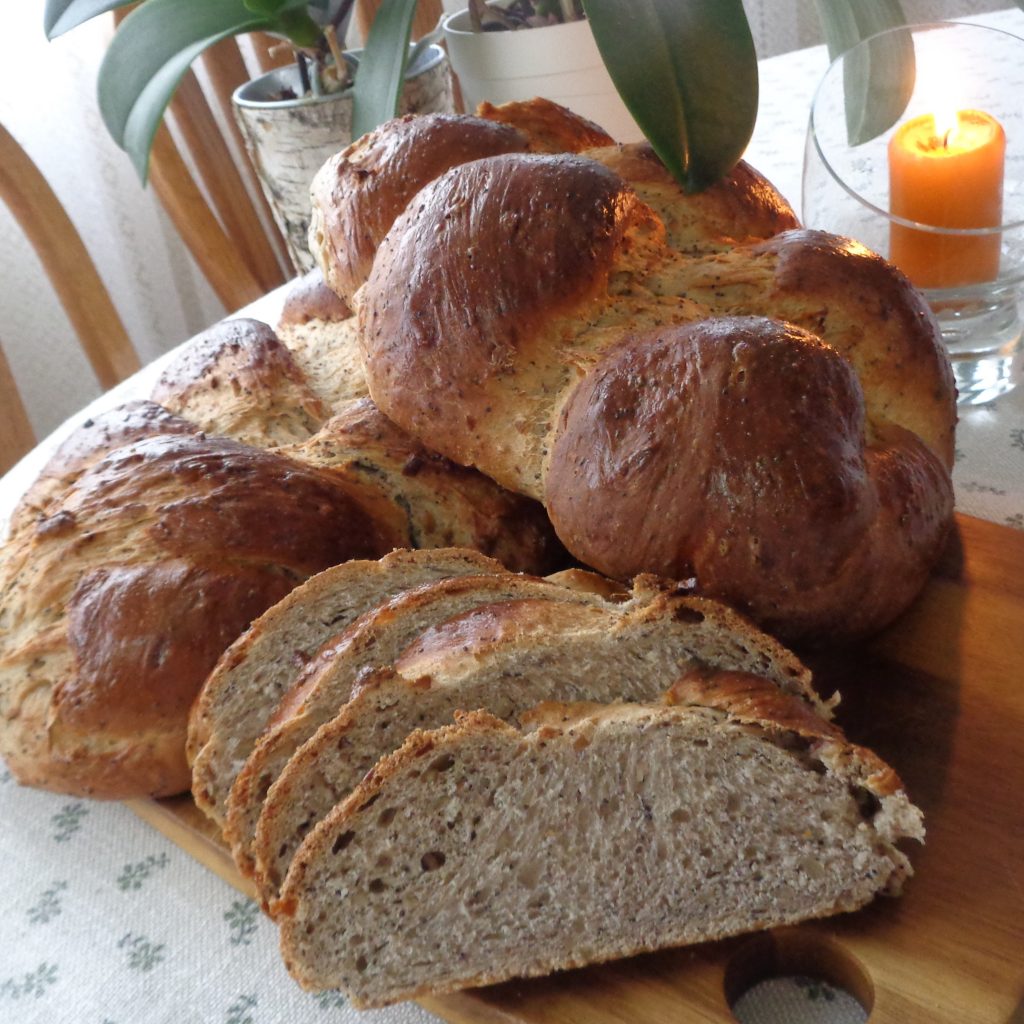
It can also be brushed with an egg wash as shown below. Simply, crack an egg, add 1 – 2 teaspoons of water and mix. Paint on the wash with a pastry brush. This will give the bread an additional gloss and will also darken the crust.
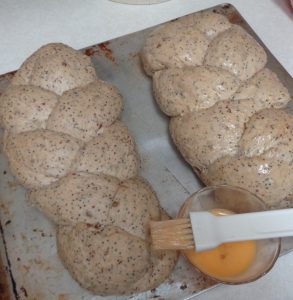 Another choice might be to sprinkle extra seeds on top.
A hallow sounding bottom when tapped is an indication the bread is down. Allow to cool for at least 20 minutes before cutting. Longer is totally acceptable. It is just that in my house, someone is always after the crust slice.
Full of new potential, seeds are absolutely a symbol of Imbolc, as is weaving, especially for Brigid’s crosses. Try a slice with a sharp piece of cheddar, yummy! and appropriate as cheese is also an Imbolc food.
Lammas is a harvest festival. Gratitude for the safety of having grain for the coming year. Farmers would know there is still danger until the crop is off the land but weather permitting, the first cutting would have been taken, just enough for a few celebratory loaves of bread.
This year (2020) Imbolc and Lammas fall over a weekend so a family project to make bread together for dinner Saturday night couldn’t be better timing. Another thought would be to prepare a loaf for your gathering. When made into two loaves they are large and will easily cut into half slices for a group of 40.
Woven Imbolc/Lammas Bread from My Kitchen Wand

