
Most egg dyeing is thought of as something to do with a hard boiled egg. This in an alternative thought. Crack your eggs first, dye second and turn those coloured shells into little candles for Easter Sunday breakfast, your altar, the Ostara potluck table or just enjoy all through spring. There is even a Valentine’s suggestion at the end of this post.
 Let’s divide this down into four sections; getting the shells ready, dying the shells, turning the shells into candles and adding decorations. They can be done separately or all together depending on time, energy and attention span for youngsters.
Step One – Preparing the egg shells
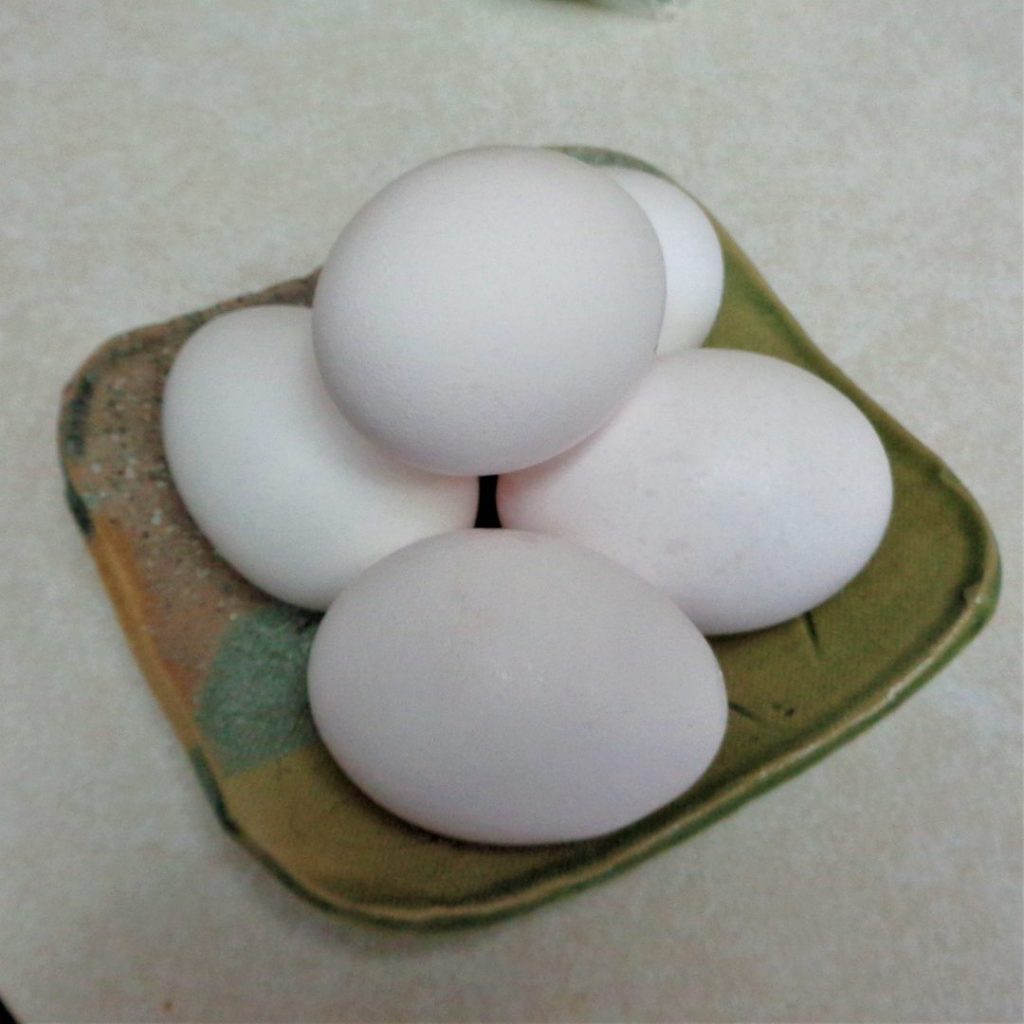 Firstly, there is no need to head to the store for extra eggs. Just collect the egg shells as they are cracked for regular cooking in the week(s) before getting to step two.
The one difference is that instead of hitting the eggs on the counter or the edge of a bowl, use a knife and only take the top 1/4 to 1/3 off.
This will give a longer burning candle as there will be more wax in the egg shell.
If they get cut in the middle out of habit, keep the egg shells as different sizes and shapes makes for a nice centerpiece.
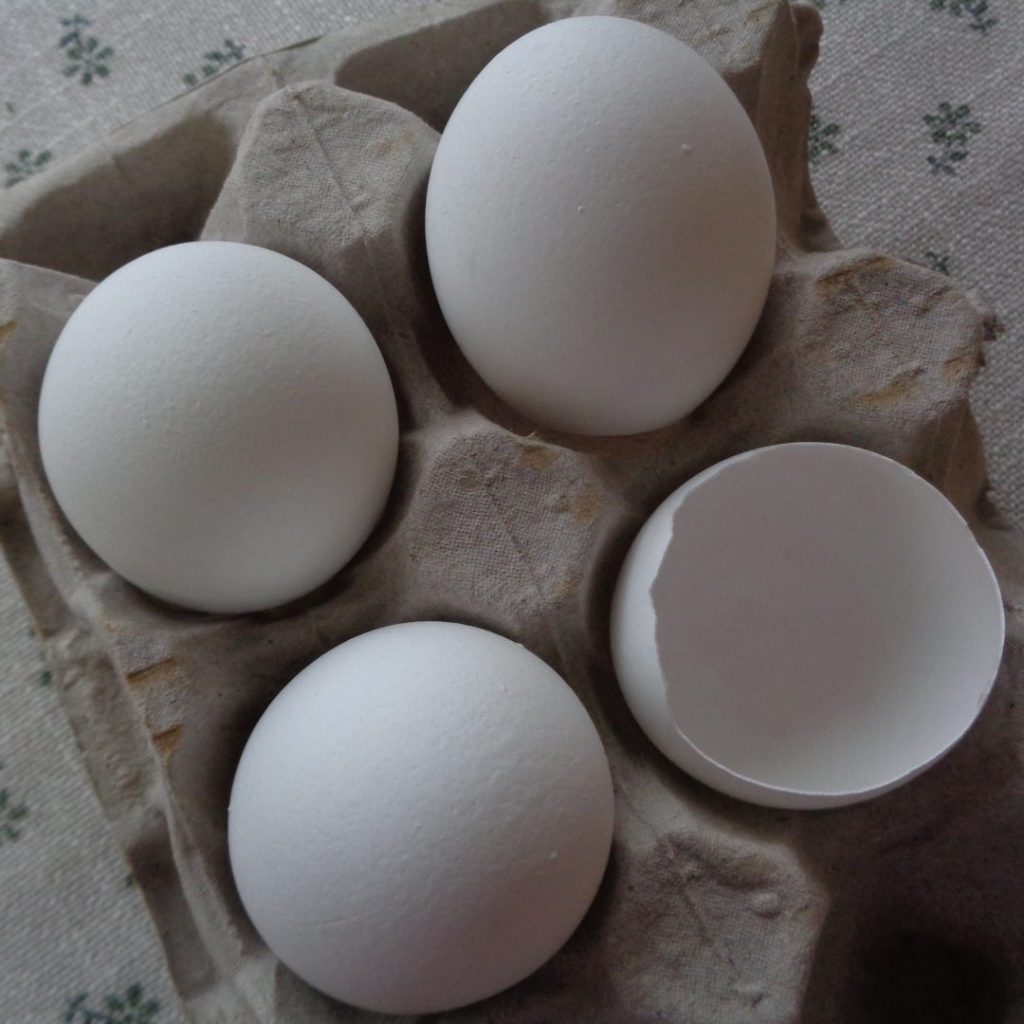
If true colour tones are wanted for these candles, use white eggs. Brown eggs will give more muddled tones but can absolutely be used.
 The next step is to take out the outer shell membrane. There are both an inner and outer shell membrane when the egg is laid but as it cools they separate and the inner membrane becomes the air cell of an egg.
Gently pull the membrane off the inside of the shell. This will allow the egg to colour inside and most often helps take off any tiny cracked pieces of shell at the top edge of the egg.
That air cell may still be intact at the bottom of the egg shell and will need to be broken and also removed along with any remaining membrane.
If you are noticing any tiny cracks, just treat the shell gently and all should be well. The cracks may show up as interesting lines when dyed but rarely seep when filled with wax.
 This is a good time to take a look at the top broken edge and remove any pieces that look out of place artistically. Generally speaking the less extra breaking the better as you never know what else might crack.
Wash the eggs shells out and allow to dry.
Turning them open side down will help the water run out.
Store the shells until enough are gathered and step two can begin.
Step Two – Dying the eggs
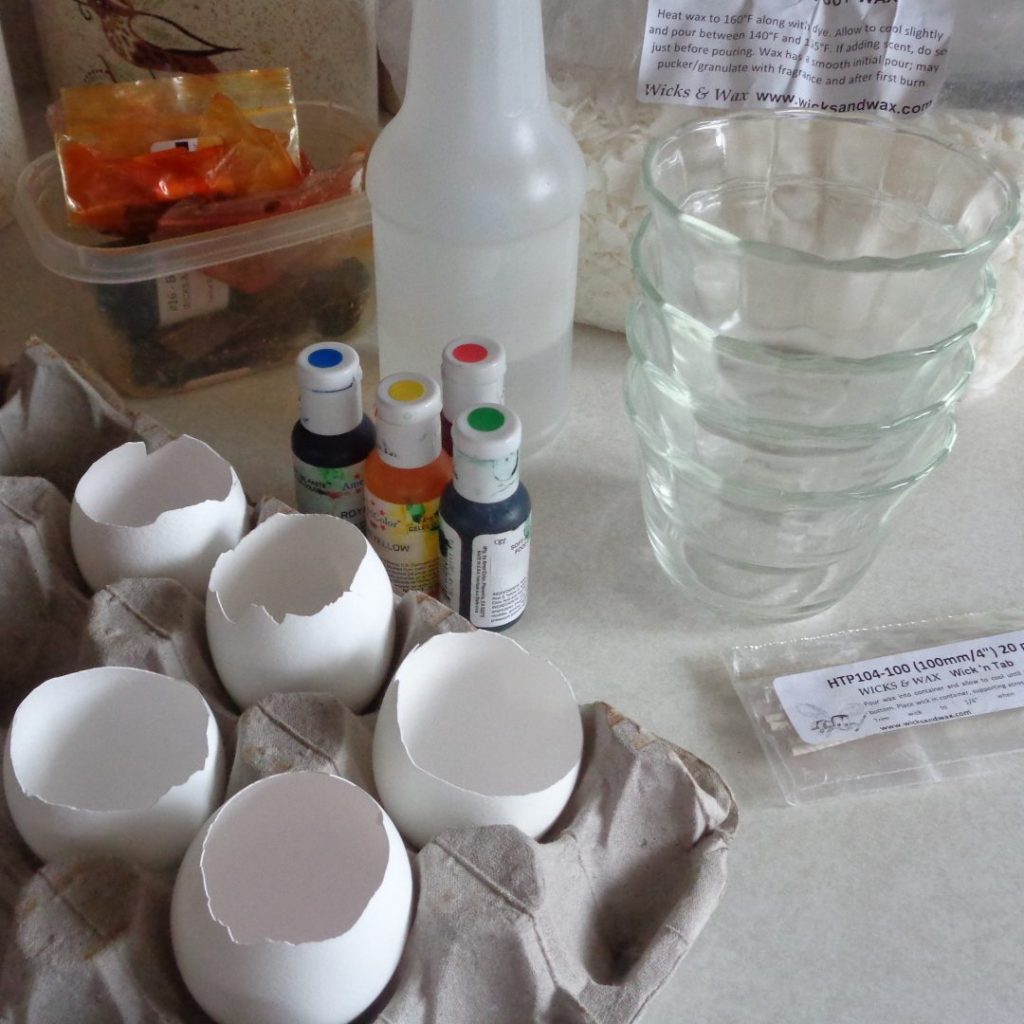
So having passed the preparation part, this one will be more fun. These eggs were dyed in food colouring but if you have egg dyes at home from last year please feel free to use them instead. My intention was to use as many already in the house items as possible.
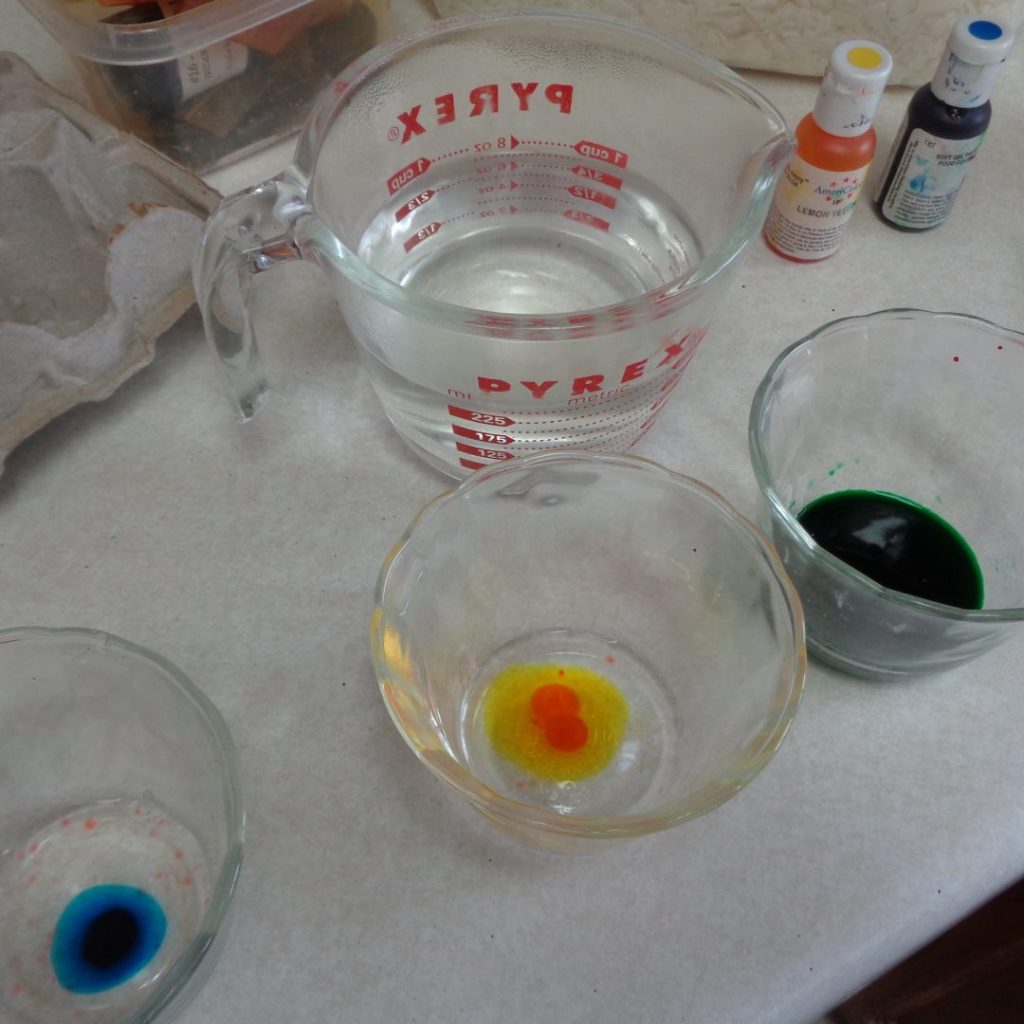 Boil two – three cups of water and gather 4 – 6 bowls or cups deep enough to hold an egg shell.
Into each cup add 1 teaspoon vinegar and half a cup of hot water.
Add in the food colouring. If they are gelfood colours one or two drops will be enough.
If your food colouring is liquid, it will be less intense and more drops will be needed, much more if you are doing this with boys. Start with 10 drops and move up until everyone is happy or a compromise has been reached.
Stir until well mixed and the water, while warm, will not burn any fingers.
 Place the eggs into the bowls and add a little extra hot water to ensure the egg is covered ( roll the egg shells around at intervals ).
This next step can be difficult for young ones….wait.
The longer the wait the darker the eggs will become. Dye strength and wait time are the two factors in how dark the egg shells will become and that is a matter of personal choice, no rights no wrongs. The inside will usually be darker than the outside of the egg shell.
Take the shells out and allow to dry.
The dyes can be mixed to create different colours for the next batch or simply repeat if the colours you have hit the mark.
 Once dry it is time to move on to step three, turning your egg shells into candles. This can be done 10 minutes later or two weeks.
Step Three – Candle making
Soy wax makes it very simple to make these candles. It is called melt and pour for a reason. It gets melted and then poured into a mold. Done.
Before we get to that though, let’s talk wicks. HTP83-65 is the wick to use for this project. HTP is a brand. 83 indicates a size (small, for eggs and t-lites) and 65 is the length, just over 2.5 inches. They are made specifically for soy wax and something similar will probably be available where you purchase your supplies. They can also be ordered directly from Wicks and Wax along with the container soy wax.
 If paraffin is your choice of wax then a different wick variety will be needed along with some stabilizer such as polybar or stearic acid. Your supplier should be able to assist if this is a new craft. Just explain what you are doing and that you are looking for something that works for a candle just slightly wider than a t-lite. A wick size suggestion would be LX12 or 14.
Thinking bees wax? Try an LX18-20 but know it might be a little on the small side.
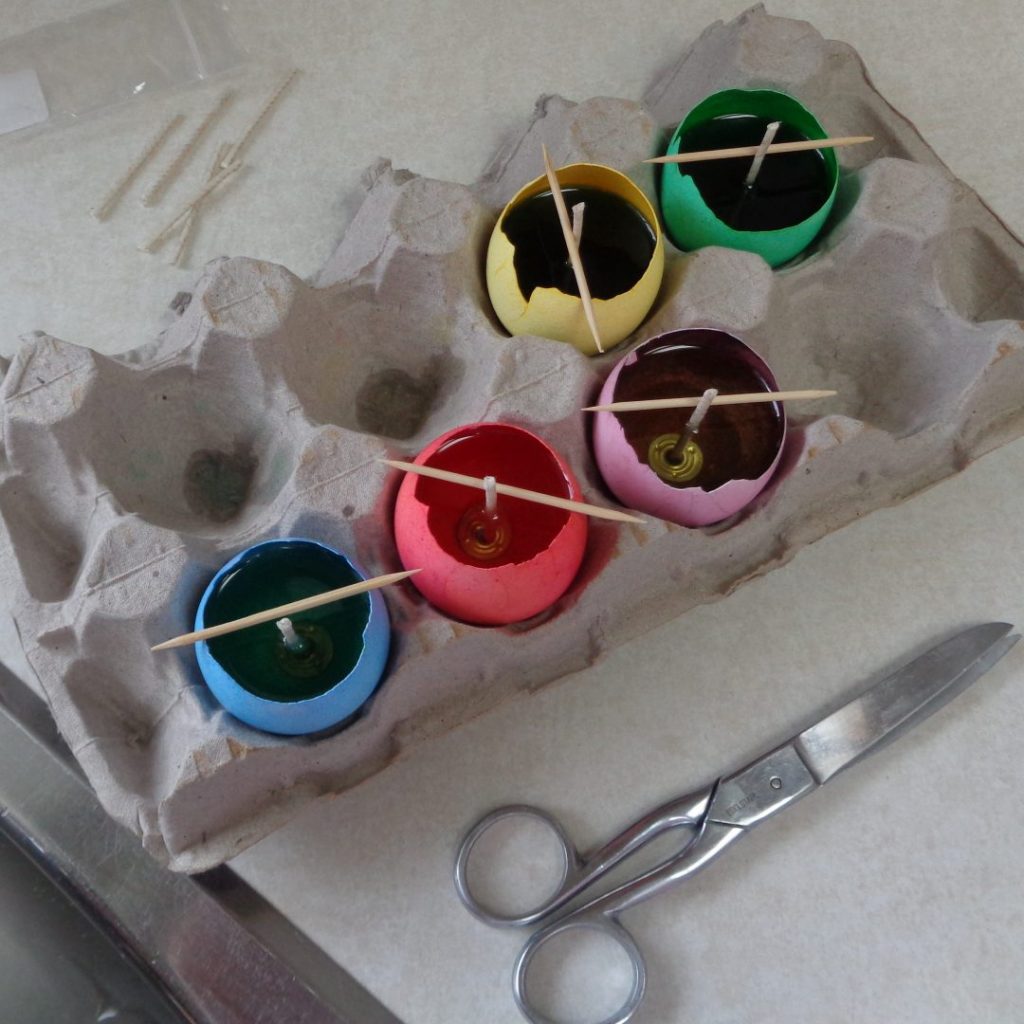
All the wick choices are coated and have a wick tab that allow the wicks to stand on their own. Just pop a toothpick on top of the shell if the wicks need help staying in the middle as the wax cools. This is a much simpler way than tabbing your own wicks and getting it to stay upright by tying the non supported end.
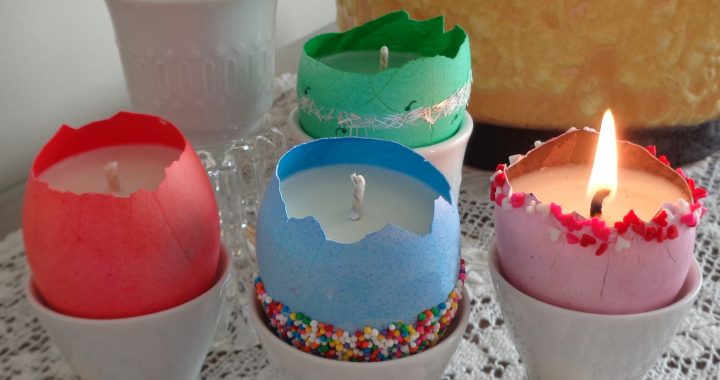
Two additional options are optional. One is scent and the other colour. In the picture above three candles have no added colour and the two at the top were turned green. Scent can, in my opinion, be questionable when the candles will be around food but a little rose might be nice in the pink candle two pictures down.
If it comes up in conversation with your supplier there is no need for mold release as the wax is staying in the mold (eggshell).
Melt the wax in a container over hot water. Try taking the melting wax off the heat when 90% melted and stirring until fully liquid. That way the wax will not get hotter than needed and will cool more quickly. Pour into the shell. Allow the wax to cool for a while (10 – 15 minutes) before placing the wick. The wax should still be a liquid as that will make for a clean wick entry. If the top has started to turn opaque and firm up, the top will be disturbed when the wick goes in. Getting the wick in before it firms is a good thing but allowing the wax to cool a little first is also helpful to the outside coatings of the wick. Let sit until solid.
Any fully liquid candle should sit for 24 hours before being burned.
 Part Four – Decorating (optional)
The thing to watch when there are young children around is that they don’t hold on too strongly as the shell tops can still crack if squeezed.
The candles are perfect just the way they are at this point but if adding a little extra pizzazz is more your style, here are some suggestions.
Glitter, glitter, glitter. It’s at your house and I’m not part of the cleaning crew.
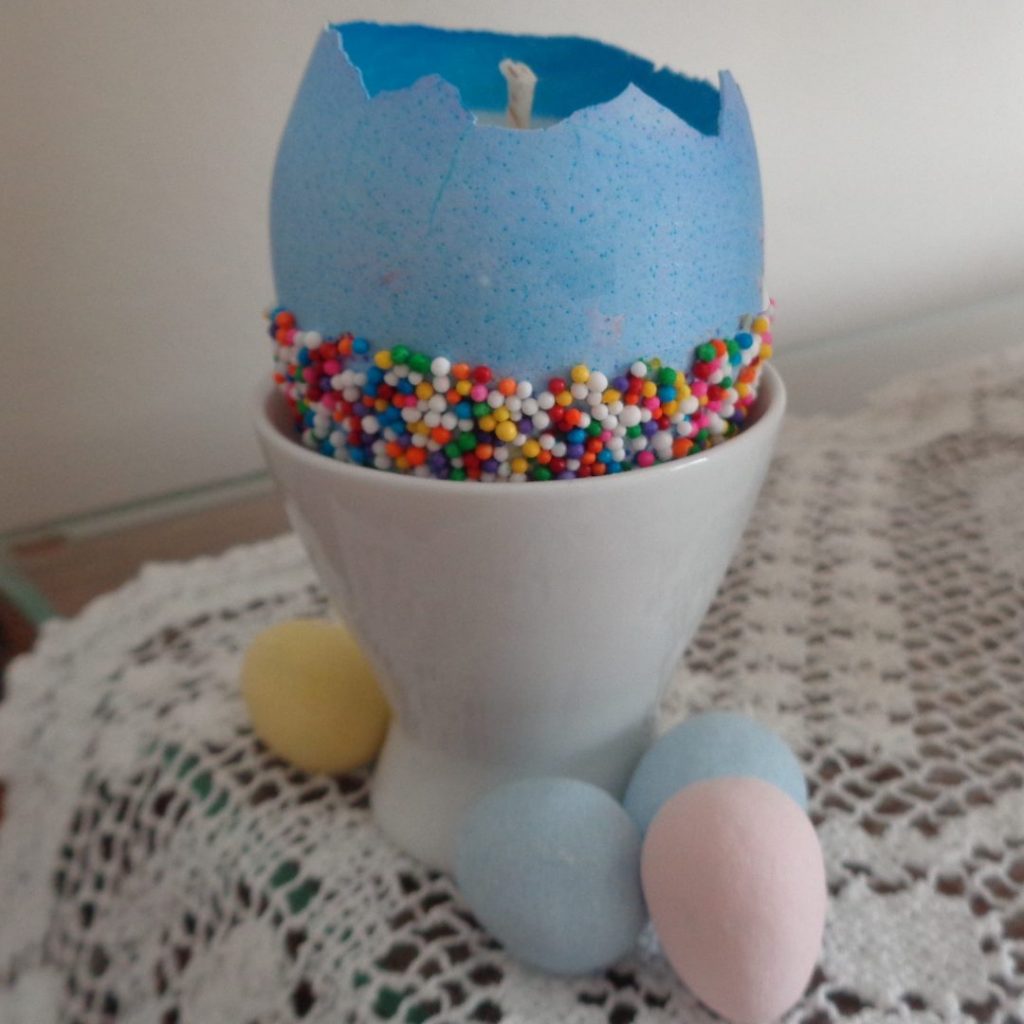
The blue egg to the left had its bottom covered in glue and rolled in nonpareils.
A couple of different glues were tried but in the end 1 tablespoon flour mixed with 1 tablespoon water worked the best. Use a small paint brush to apply and then roll in your nonpariel of choice.
Easter may be the obvious choice for egg shell candles but …. try them out for a Valentine’s breakfast. This pink dyed egg shell had a little glue painted around the top and then was rolled in tri-colour mini hearts.
Another option are felt pens. Just draw your messages of love on the eggshell. Or use the felts to add additional design work in combination with glitter or other creativity.
Be sure to check out where the artwork sits when placed in a candleholder (egg cup) before finishing off your masterpieces.
Let the glue sit to dry for several hours. The decorating can be done while waiting through that 24 hour period of allowing the candle to sit before burning.
Before lighting, cut the wick down to 1/4 inch high. That is a good practice for all candles as it will support an even burn.
Let your imagination play and let the play be infectious. Anyone can join in with a little help and enthusiasm.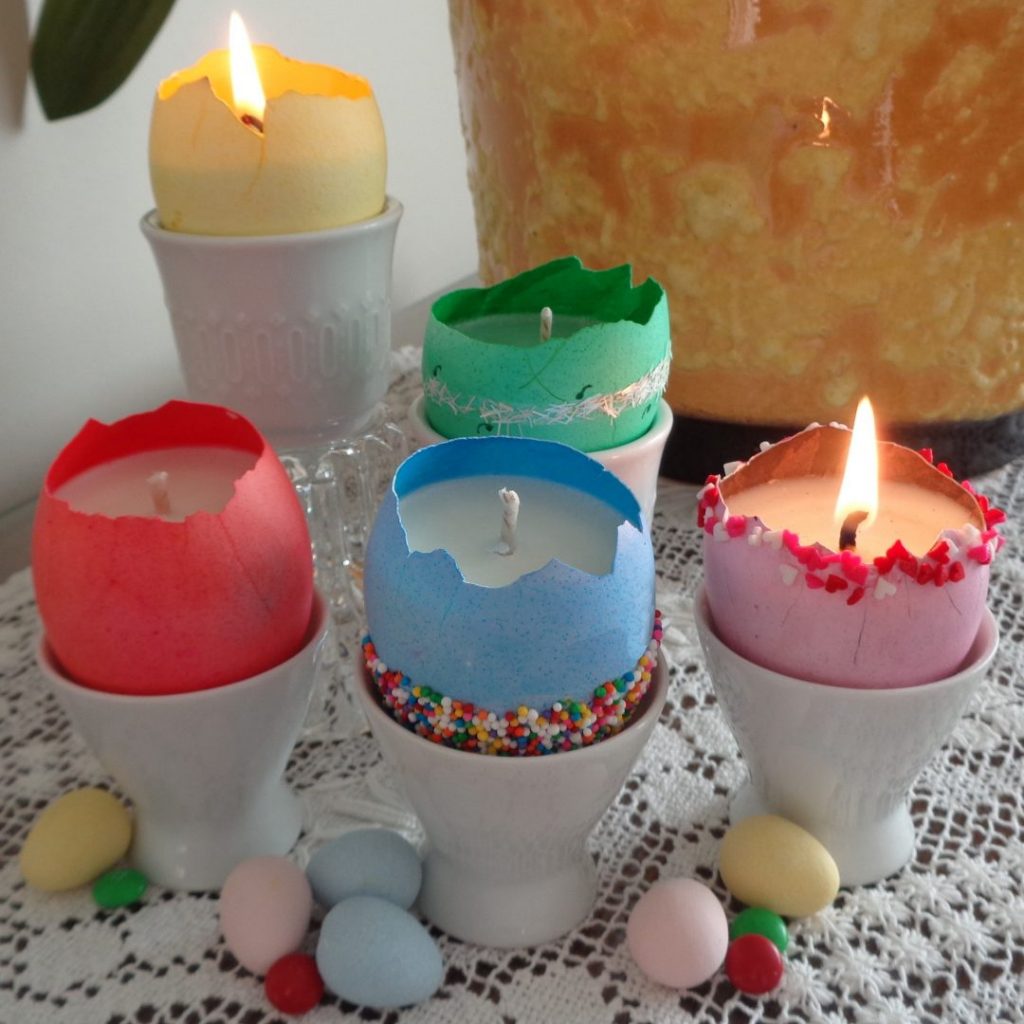 Dyed Egg Shell Candles from My Kitchen Wand
