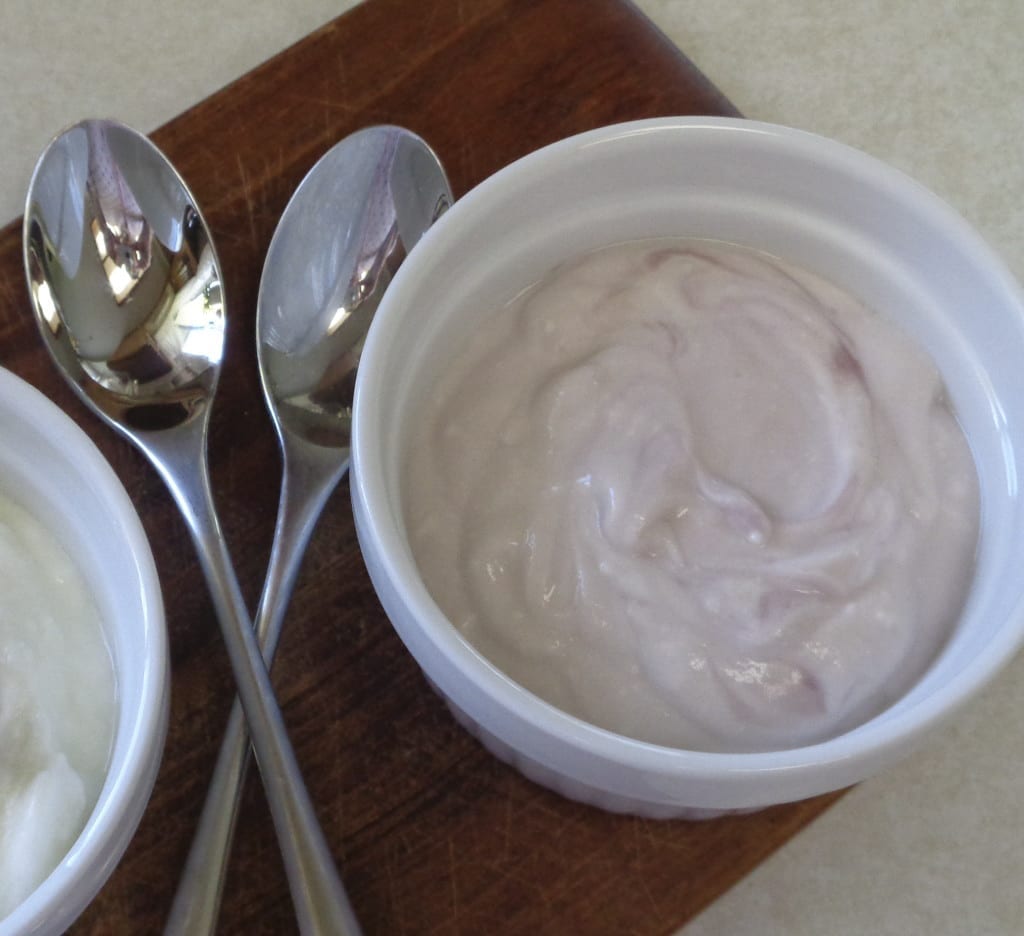
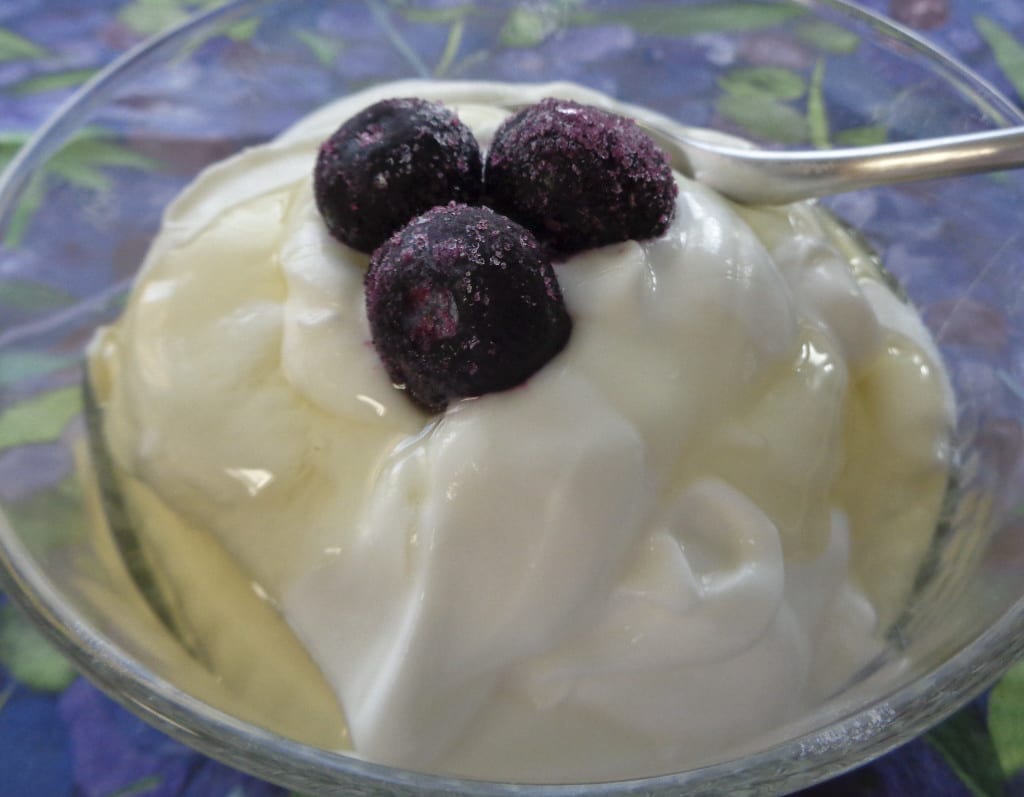
I have wanted to share this for some time and encourage you to give it a try….homemade Greek style yoghurt. So yummy and yes, I make it with whole milk but it works with 2% and skim as well. An added bonus is that it costs 50% less than the same volume of purchased yoghurt and I know what’s in it.
So now that the trick or treating is complete and there are thoroughly stuffed tummies, let’s move on to something a little healthier but just as tasty.
You will need:
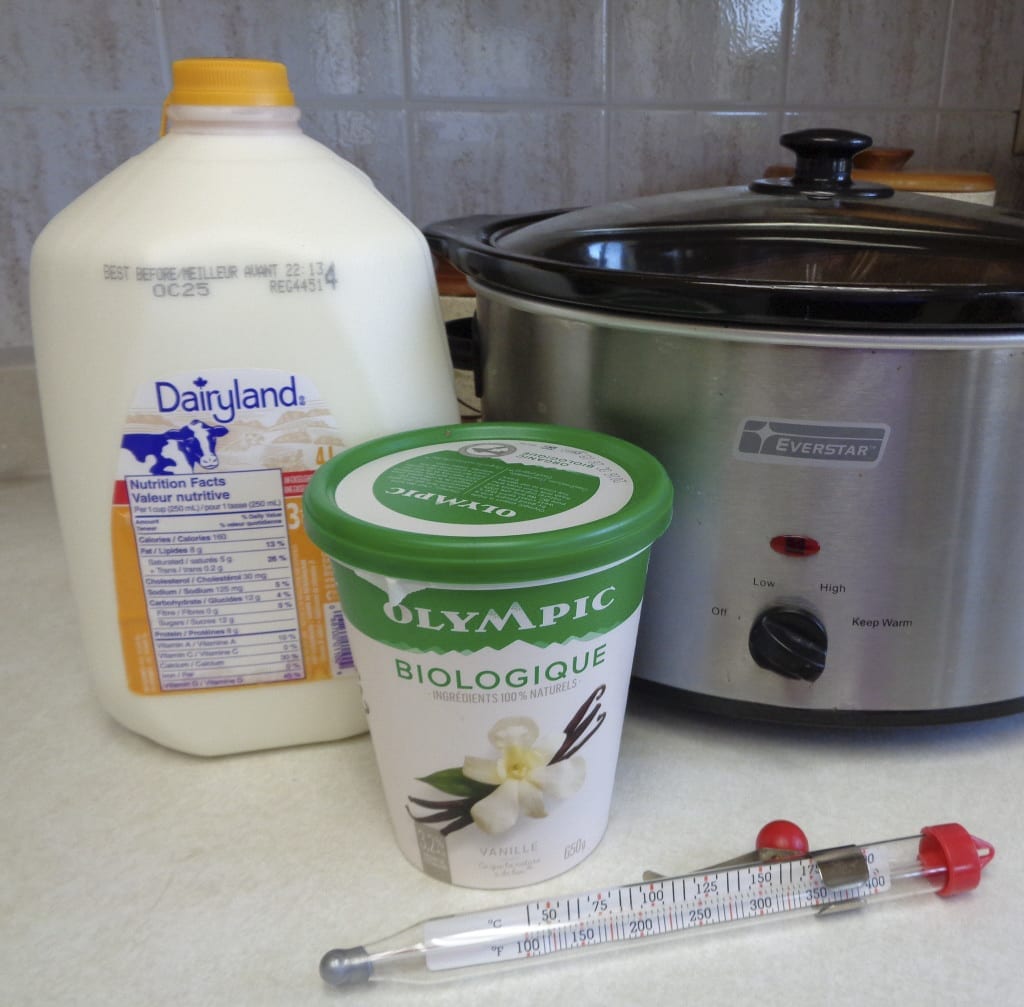
1 gallon/4 liters whole milk
1 cup yoghurt ( more about that later )
As dairy and bread are two very common offerings made to the spirits in many cultures, it seems fitting to begin this time of creativity with an invitation, to the kitchen and to the work ahead. ” In my kitchen filled with care, I welcome, Earth, Fire, Water, Air “.
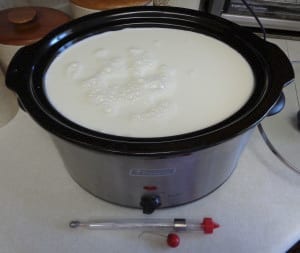 I am showing the process for yoghurt making in a slow cooker but I want to emphasize that a pot will also do the job.
Please don’t let the pictures stop you from trying just because there is no crockpot sitting in your cupboard. The only addition to the instructions would be to take care not to burn the milk if it sits too long unstirred in a pot on the stove.
Pour the milk into the slow cooker. Put the lid on and turn the appliance on high. High works for me but please pay attention the first time you do this as another setting may work better on your slow cooker.
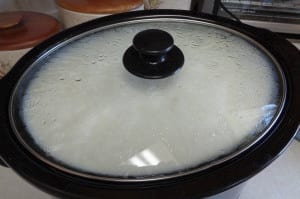 Go for a walk, do the laundry or read a book (or any combination of the above) for several hours while the milk heats. This is the bonus of using a slowcooker, the milk does not need to be babysat. The heat comes from the sides of the machine.
If you are using a pot on the stove then please check back regularly and stir.
Bring the milk up to a temperature of 180 degrees F.
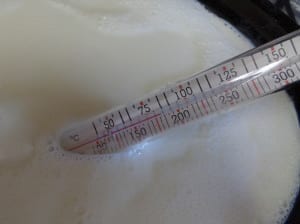 I have found over the years that even thermometers are not accurate so I highly recommend doing a little testing before relying on the numbers. If the milk does not reach 180 degrees (despite what the reading says) the molecular structure of the milk will not relax and the resulting yoghurt will have a slimy texture to it.
Don’t get me wrong it will be totally usable and taste great. It will just look a little different than normal.
Put the lid back on and allow the milk to cool to 110 degrees F.
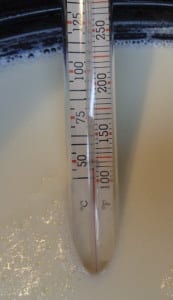 This will take another couple of hours, so another couple of chapters and another load of laundry are in order.
As the numbers come down, take one cup of plain yoghurt and place in a container with enough room to add another cup of the heated milk once ready.
This would be a good time to talk yoghurt.
You want to choose a variety for its bacteria, not its flavour. Avoid varieties that used gelatin to set the milk or have granola or something similar. Once this first batch is made then by all means use your yoghurt to make the next batch but for now check the labeling on the yoghurt container and make sure it contains live culture such as lactobacilus acidophilus, lactobacilus paracasei or bifidobacterium lactis.
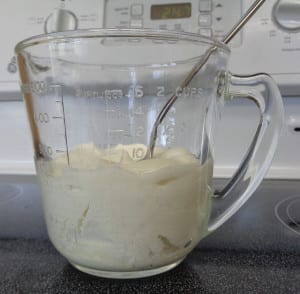 Some people use probiotic capsules to get a wider range of bacteria into their yoghurt.
I did read somewhere that starting from scratch after 4-5 batches is a good idea as some bacteria tend to be a bit of a bully in the playground and will overpower the others over time.
When the temperature has cooled to 110 degrees F. add 1 cup of warmed milk to the yoghurt and stir well.
Return the mixture to the warmed and cooled milk by drizzling the yoghurt over the full surface of the top layer and then combine.
Using a flat ladle is helpful but a slotted spoon will work as well.
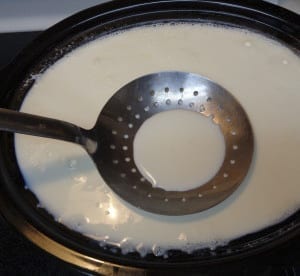 The movement for mixing is up and down. Just like cheese. Try to avoid round and round stirring. Up and down and side to side will work better.
Once the milks are mixed, place the lid on the slowcooker and wrap in a towel to keep the entire mixture warm.
If you have a “hands off” tea towel, now would be a good time to use it, on top of a thicker towel needed more to maintain warmth.
Let the soon to be yoghurt sit for at 8 – 12 hours or overnight. Making sure the room is not cold overnight is also helpful.
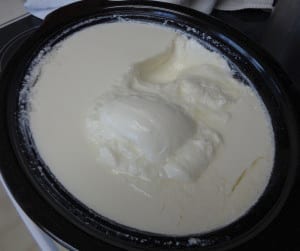 In the morning the magic can be seen when the towels and lid come off and the moment of the reveal happens!
The last step is to drain the yoghurt to thicken up the final product.
Place a sieve over a bowl and in the sieve place several layers of cheesecloth or untreated muslin.
I have a cloth that I use regularly for yoghurt and cheesemaking as well as straining fruits. It gets thoroughly cleaned between adventures and bleached every so often. For many though, good quality cheesecloth that is then tossed fits the bill.
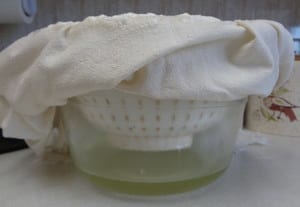 Transfer the yoghurt to the sieve and allow it to for drain for several hours. The yellow liquid below is whey, high in protein and great to add to your baking but we will get more into that in coming posts.
You may find that there is more yoghurt than space in the sieve.
That is okay. Just fill the sieve and then add more yoghurt as the whey drips through.
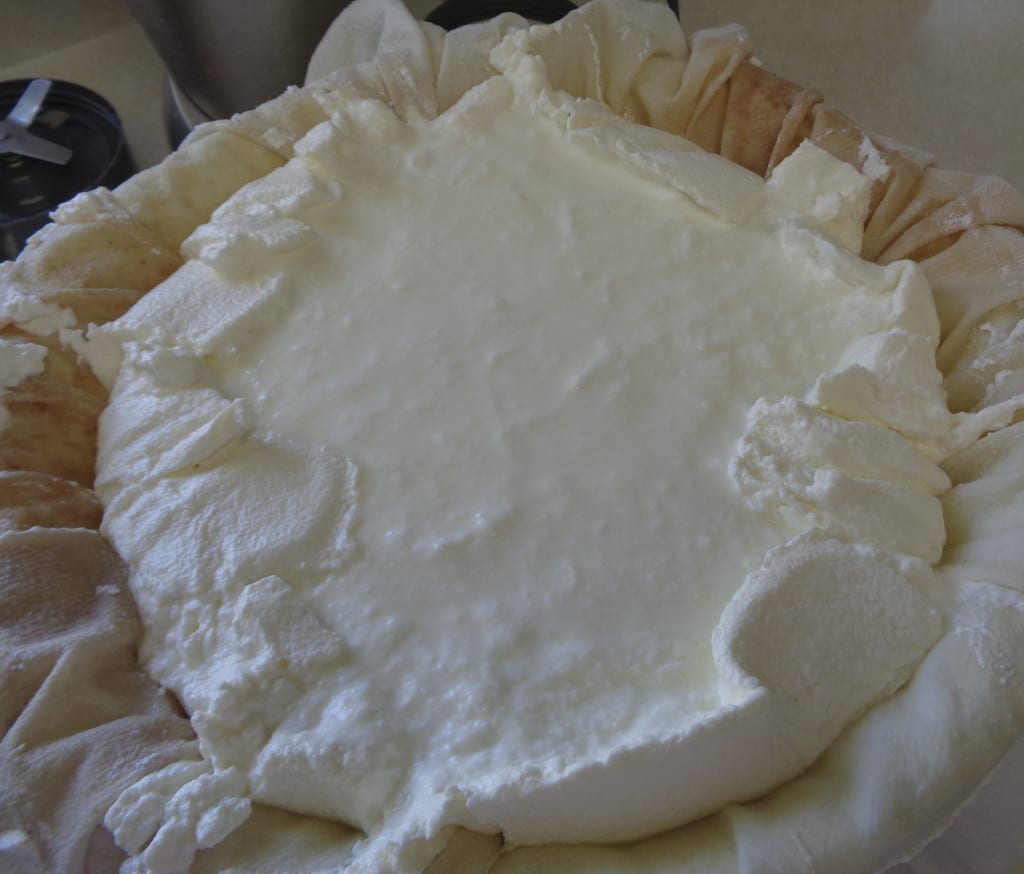
This process can take several hours until the consistancy you are looking for is reached. The picture below is three hours of dripping.
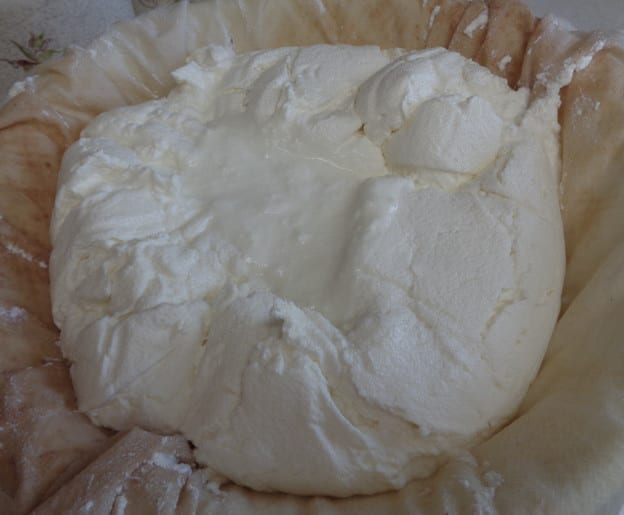
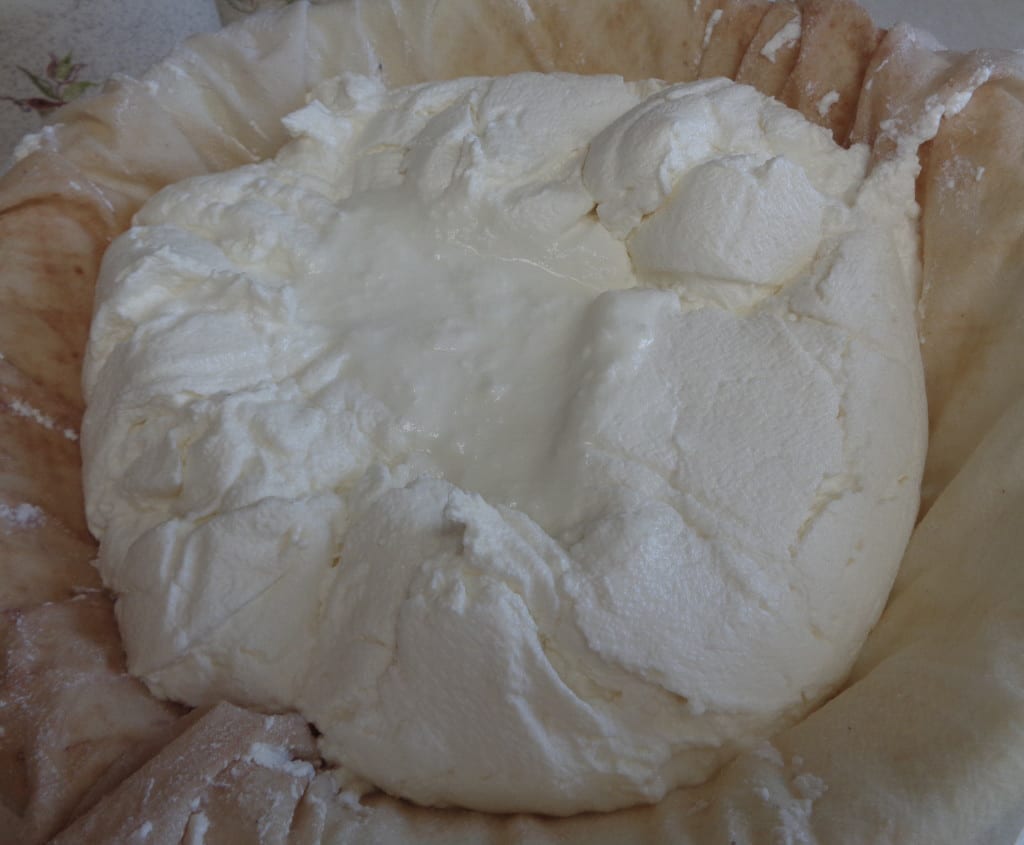
And this is closer to five. Greek Yoghurt is thicker due to a longer dripping time but it is fine to stop when the mixture reaches a consistemcy you like.
Since I was looking for Greek style yoghurt, this was what I was looking for. When transfering the finished yoghurt to a container, stir the mixture well to combine the thick and thinner sections and you will be golden.
Stir in fruit flavourings of your choice and sweeten with maple or agave syrup.
I use this plain for smoothies, drizzled with honey and a little fruit as a dessert, frozen treats in the summer, in baking and to fend off the heat of spicy cooking.
Left over whey for future adventures………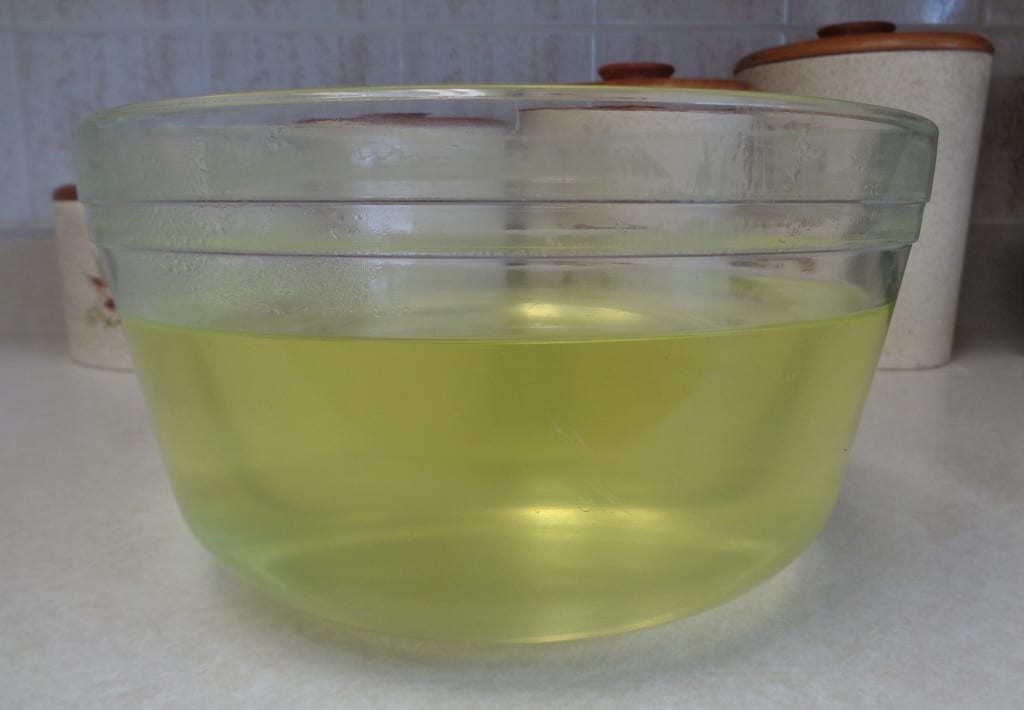
Enjoy the exploration of making your own, no chemicals, no preservatives and no gelatin.
Greek Style Yoghurt from My Kitchen Wand

