
Knowing that we had some chocoholics in the fall tea group I decided to add three options to the top layer of the fall tea tray. The port truffles can be found here and are an easy option for a luxurious chocolate treat that does not require tempering.
The other two sweets on the plate do and so I have created a post on tempering chocolate that you can access here. If you know how to temper then follow along from this point and I will take you through the process of dipping and molding chocolate.
 The first chocolate is a Cascade Berry Cream in Dark Chocolate. The center was made by following the instructions for the port truffle and adding 2 extra tablespoons of scalded whipping cream. I used some cascade berry liqueur that I made this summer and I am guessing will not be handily available to you. It is possible though to substitute something similar or another liqueur of your choosing.
The method will be the same. As the filling is going directly into the chocolate shells, it does not need to be chilled, so make and put aside.
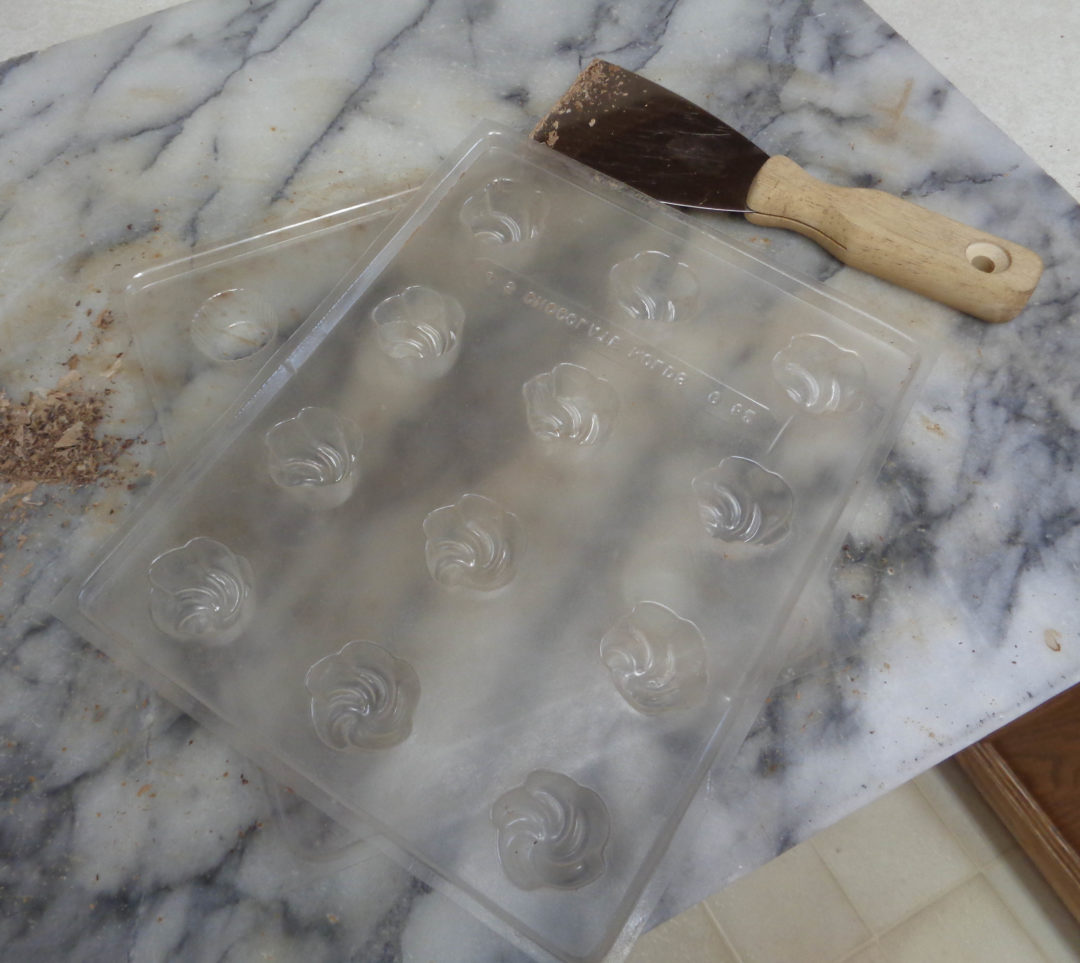
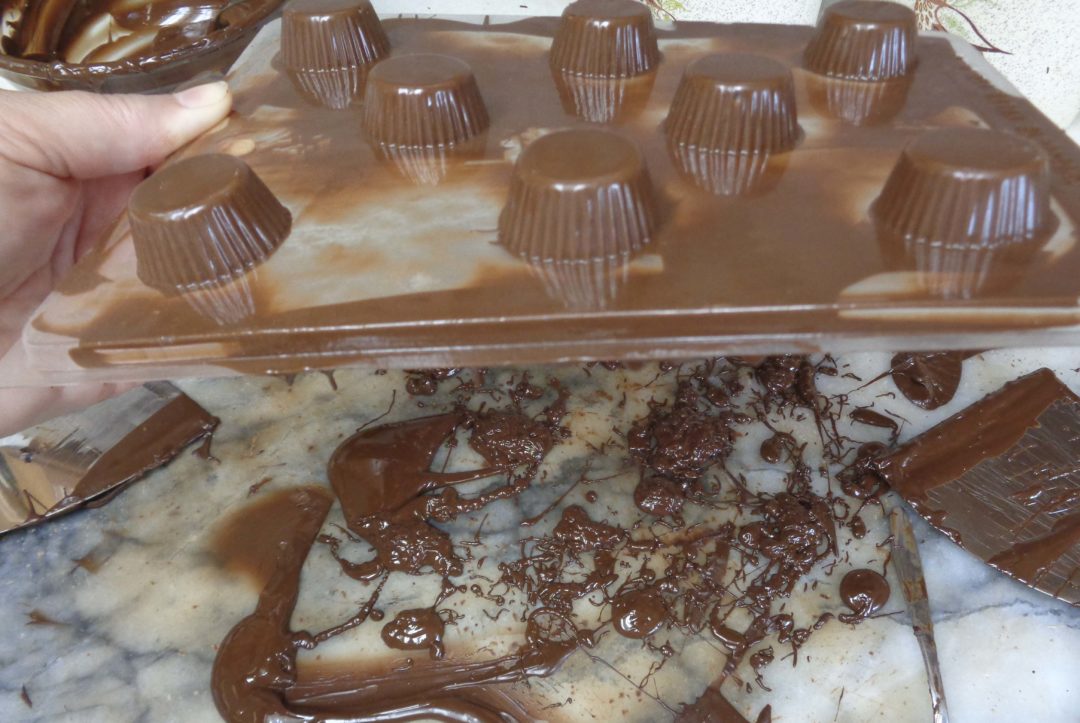
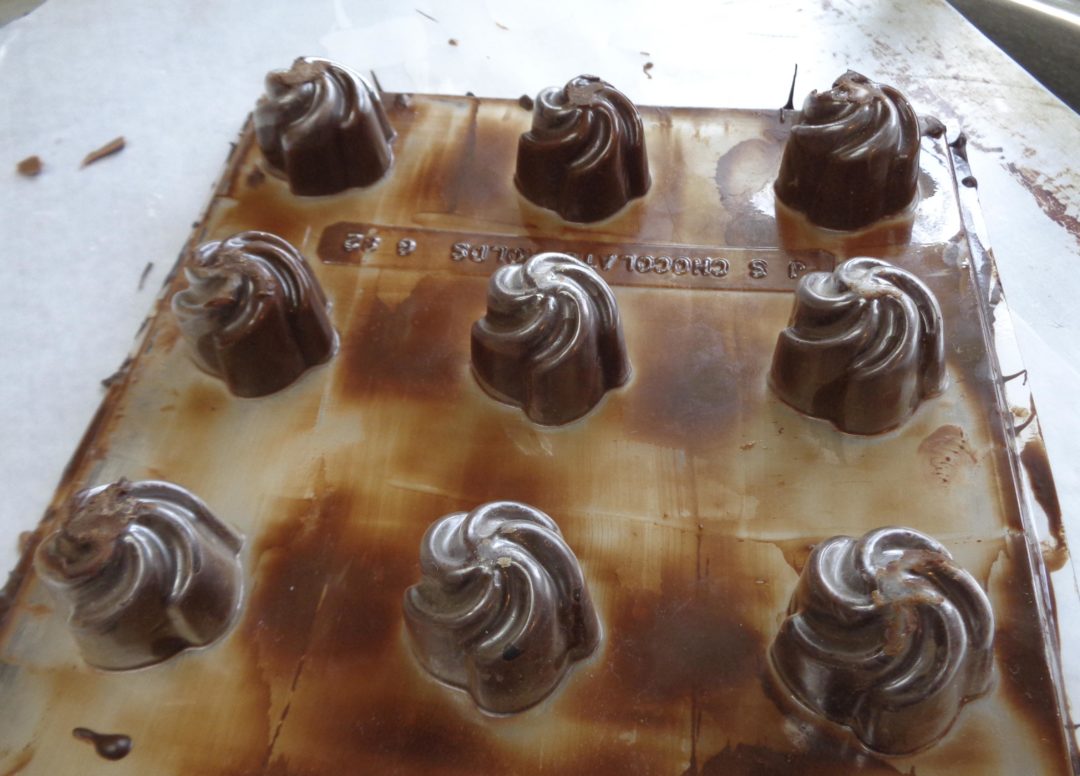
 The chocolate moulds above, although clean will deliver shinier chocolates if they are polished with a tea towel before using. I used two different moulds and you will see pictures of the process using both of the mould shapes.
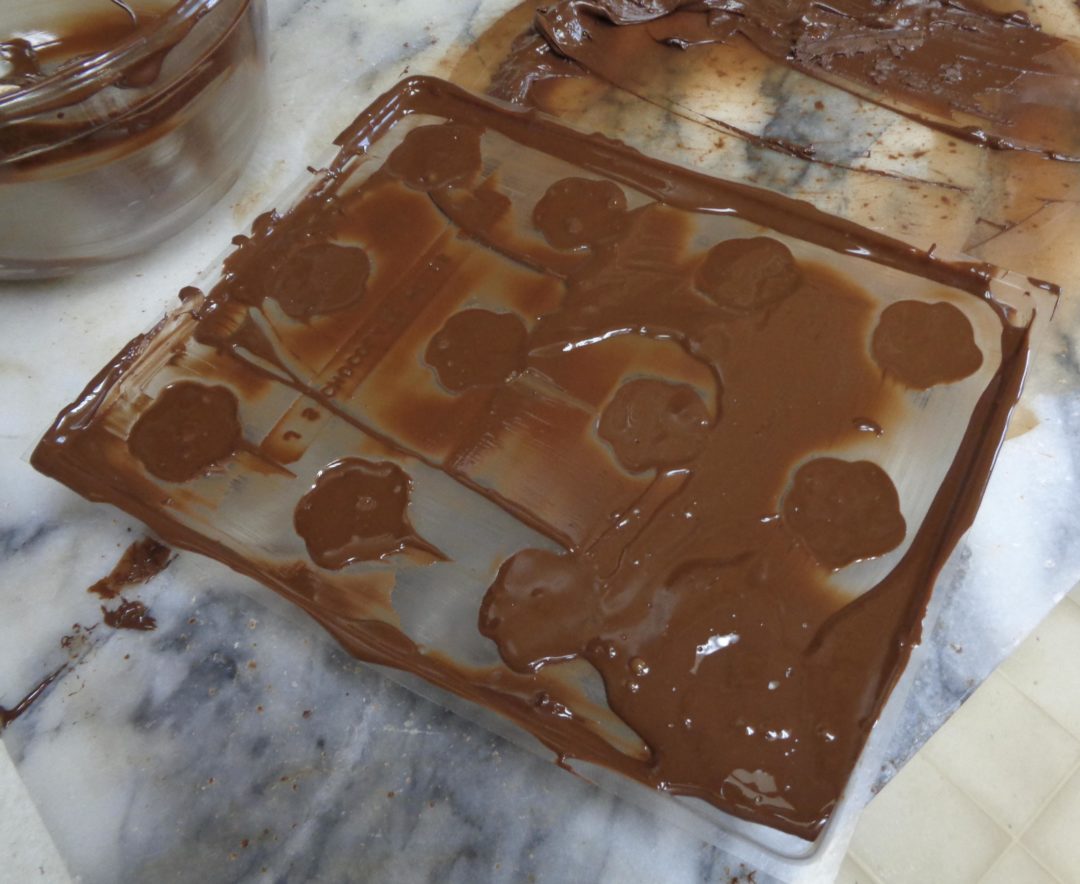
Once the chocolate is tempered, the moulds need to be filled with tempered chocolate. I have a large chocolate funnel that makes life easier but it that is not the case in your kitchen, a spoon will do the job.
Fill the molds and tap the filled moulds against a work surface to bring any bubbles up to the surface, away from the vacuum formed design for the chocolates.
 Another option would be to use the spatula, transfer the tempered chocolate over to the mold and then use the spatula to spread the chocolate into each chocolate “cup”.
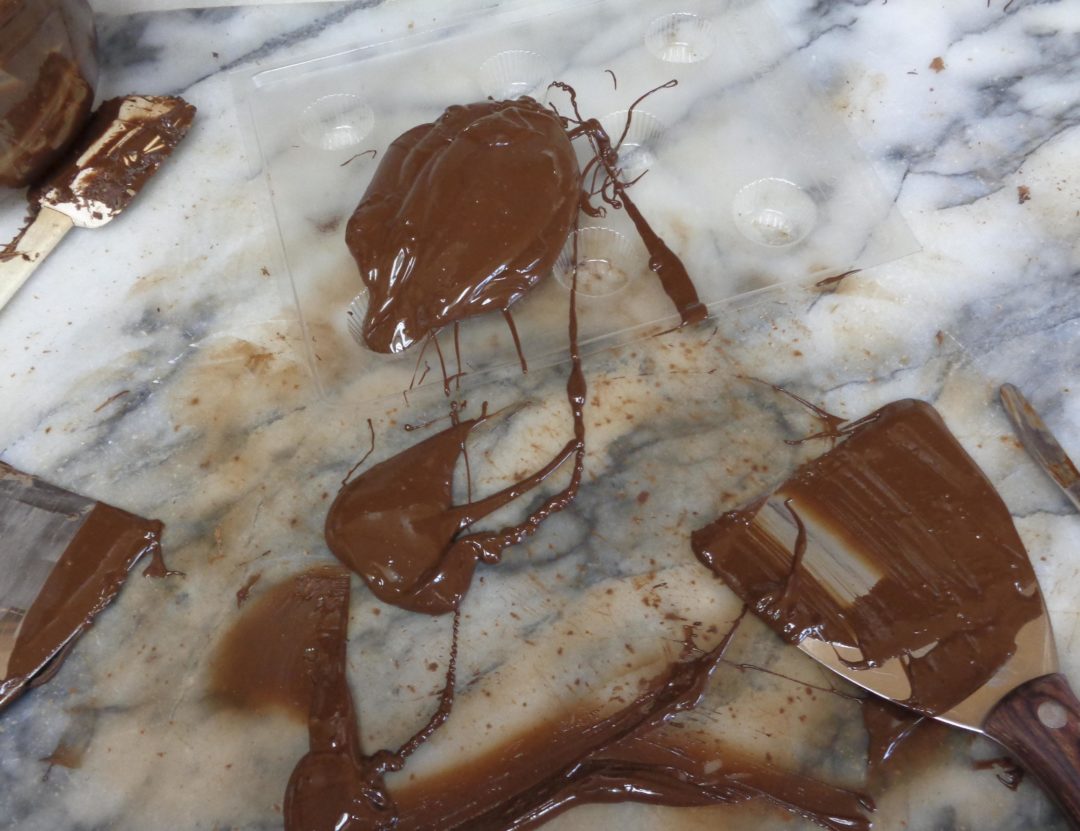
It might not be easy to see but that big bold dump of chocolate at the top of the picture is sitting on a mould about to be spread.
Once the individual moulds has been filled with chocolate and tapped, it is time to rain.
 This is the part the kids always love, raining chocolate!
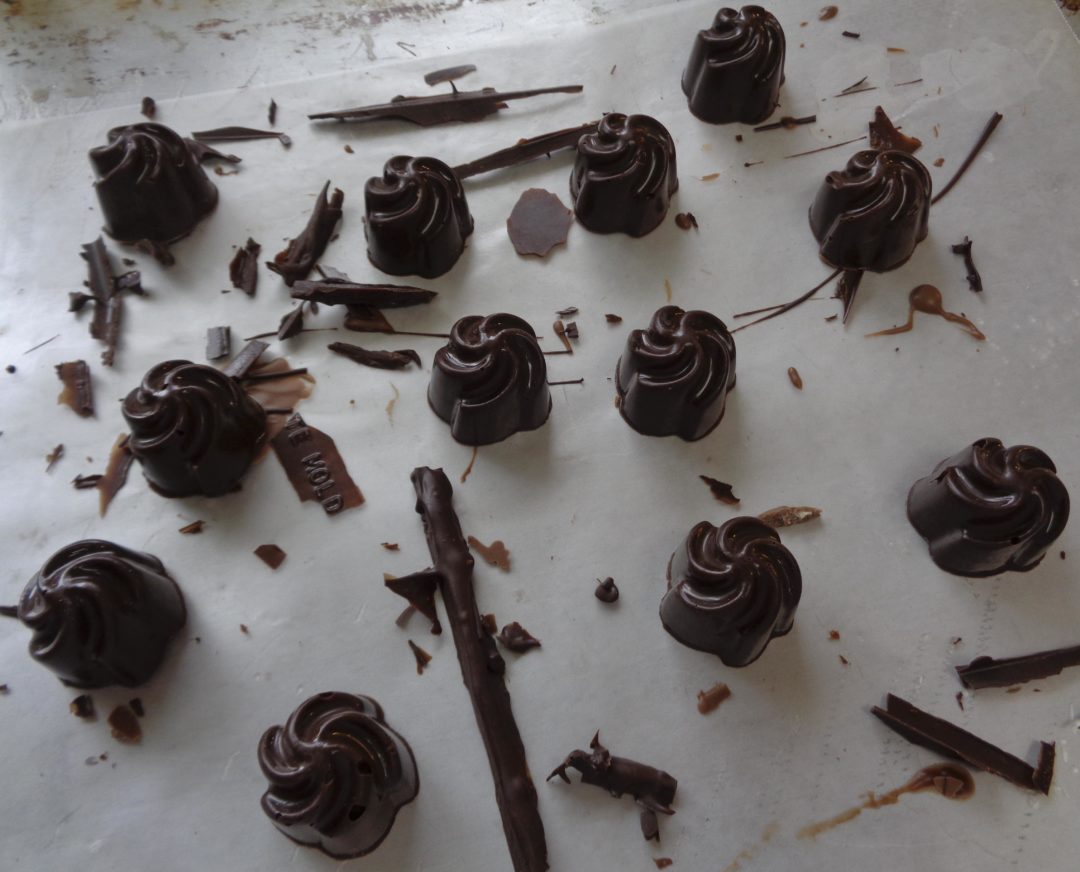
Turn the mould upside down and allow the chocolate to fall back down onto the marble. I use the spatula to tap in the center of the mould, from underneath to assist the chocolate to drop out. No extra picture here. I have not figured out how to hold the mould, spatula and camera with only two hands.
Once the chocolate has dripped out, turn the 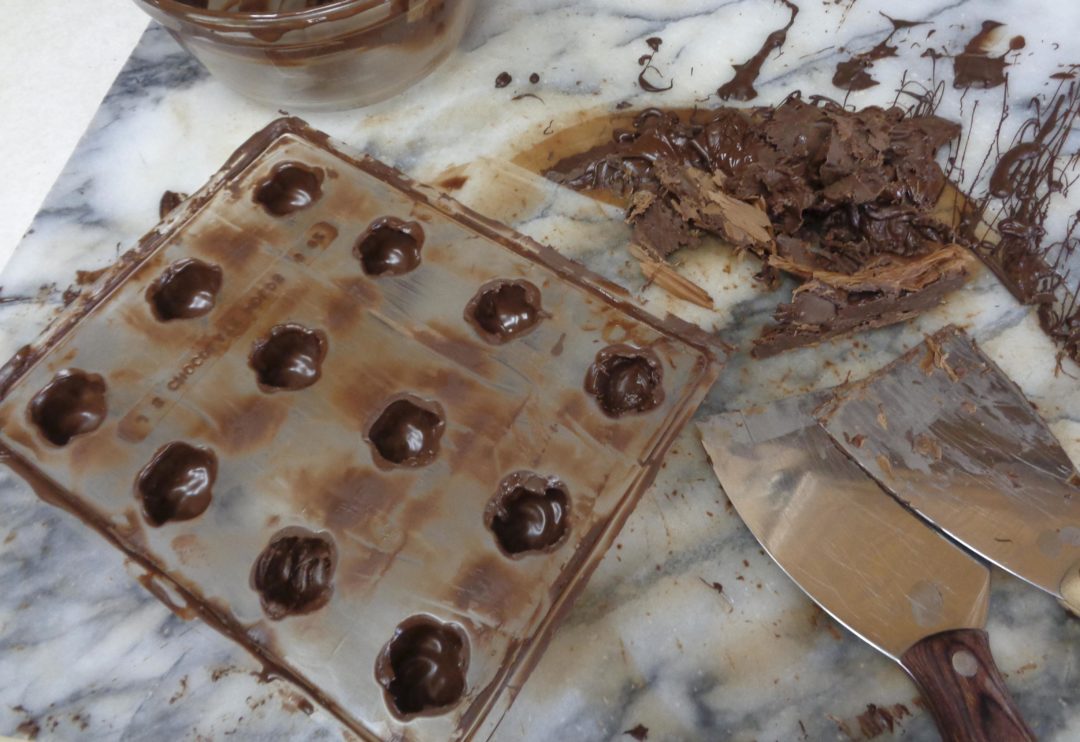 mould around and using the spatula, clean off any excess chocolate on the mold. If there is too much chocolate still in the mould, turn back over and tap again.
You can see why it is important to move quickly. The chocolate is already hardening at the top of the picture. As the chocolate gets cooler, it will get thicker and the plan is not to break a tooth when biting into the finished product. There is a point where it is simply best to stop, remelt and temper again.
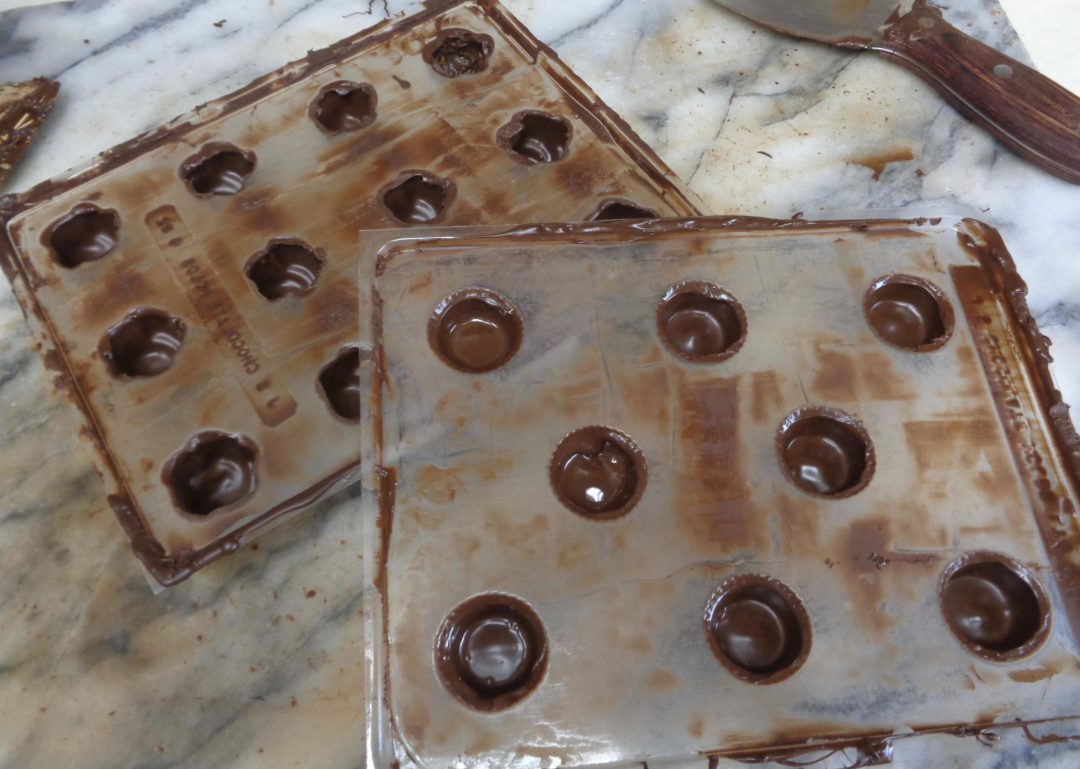 Once all the moulds have been rained and cleaned they will need a few minutes to dry. You may be able to see that the mold at the back, the one done first, is drier and less shiny than the one at the front. It is ready to be filled but the one at the front still needs a few minutes.
Piping in the cream filling is the easiest way for this step.
Two small spoons are also a possibility. Use one to control the filling on the other.
 In either case make sure that there is no filling on the edges as that will effect the seal once the last chocolate is added and the chocolates are finished.
Fill the chocolates carefully. You want to be able to add the chocolate and scrape them clean again without disturbing the filling but also have an even amount of chocolate around the filling and not find yourself with a thin top and road block bottom. As this is a cream center tap lightly to even out the filling or use a toothpick or finger to level any mini mountain peaks.
 Finish off with a small amount of tempered chocolate on each chocolate. Smooth the chocolate, sealing the edges with the spatula and the clean the mold again. Let sit until they are ready to come out.
If at all possible allow the chocolates to sit in a cool place but not the fridge. Cool is good. Cold not so much.
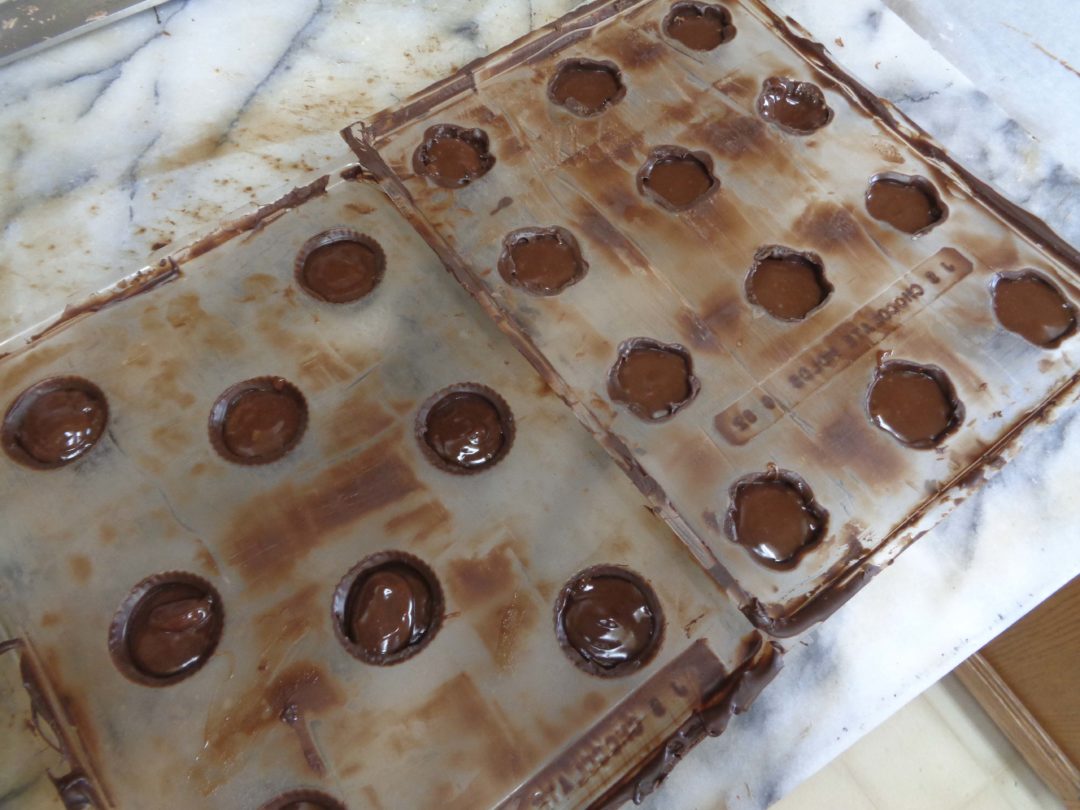
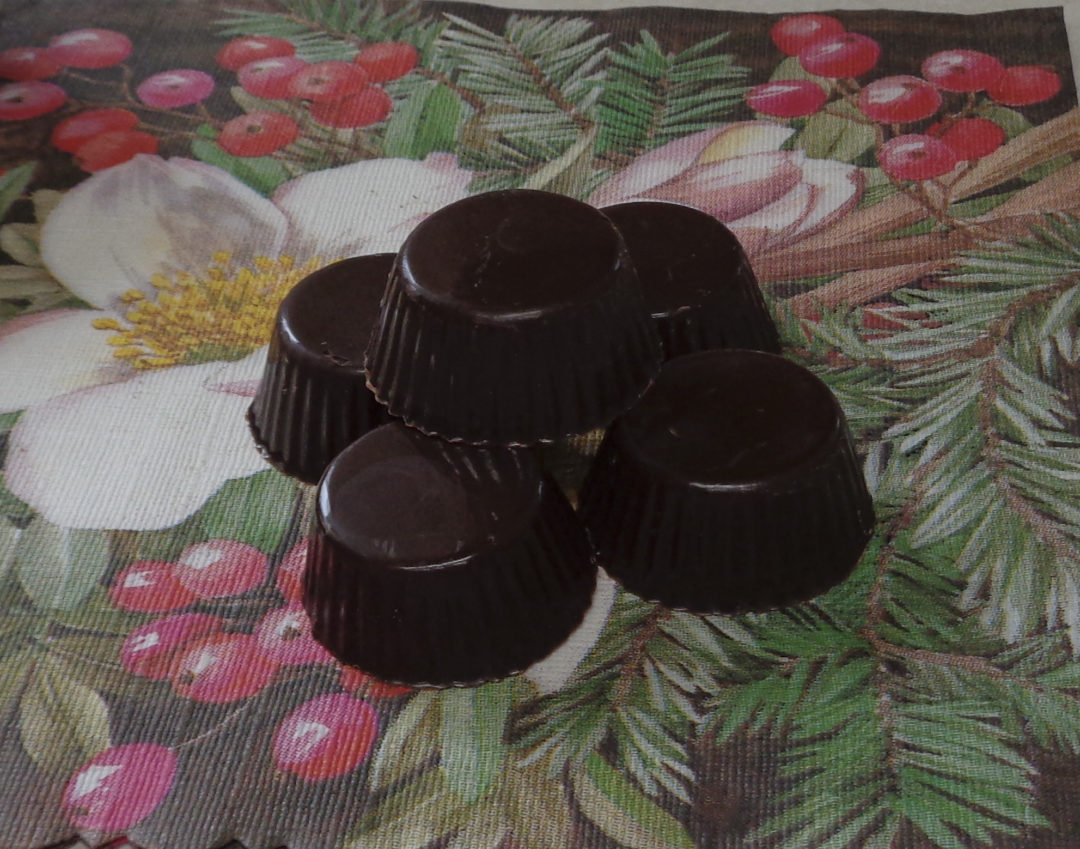
In the picture to the right you can see that the chocolates at the front look cloudy and the not the ones at the back.
 This is because the front chocolates have cooled and separated from the mould while the ones at the back require a little extra time to contract and break the vacuum in the mould.
When the chocolates have fully cooled, if everything has gone well, they will drop out easily when turned over and tapped. The extra bits of chocolate on the mould are reuseable.
If you see white fracture type lines across the chocolates. That is an indication that the chocolate was too warm when put into the mould.
 Chocolates that dry in a mould will come out shiny while chocolates that dry in the air will be more matte in appearance.
Each time you use your fingers to move the chocolates, the shine will go away as oil gets left behind. That is why ( in addition to health reasons ) gloves are used in high end chocolate stores.
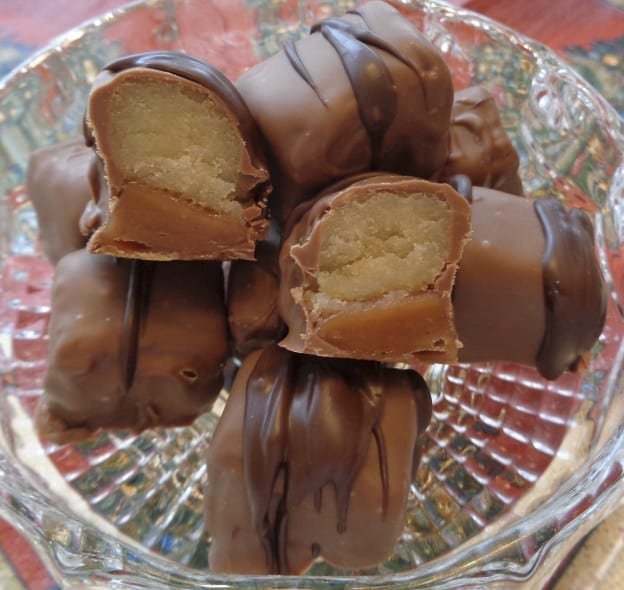
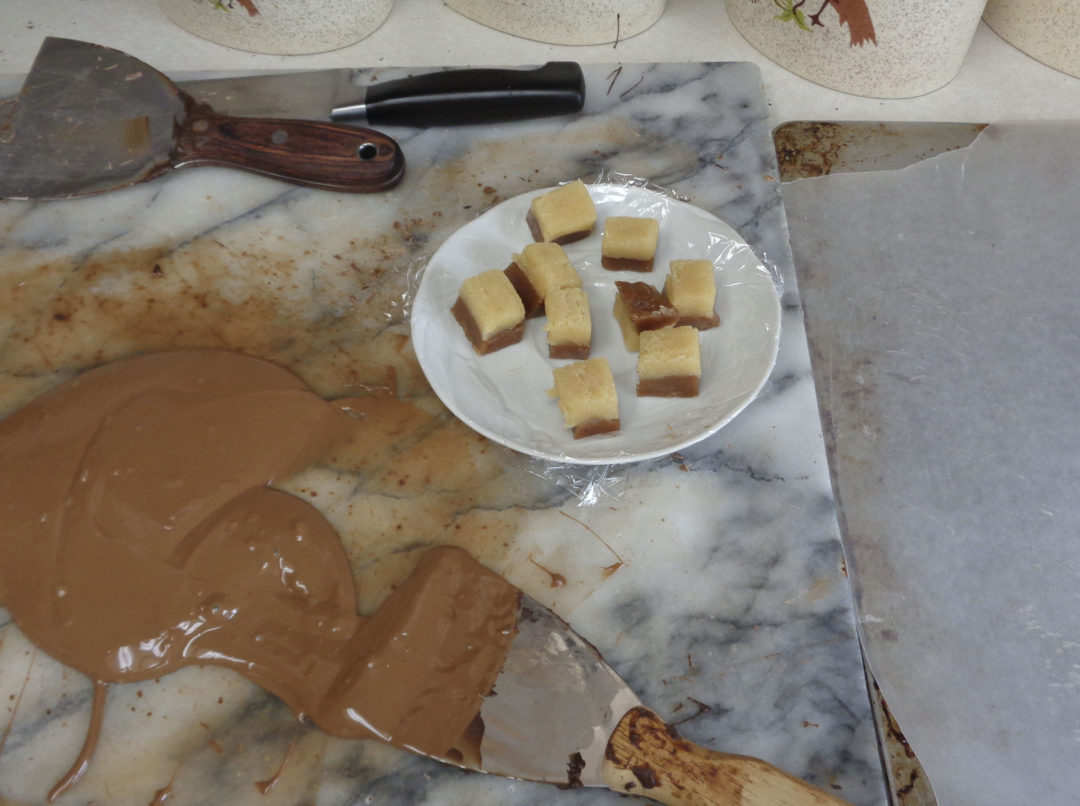
The last chocolate is Apple Cider Caramels with Perzipan. It was not my intention to do this one but I had leftovers handy from the caramel apples last month and I only needed six so what the heck.
 Due to the milk in milk chocolate this chocolate will last much longer before getting too hard to work with. Great for kids doing something the first time as there is more wiggle room.
The process is exactly the same, however both white and milk melt more quickly than the dark. The recipe for the caramels is here.
Perizipan is very much like a marzipan but made with the apricot kernels and either will work. Place a layer of perzipan over the room temperature caramel to equal depth. Remember that there is still a layer of chocolate coming so keep the sizes manageable, no jawbreakers.
Cut into squares and dip in tempered milk chocolate using fingers or a fork. Shake off the excess and place on wax or parchment paper to dry. If too much chocolate was left on you will find a puddle at the bottom of the cubes once dry. Take a good look before moving to the next chocolate and seal any holes. If you have extra tempered dark chocolate left over from other projects, try adding a drizzle on top.

Cascade Berry Creams and Apple Cider Perzipan Chocolates from My Kitchen Wand
There you have it, the final post of the Fall Afternoon Cream Tea from My Kitchen Wand. I hope there was a little inspiration somewhere along the way, a recipe that tickled your fancy or an idea to treat a friend and say thank-you for being in my life.
