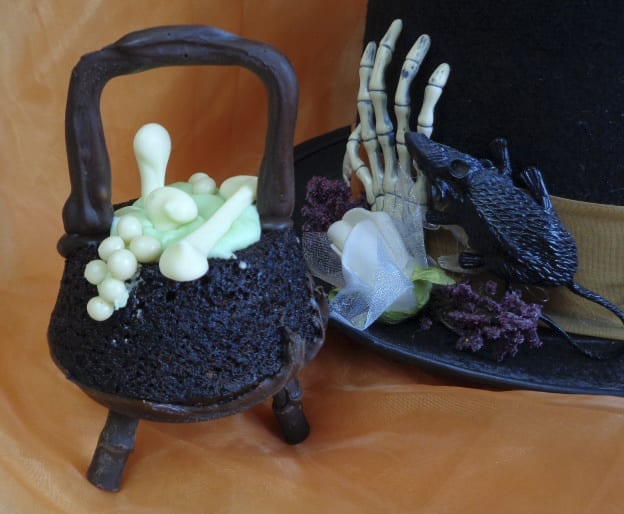
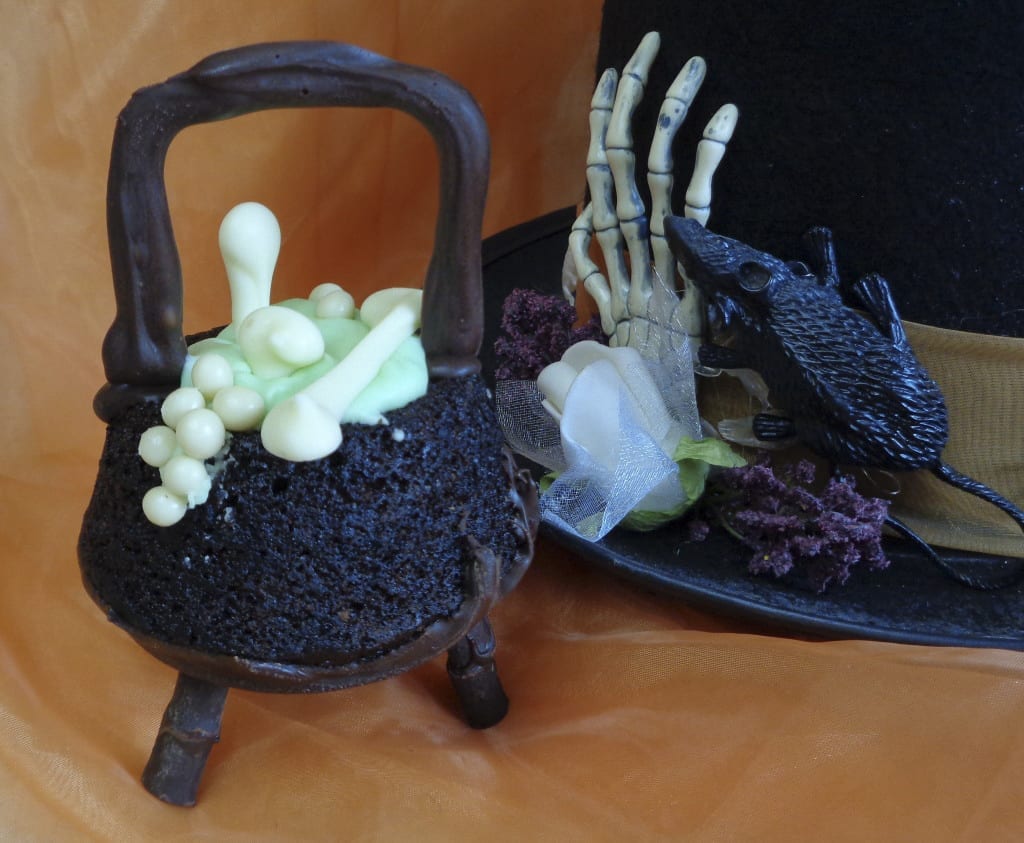
We are getting down to the wire. A fortnight from now, the streets will be filled with a wild and wonderful assortment of other worldly creatures in crazed search of sugar.
If you are the type of person who likes to plan ahead or just need something to keep slightly older apprentice witches out of trouble, these cauldron cupcakes may fit the bill. They are not difficult but do take a more coordinated touch than the Crunchy Spiders posted a few days ago.
Celtic traditions and cauldrons go hand in hand, many said to have magical properties. The picture below is of the outside of The Gundestrup Cauldron, rediscovered in a peat bog in Denmark in 1891. The inside decoration shows a magical ritual where the dead were submerged in the cauldron to be given life again. Another reference to the reanimation of bones mentioned in Dem Bones.
The bearded God in the middle is Dagda, God of prosperity and abundance, hence the connection of cauldrons to the same qualities. They are also a symbol of the are also connected to cauldrons.feminine and the womb, divination and enchantments.
Do you have a cauldron in your home? At a time when the natural world around us is dying, the cauldron is a symbol of hope.
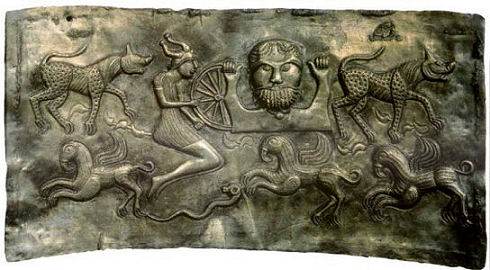
Panel from the Gundestrup cauldron. 100-200 B.C.E. National Museum of Denmark. Copenhagen
I am going to show you how these were put together and give a few alternate suggestions
You will need:
Chocolate cupcakes I would suggest baking them yourself from any standard recipe. Here is a link to the one I used. I suggest this because, the ones I see available here do not have nice rounded tops that make for nice rounded bottoms in the cauldrons.
Filling I used a standard cream cheese icing but there is no reason not to think about sweetened whipped cream if they will be served right away. My personal choice would not be regular icing but that is just due to its sweetness. It might be the best option for you, especially if time is tight and all you need to do is open the lid on a store bought container and let the kids tint.
Colouring I used gel and dipped a toothpick in the bottle. A drop is too much if you are only making a half dozen or so. I used green and yellow, to get closer to bubbling goo and further away from mint. The picture doesn’t do the finished colour justice. A note of caution, boys like bolder colours than girls so you might want to watch this part.
 Chocolate I used tempered dark chocolate for the cauldron and handles, white for the bones and unmelted chunks for the feet. Chocolate chips will also work for the feet. If you would like to avoid tempering, buy the melt, stir and use option in the chocolate section of your grocer. Here is some basic information on tempering chocolate if you would like to go that route.
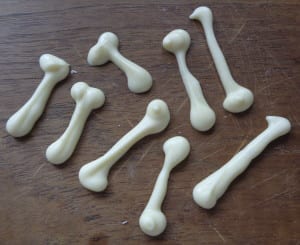
Step One is to melt a small amount of white chocolate. These were piped onto a piece of wax paper and allowed to dry. They are 3/4 – 1 1/4 inch in length. If you don’t have a piping bag with a small tip, here is a quick way to make one from scratch with parchment paper that works with wax paper as well https://www.youtube.com/watch?v=-yMqLYkY5hE
I found on hand, some decorative crisp covered in white chocolate, that were used as overflowing bubbles on the cauldron. The easy hack for this would be white decorative balls from a cake decorating store. or just creatively dribble the icing down the side and leave out the bubbles. This is art not science.
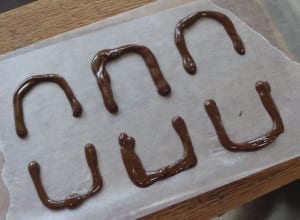 Step Two is to melt your dark chocolate and pipe the handles, making sure they are the proper size to reach from edge to edge on your cupcake. You can free hand simple handles as was done here or draw fancy patterns on a piece of paper and slide it under the wax paper to use as a guide for more intricate designs.
It is possible to make this step a little simpler by substituting a piece of shoe lace licorice for the handle. The end of the licorice will need to be pushed into the edge of the cauldron, once it have been scooped out. Make sure the licorice goes far enough into the cupcake to hold.
I found in the kitchen some semi sweet pieces that were flat on one side and rounded on the other three. They were just under 1/2 an inch long. Two were used to create legs. the end was dipped in chocolate, two pieces put together and then allowed to dry. This gave the cauldrons longer legs. Three large ready made chocolate chips will work as well, creating a different look.
Step Three make you icing/filling and put aside. Here is one option:
4-ounce packages cream cheese, room temperature
2 Tbsp butter, room temperature
2 – 2 1/2 cups powdered sugar
1/2 tsp, extract of your choice.
Cream the cheese and butter together until soft and fluffy, Add the extract and once mixed, the icing sugar, The consistency can be altered by adding more icing sugar or a small amount of milk. Tint. (Half of this recipe might be enough if you are making less than six cauldrons.)
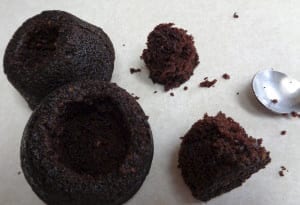 Step Four scoop out the bottom of the cupcakes with a small spoon. The bottom of the cupcake has now become the top, leaving a nice round bottom for the cauldron. Make sure enough width remains on the edges of the cauldron to attach the handles.
Now comes the fun and creative part, assembling the cauldron.
Step Five With melted chocolate, “ice” the bottom of the cauldron and attach the legs. If you are using chocolate chips, you will be able to just sit the cauldron on top and everything can dry. The longer 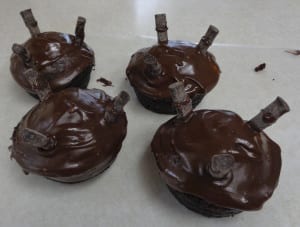 legs will need to firm up before the weight of the cupcake can be trusted so they were dried upside down.
Attach the handle with extra melted dark chocolate.
Fill with your choice of ” green slime” and add bones. As the filling is in the inside of the cupcake and not icing on the outside, I would suggest these do not sit around too long in the open air.
If your house is craft central for your neighbourhood or if the Halloween party is still on your to do list or if you are holding Samhain celebrations, try these fun and not too complex additions to the season. They are well worth extra bit of patience they take if you are looking for something a little special.
Chocolate Cupcake Cauldrons from My Kitchen Wand

