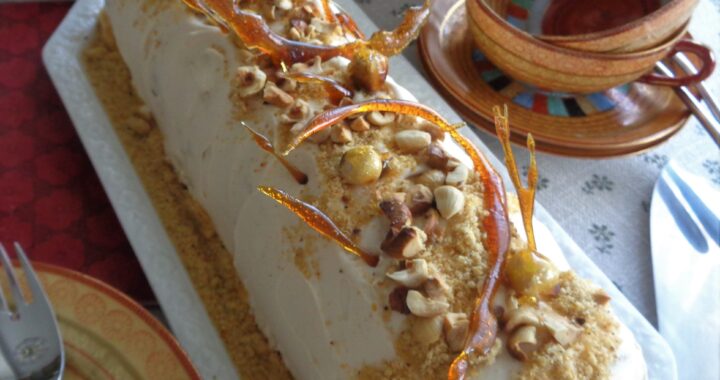
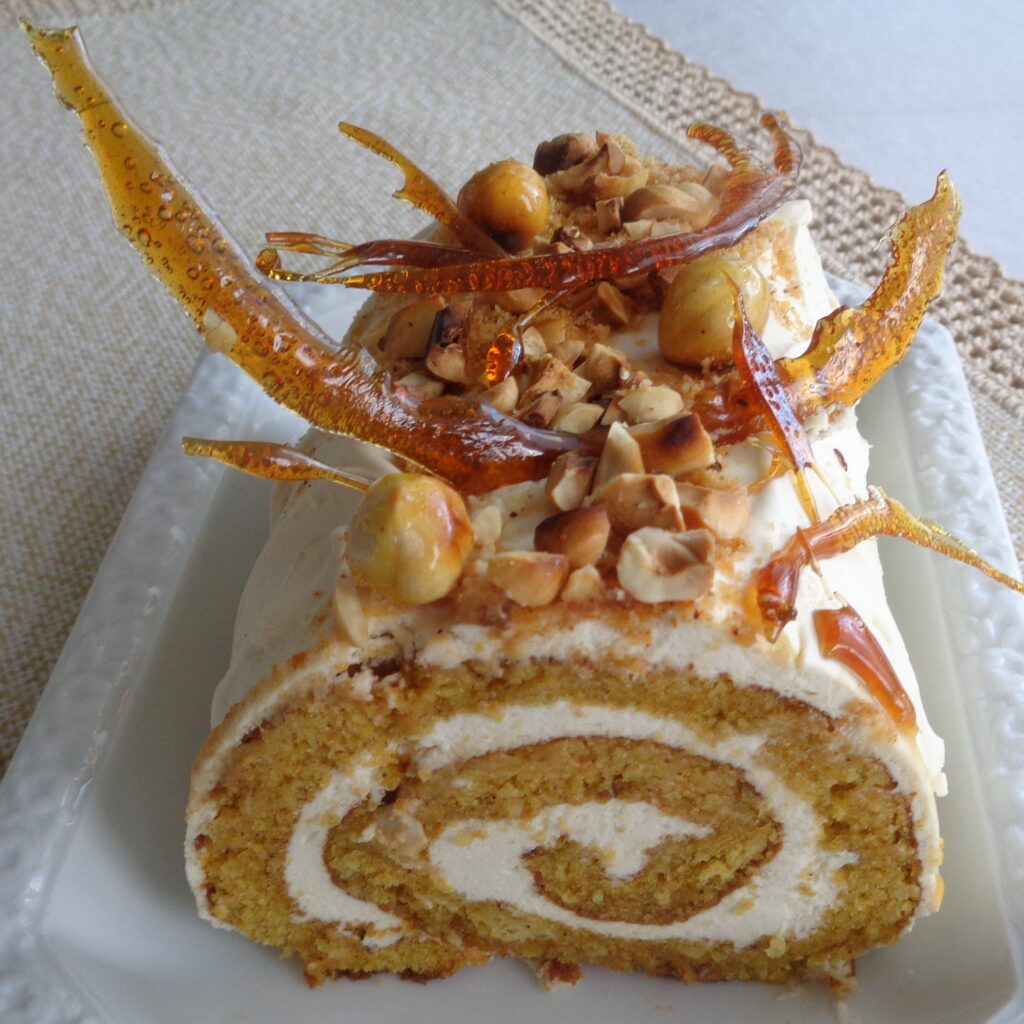
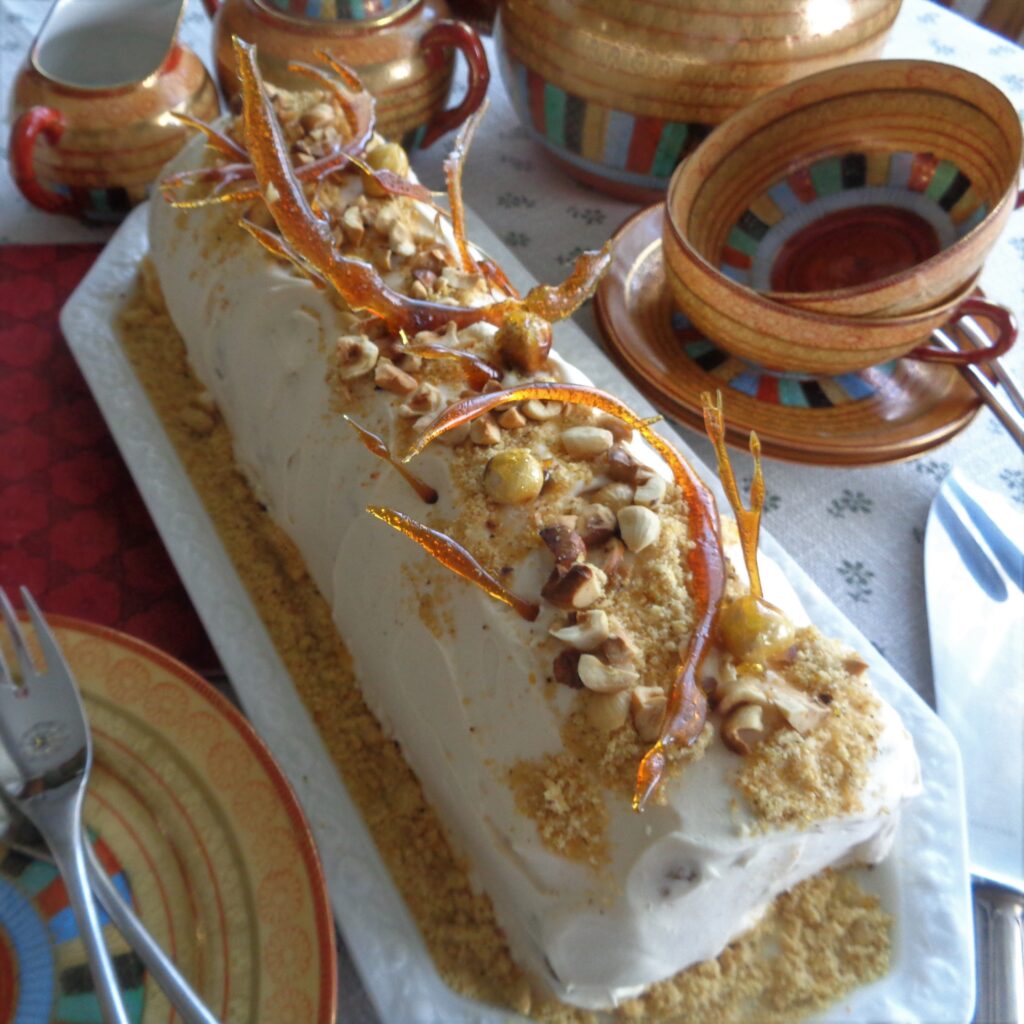
Thanksgiving in Canada and the U.S. are six weeks apart so when this post did not get up for Canadian Thanksgiving, I knew I had a second shot at it this month. Pulling out as many stops as possible is what special days are about, sharing time together and making the occasion memorable. This is a light and airy rolled cake with a whipped cream filling, for everyone who has over enjoyed the turkey.
Rolled cakes are quick and easy and if you have never baked one, I would encourage you to give it a try. They are also the beginning of a Christmas Yule log and a full recipe for one is here. This is more a Thanksgiving theme with pumpkin and hazelnut in the cake and rum and maple syrup in the filling. There is no need to include the topping if stopping with the whipped cream is your preference. It was just a fun way to add a different feel to the meal.
This recipe is for one roll cake but I was making two at the time. The second was decorated by a friend and served at her Thanksgiving dinner. You can see that there are lots of creative options.
You will need:
3 large eggs at room temperature and separated
1 cup sugar, divided
2/3 cup canned pumpkin puree
3/4 cup all-purpose flour
1 tsp. baking soda
1/2 tsp. ground cinnamon
1/8 tsp. salt
4 Tbsp. roasted ground hazelnuts
2 cups whipping cream
3/4 packet gelatine (I use the Knox packets)
6 Tbsp. rum
4 Tbsp. maple syrup
2 Tbsp. sugar
large handful of whole shelled hazelnuts
3 – 4 Tbsp. sugar
1/4 cup maple syrup
Thanksgiving desserts should not even require a mention of holding space for gratitude. It is the reason for the season. As I write this, I can’t help but think of all the challenges British Columbia has faced in the last week as a consequence of the atmospheric river that passed through. There was a time when not one highway was open in southern B.C. and we have another storm arriving Thursday. Washington was affected too and so many people have lost significant portions of their livelihoods or everything. Staying grateful for the blessings of life is what has kept volunteers bagging sand and companies showing up with equipment and material to save buildings, people and animals. As preparations are being made for Thanksgiving dinner, hold your heart open and give thanks for blessings. Begin.
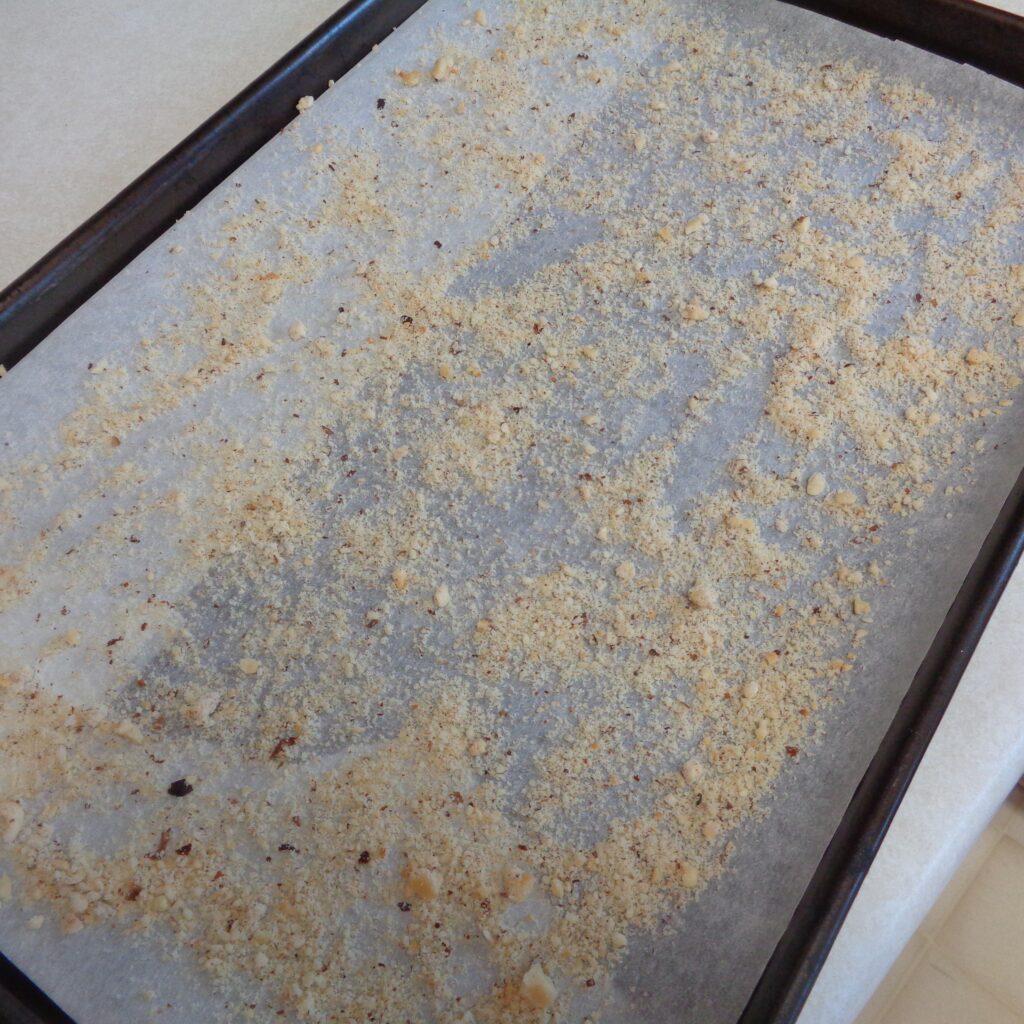 Line a cookie pan with sides (10 x 15 x 1 inch ) with parchment or wax paper. Start with a piece of paper that is larger than the tray and fold the edges over. Run a finger down the side the make the fold sharp and then turn over placing the extra paper closest to the baking pan and the flat side up. This will make taking the paper off the cake much easier as there will be something to hold onto when the baked cake is turned upside down. Sprinkle with ground hazelnut and put aside.
Preheat the oven to 375 degrees F, making sure the racks are in the right place. ( In the center for one cake and evenly space for two.
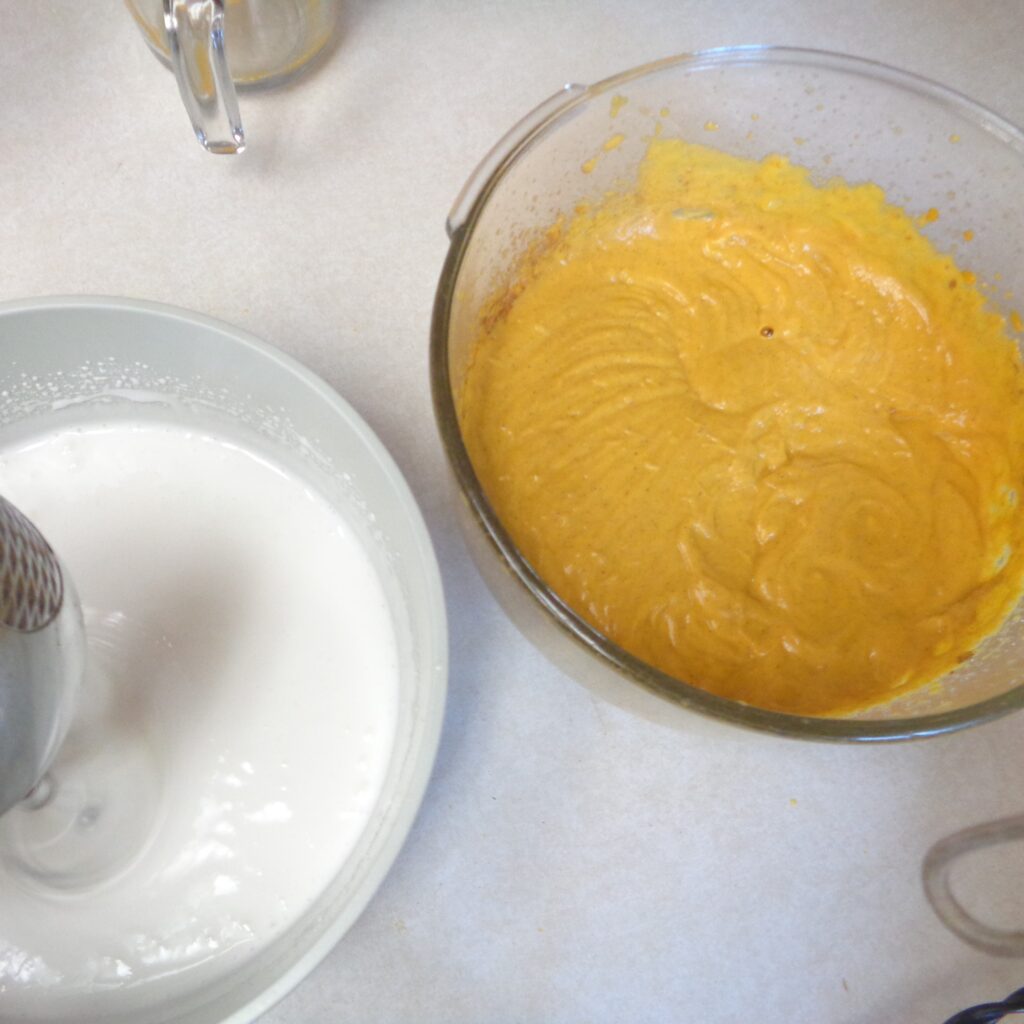 Beat egg yolks until thick and lemon-colored. High speed is best and a large bowl helps with splatters. Gradually add in 1/2 cup sugar and pumpkin puree, continuing to beat on high.
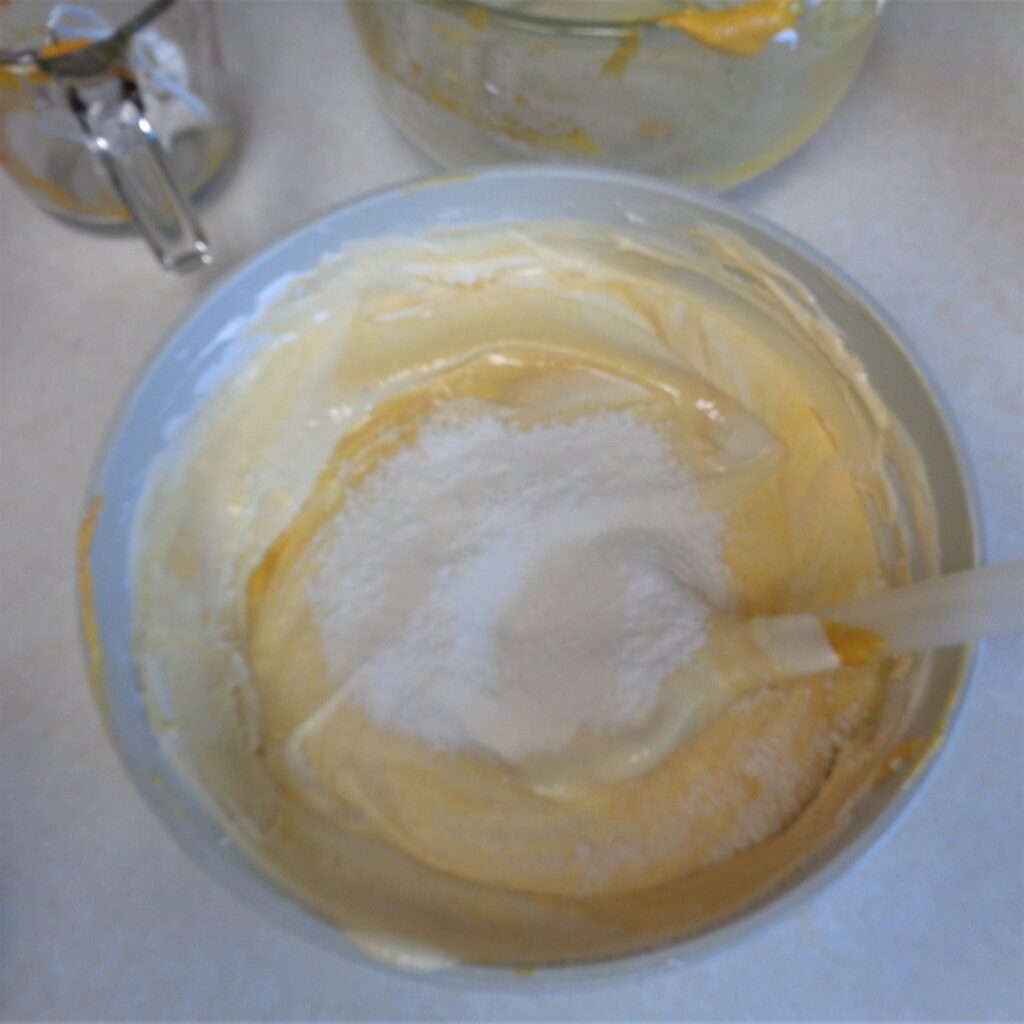 Thoroughly rinse off the beaters and beat egg whites until they hold soft peaks. Slowly add the remaining 1/2 cup sugar and beat until those soft peaks become stiff. Fold the egg whites into the egg yolk mixture.
Sift the flour, baking soda, cinnamon and salt over the combined egg mixture and then gently fold the dry ingredients into the batter. Transfer to your prepared pan and smooth out evenly over the pan. There will not be a lot of depth but there will be enough.
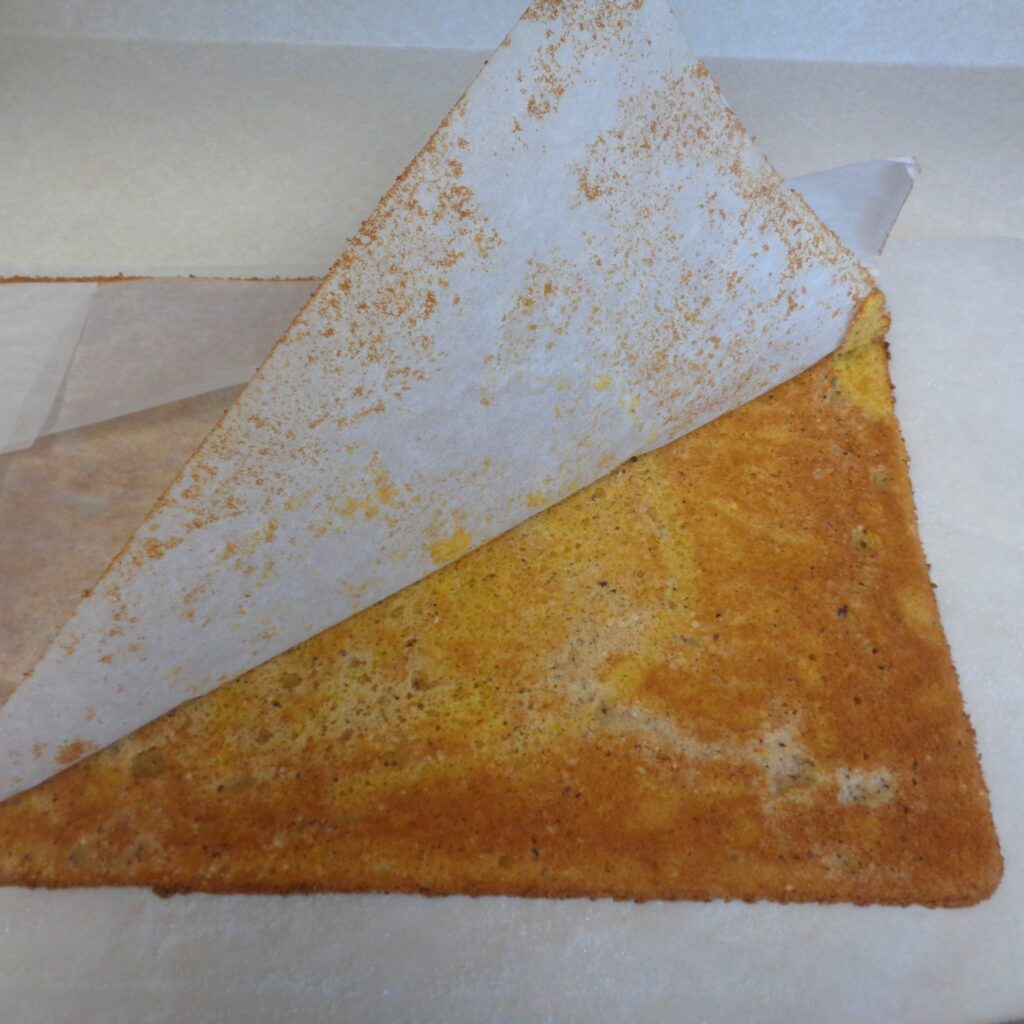 Bake 12 – 15 minutes at 375 degrees F or until cake springs back when lightly touched. During that time clear space to lay out the baked cake. Using a fresh piece of dry wax or parchment paper, sprinkle with a little sugar. (Tea towels work too but they will need to be washed afterwards.) Gently cut around the edges of the pan and turn the cake upside down onto the sugared paper. Carefully peel off the paper. Roll up cake from the short end and place on a cooling rack to cool completely. By rolling up the cake while it is still warm, the cake is being “trained” to stay cylindrical. If the cake is rolled once cold, it will break.
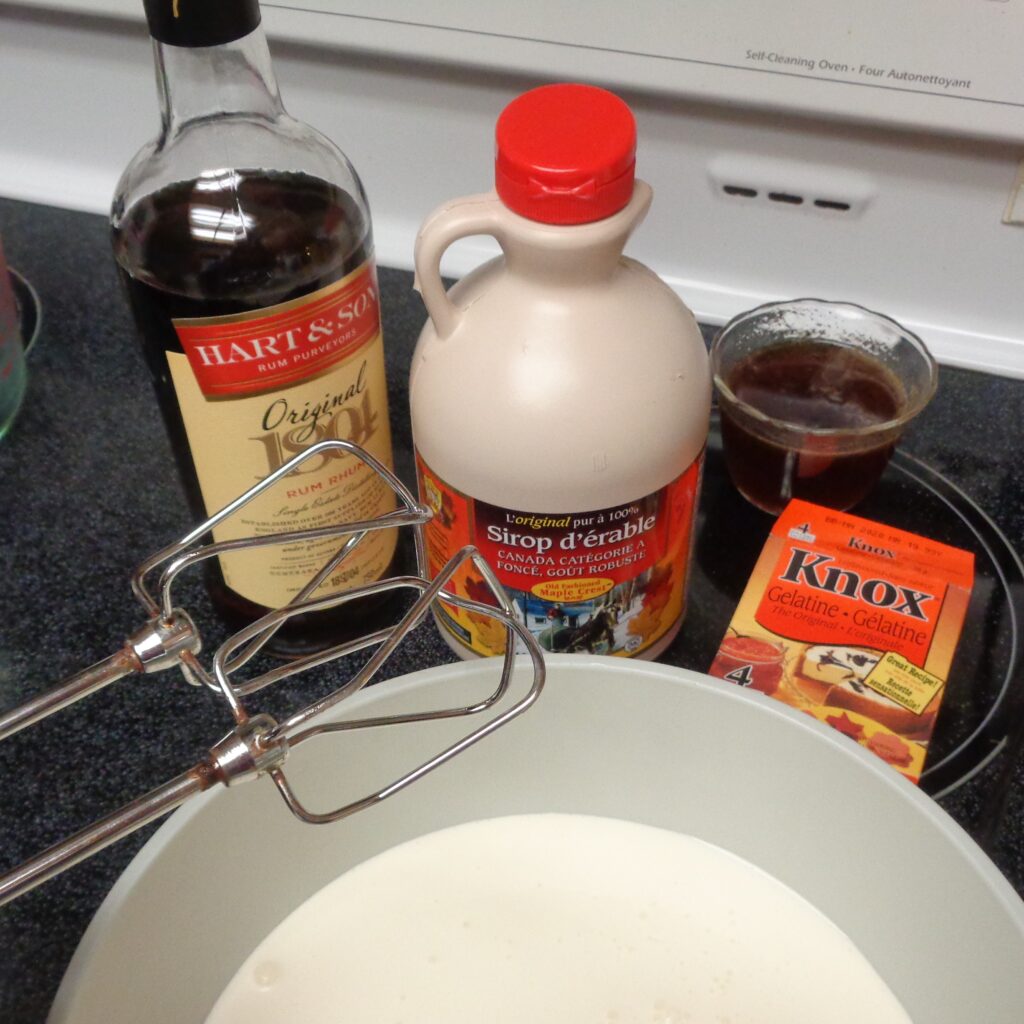 Once the cake is cooled, it is time to start the filling. Place the rum, maple syrup and sugar in a small bowl and add the gelatine. Warm up the contents of the bowl so the gelatine can soften and stir well before adding to 2 cups whipping cream that have been whipped to stiff peaks but not turned into butter.
Taste! This is the time to add more rum or maple syrup to suit your preference. Keep any added liquid to tablespoons as the cream needs to remain firm enough to support the rolled cake.
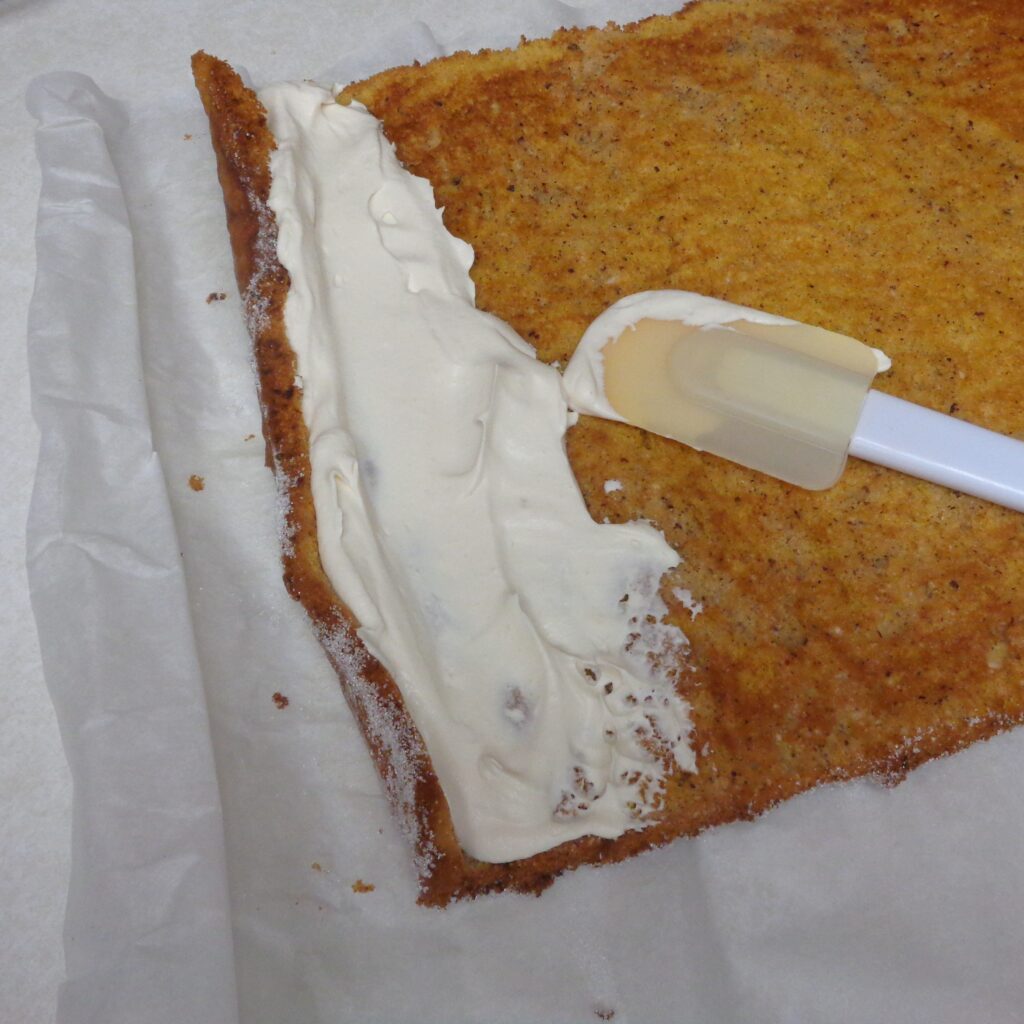 Unroll the cooled cake and begin filling with the maple rum cream. Generously spread to the edges and make the first few turns. Getting this part tight keeps the roll a circle and not an oval. Ovals make absolutely no difference to the finished taste. Get in the middle with your fingers and push the cake back into itself if needed so that a nice spiral is created from the beginning.
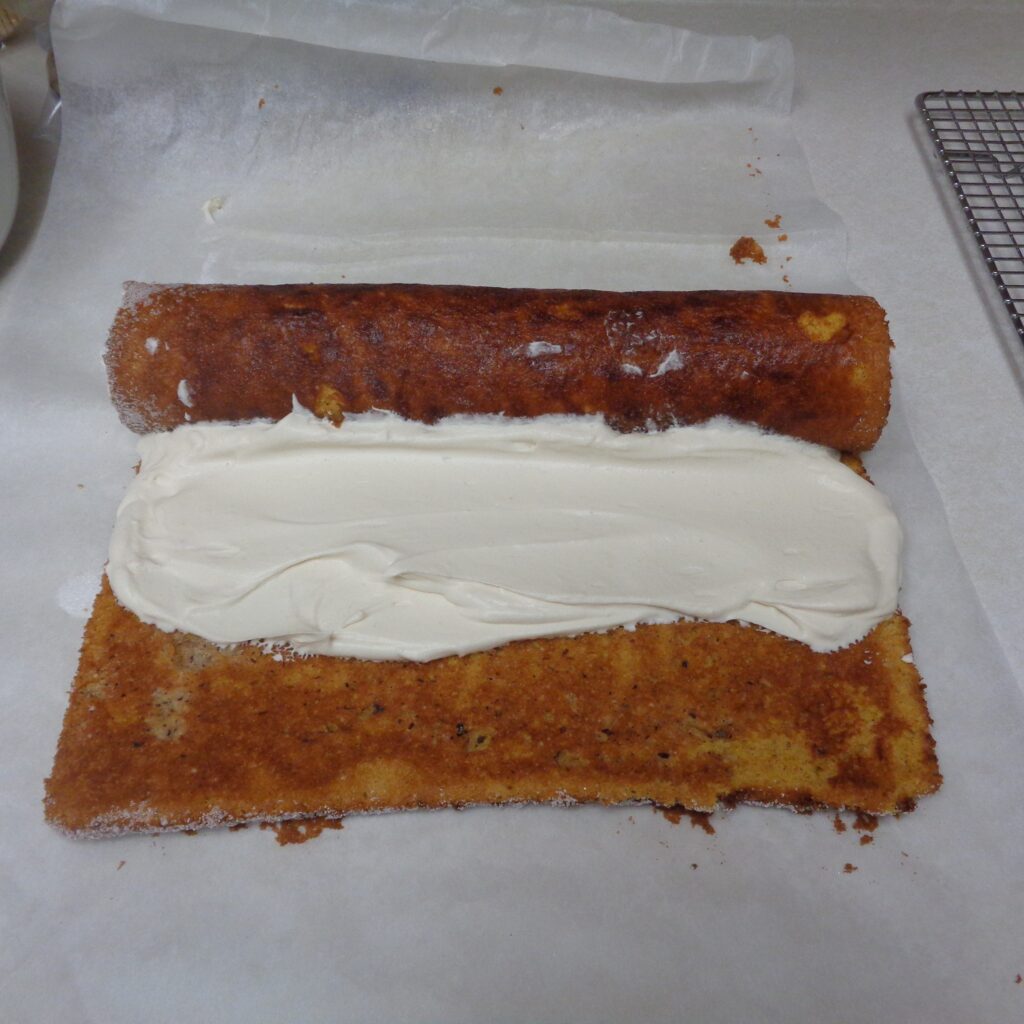 Continue to fill and roll in sections or thirds. It does not matter if the filling spreads out of the cake as it will all be used to cover the ends. Once the cake is filled and rolled transfer the cake to a flat plate with the finishing edge of the cake on the bottom of the plate. Add more whipped cream to the top of the cake. Spread and cover down the sides and ends.
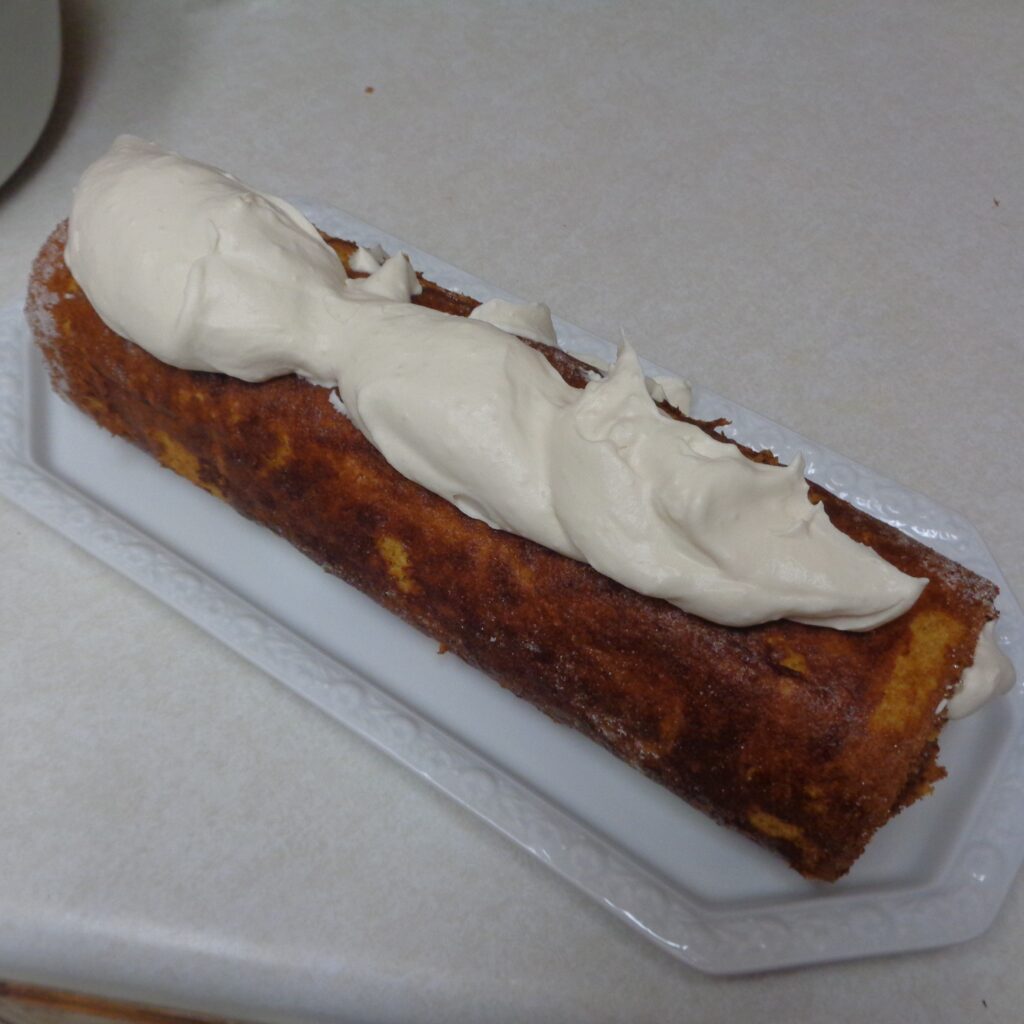 When the cake is covered with pretty swirls or any other attractive design; stop, cover the cake and put it in the fridge. Take out 20 minutes before serving, all to soften and enjoy for Thanksgiving dinner or any time that calls for pumpkin.
If you feel like making a statement then here is what we did this year.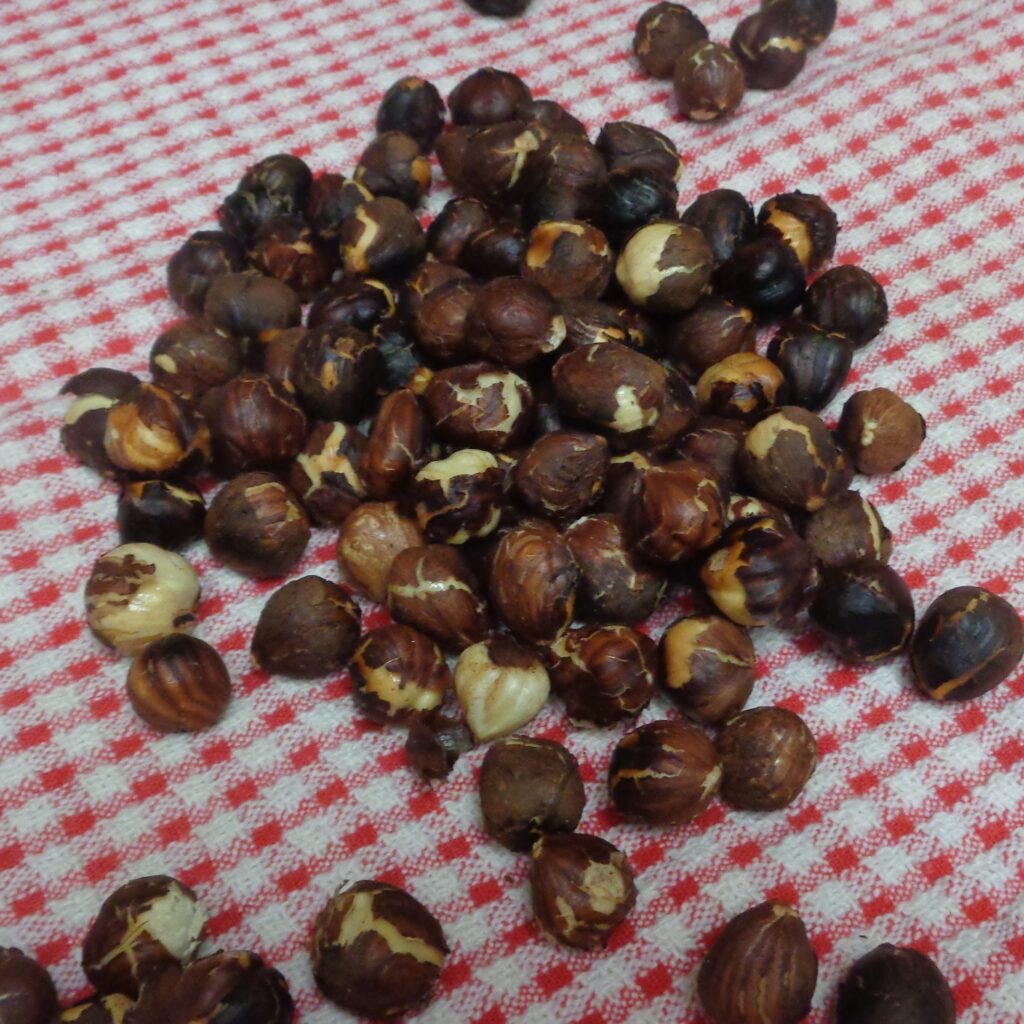 Firstly, roast a large handful of hazelnuts in a toaster oven until they can be heard popping. Transfer to a tea towel and rub off the skins. They do not need to be 100% skinless but get off as much as possible.
Grind enough to sprinkle over the top of the cake.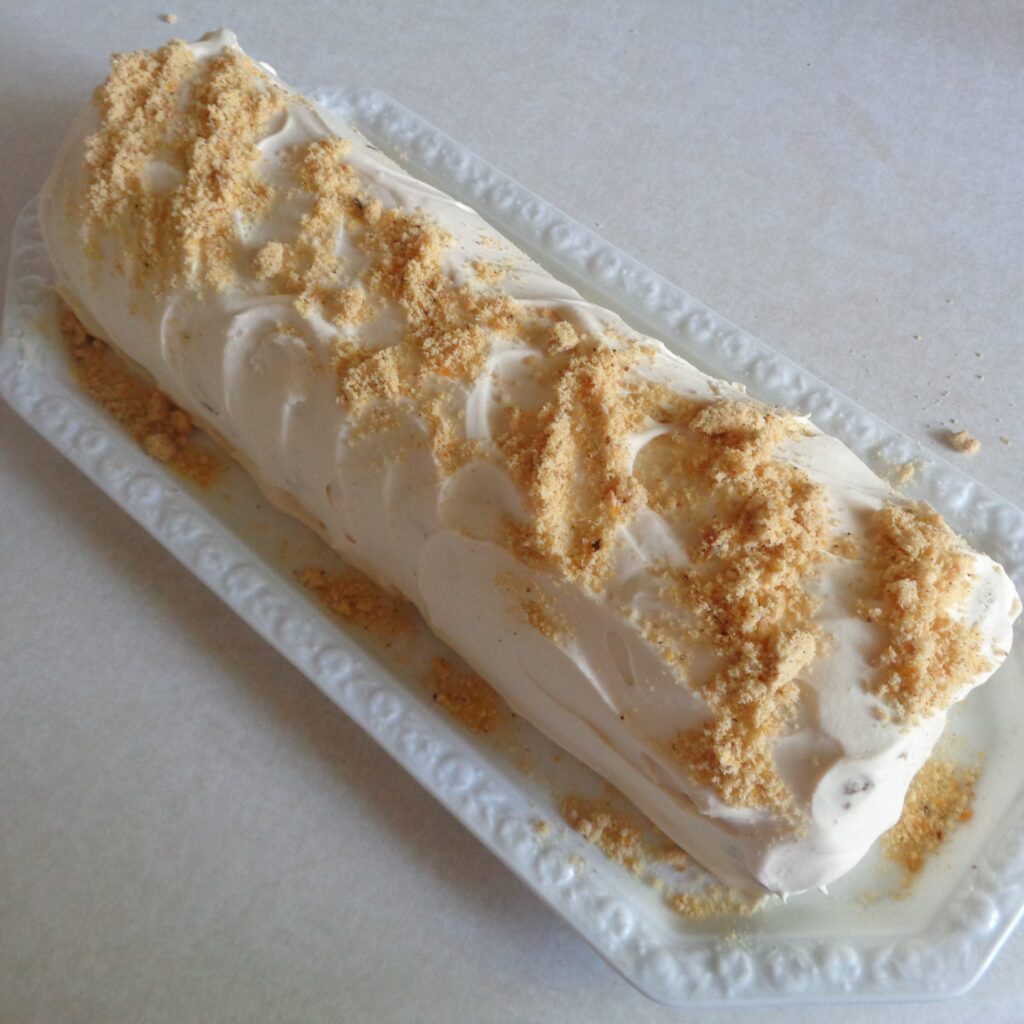 Coarse chop another group of hazelnuts and add them to the design. I used a wave but there are all sorts of options. This just to get the juices flowing.
The final hazelnut component was to coat some whole nuts in liquid sugar. Place sugar in a small or medium frying pan and heat. The sugar will begin to liquify. There will probably be clumps. Press down with the back of a spoon to break them up. Once the sugar is liquid and a lovely golden colour, drop in single whole hazelnuts, coat with sugar and remove to a sheet of parchment with two spoons. Repeat until you have enough for your design.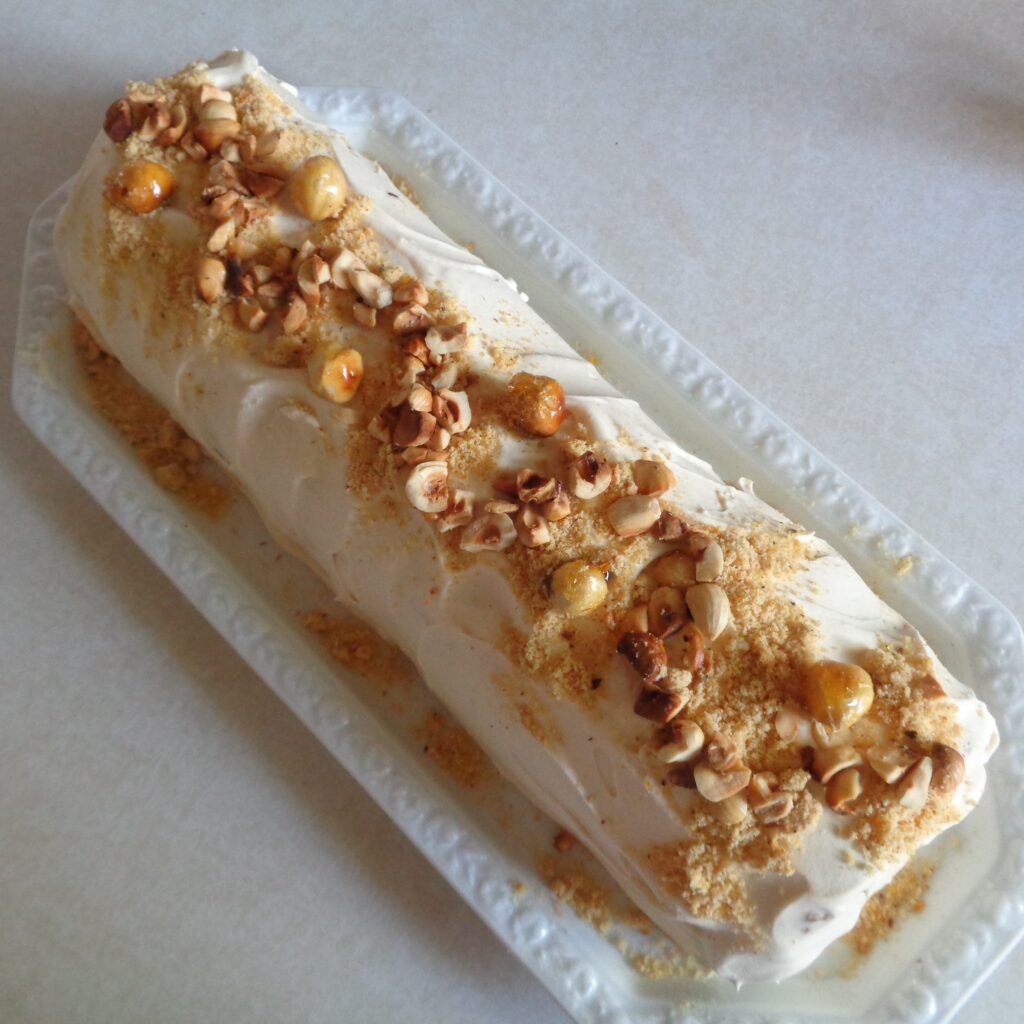 I chose to not add sugar to the ground and chopped nuts but there is always the option to toss all the nuts is liquid sugar and grind or chop as needed. They would not need to be individually coated as they are going to be broken down with a grinder or knife. Simple stir and pour out onto parchment. Once cold, chop or pulse to the size wanted.
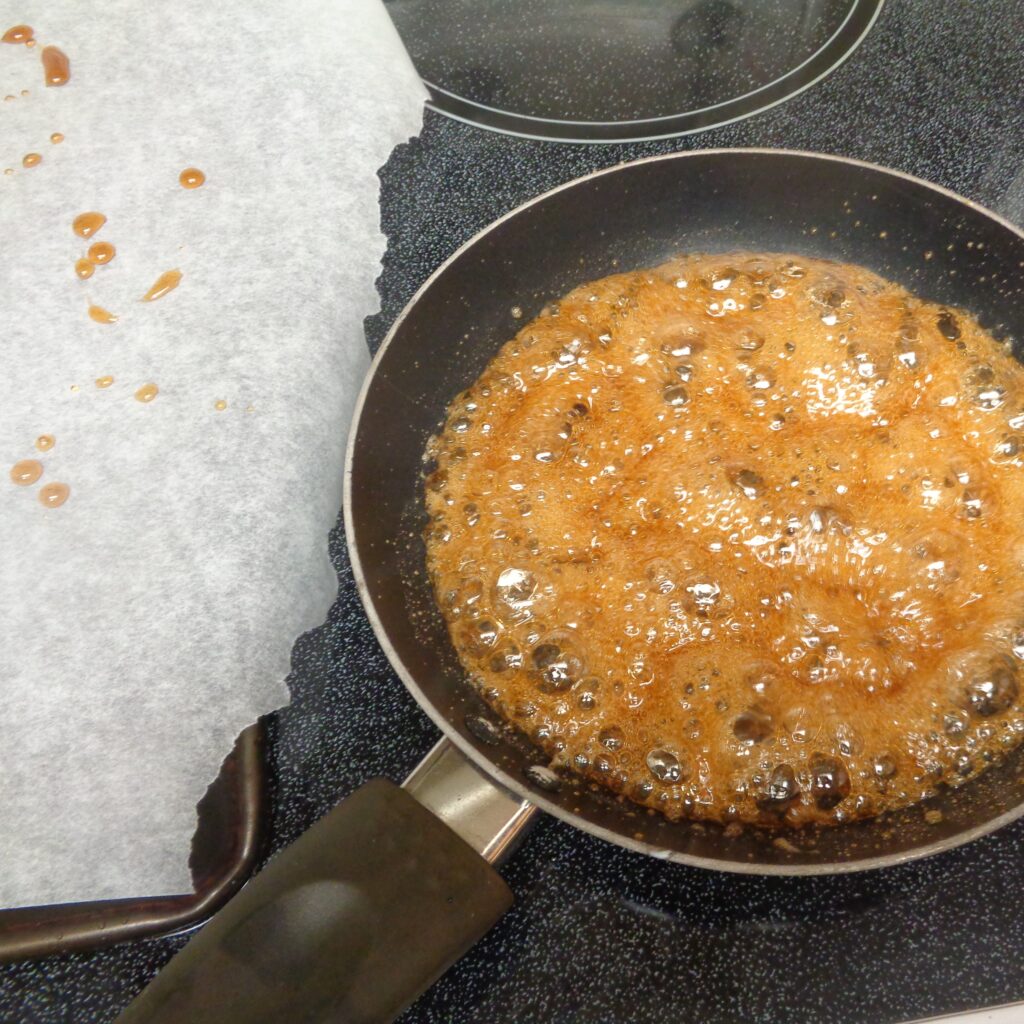 To make the maple syrup decorations, bring maple syrup to a boil and let bubble until hard crack stage is reached, (295 – 309 degrees F) A thermometer will help as burning the maple sugar happens very quickly. Using a spoon drop a few small amounts onto the parchment paper. When the right temperature is reached, the candy will harden almost immediately. If the maple sugar remains liquid, simply let it cook a little longer.
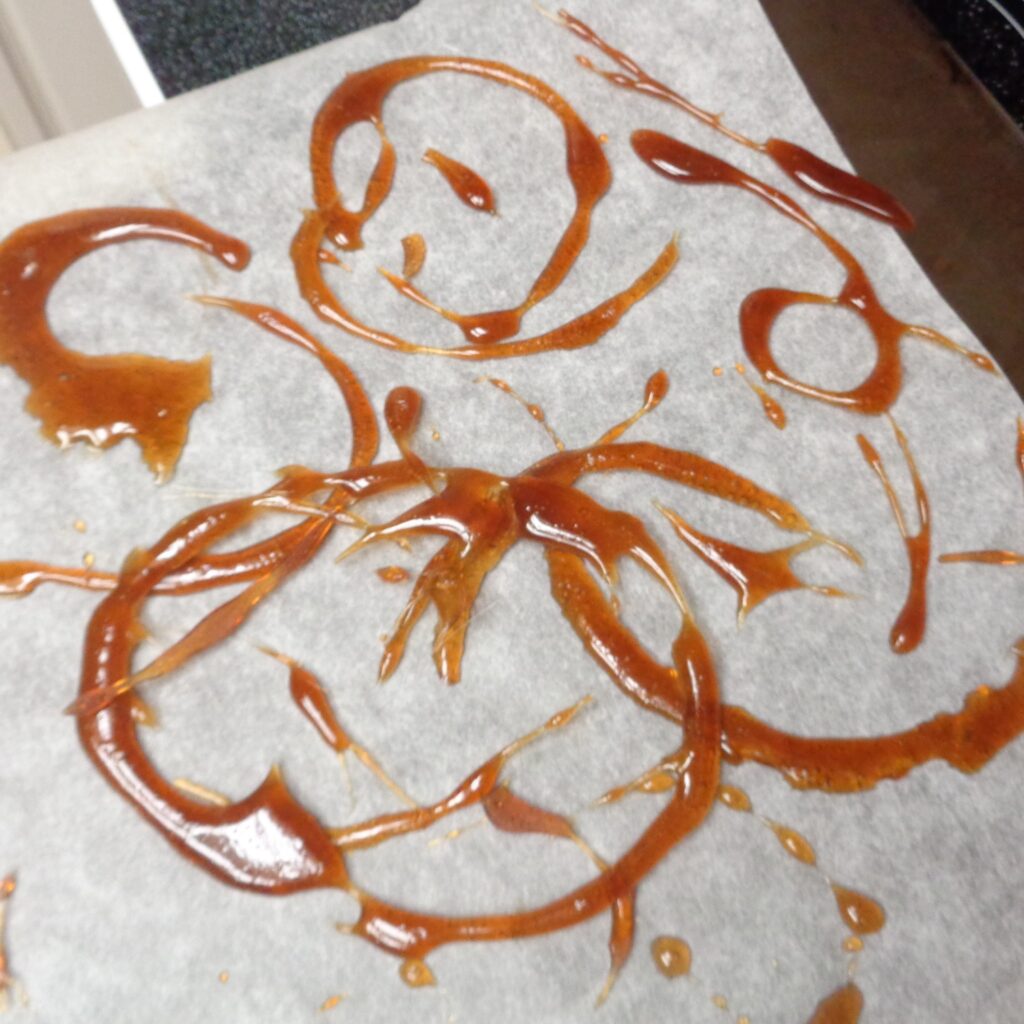 Once hard crack is reached, dribble in circles, half circles, hearts or loops, whatever strikes your fancy. This is not about being perfect.
Once cool add the maple syrup candy to the top and serve. VOILA! The addition of the sugar based parts, maple syrup and hazelnuts, should be completed just before serving as the moisture in the whipped cream will begin to dissolve the sugar, making the artistic loops and arches, less stable. This is version one and below is version two. Two different looks with the same materials. This is truly a time to play. Modern art is not regulated so please feel free to play and step outside the box.
Celebrating gratitude

