Apple pie is such a standard item in North American baking. For some it is a fall preserving job that uses up culls. Six or sixteen pies packed away in a freezer somewhere until needed. For others it is something to leave entirely up to bakeries to prepare.
There are really just two things that make a good apple pie, getting a feel for making pastry and choosing the right apples.
Honeycrisp apples are a cultivar cross between Macoun & Honey Gold, developed at the University of Minnesota and although they are a very popular and tasty apple, great for baking, Honeycrisps are more costly than the average apple. That is because the apple does not grow, store or ship well. Taste when eaten raw was THE focus for the Honeycrisp apple: crisp and well balanced in sweetness and acidity.
Over two decades ago, a friend and I spent the day at an apple festival. For $2.00 we could taste as many different apple varieties as we wanted. At the end of the allotted hour we compared notes and discovered we had both chosen Honeycrisp as our favourite.
With much larger cells than most apples, they rupture when bitten into, filling your mouth with juice. They require special storage (cold and dry with a low oxygen environment), trellis’ to hold hold them up and every tree purchased requires a royalty fee that goes back to the University. They are thin skinned, easily bruised and need hand clipping of stems in industrial harvesting to reduce damage to that skin. Honeycrisps are also harvested three times in a season as the apples on each tree do not ripen at the same time.
They are however not the only apple good for baking pies. That tart sweet balance is one criteria and the other is that the apples don’t break down while in the oven. Having slices of apple inside the pie and not apple sauce is important to people! Who knew.
Here are some alternate suggestions, Jonagold, Granny Smith, Braeburn, Rome, Jonathan, Golden Delicious, Northern Spy and Winesap. I will apologize right away if I missed your favourite on this incomplete list. It is also possible to mix up the varieties but for this pie, I am sticking to Honeycrisp.
 You will need:
Pastry for a 9 inch pie
2 large honey crisp apples washed, peeled, cored & sliced thinly
1 Tbsp. all purpose flour (optional)
1/2 cup raisins (optional)
3 Tbsp.evaporated milk
I am going to begin with a simple pastry recipe for anyone just dipping their toe in the water. If you have a family favourite recipe for making pastry or prefer to purchase pre-made pie shells, please feel free to skip on down to the pie filling below.
To make a standard shortcrust pastry you will need:
2 cups all purpose or pastry flour
2/3 cup shortening or lard
1 tsp. salt
6 Tbsp. water
Close your eyes and take in a full breath. Hold for a moment and then release. Repeat, remembering that relaxation is realted to the exhale. The more air that can be released, the greater the capacity of the next inbreath. Bring your attention into the present moment. “In my kitchen filled with Care, I Welcome, Earth, Fire, Water, Air“. Begin.
This ingredient list comes from The Women’s Home Companion Cook Book, published during WWII, to help cooks deal with rationing but is a pretty standard mix.
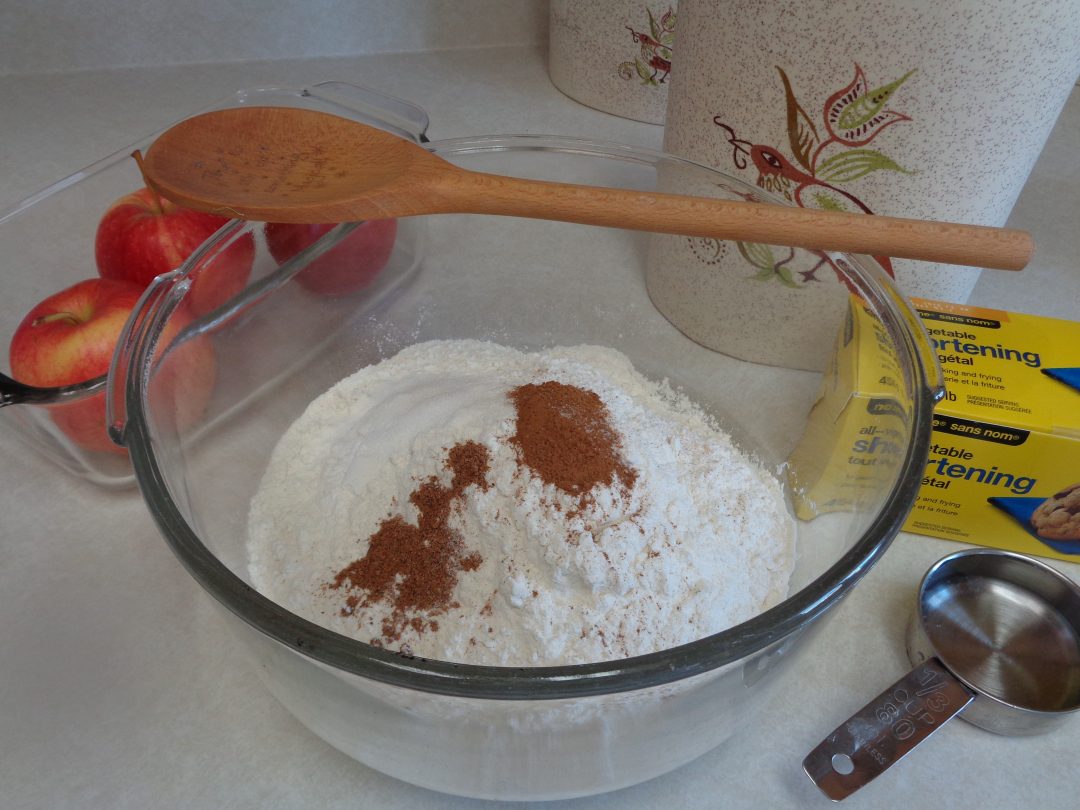
In a bowl combine the flour, salt and spices if using.
When I know I am making fruit pies, especially apple, I will often add a pinch or two of cinnamon or nutmeg to the pastry. This is in no way mandatory. It just adds a little extra flavour to the finished product. If I am making a big batch for both savoury and sweet pies then keeping the pastry plain is a better idea. ( If the pastry will only be used for savoury items, fine herbs, poultry seasoning or something similar is also an option. )
You have probably heard that everything should be nice and cold. That is the way I learned in school too. It is also the way it is explained in the directions section of the cook book.
One day at my first job, I got laughed out of the kitchen by a cook who worked in lumber camps and had no extra time to get meals on the table for over 100 people three times a day. He shared his secret, which is everything at room temperature.
The reason for this is that when the fat is mixed with the flour it is far easier to work with. Pastry is tender because there are small amounts of fat surrounded by flour in the mix. As the pastry bakes, the fat melts leaving air spaces that create the flakiness. If the pastry is worked too much those spaces will not be created as the pastry bakes and the finished product will be tough.
By working at room temperature the mixing happens much more quickly and there is greater likelihood cutting in the fat will look like the bowl above in under a minute.
The cooler your hands are the better but working quickly will achieve the same result. Create the “crumble” by breaking the larger pieces down into smaller pieces until they are about the size of a pea. A pastry cutter or two knives will also do the job but hands are more efficient in the long run.
Dribble the water all over the flour mixture and bring together into a ball. The dough will will come together more easily if the water is not dumped all in one place but sprinkled around the dry ingredients.
Turn the mixture out onto a flour dusted counter or workspace and squeeze the dough together a couple of times. Add an extra tablespoon of water if needed but always work as little as possible to keep the fat globules a whole as possible.
Using a flour dusted rolling pin, roll out half the dough to about 1/8th of an inch, rolling in both directions and turning over after two of three rolls. Keeping the counter and pin floured should stop any sticking. Place the pie plate being used upside down and cut a circle about 1 inch larger than the edge of the form.
Use a muffin tin if the plan is to make rustic tarts instead.
Fold the circle in half and then in half again to create a wedge shape, 1/4 of the pie/tart form. Transfer the pastry to the form and open up the pastry, gently pushing but not poking through the pastry, to ease the pastry down to the bottom edges of the baking form.
If there is an oopsie, water will act like glue and it is possible to patch the rip. If the pastry leaks, the bottom will stick and individual pieces will be difficult to cut and transfer to a plate later. It is best to deal with any issues before going further. It is possible to roll the dough out again if need be. Pop the pie shell in the fridge while working on the filling.
Gather up the remaining dough and put it aside for a moment with the other half. It will be needed for the top crust which will be a larger circle than the bottom pie crust. Pie dough will get dry if left uncovered for any length of time so work quickly or cover until needed.
Wash, peel, quarter and core the Honeycrisp apples before cutting the quarters into equal slices.
The size of the apples and the size of the pie form will determine how many apples are required. Honeycrisp apples can be large and it may be possible to get away with two large. This pie took three.
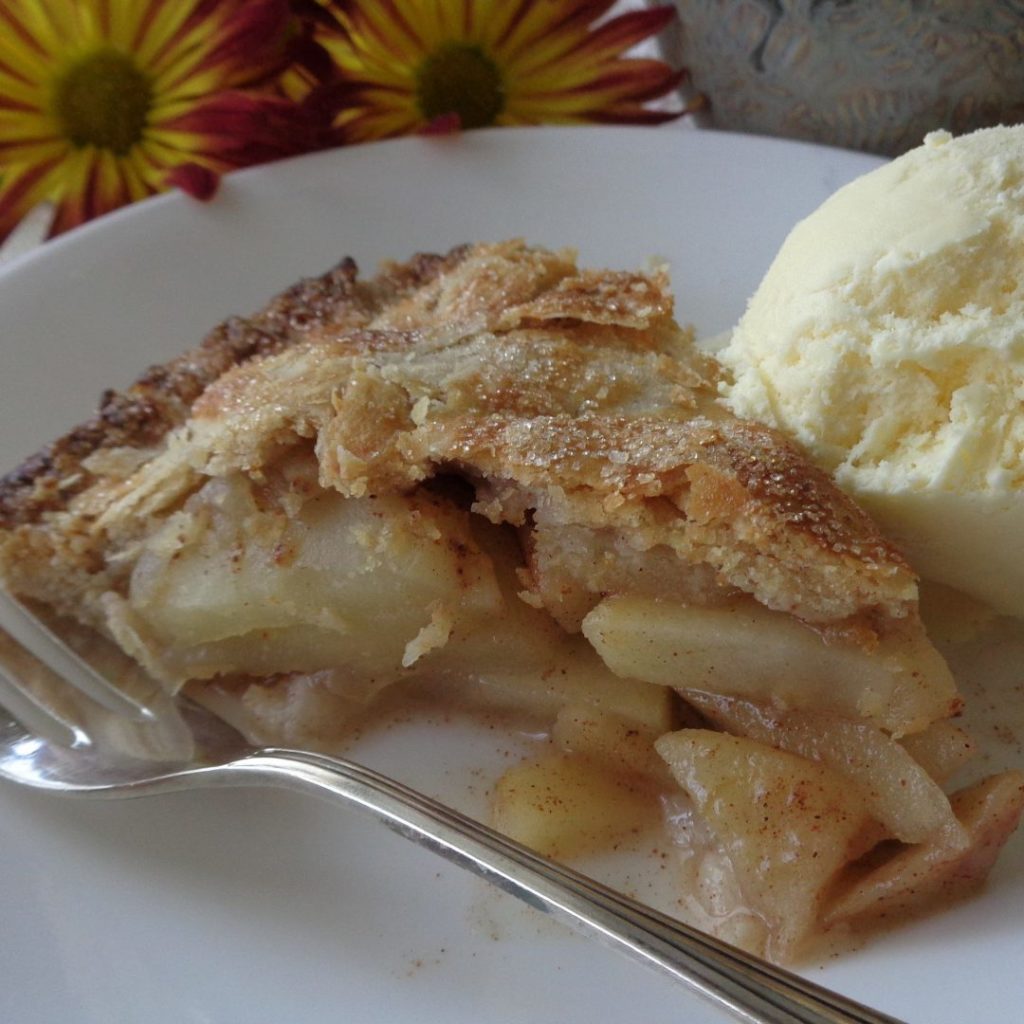
Every apple is going to cook differently. Varieties will be very similar but individual apples, grown on different trees will have there own way of becoming soft as they bake. No matter the choice though, apples shrink as baked. What that ultimately means is that when the pie is cut there will be space under the crust. A purchased pie does not have that issue as it is filled with apple pie filling that have already been cooked and will not shrink again.
The reason that flour is sprinkled over the apples is to help thicken the moisture that increases inside the pie as it bakes. There is some discussion that adding the flour blocks the flavour of the fruit and some people prefer to not add the flour, even if it means that the pie will be a little soggy. The choice is yours.
Sprinkle the spices over the slices, along with the flour, if using and toss before adding to the pie shell. Adding 1/2 cup of raisins is also an option as is substituting apple pie spice if it is the cupboard.
As mentioned above, apples shrink as they bake so fill as full as possible.
Preheat the oven to 400 degrees F.
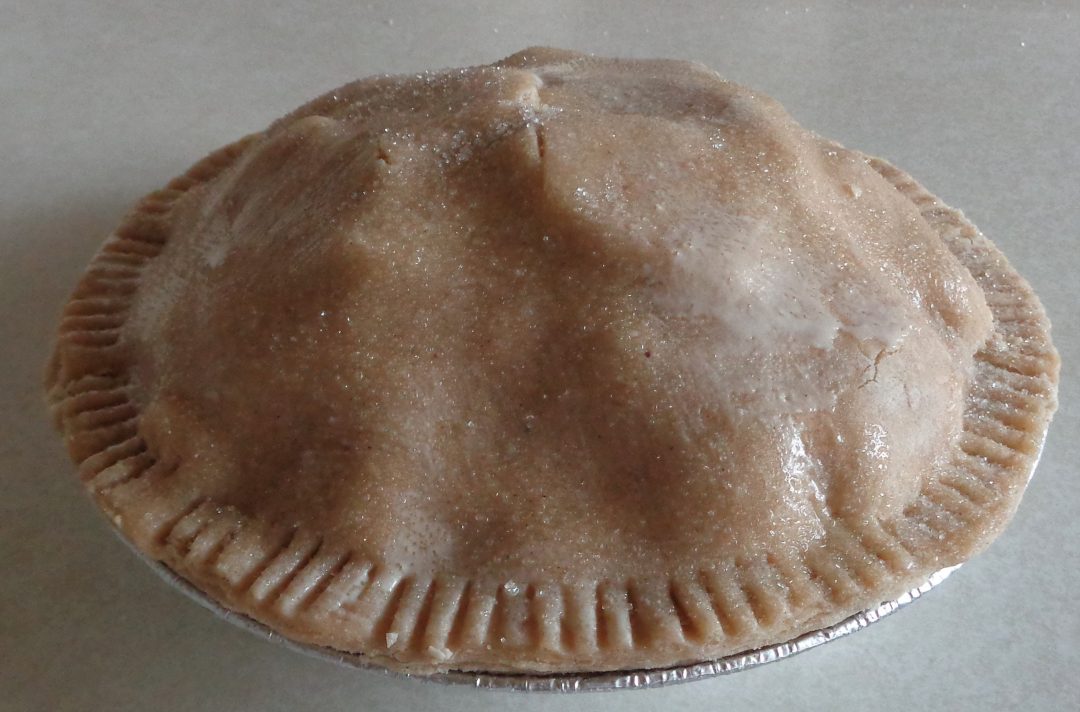
Roll out the remaining dough and place over the apples. Dip a finger in some water and run it between the two layers of pastry that will form the edge.
Using a pair of scissors cut around the pie plate so that top and bottom come together evenly. Using a fork press the edges together all the way around the pie and then with a knife cut a cross in the top if the pie to allow the stream to escape.
There are many fancier edges that can also be created. A cookie cutter can also be used to create the hole in the top layer of pastry. We are keeping things basic today.
Brush the evaporated milk over the top of the pie and sprinkle with sugar. A larger size grain such as organic cane sugar works well but regular white will also do the job.
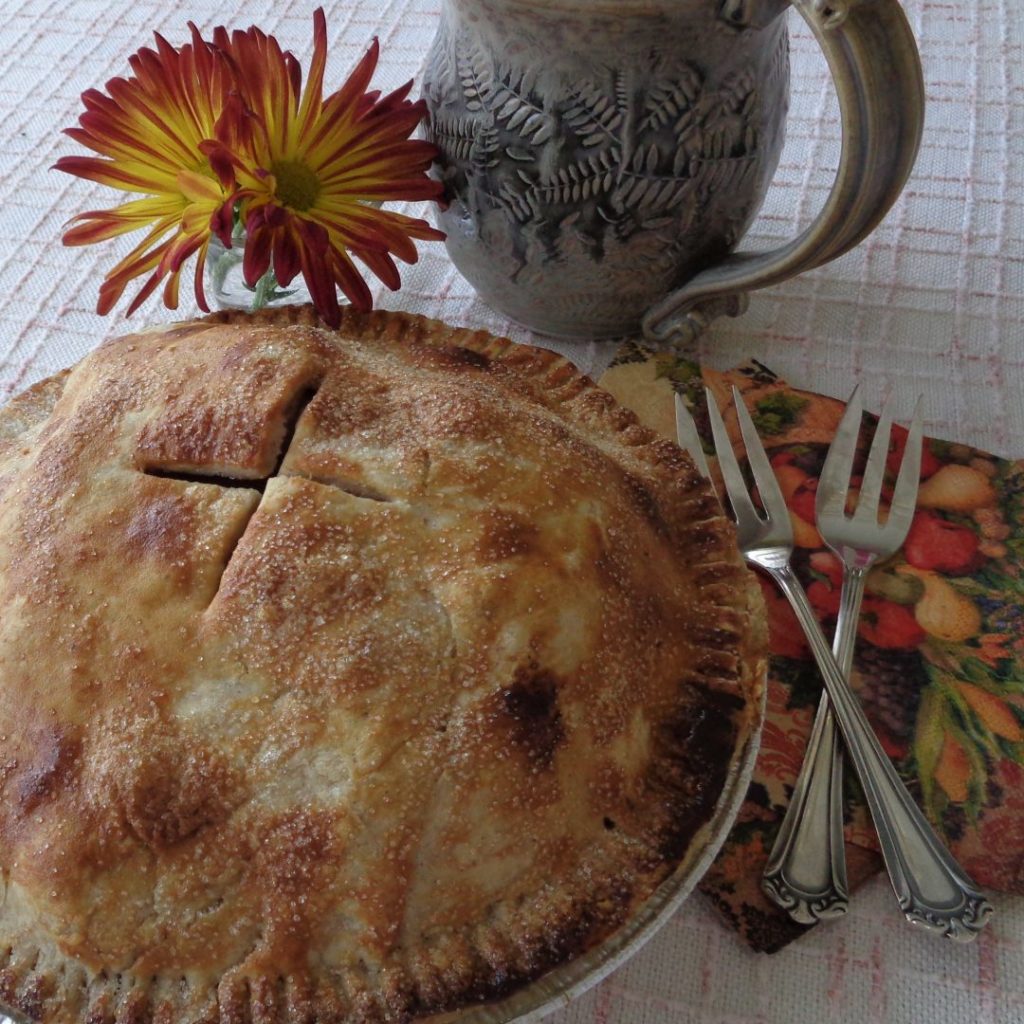
Bake for 45 minutes or until the top is golden brown. Keep an eye on the pie after 35 minutes and turn down the heat if the edges are getting too much colour. Some people like to wrap the edge in a band of tin foil to stop over browning. That did not happen here and there was one little section that got a little dark.
If time permits, allow the pie to cool an hour before cutting. This will let the juices thicken.
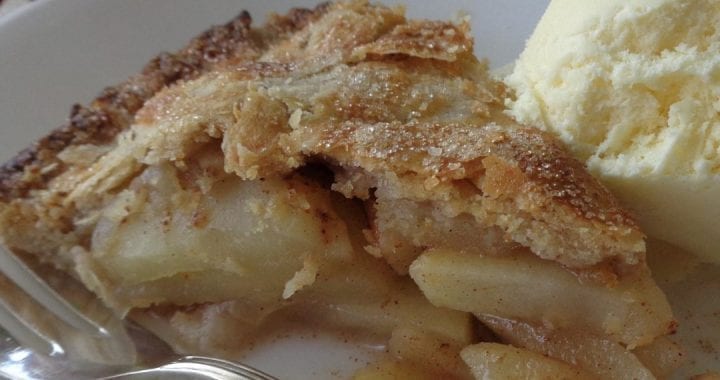
When cutting onto the top be prepared for it to fall. Don’t worry. You have done nothing wrong. Serve warm with ice cream, cheese or a caramel drizzle.
Honeycrisp Apple Pie from My Kitchen Wand

 You will need:
 In a bowl combine the flour, salt and spices if using.
 By working at room temperature the mixing happens much more quickly and there is greater likelihood cutting in the fat will look like the bowl above in under a minute.
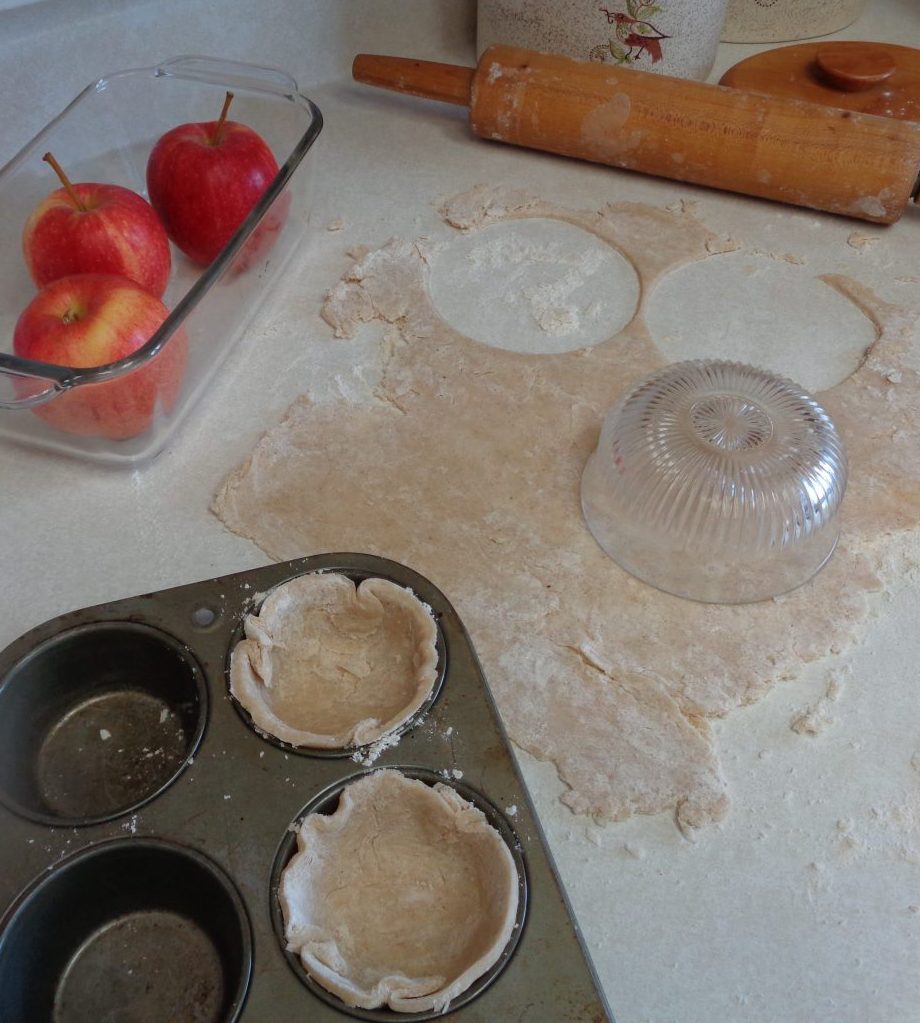 Using a flour dusted rolling pin, roll out half the dough to about 1/8th of an inch, rolling in both directions and turning over after two of three rolls. Keeping the counter and pin floured should stop any sticking. Place the pie plate being used upside down and cut a circle about 1 inch larger than the edge of the form.
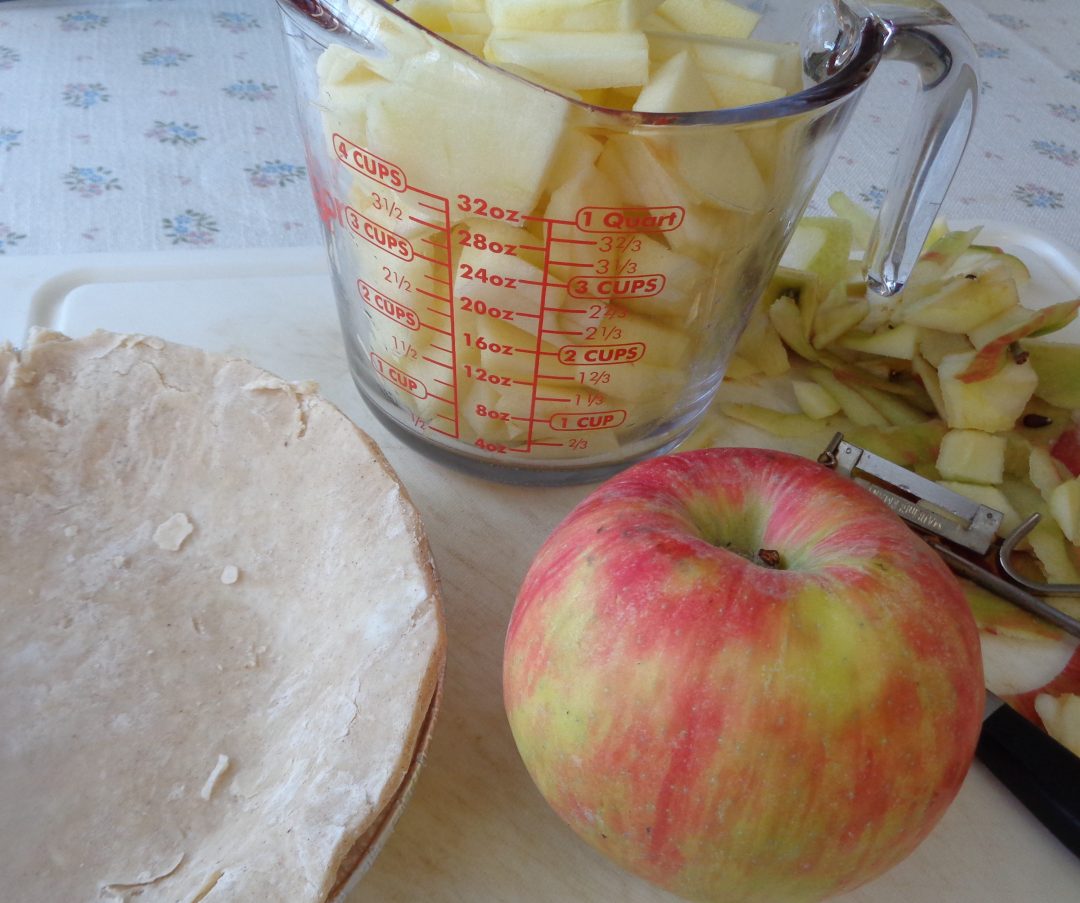 Wash, peel, quarter and core the Honeycrisp apples before cutting the quarters into equal slices.
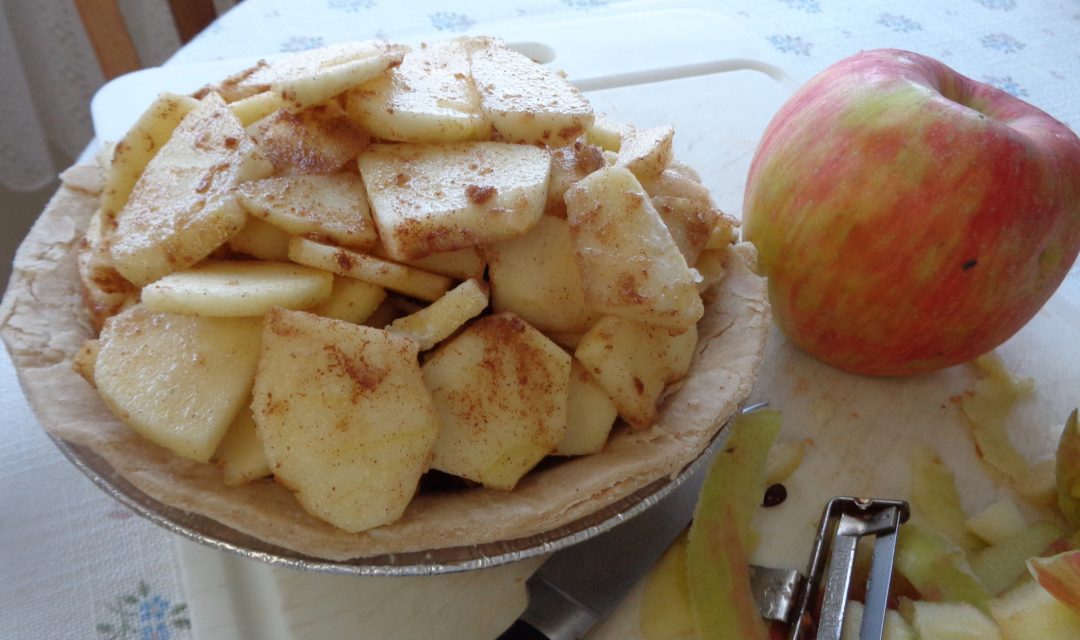 Sprinkle the spices over the slices, along with the flour, if using and toss before adding to the pie shell. Adding 1/2 cup of raisins is also an option as is substituting apple pie spice if it is the cupboard.