
I often share truffle recipes over other styles of chocolates because they are an easy way to have great quality chocolates without the need to get out the marble and temper chocolate. The soft and creamy aspects of the filling can be controlled by how much scalded whipping cream, butter, alcohol or fruit puree is added, shifting the centers from easy to control into not so easy to control. These fall in the not as easy category but are worth the extra few steps.
Your hands get covered while rolling the truffle centers but cocoa butter is good for the skin. This recipe is too soft to be left out of the fridge at room temperature so instead of rolling in cocoa or nuts, it will be enrobed in chocolate possibly twice, to hold everything nicely together.
There are several ways to do that. One is to melt and temper couverture chocolate, the kind that contains cocoa butter. Another is to melt, stir and not temper the chocolate but coat the truffle centers and then keep them in the fridge. This option means that the moment you touch the chocolates they need to be popped in a mouth as the chocolate will start to melt. Option three is to use confectionary coating, a chocolate flavoured mixture that only needs to be melted and stirred before it is ready to go. It always seems such a shame to me, to use the good stuff on the inside and then cover it with a chocolate flavoured coating but it is absolutely a possibility.
There are several ways to achieve a raspberry flavour; oil of raspberry flavouring or store bought jam but nothing holds a candle to adding fresh fruit puree directly into the chocolate truffle mixture.
You will need:
1/2 lb. good quality, melted chocolate ( I used a 50/50 mix of milk and dark)
1/4 cup scalded whipping cream
2 – 3 Tbsp. raspberry puree or…see below
tempered chocolate for rolling
Wash your hands, letting the warm water carry your niggles away. Finish with a cool rinse as warm hands are not a good thing for soft truffle centers. Take a deep breath. Bring your focus into the kitchen and let go of the distractions of the day. Focus your intentions. Something connected to giving and receiving love would be highly appropriate when working with chocolate.
I have been busy in the kitchen this summer with lots of different berries and plenty of little bits of leftovers. That is what I used in these truffles. I had raspberries that had been sitting in vodka, making cordial, fresh puree from sauces and the leftovers from the drip bag while making jelly. All these options are useable as is fully muddled fresh fruit. They each give a slightly different texture to the truffle and will work just fine.
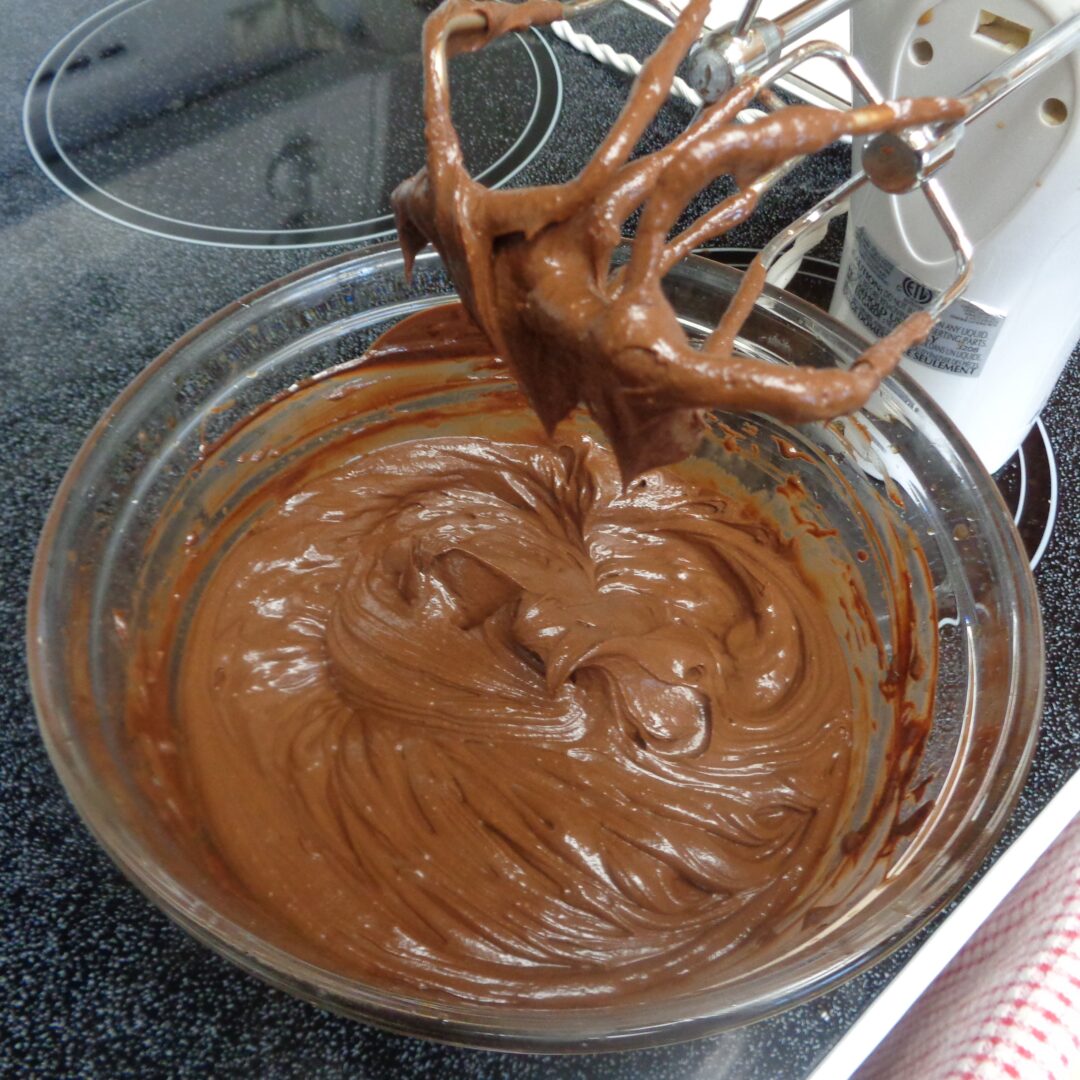
Gently melt the chocolate over water or by short bursts of power in a microwave. Do not over cook with either choice as this will lead to a grainy experience when melting in your mouth.
 For my taste buds straight milk or white chocolate would be too sweet but it might be your first choice and this is about finding your happy place not mine. So if you would like to change up the chocolate choice go for it. White chocolate and the puree will create a light pink center.
Something else to consider if changing up the chocolate, milk and white are inherently softer than dark and I would suggest reducing the scalded whipping cream to 3 Tbsp. to compensate.
Stir the chocolate to ensure an even melt. As the chocolate starts to melt, the heat will transfer with the stirring and help the parts that have not melted, melt. So take the melting chocolate off the heat and stir before adding any additional heat.
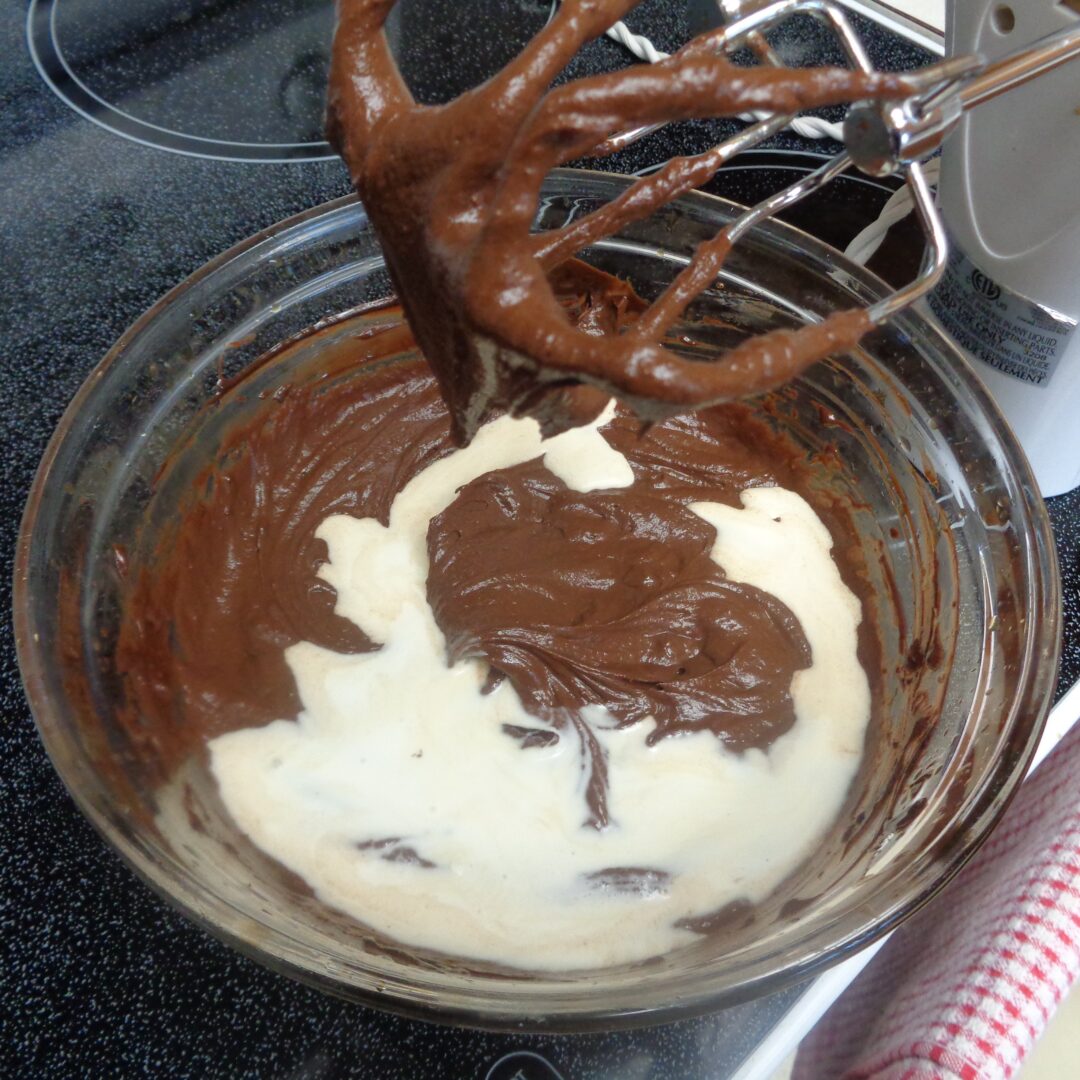 Once smooth, combine the chocolate with the scalded cream and raspberry mixture. Stir well to fully blend the ingredients together.
Transfer to a container and store in the fridge until firm. Overnight is good but at least a couple of hours. Now firm is going to be a relative term as the raspberry will have softened the truffle mixture.
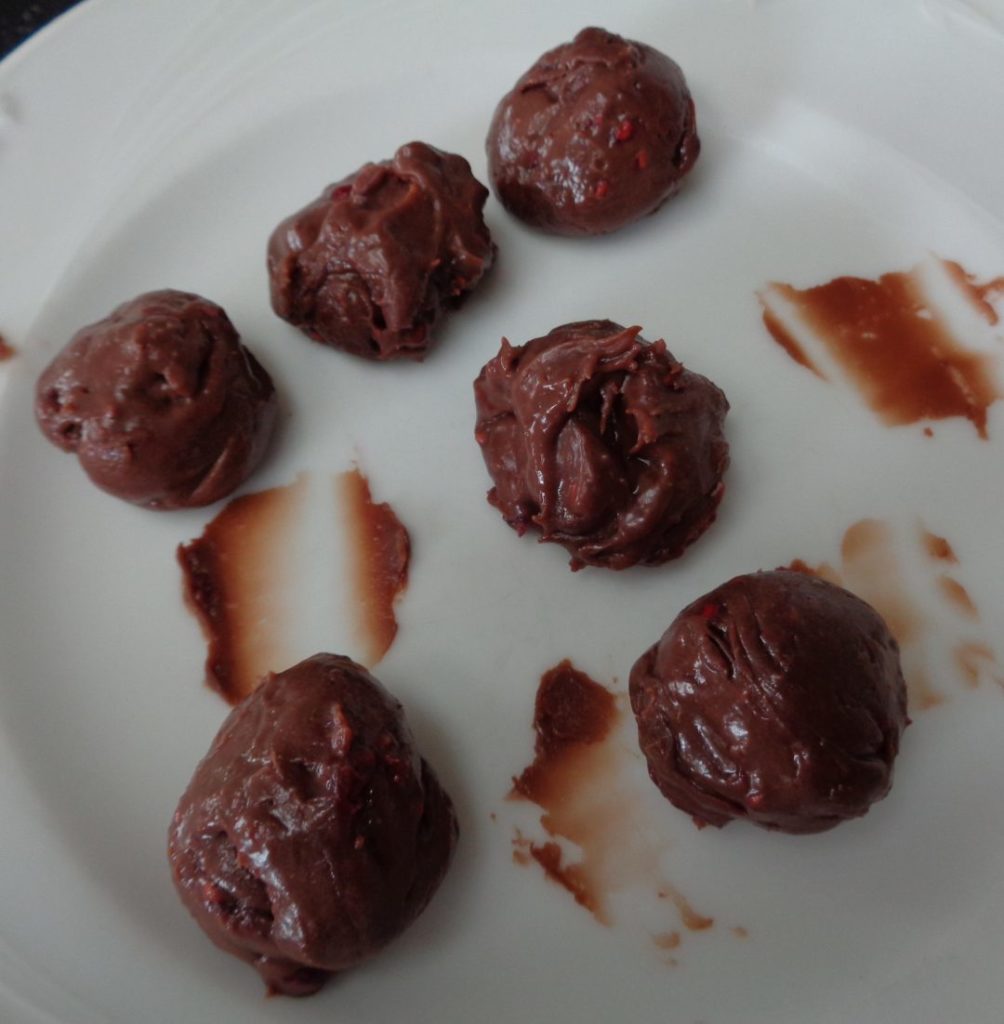
Using a spoon, take a piece of truffle mixture just under the size of a walnut and with your hands, roll into a ball. You are going to get “dirty”.
As the chocolate has not been tempered this mixture will begin to melt with the heat from your hands. Work quickly and wash your hands as needed. Finishing off again with cold water to help cut down on heat transfer.
 Just working with the chocolate was enough to warm the filling.
I put the balls on a plate and popped them in the freezer for 30 minutes to firm the mixture up again.
I then scraped them off the plate as they has slouched a bit, rolled them back into a ball and replaced them in a clean position on the plate, returning the plate to the freezer. They then held their shapes as balls and were ready for dipping.
Dipping by hand has a bit of a technique to it, especially with a softer center, even a frozen one, which is why I don’t usually post soft truffles but I didn’t want to assume anything and really, this mixture can also be used as a filling for a cake. Individual chocolates are not the only option.
There is a chocolate dipping implement that would be helpful for not touching the centers. The implement looks like a bubble blower, in metal, with a circle about 1/2 an inch in diameter at the end. The truffle sits on the circle, is dipped, held over the chocolate so the excess can drip off and then is transferred to a wax paper lined tray to dry.
If that is not handy, use three fingers on one hand to roll the center in the melted chocolate coating, drip and place on wax paper. Continue using the same three fingers and keeping the rest of your fingers clean.
If a place has been missed while dipping, easy to do when everything is the same colour, you will see the center start to push out from that open space. For that reason it is often helpful to wait, inspect and dip a second time to make sure the truffle is fully covered. It will be much easier the second time as what you are holding will not be as soft.
As I read this I think that I have made it sound difficult and it really is not. Keep the fillings cold so they stay firm and work quickly when dipping, for two reasons. First, if using tempered chocolate it will thicken as it cools and may need remelting and retempering if the centers are not finished being dipped, making the process longer. Second, holding the centers in your hands will soften them, so getting the individual finished chocolates out of your hands as soon as possible allows them to stay more manageable. If you are new to truffle making, this post comes with step by step pictures.
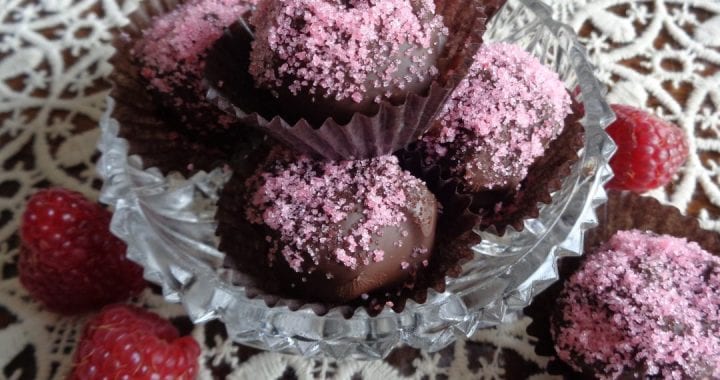
While the dipped chocolates are still moist, sprinkle with raspberry sugar and then allow to fully dry before serving. Yummy!
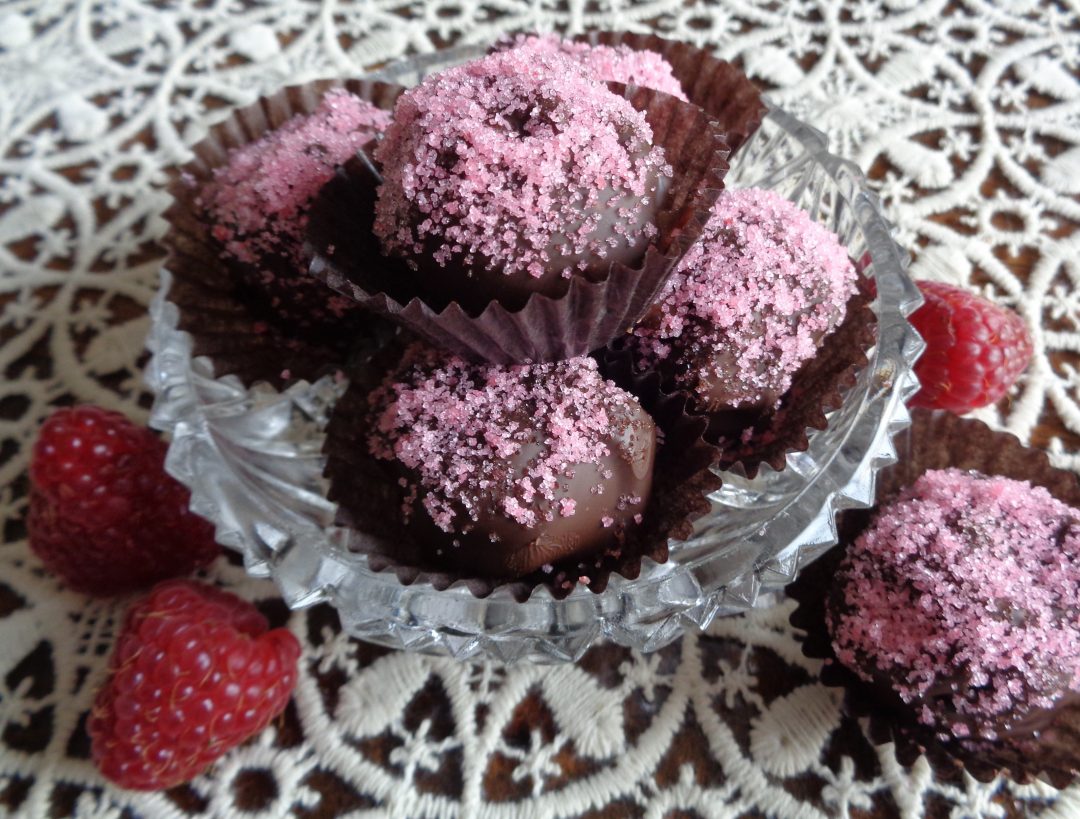
Raspberry Truffles from My Kitchen Wand
