The other day I was shopping for supplies for a candlemaking class and came across some glasses that would make good containers for soy wax candles, so I thought I would share the steps as I had just come across almost the exact same thing ( as a finished product) on a store shelf for $37.00. Yule is on the way and these candles came in under $4.00US each when making nine at a time.
(UPDATE!!!!12/2016) I have discovered that one of the main manufacturers of soy container wax ceased production this month, so please connect with your local candle supply store and ensure that there are available supplies before purchasing all the other bits and pieces. Your supplier should be able to suggest alternate container soywax if there is an issue and give you the correct wick size for that wax.)
Container soywax is softer, has a lower melt temperature and is designed to stick to the container it is being poured into. It will not stick well if you are storing the finished product in a cold location like the garage before gifting.
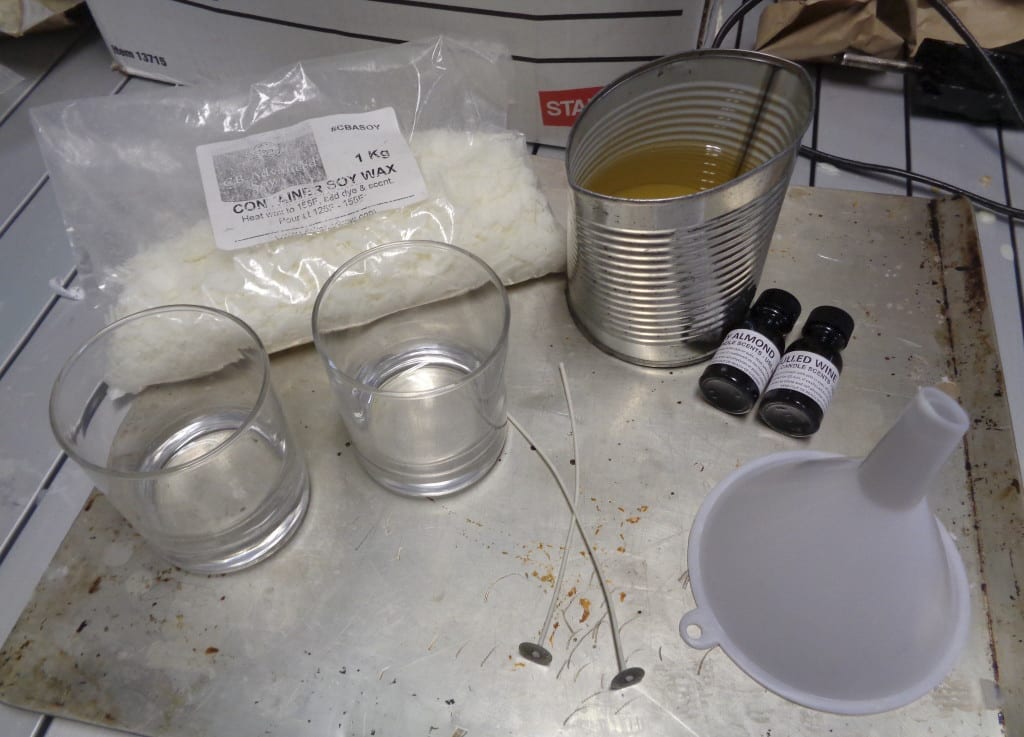
You will need:
container soy wax
RRD 47 100 mm wick
scent is optional
3 inch wide plain glass container
finishing decorations ( optional )
So let’s begin with scent. There are candle scents that have a fixative in them and are specifically designed to hold scent in the wax. They come in a wide range of aromas and your supplier will have testers so you can sniff to your hearts content. I mixed together a 15 ml bottle each of mulled wine and honey almond.
Many people like to use essential oils and I am going to suggest that you not do that. If you choose to use essential oils in the candle then add a tiny bottle that contains the scent to the gift. I am suggesting this because essential oils don’t fair well in hot temperatures ( ie. melted wax ). The high notes of the oil will immediately evaporate into your work area meaning you will get the benefits ( or overexposure ) rather than the recipient of your gift. There are essential oils that are natural fixatives such as black pepper, frankincence and myrrh and at this time of the year with cinnamon and ginger and cedar aromas being popular, you might get away with a mix that contains one of these but if you have you heart set on lily of the valley or lavender or something else light it will be a difficult balance to achieve. So stick to an unscented candle and then add a few drops into the wax once the candle is burning and there is enough melted wax to drop a drop of oil into. Do not drop it in the flame.
Other pointers about scents.
- Adding scent will soften the wax.
- Softening the wax too much will mean increasing the size of the wick to compensate. Generally do not add more the 4% scent to soy wax.
- The throw of scent in soy is not as far as paraffin, so more scent will be needed.
- You can combine scents and create something unique to you.
- Scents can be more expensive than all the other ingredients combined.
 Gather the supplies and find a protected place to work.
On the table I have added a cookie sheet to keep all the wax in one place and off the table itself. Soy container wax is soft and will come off most things once hard with a little rubbing. I normally work in the kitchen but these are being made in the garage.
Polish the glasses and put aside. Melt your wax. Container wax is called melt and pour and that is all that is needed. Enough heat to melt the wax and it is good to go. If you are working in a cold environment, it might be necessary to warm up the containers.
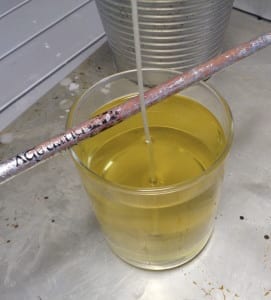 If you make candles with melted wax regularly you probably have equipment handy. If not then try a used and washed tin can with the top squished to create a spout as shown in the first picture.
When the wax is melted, add the scent if using and stir very well.
Fill the glass and allow the wax to begin to cool before adding the wick. If you have a funnel around, it can come in handy for reducing splatter. Pour the liquid wax through the funnel into the glass or pour slowly to reduce unwanted spray on the inside of the glass.
Place the wick in the center of the glass and if you are having a challenge to keep the wick in the middle, add a pencil of knitting needle for support.
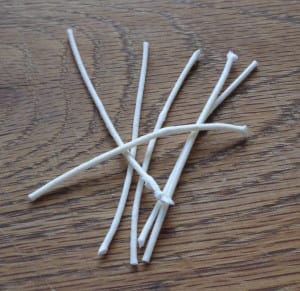 These wicks are longer than I needed them to be but they were what was available. When the candle was complete the extra was cut off.
These pieces are long enough to use again. They can have a wick tab added to the bottom of the wick and they will be good to go.
A wick tab is the small metal disc with the hole in the middle for inserting the wick and pinching tight. Usually it is possible to buy the tabs prewicked but it is also possible to make your own. So if you are thinking about making more candles keep the leftover wicks. Just make sure to label their size.
Let the candle sit and cool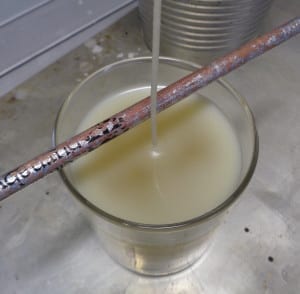 . Depending on your environment this will take hours so just ensure they are safe and then carry on with your day.
The nice thing about soy is that you do not get the cavitation that happens with paraffin so there will be no refilling.
The day got busy and the temperature dropped so when all was said and done the next day, I had some issues with the candles.
If this happens to you, there are easy solutions.
The first one was that the sides had detached from the container due to the cold. ( If I had made these in the kitchen, there would not have been an issue.
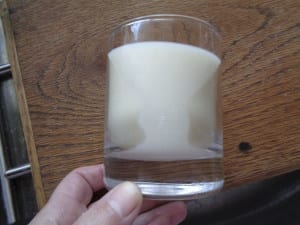 The easy way to resolve this is to put the containers on a tray and place them in the oven.
Turn the oven on to low and keep an eye on the wax. You want enough of the wax to melt so that the edges are liquid but not enough that everything needs to set up again.
This will mean checking every 5 minutes or so to see how things are going.
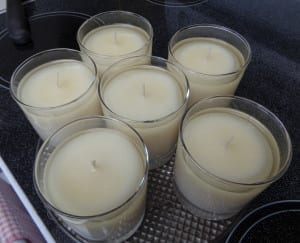 Once the wax in melted, remove from the oven and allow the containers to cool again.
Then make sure to store the candles in a warmer location until wrapping and gift giving has happened.
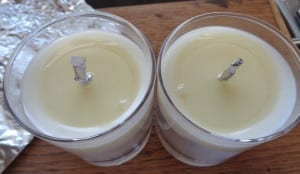
Issue two was that some of the tops had cracked. This can be resolved with a torch.
To ensure though that the wick does not get burnt in the solution, wrap the trimmed wick with tin foil to protect it.
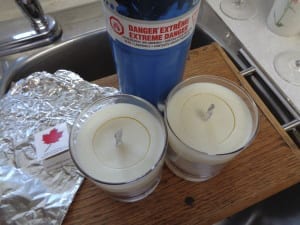 Use the torch to melt the top of the candle, keeping the flame away from the glass. It is not tempered and will crack if too much heat is directed at it for too long.
When enough wax has melted, stop, remove the tin foil and pop any bubbles that may have arisen.
Allow the candles to firm up again and as before find a warmer place to store the finished products.
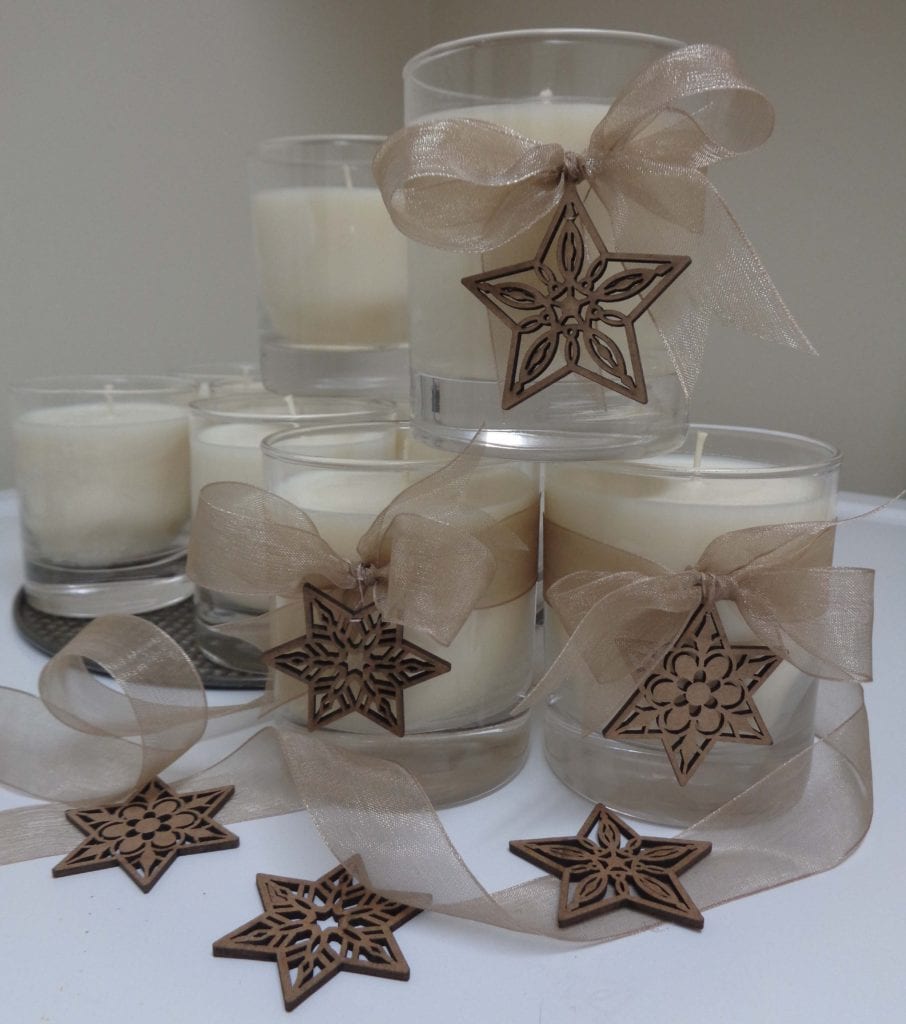
 To finish off your presents, add a label with the scent name and decorate as you see fit.
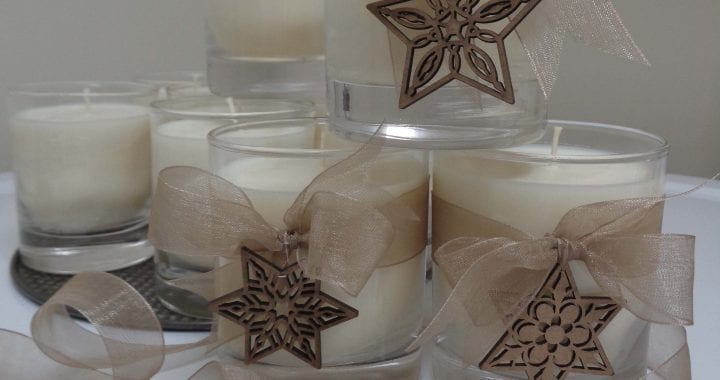
I chose some gold/bronze ribbon and wooden snowflakes on sale at Michael’s for 50% off so I was able to wrap each candle for about a dollar, including some clear bags I had at home.
There is a Cree saying which reminds people that we leave a bit of ourselves in the things we make. I would encourage you to hold that thought as you prepare your Yule gifts.
There is also a meme going around the internet about crafting these days. It says something to the effect of ” Buy the product for $7.95 or purchase all the crafting supplies for $93.59 ” It makes a funny and true point. This project worked out this reasonably because I used up all the soy wax to make the nine candles ( There is no rule about how full the candle needs to be, I just got as close to even in all the containers as possible. I used up the two small bottles of scent in the soy wax. I bought nine containers. the wooden snow flakes came in a packette of nine so there were no leftovers, except for a little ribbon and a couple of wicks.
Now it is just a matter of deciding who would most appreciate these festive candles for their home and how many I might be able to put aside for mine.
Soy Container Candles from My Kitchen Wand

