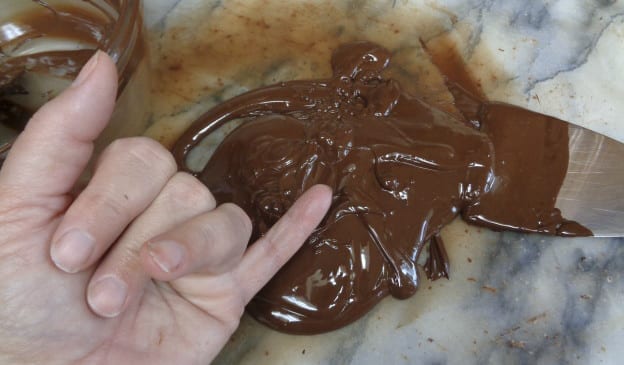
Tempering is the process of cooling something in order to gain strength for that product. It happens in glass and steel and chocolate. If chocolate is just melted and used to make a chocolate, the ingredients will melt in your hands before it can get to your mouth.
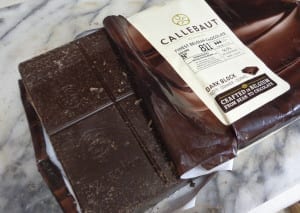 Now please bare in mind I am talking about a proper chocolate made with cocoa butter and not a chocolate flavoured confectionary coating made with palm oil. Confectionary coating does not need to be tempered. It is genuinely melt and pour.
For my classes I generally recommend Callebaut as it is easily available here, broken up, in the bulk section of local grocers here and not everyone needs to buy their chocolate in 11 pound bars. You may find another source near where you live. Just please make sure it is actually chocolate.
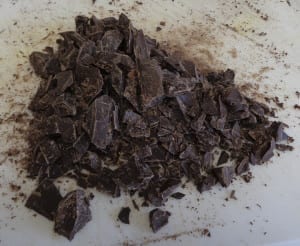 Start by chopping the chocolate into smaller pieces and melting in a glass bowl over simmering water or in a microwave.
A chocolatier would probably not give you a choice but many of my classes are held in classrooms rather than kitchens so there needs to be other options.
When melting over water be aware of steam burns, especially around excited children. The simmering water under the bowl of chocolate can cook the chocolate, making it grainy to eat and burn hands.
Also water and chocolate do not play nice 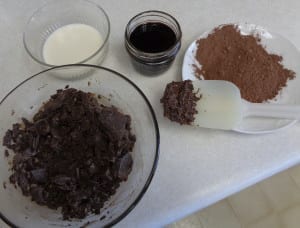 together.
The water will seize the chocolate so make sure you wipe off the bottom of bowl when lifting it off the water and transferring the bowl to the work area.
Stirring the chocolate as it melts is also important as over cooking can occur when the chocolate has too much heat, either through the water bath or with a microwave.
This picture is dark chocolate after 30 seconds in a microwave. You can see from the spatula that 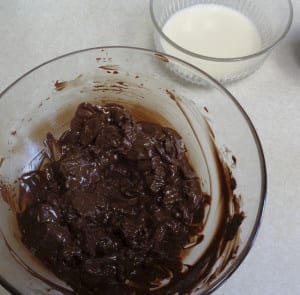 although it seems like nothing much is happening, there has in fact been some melting.
Stir after each section of time in the microwave. The heat will continue to melt the solid pieces no matter which melting method is used.
Do not increase the time in the microwave if using that method to melt. It is better to decrease to smaller durations.
This photo was taken after an additional 30 seconds and after being stirred.
Depending on how much chocolate you begin with, start with no more than one minute and shorten as the chocolate melts.
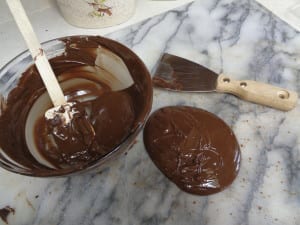 If there are a few small pieces left in the bowl. You can probably melt them just by stirring.
Once the chocolate is fully melted, pour out 2/3’s of what is in the bowl onto a marble slab, leaving the balance for later.
A question that always comes up is, “do I need to use marble?” and the quick answer is yes.
Stone will be colder than arbourite or glass and it will take away the heat more effectively. If you have marble counter tops I would still recommend a piece of marble.
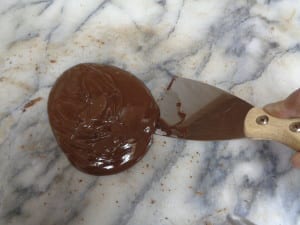 My piece is about 35 years old now and use has brought small pock marks to the stone. I would rather see that happening in a small replaceable piece than on a full sized kitchen counter.
As a right handed person I start with the spatula on the right hand side, with a tip in the chocolate and move counter clockwise picking up chocolate on the spatula as I go. As you get to 10 or 11 o’clock it can feel a little weird unless you do a lot of plastering on the side.
Take the chocolate that has accumulated on the spatula and flip it on top of the pile. Repeat from another starting point.
Sometimes when a volunteer tries the first time in class, they 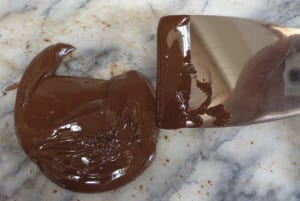 push around the edges but don’t actually mix the chocolate. It is important to be actually mixing, cooling and incorporating air into the chocolate. This is done through that final flip.
Keep the back of the spatula clean by maintaining contact with the marble. It will make sure that the chocolate stays a common temperature and cools as one mass.
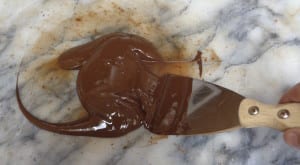 If there are arms that stick out, that part of the chocolate will be cooling more rapidly that the rest and as the chocolate cools it will thicken and become less manageable.
To test whether the chocolate has cooled enough, use the back of your baby finger and gently touch the chocolate mass.
If the 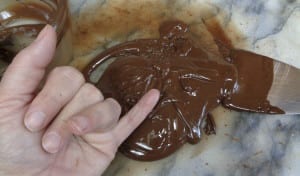 chocolate feels warm continue tempering. If it feels just below body temperature you are ready for the next step. If it feels cold know that even after the next step you have limited time to work with the chocolate and what you make should probably not be too complicated.
Be aware of your body temperature. If you know your hands are overly hot or cold, this will not be an accurate test. Wash in hot or 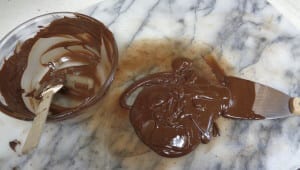 cold water to compensate.
Once the chocolate is ready, add the last 1/3 from the bowl.
The first 2/3’s, the part you have worked and cooled on the marble brings the strength and the snap to the finished chocolate.
This last third brings the melt on your tongue, no need to chew part of the experience.
There are some things you may notice. The chocolate sitting in the bowl is shinier. That is because the cocoa butter has been separating from the cocoa mass as it cools. What has been worked on the marble is a little darker. That is because is has been getting cooler. Over time as the marble is being used it will take longer for the chocolate to cool. This is because heat has been absorbed into the marble from previous temperings.
Another thing to be aware of is that your room temperature plays a part in how quickly or slowly chocolate tempers. Cooler is better.
Only move the chocolate around enough to combine the two parts. You are now ready to use your tempered chocolate for chocolates.

