
While the website migration was happening this last week, there were periods of waiting and waiting and… did I mention waiting.
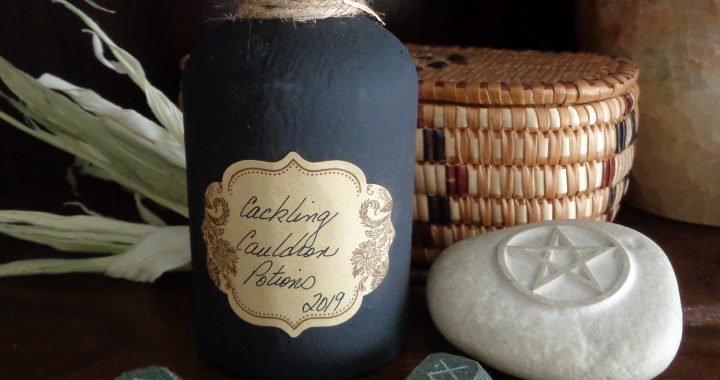
This quick project was perfect for filling some of that time. Small step, wait, another small step. Use the finished bottles to create a kitchen shelf/windowsill vignette, combine with flowers and pumpkins for a table center or add to your general Hallowe’en display.
You will need:
glass apothecary bottle(s)
sandpaper
black paint
paintbrush
twine
glue
sticky labels
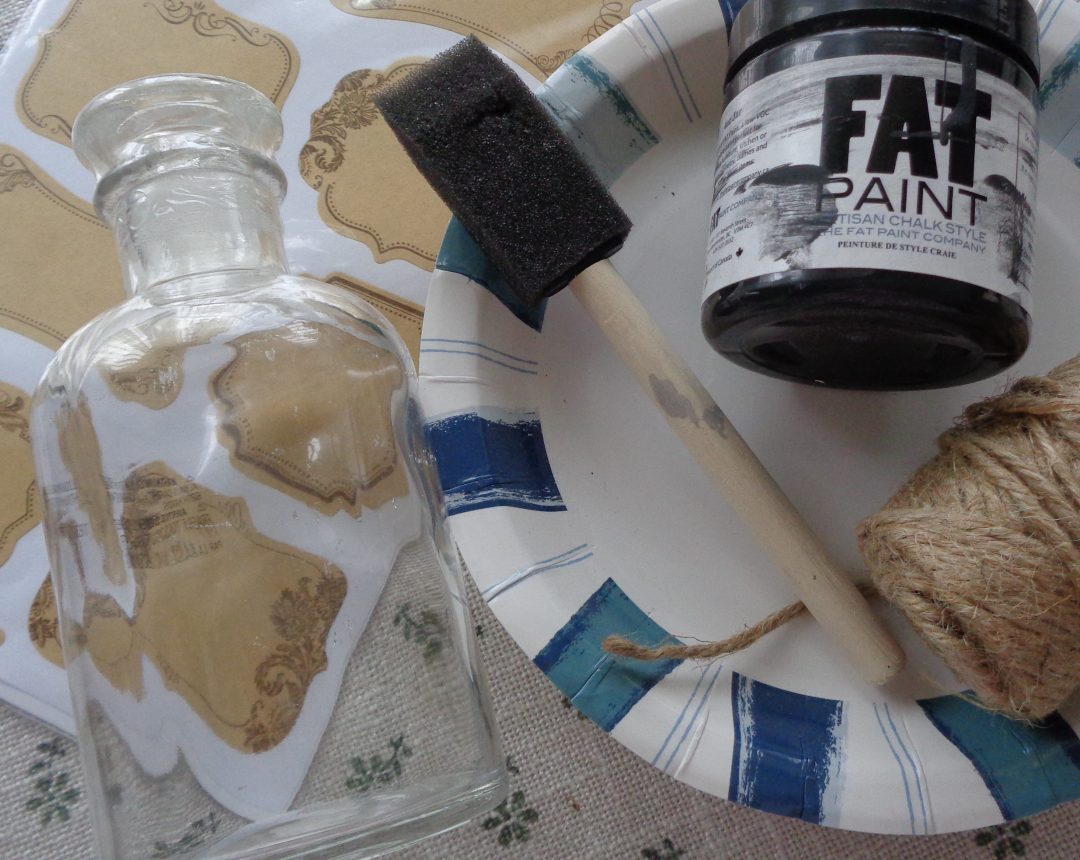
I found this bottle at Michaels earlier this week. They come is two sizes (5.5 and 7.5 – 8 inches tall) and are currently on sale for 50% off. You may have a better source. I was just walking through the store and my eyes happened to land on them.
Wash, dry and using a little sandpaper, rub the bottle to get just a little roughness so the paint has something to hold on to. This step is not a must but the paint will stick a little longer if the sanding is done.
 Choose your paint. Here are a couple of things to consider. I choose matte for an older look but you might prefer semi gloss or something else.
My intention is purely decorative so type of paint is not important. If you however, want to use the bottle, make sure your choice is non toxic and do not paint the top rim of the bottle where any liquids being poured will touch it.
Paint the bottle and allow to sit until dry. You can see on the left how the paint I was using turns from glossy to matte as it dries.
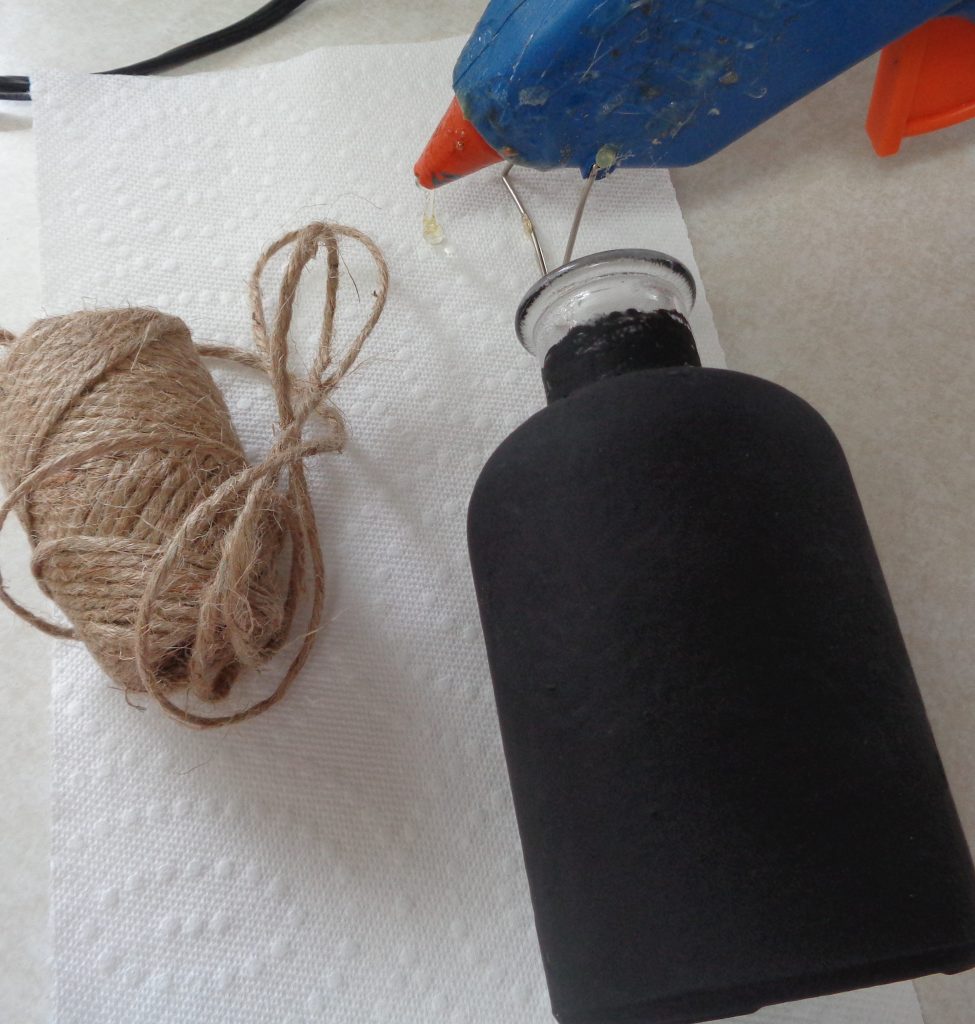
I did not fully paint the neck as that will be covered in twine in the next step.
 The chalk paint allowed for touch ups without showing where the work was done. As I was going for an old look a few non perfect places would have been absolutely fine but it didn’t happen. I ended up just dabbing the paint on instead of painting in strokes and that took care of any streaking.
Once the paint is dry glue the twine around the neck of the bottle.
My intention was to use a glue gun but a glue stick actually worked better. Make sure the twine is tight and the neck is full.
I glued one end down, drew lines of glue in several place around the neck so the twine attached at different locations and then added a final bit of glue to the opposite end when the wrapping was complete.
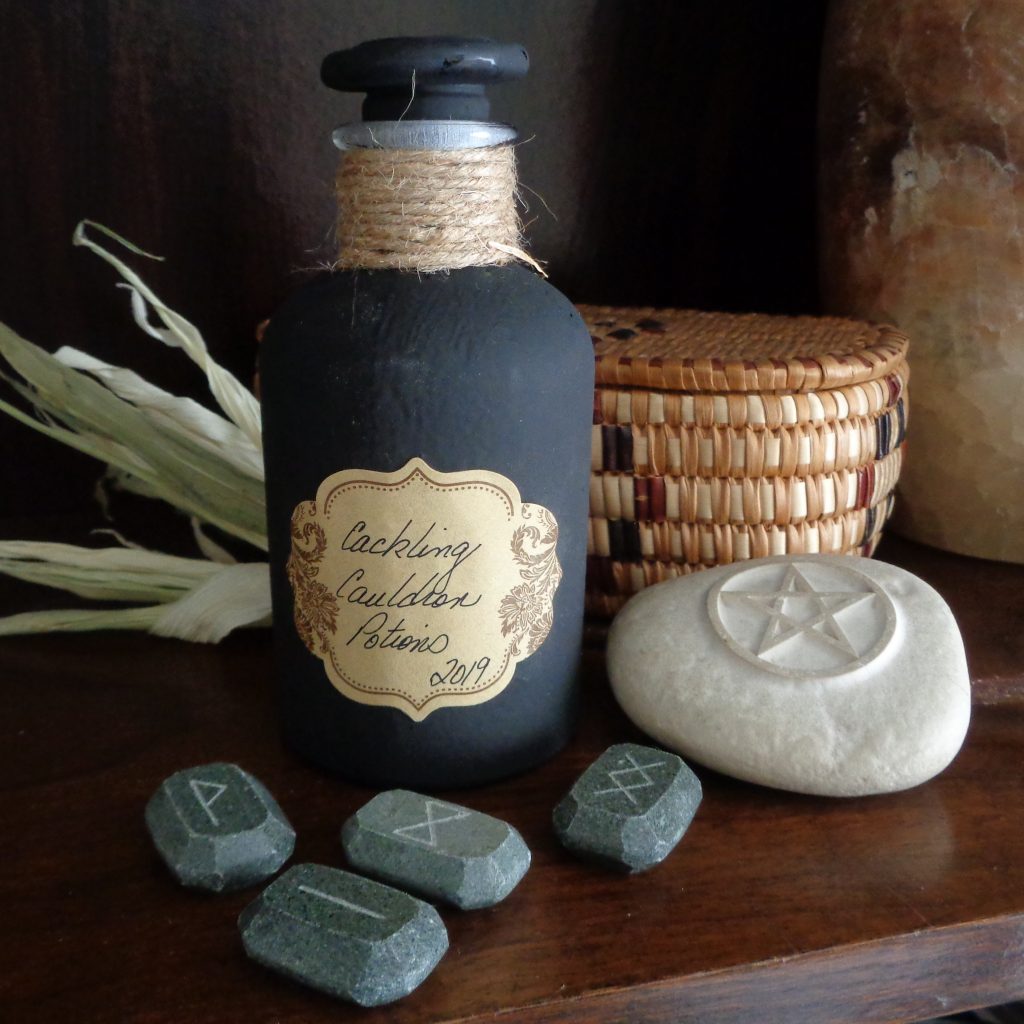
Write out the sticker labels and apply to the bottle. I was fortunate in that the labels were already on hand. Making your own is another option, as is using free vector art and printing some off.
Finished. Easy, peasy. Go forth and decorate!
All Hallows Bottle from My Kitchen Wand
