
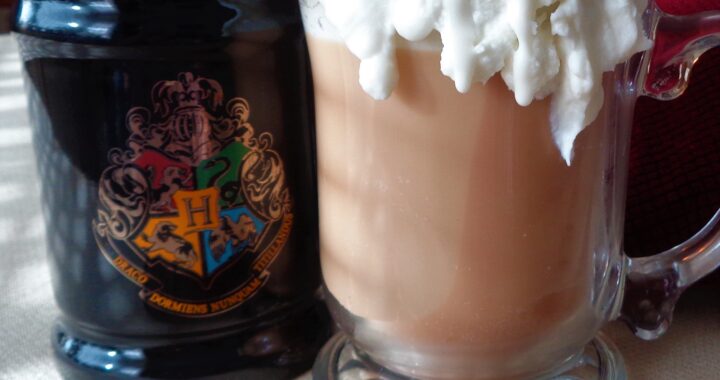
Time for some Harry Potter candle making fun?
Let’s begin by saying that it may take some tweaking on your part because the supplies I use are not necessarily the ones you will be able to get near your location. If you would like to connect directly with Wicks and Wax in Burnaby, British Columbia, click here. They ship, but do not have beer candle scent. That is available through Nature’s Garden and other locations.
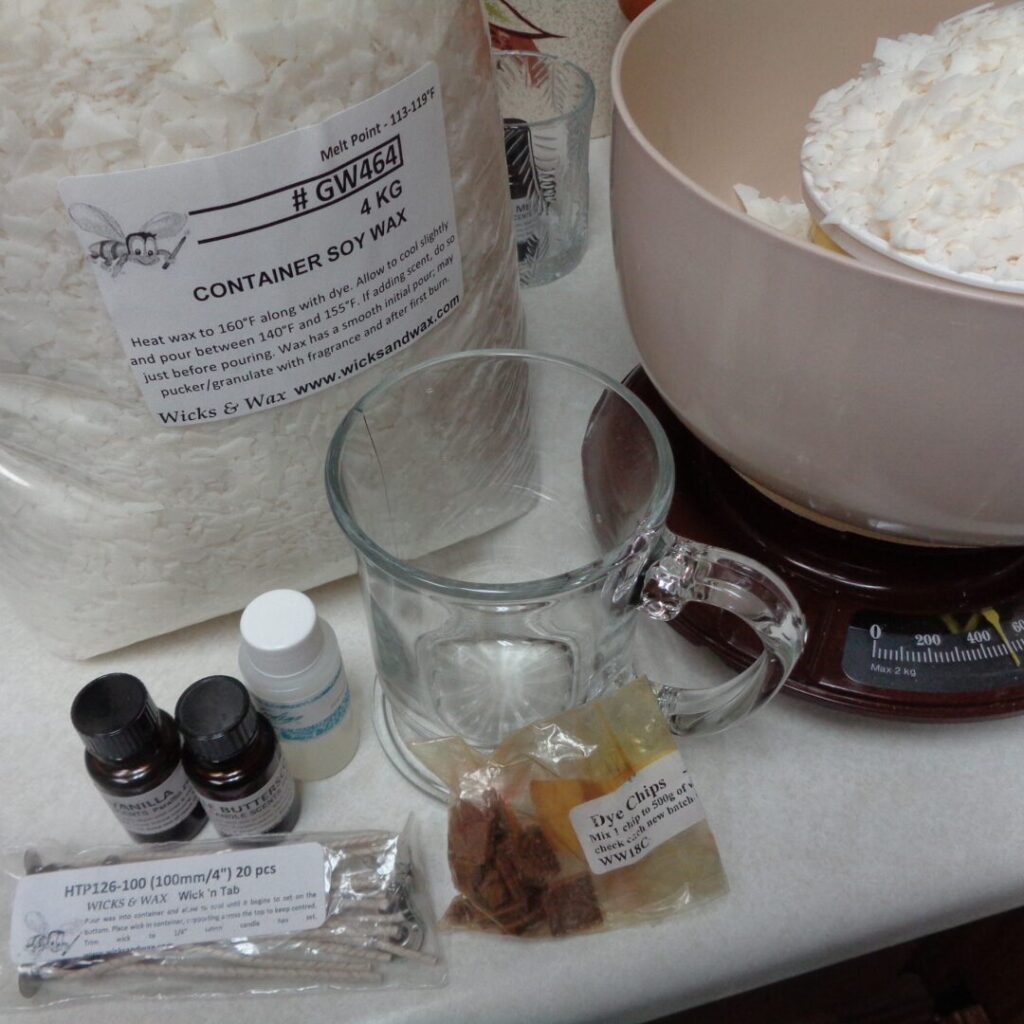
You will need:
Container Soy wax #GW464
Wicks (HTP126-100)
Dye Chips – Butterscotch
Beer Candle Scent
Butterscotch Candle Scent
Vanilla Candle Scent
Beer Mug or Glass
Begin by protecting your work area with trays, cutting boards, heavy plastic or something similar. You want to make sure that, just in case, there are any accidents, the mess is contained as much as possible.
Once you have your glass or mug, melt enough container soy wax to fill your chosen container(s) to about 7/8 full. If it ends up being 3/4’s full that is fine too. It will just leave extra room for the beer foam.
The melting point for #464 is around 115 degree F. and the pouring temperature is best around 150 degrees F. Check with the label on the product you are using and follow their recommendations, making sure it is container and not pillar soy wax.
Add butterscotch colouring. Every brand has a slightly different shade or intensity so follow the instructions on your package and then see if you like what you have for this project. Adding more or a little blue are options, just be sure to test before pouring and cooling the main container.
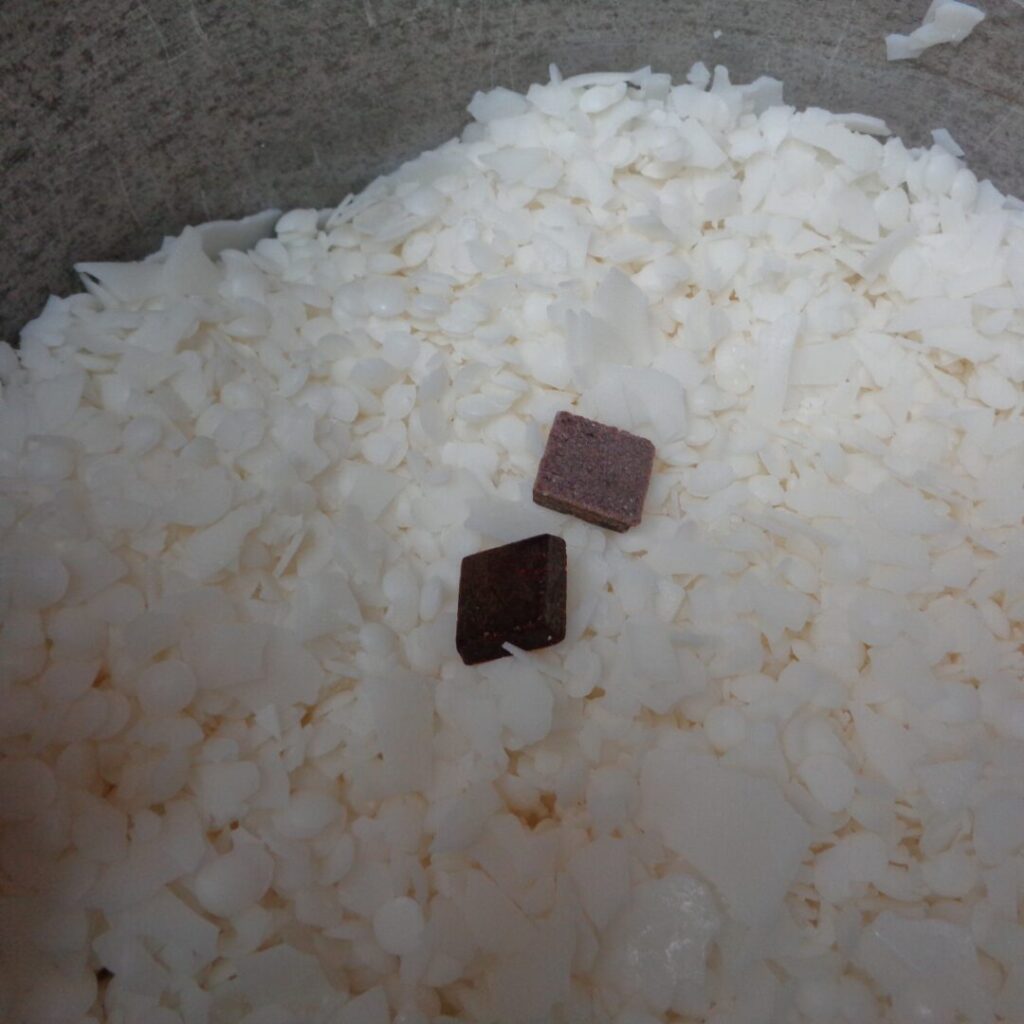
If you make candles regularly, you will know that soy wax does not hold its colour as well as paraffin. Also that the colour of the melted liquid wax is darker than the dried solid wax. For that reason, if this is your first time colouring soy wax, I would suggest that you let a small amount set or drop some in cold water, so that there is a clear understanding of what the final colour will be. Don’t add any scent at this point as you may want to tweak the wax one or two times before you are ready to pour.
When you have the colour you like, add the vanilla, butterscotch and beer scents to the melted, ready to pour soy wax. Stir well to combine before pouring the mixture into your container. Stirring is important because the scents can be heavier than the wax and they will want to settle on the bottom unless well combined.
Follow the instructions of your scent supplier and remember this is a combination so all three scents, COMBINED, make up the suggested volume of scent. This specific soy wax can hold 6 – 10% scent load but yours may be different. Playing with the balance of scents is just fine as only J.K. Rowling would know the difference. At 1/3, 1/3, 1/3, vanilla and butterscotch will create a slightly sweet aroma, tempered by the beer. If you would prefer something some savoury, try 1/4, 1/4, 1/2 with the beer being the 1/2.
Wick sizes are based on the width of the candle and the type of wax. If you need help, check with your supplier once you know the diameter of the container you will be using. Your craft supplier should be able to help make sure you have the right wick size and length.
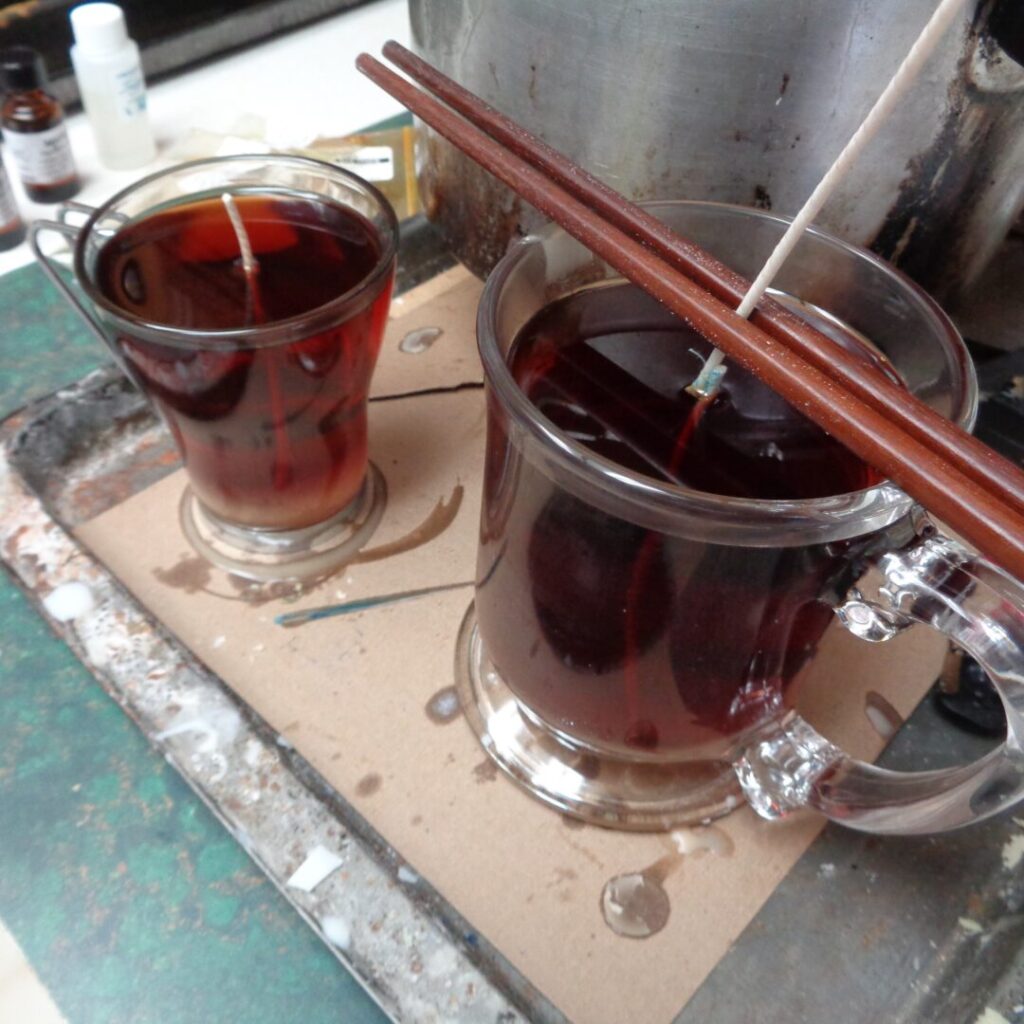
Let the wax cool for a few minutes and then place the wick into the container. Make sure your wick is long enough that it does not drown in the liquid wax and that there is at least an extra inch and a half above the level of the butter beer. That will ensure the candle can be lit once the beer head is added. Chopsticks, knitting needles or pencils make good balancing items for holding the wick in the middle of the container.
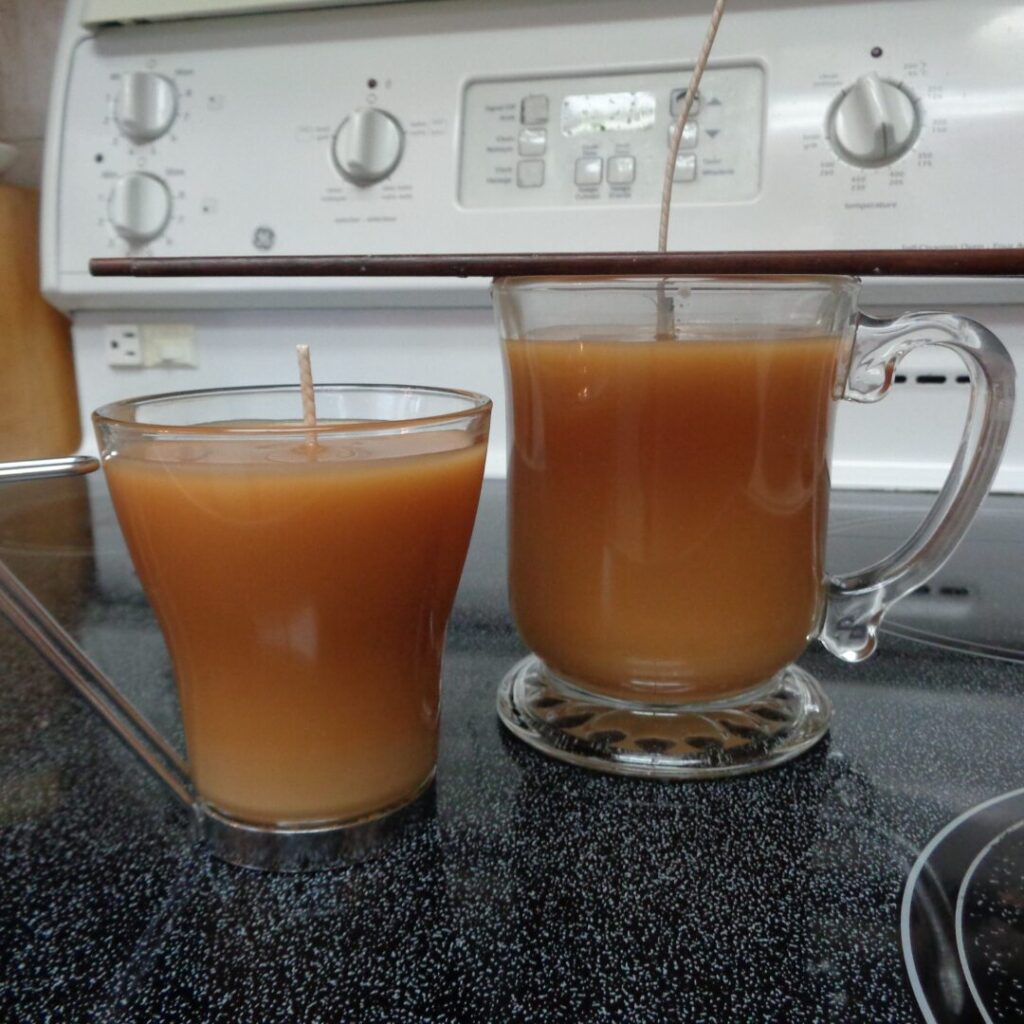 As you can see the colour changes as the wax solidifies and cools.
When this part of the wax is cold, melt a small amount of soy wax and just like whipping whipping cream, use beaters until the soy wax cools and stiffens. When it can hold a shape, you have a few moments to spoon the whipped wax onto the top of the butterbeer section and over the side if you would like. The beer head will cool and harden so work quickly. If you come across any issues, the good news is that the foam can be melted and whipped again.
Let the candle sit for 24 hours before burning. Enjoy!
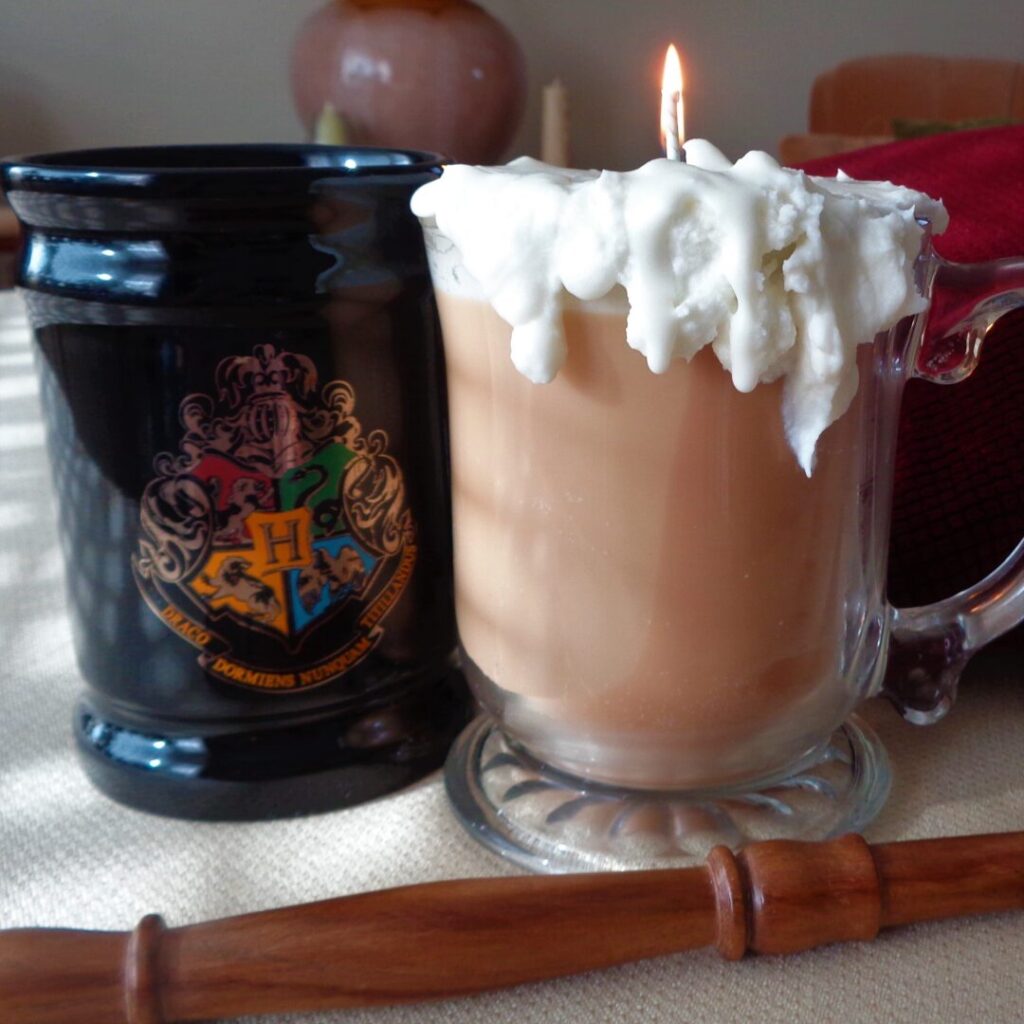 Butterbeer Candle from My Kitchen Wand
