
Soap can be made any time of the year but one of the basic rules of cold process soap making is that if it is being made for Christmas presents, it should be made by Remembrance Day so it will be fully cured by Christmas. Hot process soap does not have the same timing issues as it is cooked longer and if you would like to learn that method try this post.
There are many variations of cold process soap making recipes and I highly encourage learning more than one. In order not to be confusing about all the options, let’s keep to this recipe and leave broader horizons for a next step. Each ingredient has its own saponification rate and when ingredients are changed up, the recipe should be run through a lye calculator to get the adjusted amount of lye for the new recipe. There are at least a dozen lye calculators easily reached with a Google search. This recipe works and is a great first/second time soap making recipe.
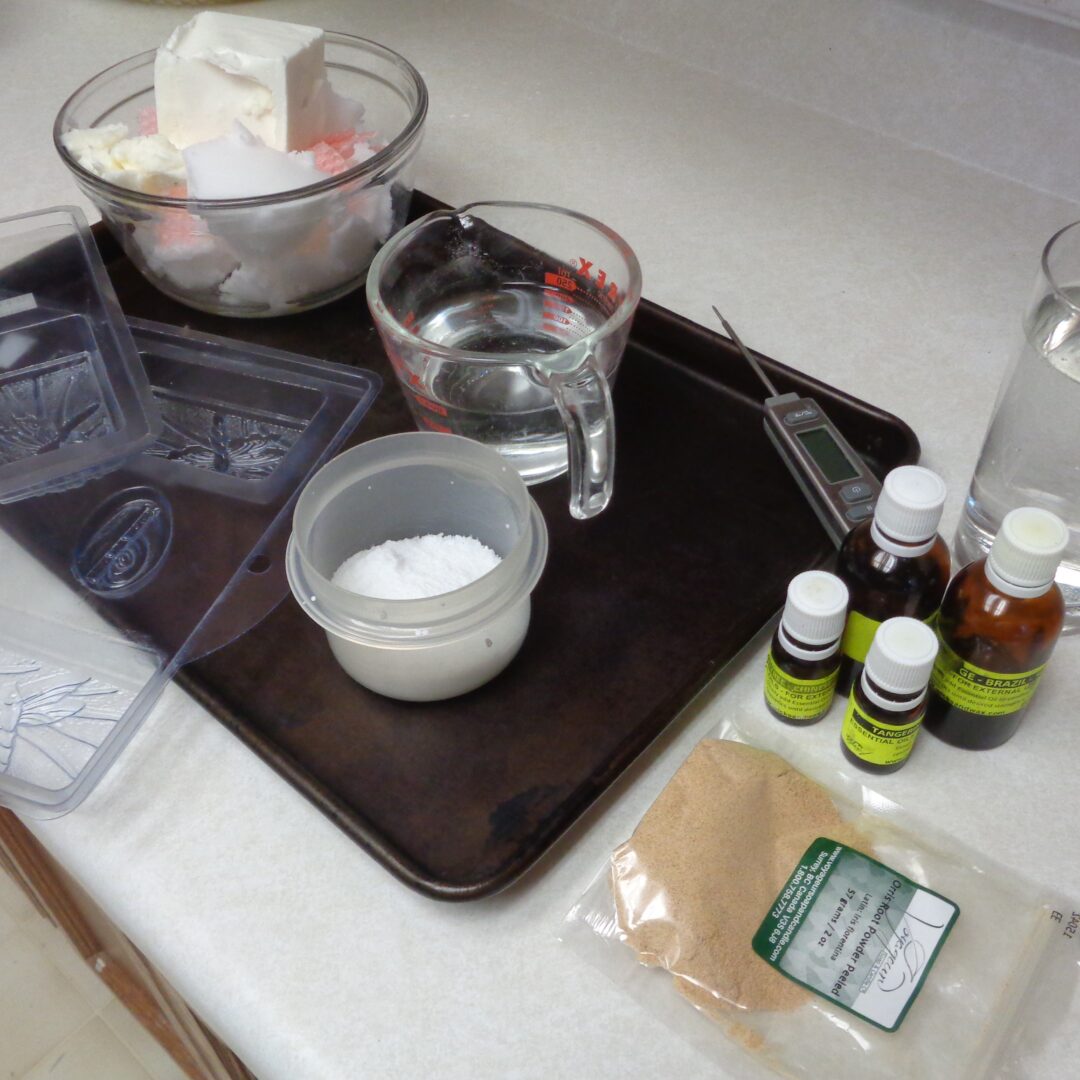
All the supplies except the lye can be found in a larger general grocery store. You are looking for soap making lye, Sodium Hydroxide. The lye found in hardware stores has additional ingredients and is not used in soap making. You must be most careful with lye and protect yourself with safety goggles and gloves. It can cause serious burns.
The main ingredients come in food grade and pharmaceutical grade. Soap supply stores may choose the higher grades. I have made many batches with both sources of ingredients to little or no difference. It is personal preference and there are good reasons to make both choices.
You will need moulds. Not wanting to get caught up in the same problems I have with chocolate moulds, I chose the dragonfly mold below and make all my soaps with the same mould. That said, there is no need to purchase moulds as yoghurt, fruit and pudding cups will work as well. So will a loaf pan if you are planning to cut bars.
This recipe makes nine large bars. Let’s get started!
Step One is to protect yourself. Cover your work surface. I work on a cookie tray so if there are mishaps, it stays away from the counter and floor. Wear gloves and when you get to the lye add safety glasses. Keep a thermometer that you trust handy. No guessing. Mix a glass of water and vinegar to neutralize any lye that gets where it shouldn’t be. I swish my thermometer in this glass as I move it back and forth between the bowls.
 You will need:
500g/17.6oz coconut oil – this is what contributes the lovely lather
247g/8.7oz vegetable oil – produces soaps that are considered higher quality than animal fats
48.5g/1.7oz avocado oil – conditions the skin and adds lather
25.1g/.9oz beeswax – helps make a harder finished soap
125.4g/4.4oz lye – in needed for the saponification process that chemically alters the oils, water and lye, into soap and glycerine.
307ml/10.8oz. distilled water – regular water has a higher mineral content and additional chemicals
30ml/2 Tbsp. essential oils – your choice. Single aroma or a mixture
5ml/1 tsp. orris root powder – this will help keep the essential oils in the soap for a longer period of time
30ml/2 Tbsp. exfoliants such as, oatmeal, ground citrus peel, poppy seeds
A digital scale works best, especially if it has a switch to move between metric and imperial. This is a chemical equation, not a recipe and while there is a small amount of wiggle room being as close as possible is best.
 Eventually everything will be in this bowl so choose one that is large enough to hold all the ingredients with room to mix. Into the bowl go the coconut oil, vegetable oil, avocado oil and beeswax. The bowl can be placed over a double boiler or placed in the microwave. Melt the oils until they are liquid.
The last thing to melt will be the beeswax as it has the highest melt temperature. I use beeswax sheets, ripped into bits, as they are the thinnest beeswax available and will melt the quickest, lowering the need to keep the oils at a higher temperature for a longer period of time.
After taking the picture above, I stirred the oils and that was just enough to melt the last of the beeswax. Put the melted oils aside. Close the door to pets and other disturbances.
The heat for melting the oils is an external source.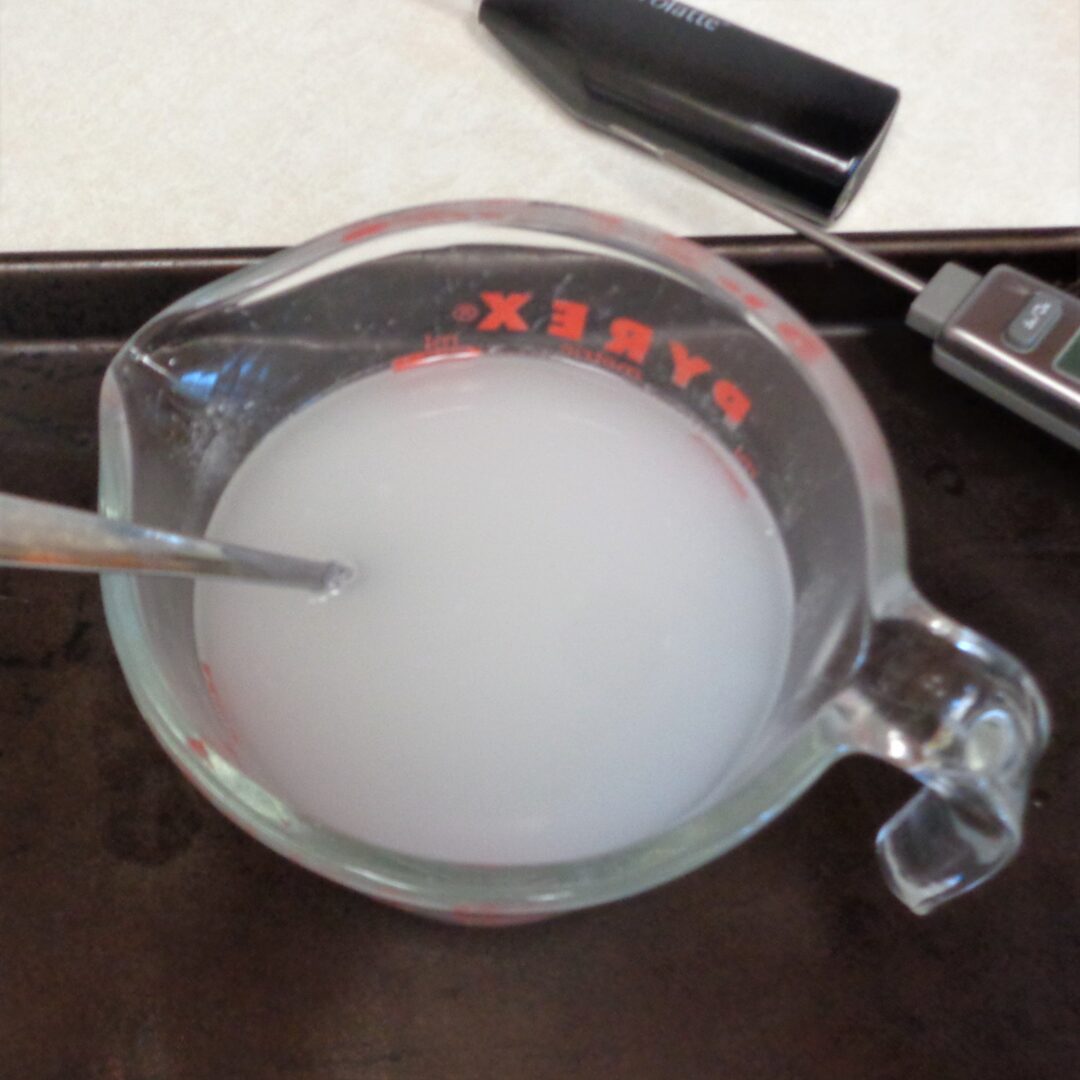 The heat from the lye water is a chemical reaction. The water activates the lye and it will very quickly be over 200 degrees F. and have a pungent aroma. Hence the highly recommended protections. As long as the lye is active it can burn skin. Add the pre-measured lye to the pre-measured water. Never pour water into lye. Always lye into water. It will reduce spatters and be MUCH safer. Stir to ensure that everything gets off the sides and bottom of the glass container (Do not use plastic).
There are now two containers that need to cool down to the same temperature, 150 degrees F. You will find your own system. I put my lye in the freezer and let the oils sit out on the counter. They will cool at different rates but usually get to 150 degrees F at about the same time.
If the oil is cooling to fast in your environment heat it a little more to bring up the temperature. If it is not cooling quickly enough it can go into the fridge or freezer. The oil temperature can be manipulated.
Not so much the lye. It is going in only one direction and that is down. It is possible to slow the cooling by taking it out of the freezer but there is no way to bring it back up again.
Paying attention to the temperature is important, especially the first few times so you know how the system works in your workspace. The closer to the same temperature the better but there are a couple of degrees of wiggle room if needed.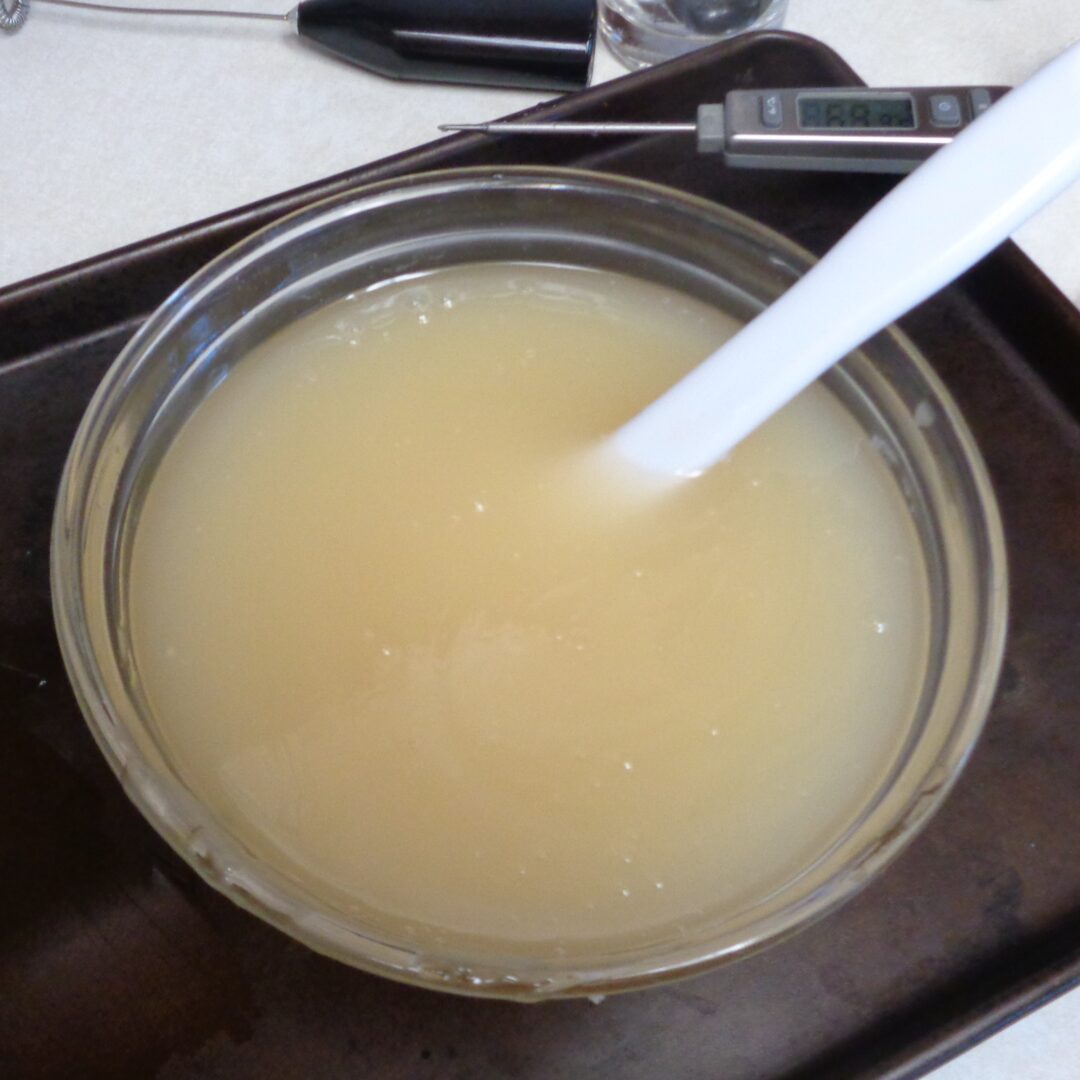 Once both containers have reached 150 degrees F., pour the lye into the oils and stir to combine. There is a clear rim around the bowl above that has not yet combined. Keep stirring until well combined and the mixture is getting thicker. As this is a small batch, I use a spatula. If you are mixing in a larger bowl, an egg beater is an option, as is a coffee frother. When going with something mechanical, make sure you are not spraying the mixture around the room as the lye is still active and can change finishes.
This is where “trace” comes into play. The easiest way to teach trace is to have you beside me so you can see what is happening.
Option two is to explain, in great detail. Trace indicates a point of time past the risk of separation. The mixture has been so thoroughly combined that the emulsion is stable and will be soap tomorrow, not a gooey mess. There is a light trace for moulds like mine that have undercutting, where the soap needs to be able to get into all the crevices and not leave air pockets. There is a heavy trace for plain shapes or soap that will be cut into bars. Heavy trace is thicker as the mixture has been mixed more and therefore also cooled more.
Trace means the same process to different people but when trace is achieved can be debated. My definition is when a spoonful of the soap mixture (or drips off the hand mixer) are drizzled across the top of the bowl of soap and it is visible, trace has been achieved. Something that I should add here is that some essential oils can affect trace. Cinnamon for example, can sometimes take you from light to heavy in a heartbeat.
Different recipes will take different times to reach trace. Olive oil soap can take 40 minutes of stirring before the proper viscosity is reached. This recipe is closer to five minutes due to the size of the batch and ingredient choices.
Be sure that while the stirring is happening, all the extra bits around the edges are being scraped off and brought down into the mixture so that everything is being combined. Otherwise you may find yourself with hard bits on the edges.
Stir continually and with patience, trace will happen. When I say continually, don’t just let it sit and cool. It is possible to stir well and then get out your oils before stirring again and going back for the exfoliants. You are better off to just keep going but if there is a need to get out something missed, that is not a problem.
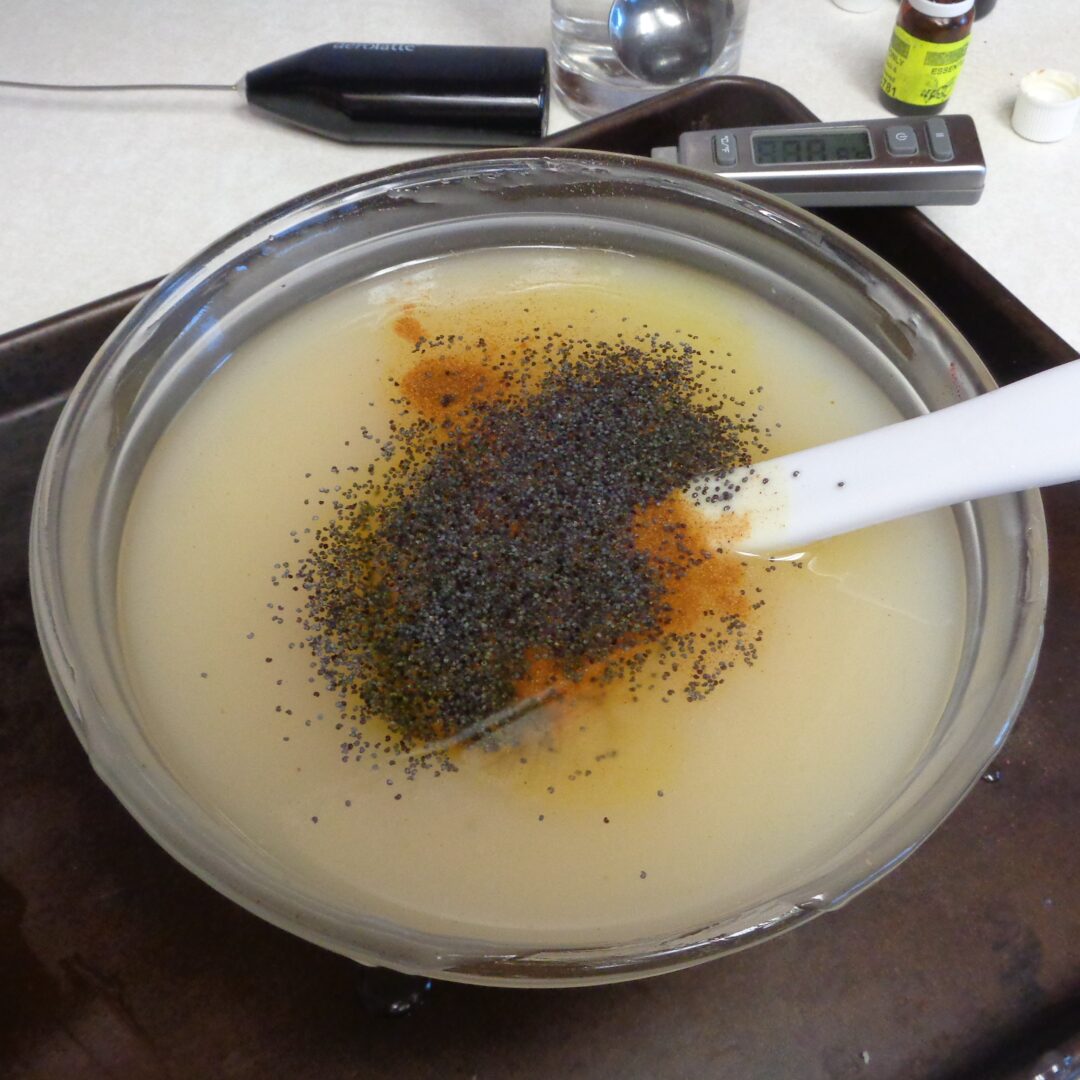 It is now time to add the good stuff. This batch had poppy seeds and a variety of citrus essential oils; lemon, tangerine and sweet orange with some tea tree oil. You can see in the picture above that the mixture is thick enough to hold the added ingredients and that the soap on the edges of the bowl is thick enough to stay on the edges. Another indication that trace has been achieved. Add the Orris root powder, essential oils and exfoliants. Stir to combine well.
 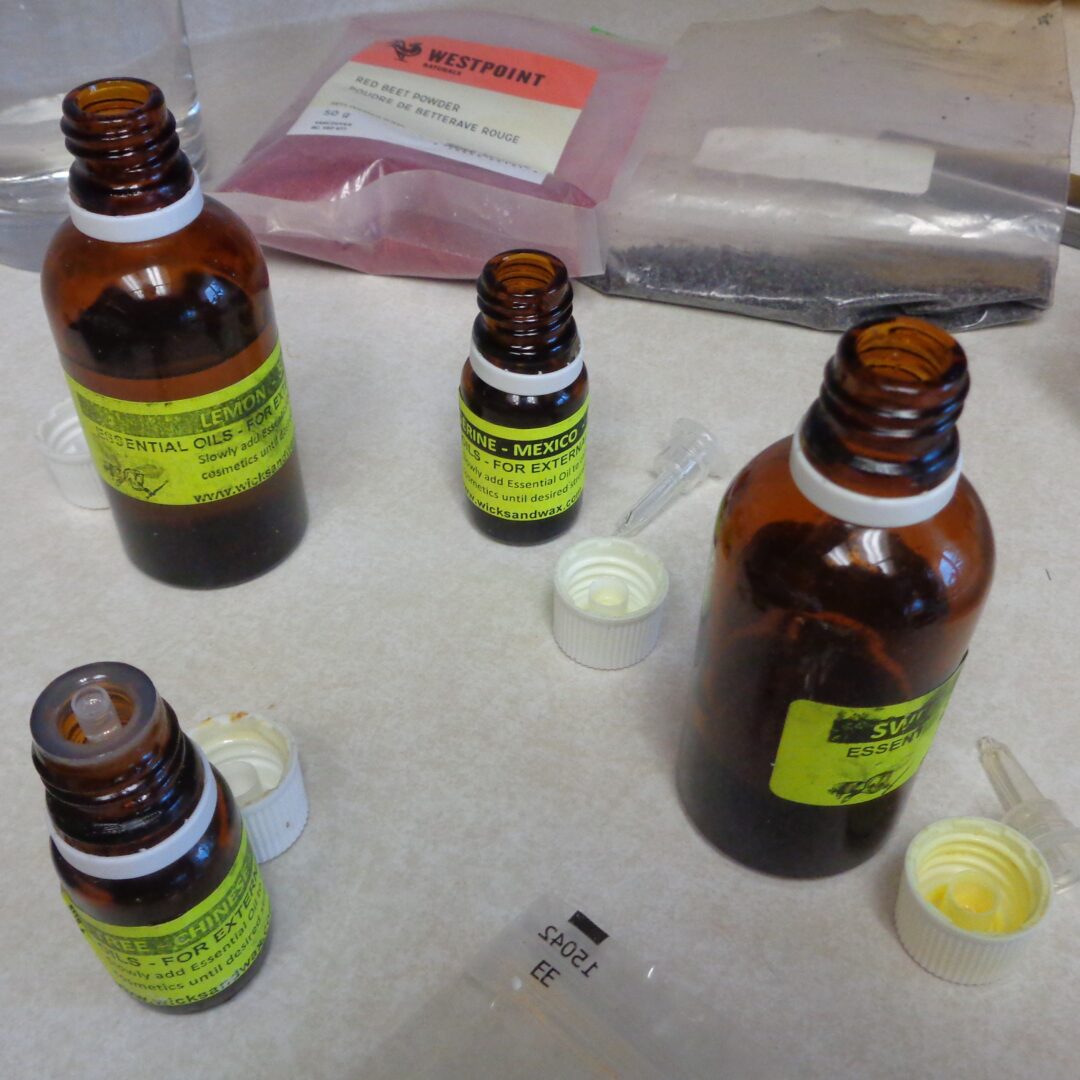 One tip is to keep the bottles and their lids and funnels close together so as not to get things mixed up. This recipe calls for two tablespoons of essential oils and you don’t want to measure that is drops. When making combinations of scents it can be worth measuring into a small bowl and taking a whiff before adding to the soap mixture.
Orris root powder is a fixative. It will keep the essential oils and therefore the aroma in the soap longer. Highly recommended but not required.
Pour the soap into your moulds. Cover with plastic wrap. That can be a bit tricky as air pockets under the wrap will mean air pockets on the bottom of your soaps. They can be fixed by pulling back the wrap and laying it back across the soap again. While doing this, your soap mixture will probably be getting thicker as the smaller sections continue to cool. Once the moulds are covered and there are no bubbles or wrinkles, the moulds are ready to be covered and sit for 24 hours. (If you have wrinkles and/or air pockets, don’t worry there is a solution)
Set the moulds some place warm and cover with a towel or newspaper to keep the heat in. This is where the mixture gets to works again and will heat up and cool down a second time. At the end of 24 hours there should be soap!
Move the soap with plastic wrap to the freezer for at least one hour. This does not need to happen at exactly 24 hours, if you are at work or have plans, the soap can stay out of or in the freezer for a longer time. The purpose of the time in the freezer is so the soap will contract and pop out of the moulds more easily.
Remove the moulds from the freezer and release the soaps by gently manipulating the mould. Don’t force and return to the freezer if there are problems.
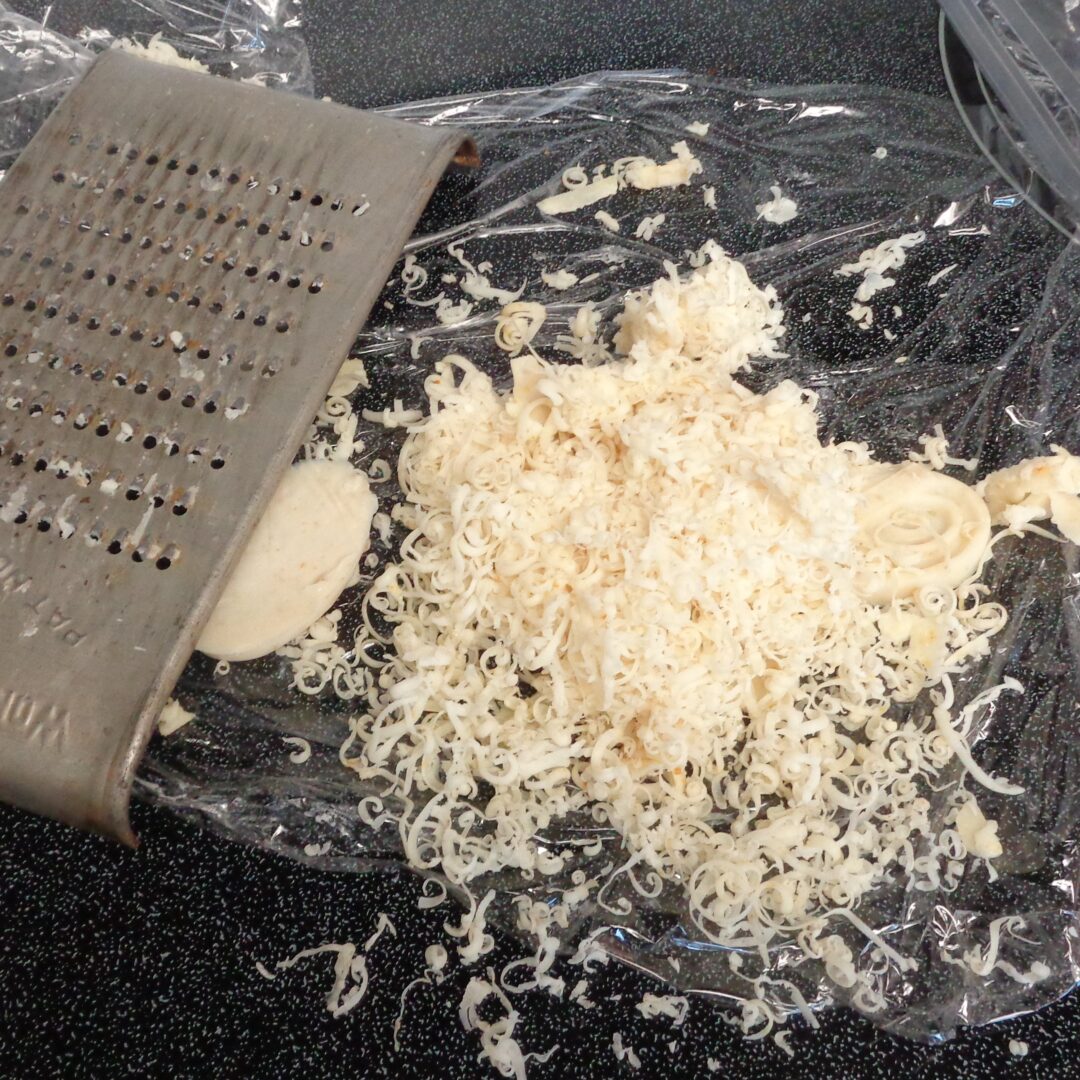 One the soaps are out, check the bottoms and if you would like to, grate the bottom of the bars to level them and remove any air pockets and wrinkles. Set on a cooling rack as the soap now needs to sit out and air dry for a week.
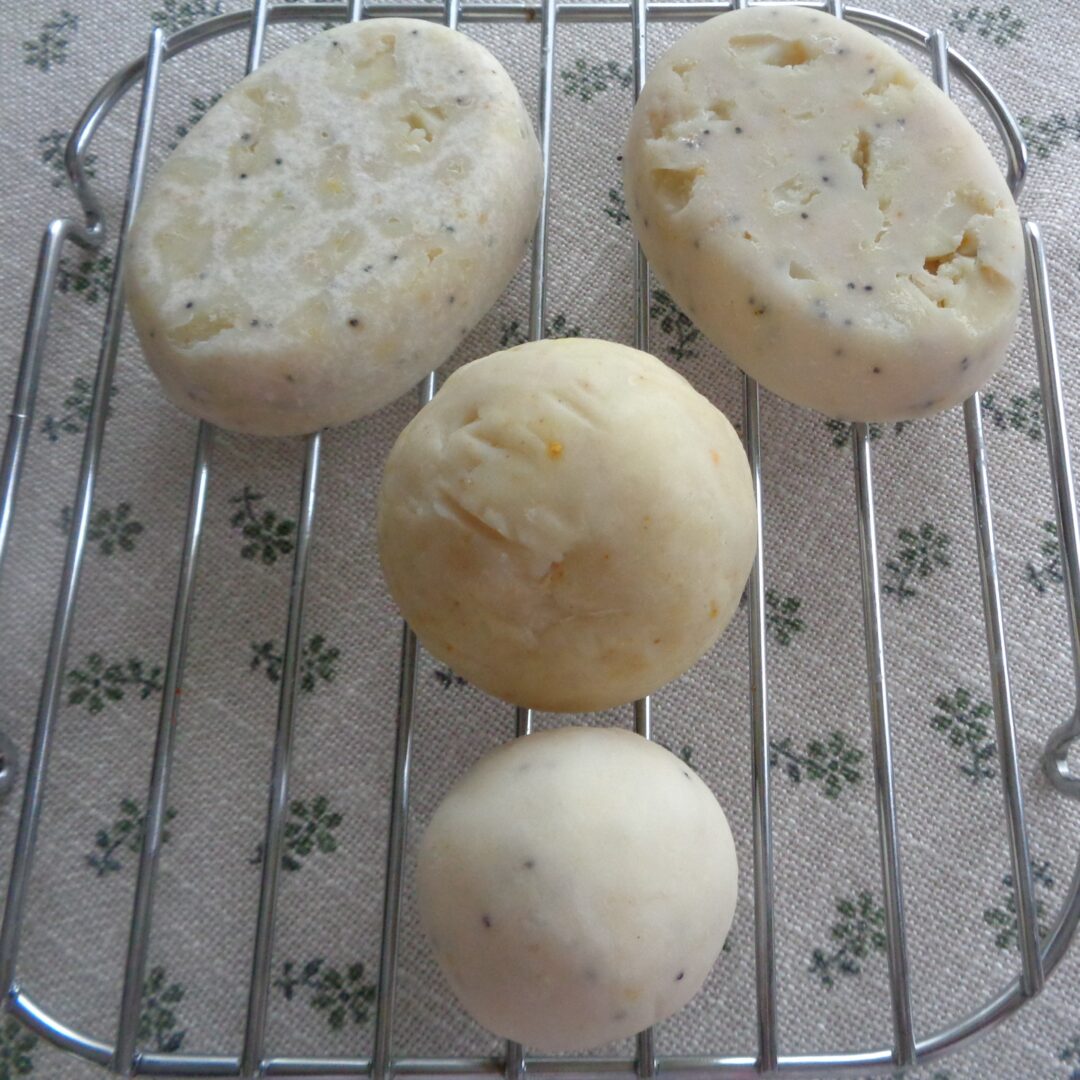
Keep the grated bits as they can be squeezed together and turned into golf ball size personal soaps like in the picture below.
I made three batches over three days and had little bits of leftovers from each batch. The oval soaps are cubes of one variety of soap filled with a little leftover soap from another batch.
 After a week of sitting out, the soaps can be transferred to a box and left to sit for another six weeks. At the end of that time the lye will no longer be active your soap is ready for packaging and use.
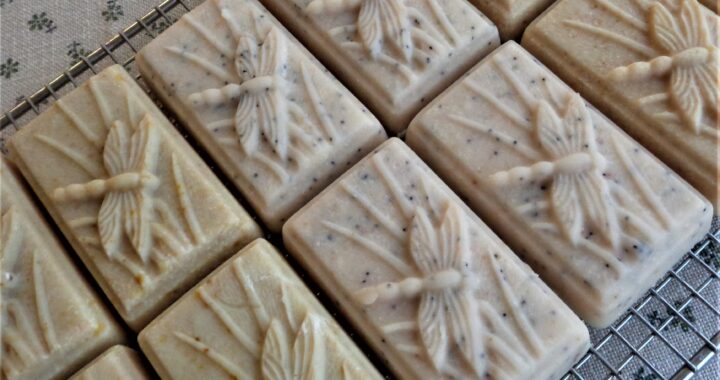
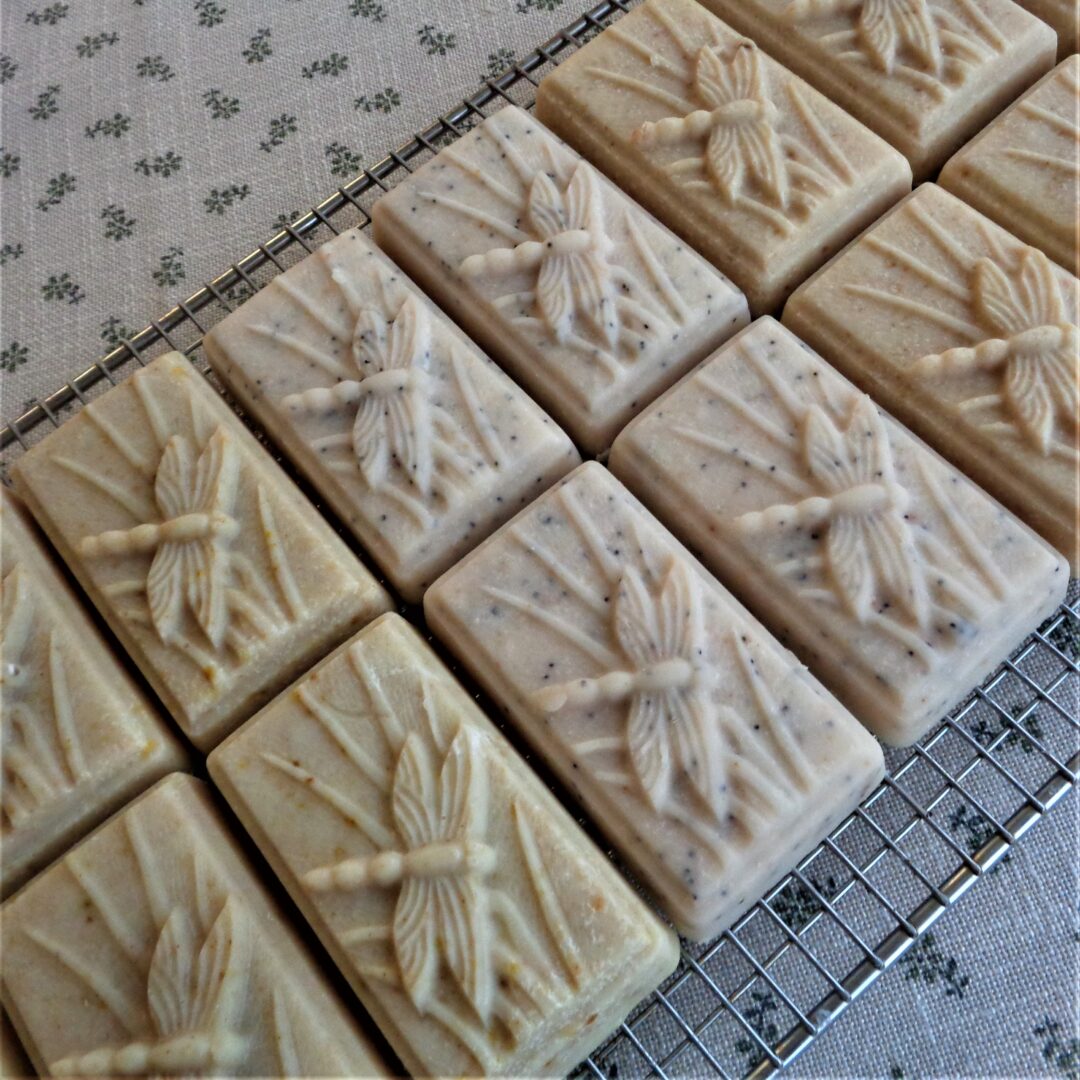
Soap shrinks as it ages. Some of the best lavender soaps from France are aged for years and if one of the bars from the picture below was put back into the mould it would have wiggle room.
The three mixtures used for the soaps below were 1 Tbsp. lemon and 1 Tbsp. lemongrass essential oil with ground orange powder; 1/2 Tbsp. lemon, 1 Tbsp. tangerine and 1/2 Tbsp. sweet orange essential oil with 15 – 20 drops tea tree oil and poppy seeds; and a mixture of 1 Tbsp. sweet orange, 1 tsp. pine, 1 tsp. cedar, 1/2 tsp. cinnamon and 1/2 tsp. clove with ground oatmeal. I was using up oils on hand so the measurements are “ish”.
I like giving gifts that go away. At my age I am trying to get rid of things, not add more dusting to my day. Handmade soaps are a luxurious option as many soaps today are actually detergent. These soaps still include their glycerine and have a lovely lather. They are not difficult to make but do take a time to cure. After a batch or two, try making some changes for special skin conditions and your soaps will be happily received.
 Cold Process Soaps from My Kitchen Wand
