
I have a number of people around me right now who are feeling their aches and pains. So as Yule gifts, I am making rice bags, those lovely cushions that can go into the freezer or the microwave and help heal the bumps and bruises of life. These can be made in any size of shape. The plan right now is squares and rectangles but there is no reason a teddy bear shape could not be sewn for a youngster. (Add the face and paws before sewing the pieces together. It will be easier than doing it afterwards.)
With the weather getting cooler, my stepmother has found she likes having the square under her duvet. It keeps her hands warm. Popping one in a chair helps keep lower backs warm and more flexible while enjoying an evening of binge watching television after a day of physical work.
I am choosing to use non Yule designed material as these are intended for year round use but there is no reason, candy canes and reindeer won’t work just as well.
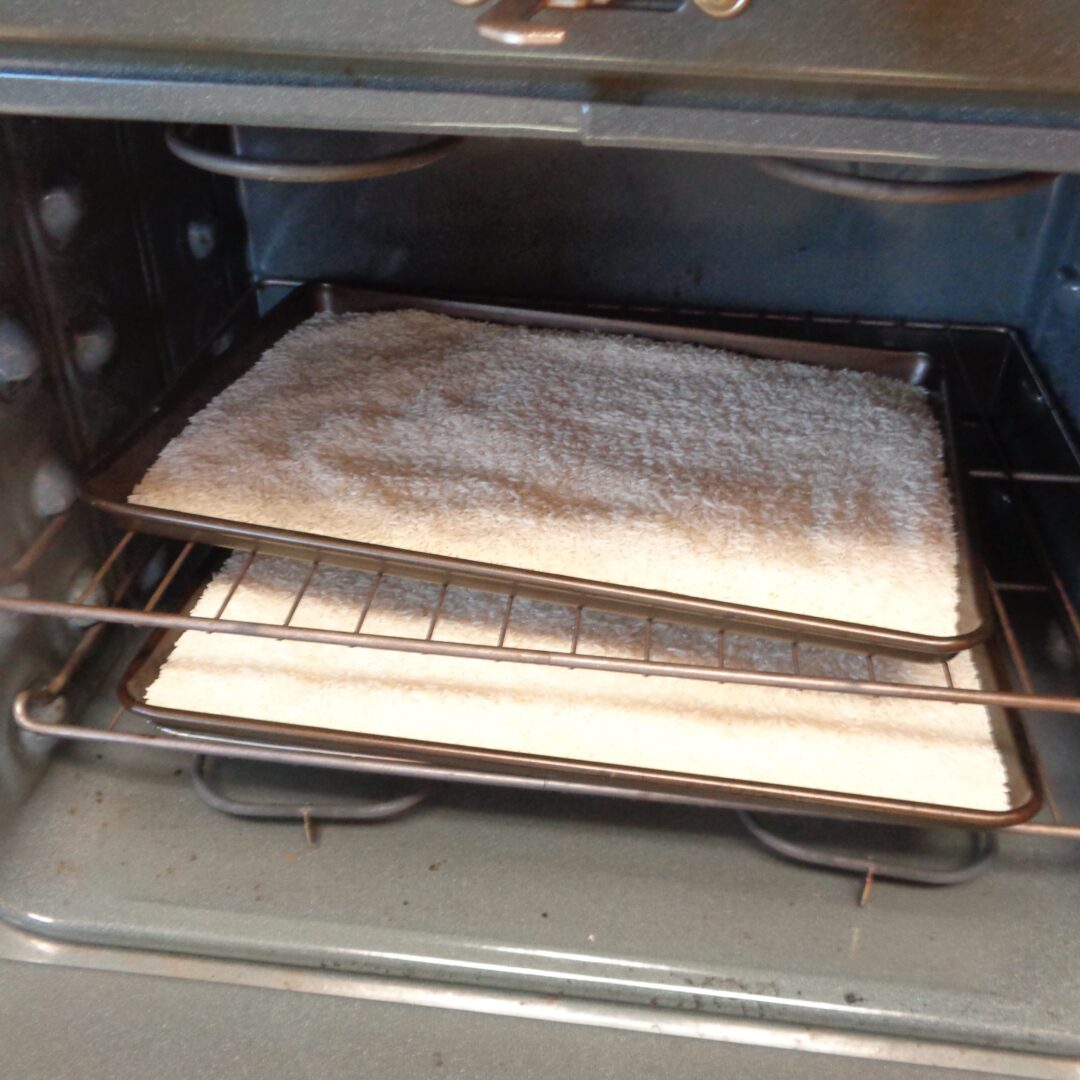
 I will be filling with rice as it is the most cost effective but please know there are other options; bran, flax seed, cherry pits, beans etc. The rice was baked for an hour on cookies trays at 325 degrees F. Baking will dry out the rice a little more and once cooled it was measured into 900 gram/2 pound portions and put aside.
An additional step to consider is adding dried herbs or essential oils to the rice before filling the bags. Lavender, valerian and chamomile are examples of calming herbs that might be added. This is a personal choice and may not be right for all people.
When adding essential oil, popping in a couple of teaspoons of orris root powder as well will keep the oils smelling lovely longer. Just mix with the rice and oils.
 Some people choose to add the filling directly into the outside bag. In this house being able to take out the filling and wash the cover is a good idea so a closed bag for the filling and a cover bag with velcro will be parts of this project.
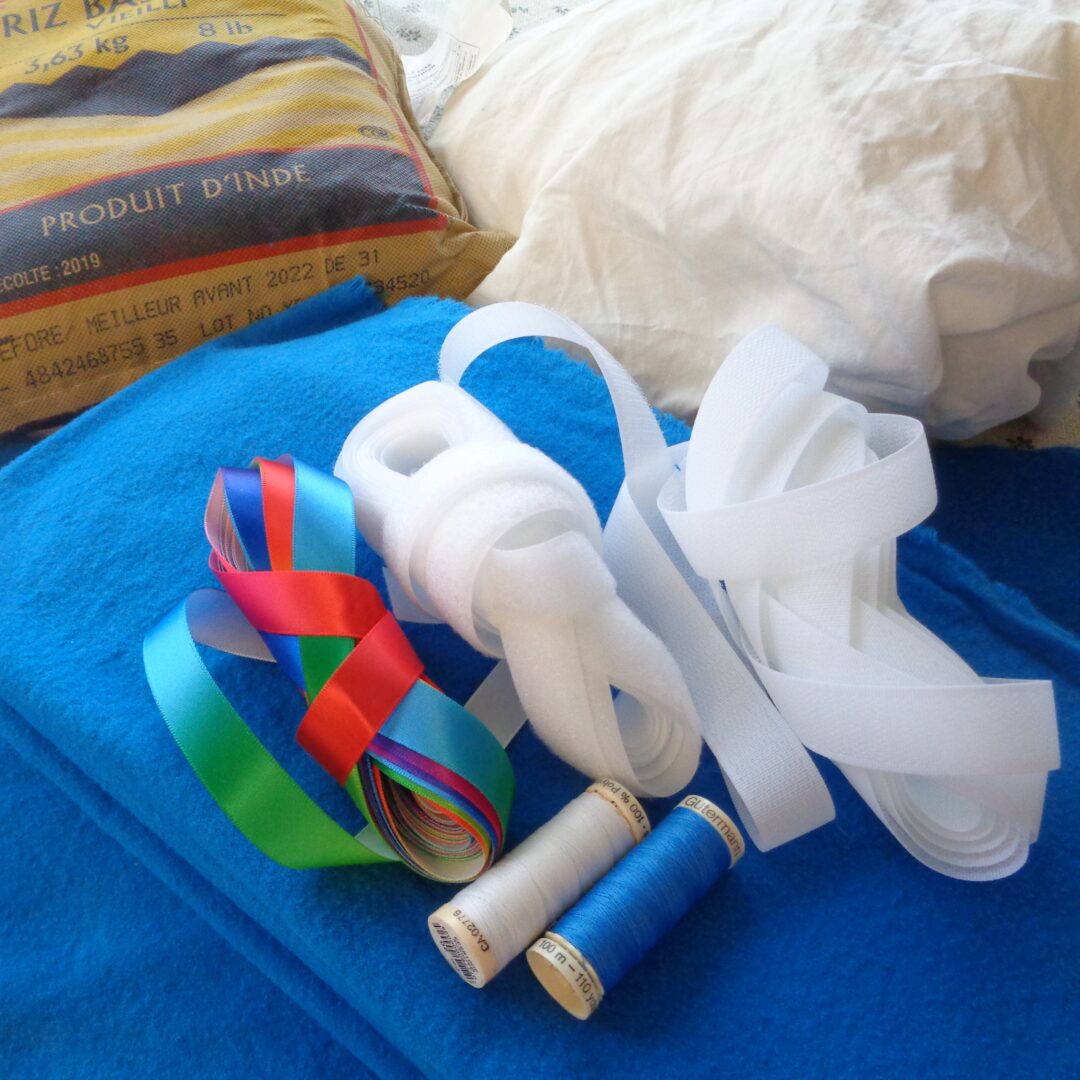
You will need:
washable outside cover material
cotton for the filling bag
thread
Velcro or hook & loop of some variety, 1/2 or 3/4 inch wide
rice or other filling
ribbon (optional)
dried herbs or essential oils/orris root (optional)
 As mentioned, I am going with two shapes, the precise dimensions don’t really matter, especially if bits and pieces of left over material are being used for this project.
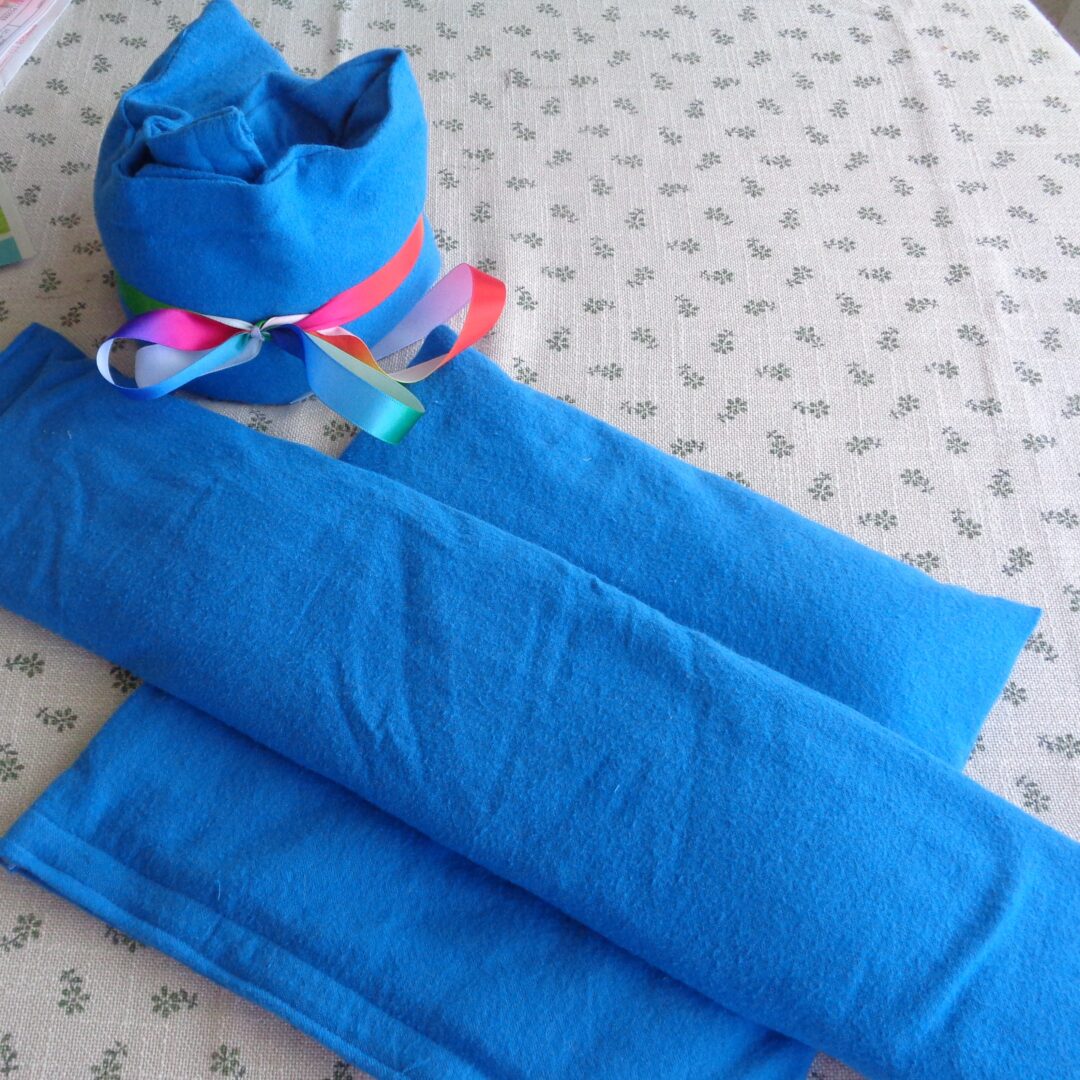
The square bags came in finished at about 11 inches. They are good for wrapping around a limb or putting underneath a body laying flat. They can also be folded over nicely into a smaller package. Cut the cloth 12 by 24 inches.
The rectangles came in at 23 inches long and 4.5 inches wide, making the cutting size 24 inches by 10 inches, good for wrapping around necks or hanging over shoulders and hips.
Make whatever size works for your plans, adding a 1/2 inch seam allowance to the finished size you would decide on making.
As an added option, the cover cloth was doubled on the first bag as it was a birthday present for someone with sensitive skin. She often asks for our bag to be wrapped in a towel so doubling the material gives a little extra protection.
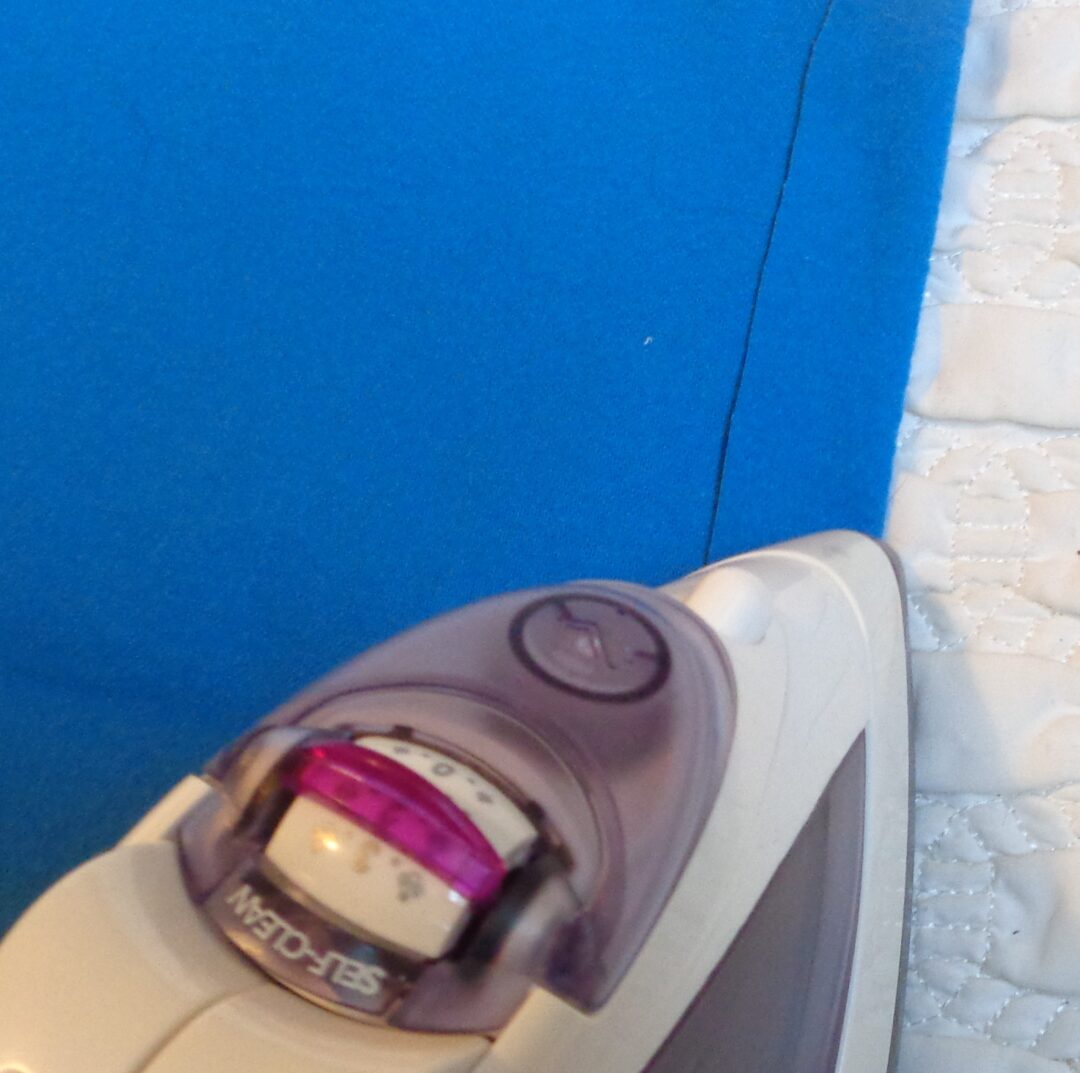 I am using blue flannelette that was a great deal on sale but using fabric you have on hand is also an option. Well loved cottons that are soft and snugly make lovely covers. Begin by folding over the edge where the hook & loop will go. This is the long narrow bag, so that means the short end of the material. Iron the material flat.
There are several brands of hook & loop on the market. Some come with a sticky backing and others not. Whichever you choose I would still suggest that it be sewn onto the material. If the outside cover is going into the washing machine, the glue on the sticky backing will eventually come loose.
Cut equal length strips of each section of the velcro to cover half the full length of the folded, ironed material. Set the pieces on the folded section of material. Hooks for one side, loops on the other half.
Trying to get pins into the hard plastic backing of the velcro is not easy. I chose the non sticky option because there was zipper sticky lining handy that works to keep everything in place. It is just visible under the velcro and is basically a thinner version of having a full sticky backing. There will be less shifting and more stability making for easier sewing if the velcro does not slide around while being sewn.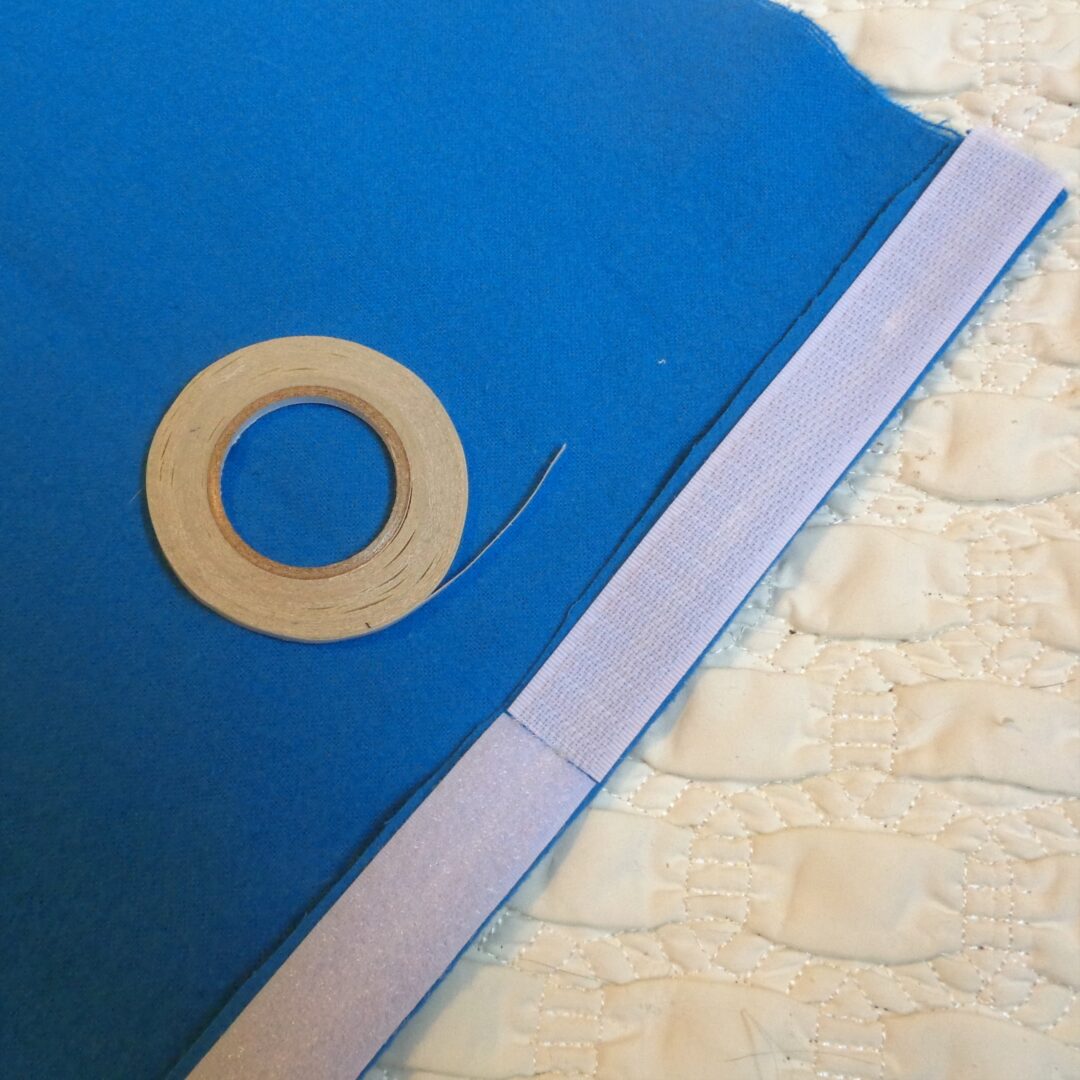 Sew down the hook & loop by sewing along the outside edges on the longer sides of the tapes. Carry on across the entire length, not stopping when the loops section ends and the hooks begins.
Fold the material in half lengthwise, iron and get ready to sew the final section, starting at the bottom corner where the folded edge is and not where the velcro is.
 If sewing is a new thing, please remember to sew a few stitches, then reverse the direction back to the beginning position, before moving forward down the material. This will stop the possibility of the thread unraveling.
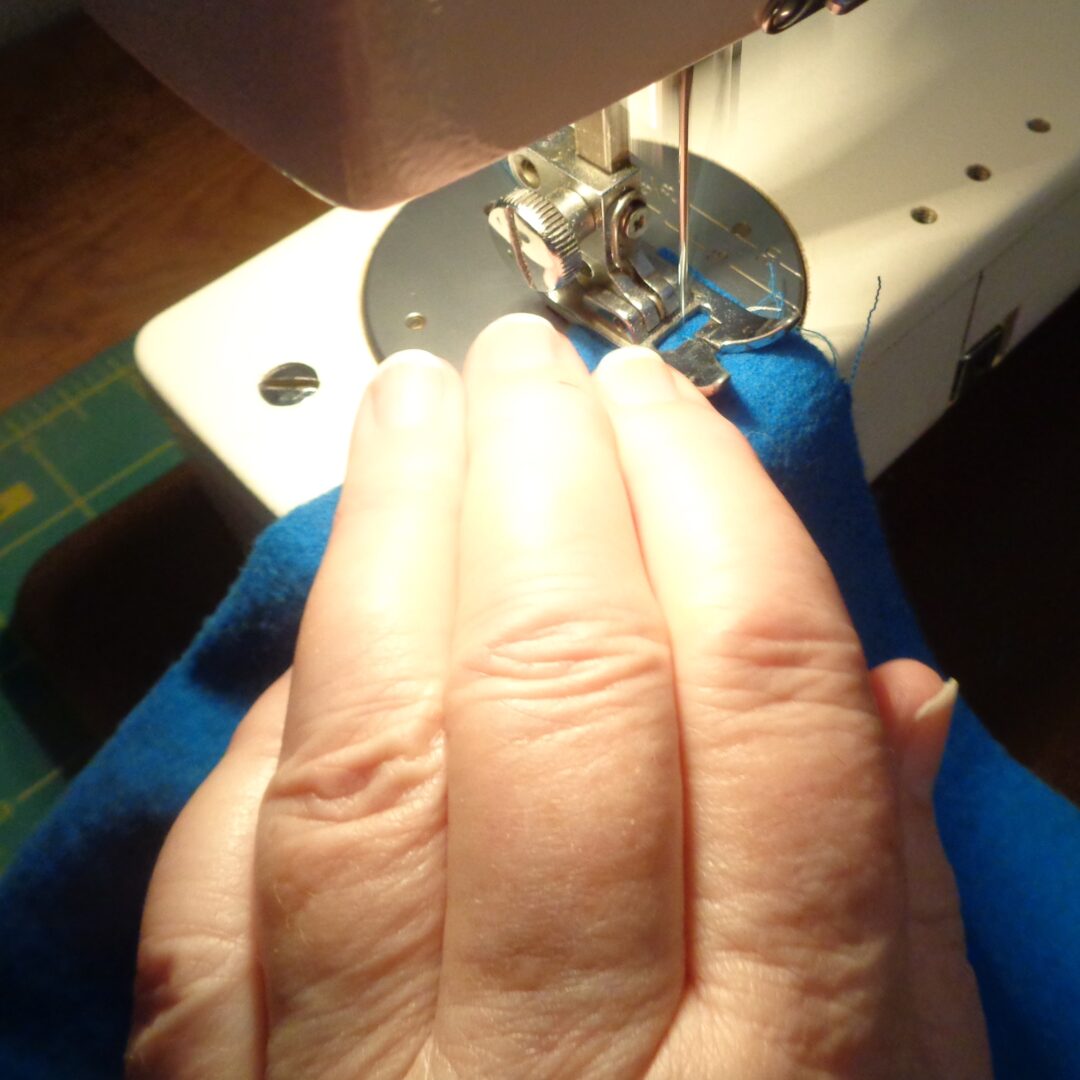 After sewing the 4.5 inches to the next corner. Turn the soon to be bag 90 degrees and sew the long side, heading towards the velcro. Sew over the velcro and repeat the back and forward motion we started with before snipping the threads.
 Two things came up while the sewing was being completed. First, the material I had chosen has a tendency to fray, visible in the pictures on either side of these sentences. For that reason, a zigzag line of stitching was added so that everything has a better chance of holding together. It won’t be needed on all types of fabric but better to solve my issue now, before gifting them to anyone.
The second thing is that a trim of the seam near the velcro is a good idea. It will reduce the bulk and make the pieces come together more cleanly.
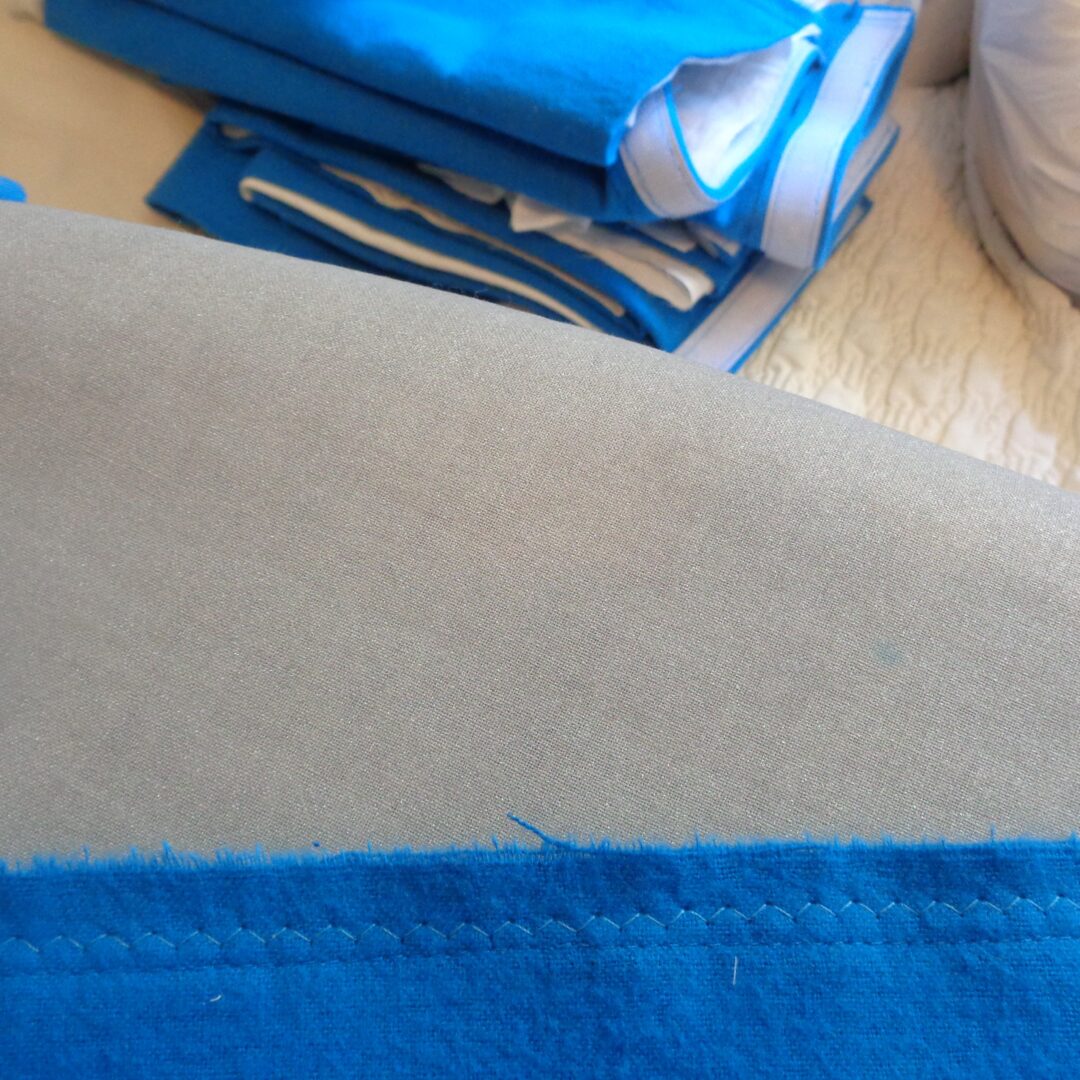 Turn the bag right side out, get the corners nice and sharp, give it a quick press and you are done. Cover complete!
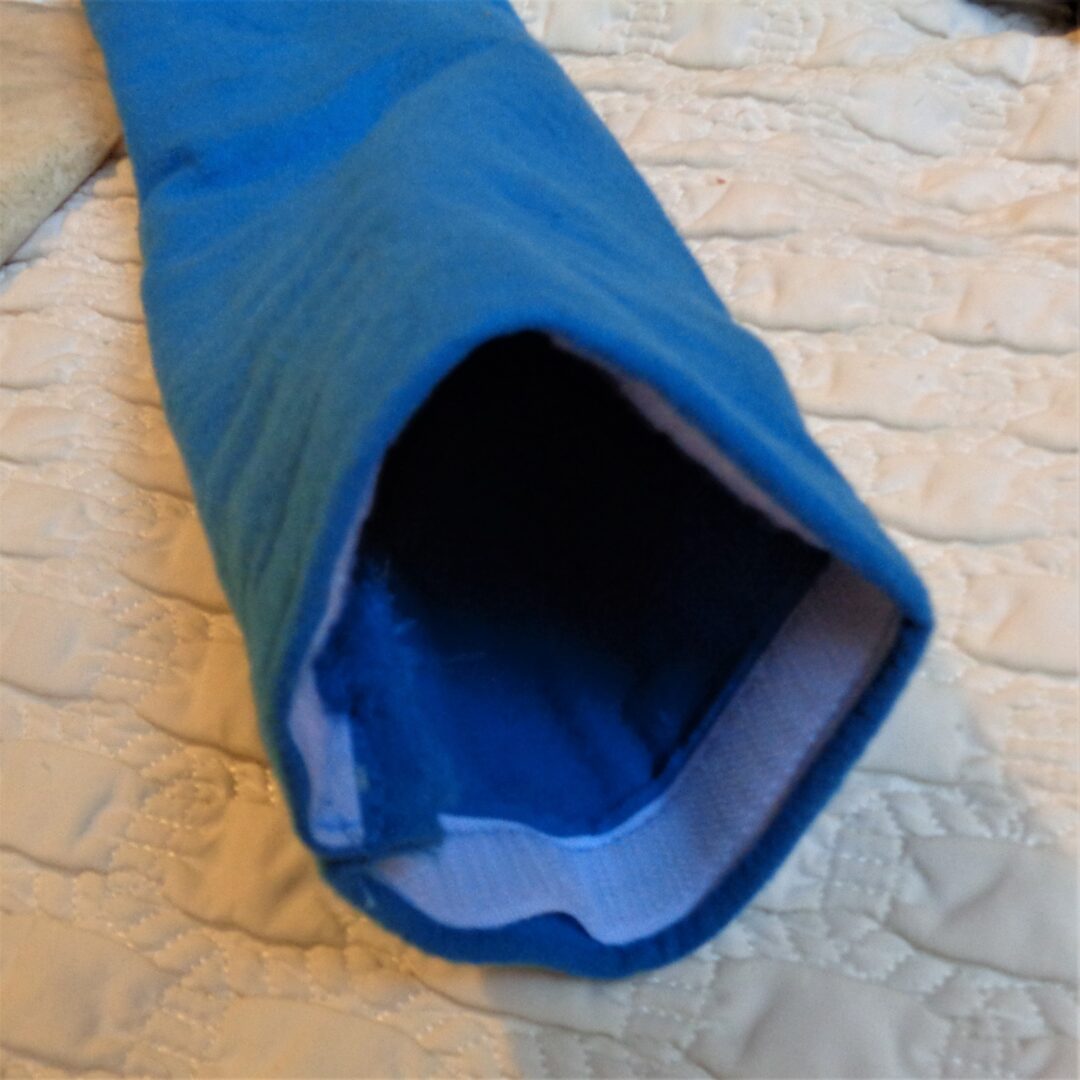 Not the best photo above but I kept it in so the place to trim the material off is “clearly” visible.
The next step is to make the inside bag. I have an old sheet that had a big rip in it and was perfectly usable for a lining.
Place the completed bag (in this picture a square one) on the material and cut around the edges. This way once the seams are sewn, the bag for the rice will be a bit smaller and will slide nicely inside.
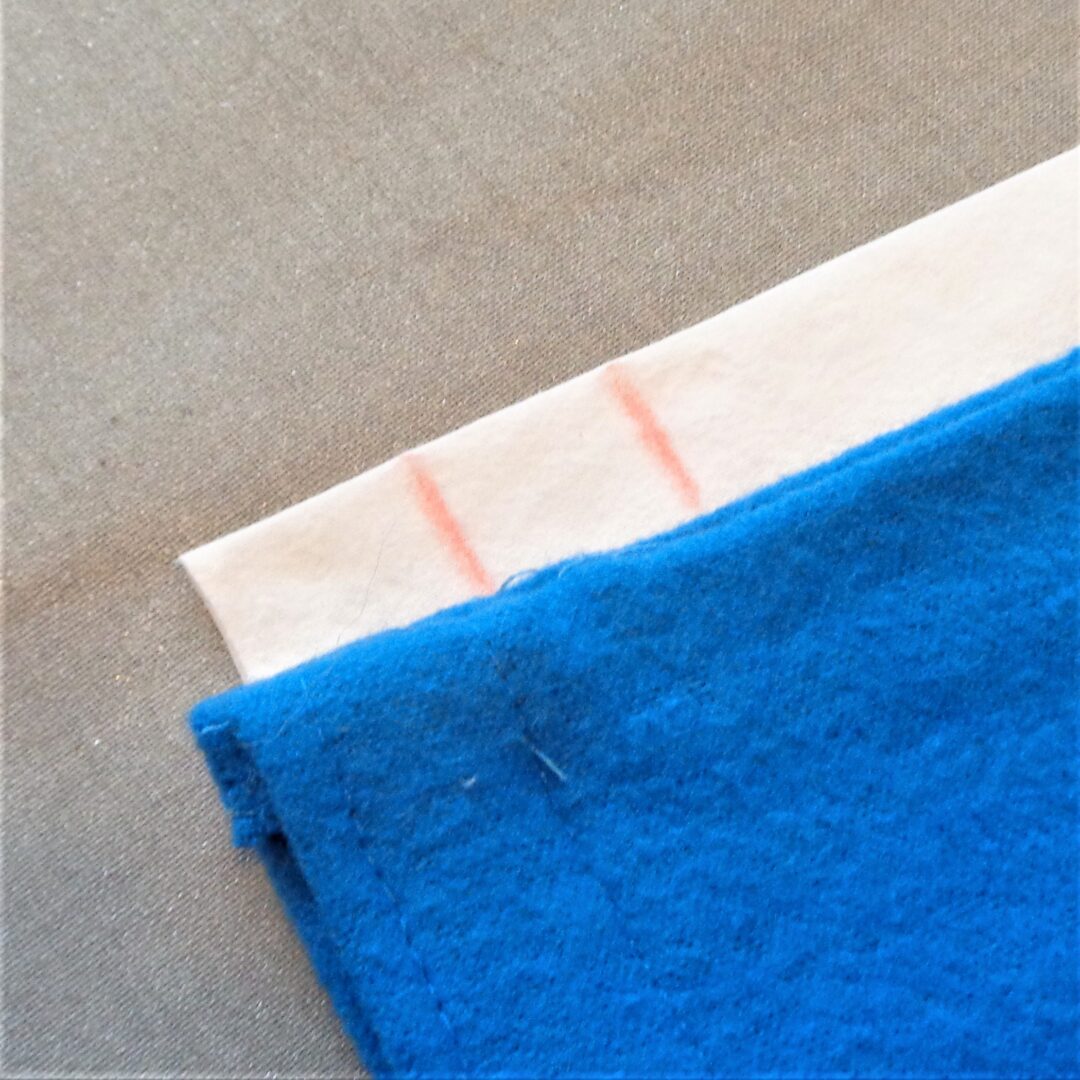
 There is no need for the velcro as the bag will be sewn closed. It will be folded in upon itself twice, which is why there are marks on the white cloth bag in the picture below.
Using the width of the velcro on the blue cover bag as a guide, mark the depth of the fold, then turn twice and iron the folds into place.
 Fill the bag with rice or your choice of filling and sew the top closed by going back and forth on the folded section a couple of times.
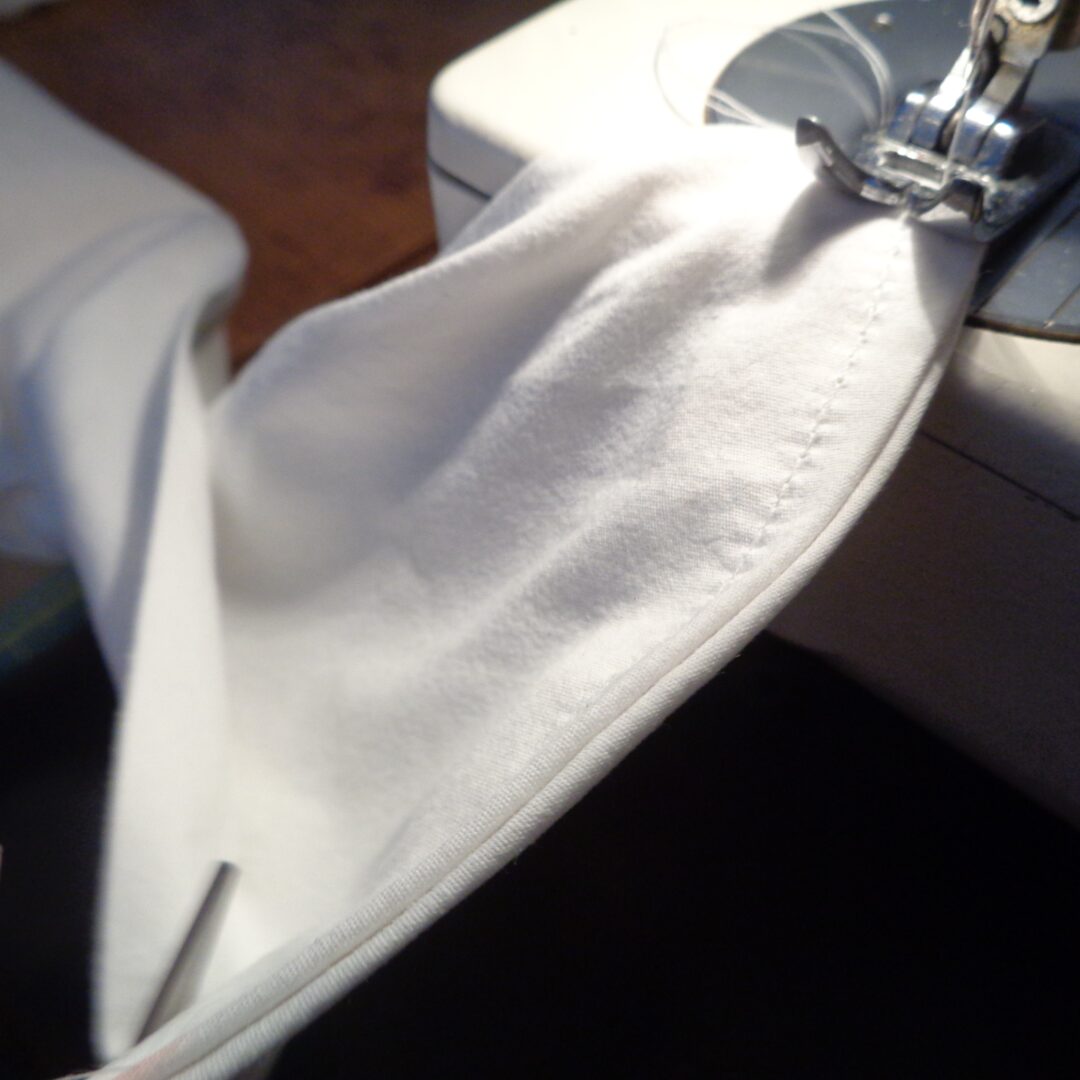 Since the plan was to make a selection of rice bags (3 down, 14 to go), this project was set up as a production line and came together really easily. All the sewing is basically simple straight lines and doing them one after the other allows you to get into an easy repetitive rhythm.
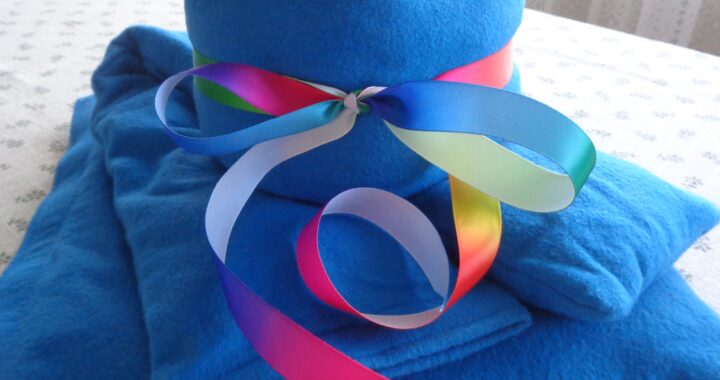
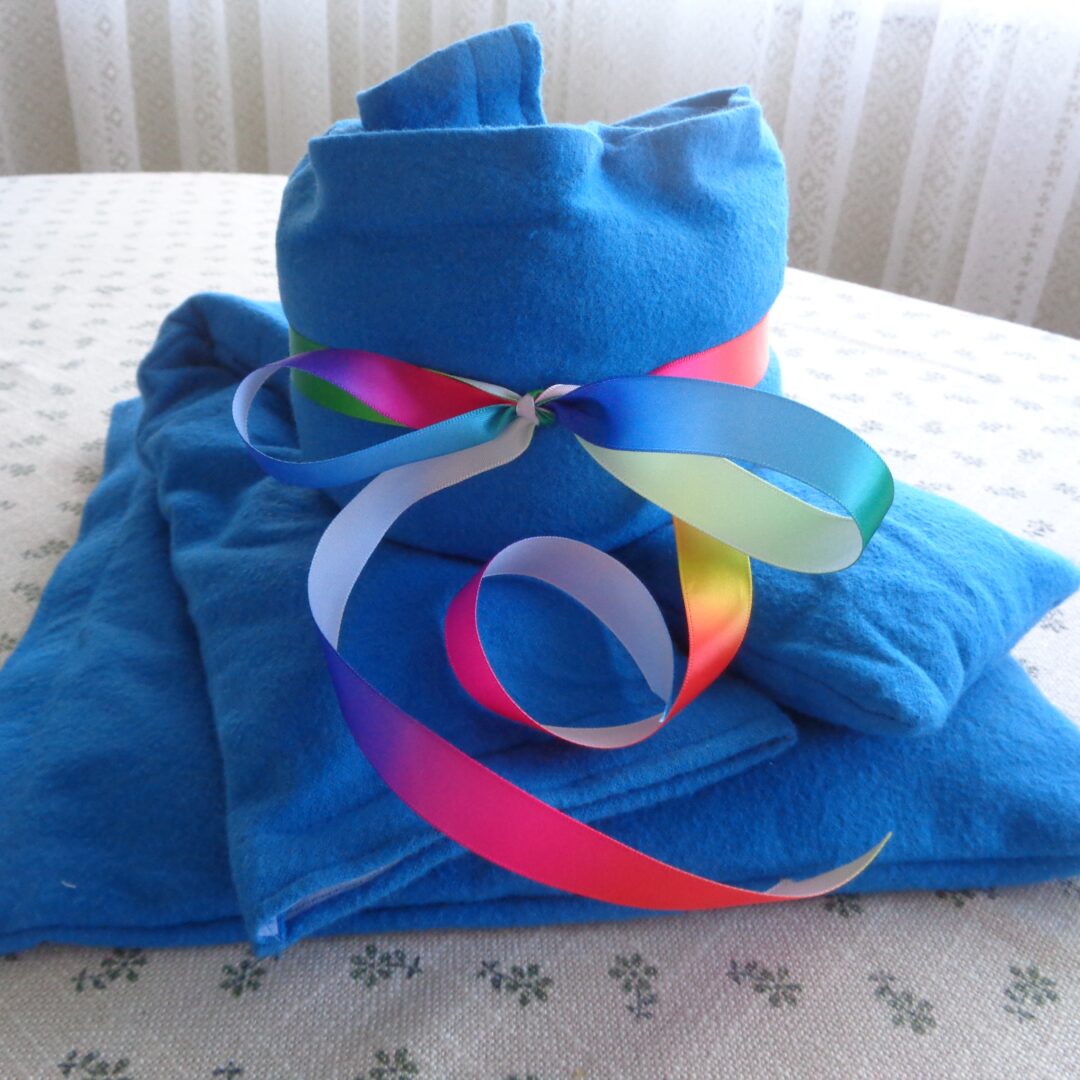
My original plan included the pretty ribbon in the picture below, so the bags could be rolled and tied up but in the end I chose not to include it as they would probably have needed ironing after washing and I wanted to be conscious of people’s time.
Most of my Yule time gifts are made to go away. Candles, soap, chocolates, spice mixes. As adults we have most of what we really need and I prefer not to gift dust collectors. This project was a little different. My hope is that my friends know they were heard and that they feel cared for. It will also be nice to have this project complete by the end of the week and off my to do list.
 Rice Bags from My Kitchen Wand
