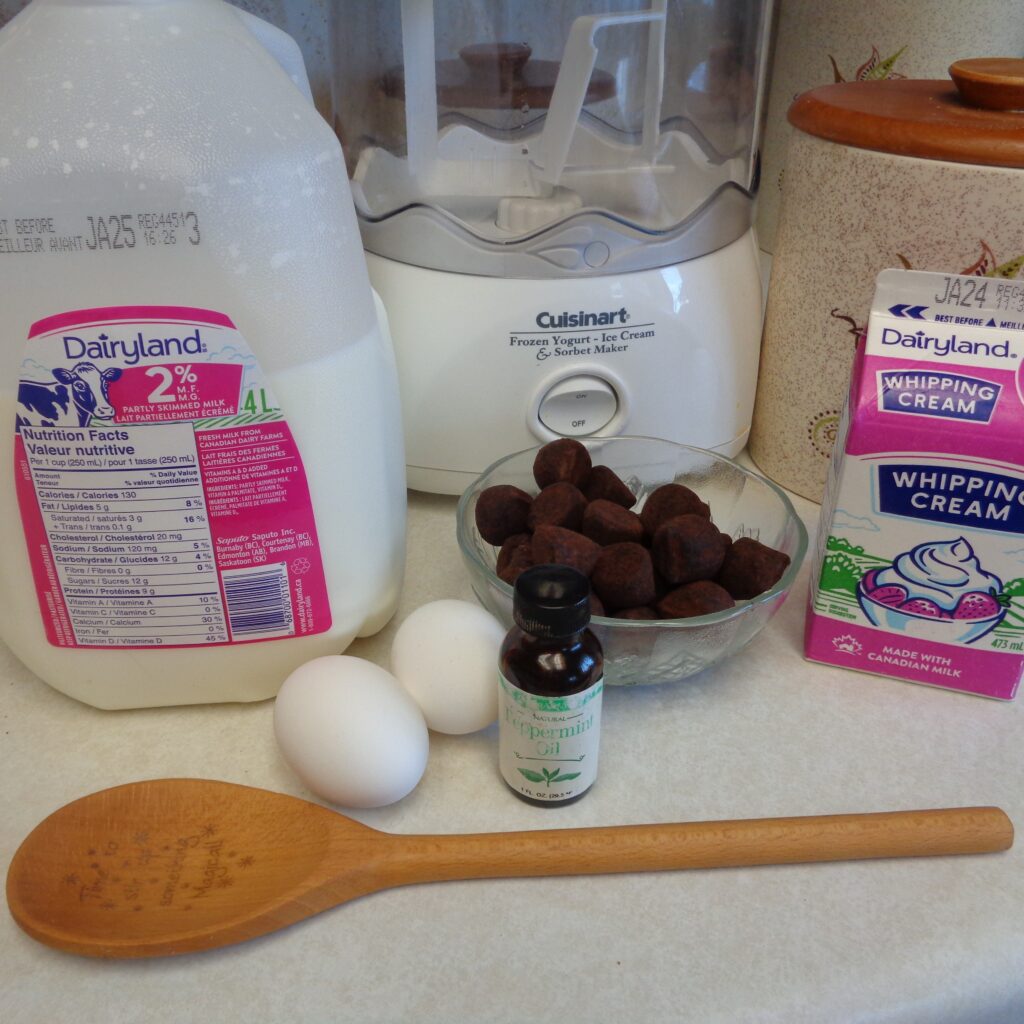
Truffettes de France are a dark chocolate truffle, solid enough that they don’t need an extra chocolate coating while they still easily melt on your tongue. I received a box full this past Yule. There were more than enough for one person. Thirty pieces was great for a rich dark chocolate and twenty would probably work better when making Valentine ice cream for children. Another option would be to melt 5 – 8 ounces of good quality chocolate of your choice and add it to the simmering milk mixture or other options at home that could be used at your discretion.
Rich decadent style cooked ice creams call often for whole milk. I did not have any around so I upped the whipping cream and lowered the milk ratio and used 2% milk instead, coming out at about the same fat content. Combine the milk and heavy cream over medium low heat.
 To a medium bowl add the sugar and eggs. Stir well by hand or hand mixer until the mixture thickens.
Remove one cup of heated milk from the pot and add to the egg/sugar mixture, stirring well. It is best to do this in a slow steady stream while the handmixer is on or you are whisking. The purpose of doing this is to temper or gently heat the eggs but not cook them before returning the mixture to the heated milk, making for a custard with fewer lumps.
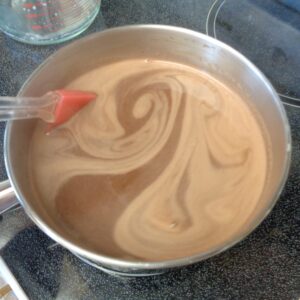
Add the Truffettes de France to the saucepan with the heated milk. Stir until they have melted and are well combined. Add the egg mixture into the pot. Cook over low heat, stirring constantly. As the mixture thickens it will begin to look like chocolate pudding (and the bubbles on top will disappear).
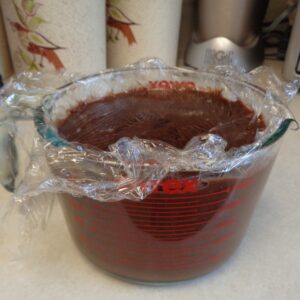 Place the finished chocolate mixture to a clean bowl and cover with plastic wrap that is placed directly on the surface of the custard. This will prevent a skin from forming, making the entire mixture usable when making the ice cream. Refrigerate until completely cooled. The mixture will thicken more as it cools. The picture on the right is after sitting overnight in the fridge. I moved the soon to be ice cream to the freezer in the morning.
I am going to finish up the ice cream with a machine and then I will explain what to do if there is no ice cream machine in your home.
Most ice cream machines have a freezer bowl that needs to be fully frozen prior to using. The ice cream mixture goes into the bowl and then a rotating spatula continually scrapes off the freezing mixture from the inside of the bowl. The bowl can take up to 36 hours to freeze when starting from scratch which is not helpful if you are the spontaneous sort. My bowl happens to have been sitting in the freezer for about six months, since its last use, so no issues anticipated.
Put the pieces of the machine together and turn on. Pour the ice cream mixture into the rotating center and watch it do its thing for about 20 minutes or until firm.
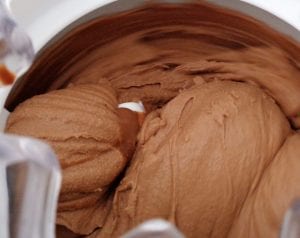 How long the mixture takes to finish is based on four things, the volume of the ice cream being made, the machine design, how fully frozen the freezer bowl is to begin with and how cold the ice cream mixture is going into the machine.
If time permits, keep the ice cream in the freezer for about an hour, stirring up the mixture if the outside layer freezes. The colder the mixture is going into the machine, the less time it will take to freeze in the machine. and if needed it is possible to get two batches out of one frozen freezer bowl.
Once the ice cream is finished it can be enjoyed right away or put into a container and stored in the freezer. Take the ice cream out and allow it to soften a little before serving.
I generally try to keep the things I post to recipes that do not require lots of additional equipment that might only be used once or twice a year and may cost more than the budget allows. The idea of an ice cream machine has appealed to me because it is possible to get rid of the added chemicals, reduce sugar, mix together my choice of ingredients while taking advantage of what’s in season. At a second hand cost of $7.00, it has been a good equipment investment but not so much when considering available space.
Option two is to recreate this process at home with a bowl and a hand mixer. The smaller the individual crystals are in the ice cream, the more luxurious the experience of eating it will be.
Place the ice cream in a large enough bowl to allow for whipping and place in the freezer. Check in an hour and using a spatula clear away the outside section closest to the bowl. Mix into the rest of the mixture, breaking down any lumps. Return to the freezer. Check in 30 minutes. If there is another layer of frozen mixture. Repeat cleaning the bowl and mixing back in. Some of this can be accomplished by hand and at other stages a hand mixer is helpful. Repeat and repeat and….. until the consistency wanted have been achieved. Serve.
It is not going to be the same as using a machine but it will get close if consistently broken down and remixed.
Freshly made will be somewhere between soft serve and melting hard ice cream and from the freezer will most definitely be hard ice cream.
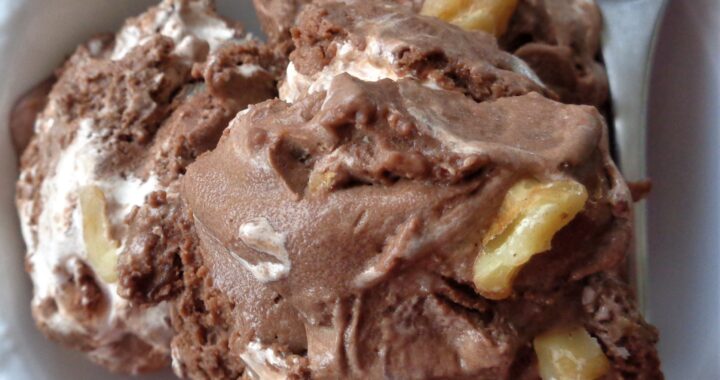
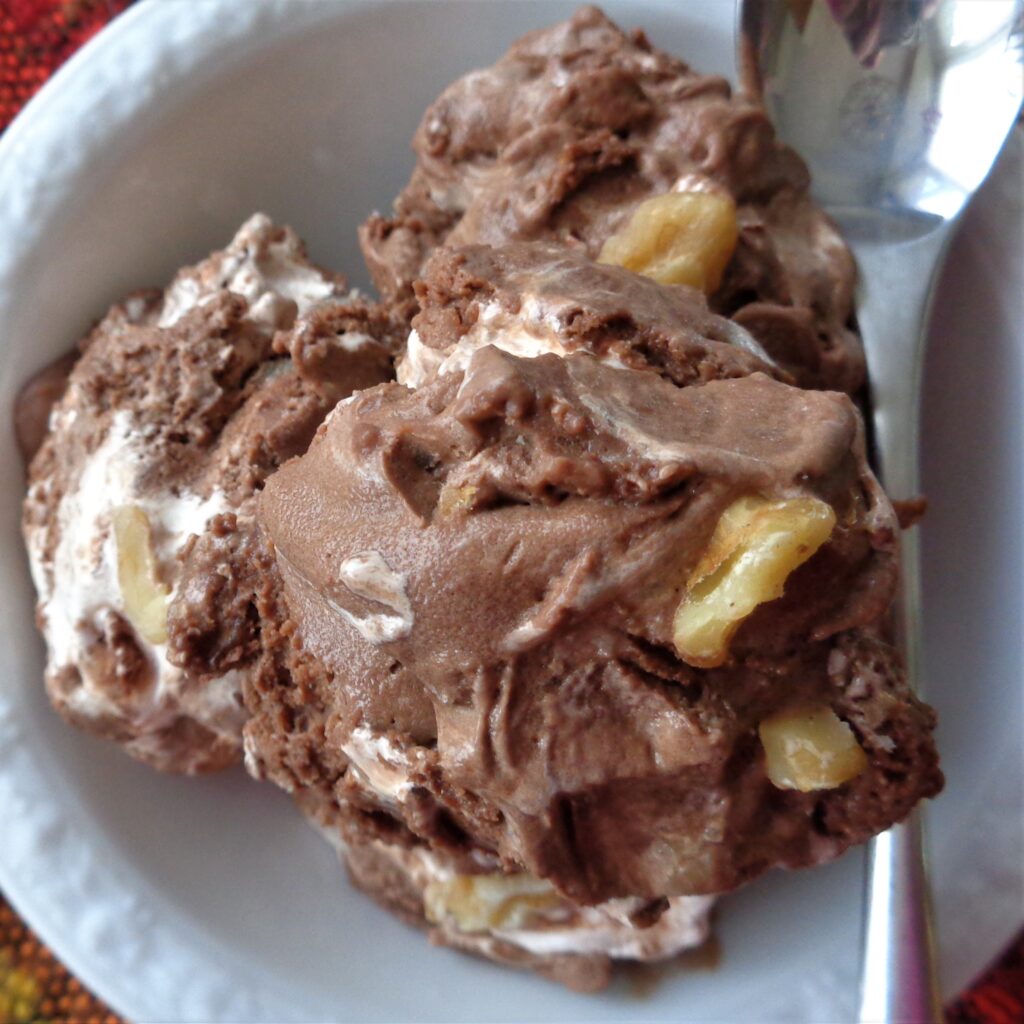
With the basic chocolate ice bream, three varieties were finished off. One was Chocolate Chocolate Chip, to which had been added about a quarter cup of additional finely chopped Truffettes de France. 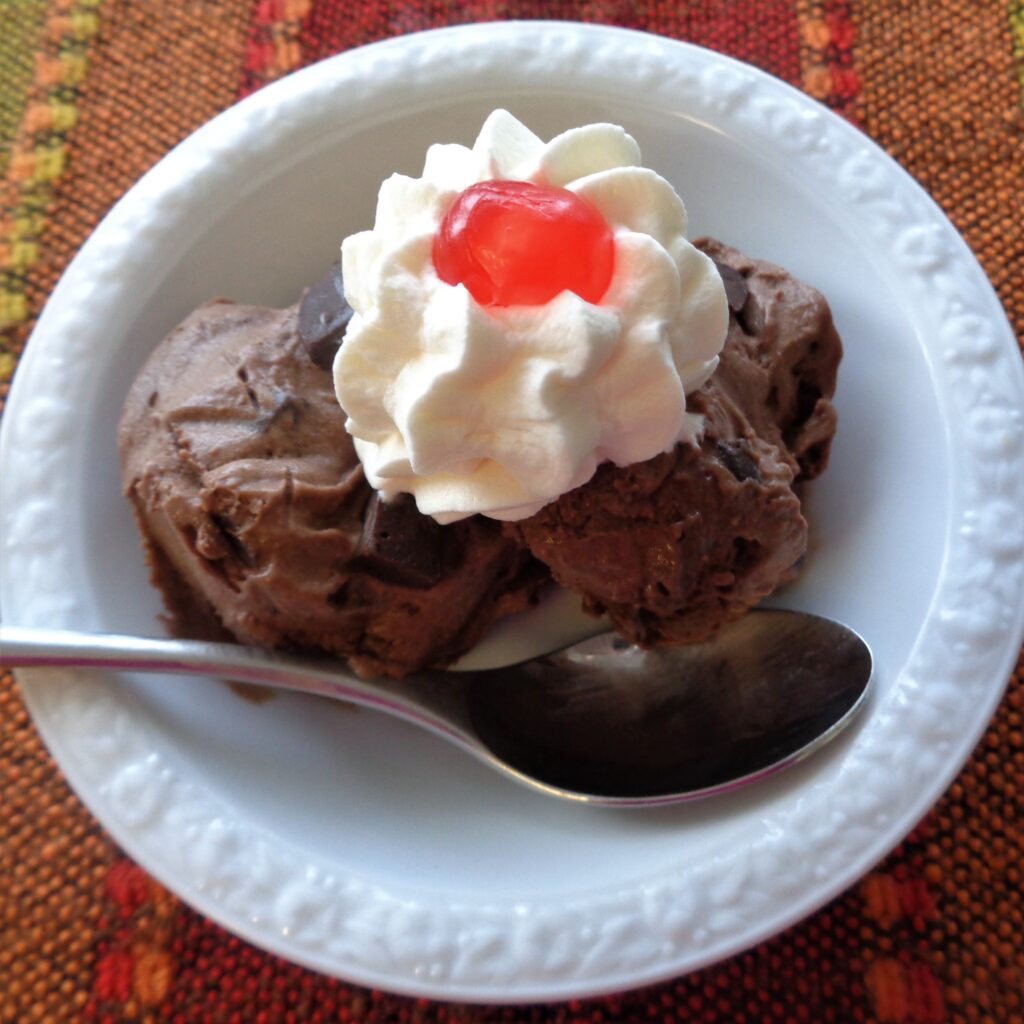 The second was Rocky Road which needed about 4 tablespoons of chopped walnuts and the same amount of Marshmallow Fluff. Marshmallows themselves, don’t fare well being frozen. Something that is already a “sauce” is a much better option.
 Option Three was Chocolate Mint which is linked here and will be a quick separate post, closer to Chocolate Mint Day.
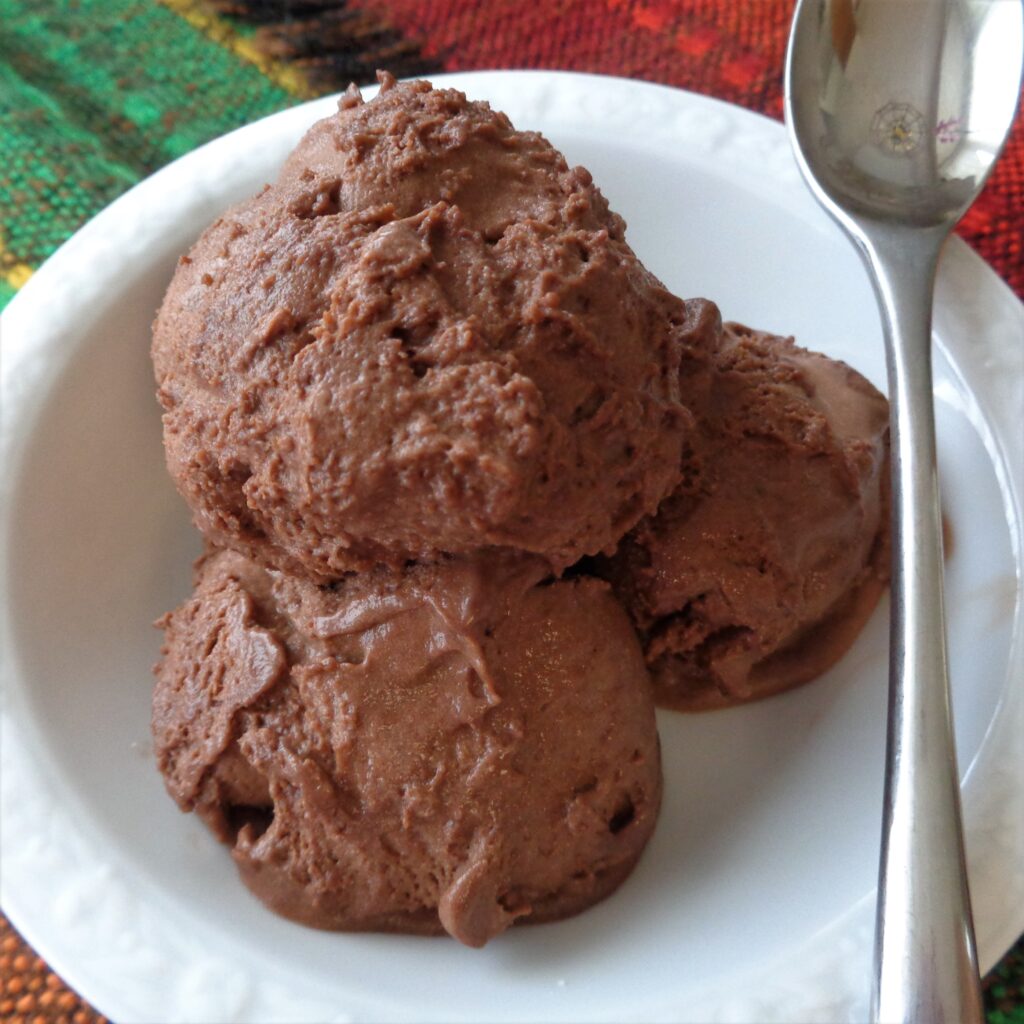 Decadent Homemade Chocolate Ice Cream from My Kitchen Wand

