Remember the egg shells I suggested be collected last week? Well this is the project! Homemade egg shell chalk. Who needs a clean driveway or patio anyway?
I will be posting this a little early in 2020 as Covid-19 has lots of children at home and learning something new might be helpful. Under “back to normal” circumstances this would make a good Earth or Family Day activity. 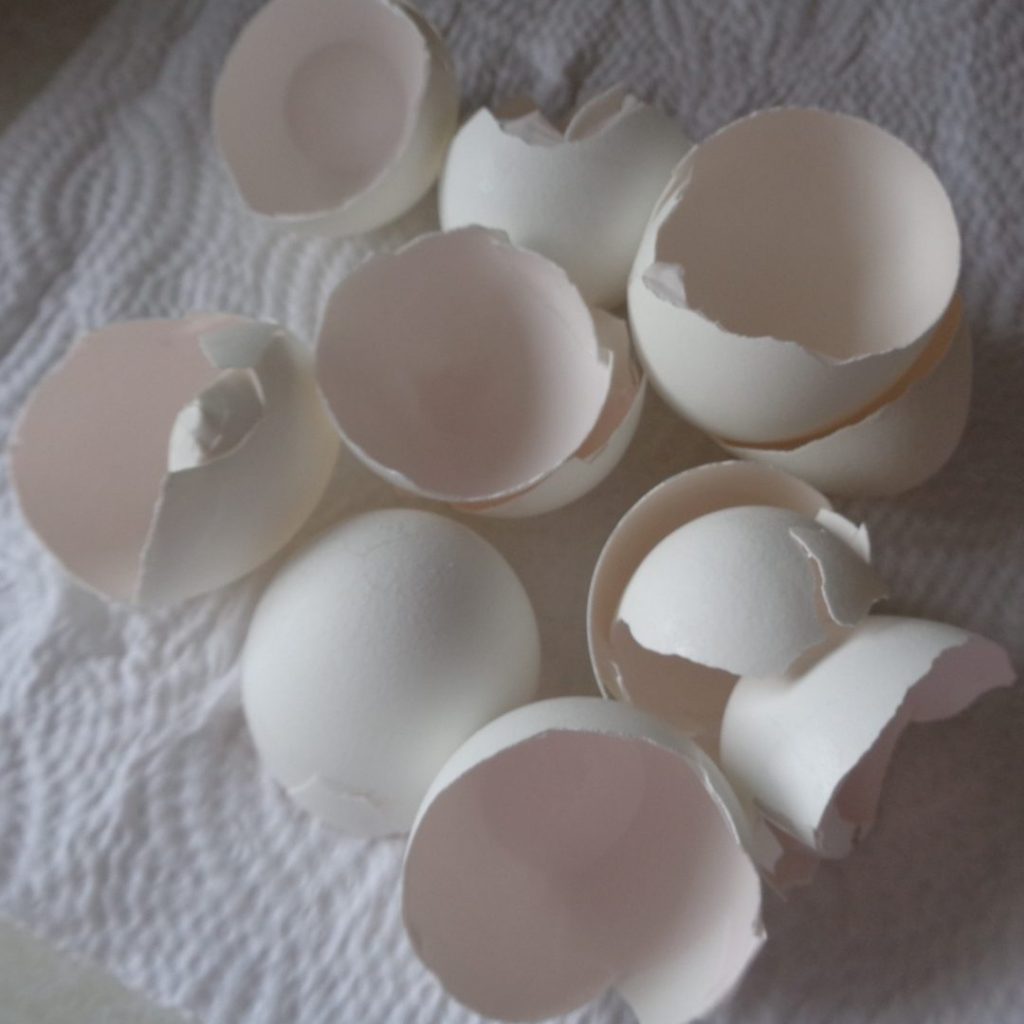 You will need:
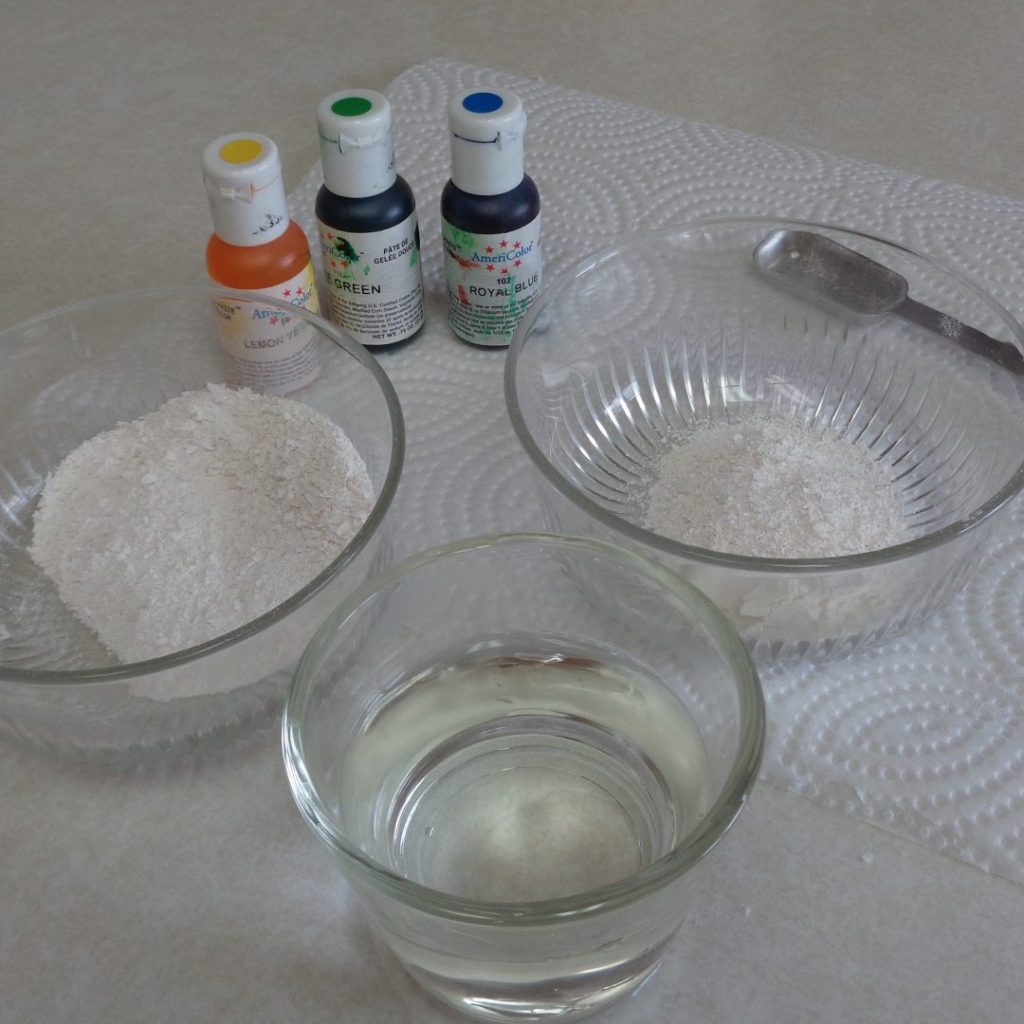
Clean dried egg shells, ground
flour
hot water
food colouring (optional)
 While the collecting is happening, be sure to remove the lining of the shells. This is more easily done when the egg is freshly opened and the lining is still wet and flexible. Keeping the lining attached will allow the film to rehydrate when mixed with water and the chalk will have a tendency to stick more to the paper towel while drying.
Grinding your shell is the next consideration. The finer the grind the better but I will say that I popped mine in a Magic Bullet and now have a line around the container that is cloudy from the shells hitting the plastic. It is not something I am in any way worried about but I wanted to give you a heads up when choosing how to grind the shells as the finer the grind the better. With the second batch I filtered the egg shell through a small sieve after grinding and then put the larger pieces back in the grinder for another go.
This is not so much an issue when they will be used on concrete but should be considered for use on a chalkboard.
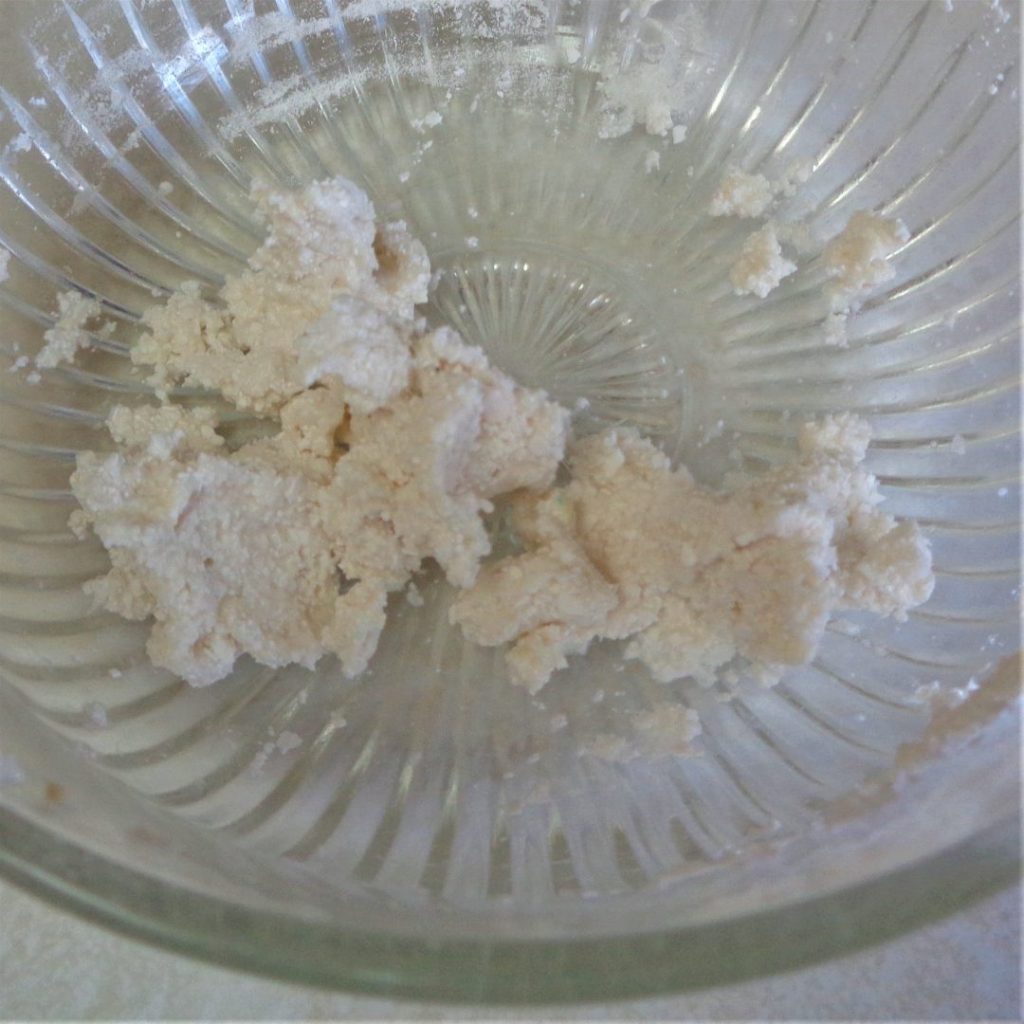 Combine 1 tablespoon egg shell powder with 1 teaspoon flour and another teaspoon hot water and squish together with your fingers to create the “dough”.
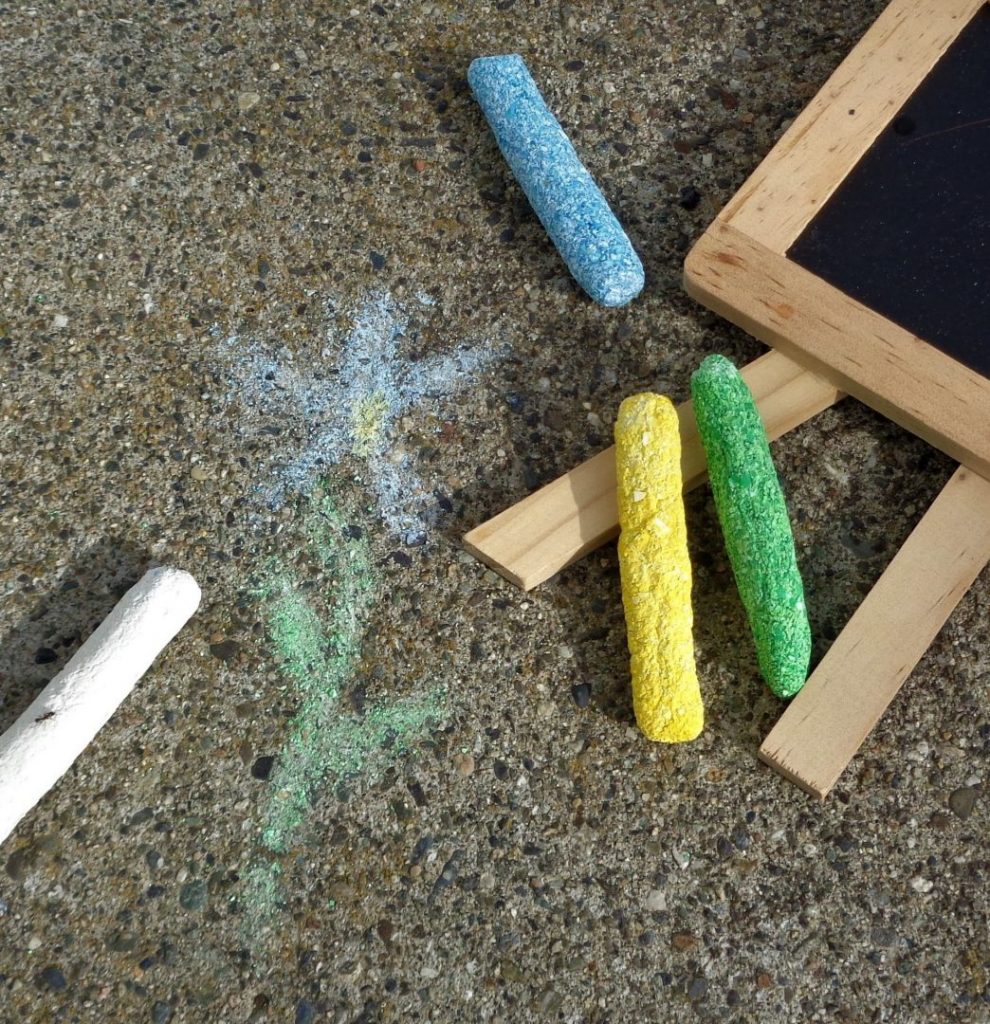
I plan on rolling mine into cigar shapes but this is a good time to say that if you have young children with newly learned motor skills a triangle might be better for their little hands. They can get a better grip and are less likely to snap the chalk sticks.
If colouring your chalk, now is a good time to add the smallest drop of food colouring possible and knead it into each mixture.
 Your chalk will be wet and flexible. Don’t worry.
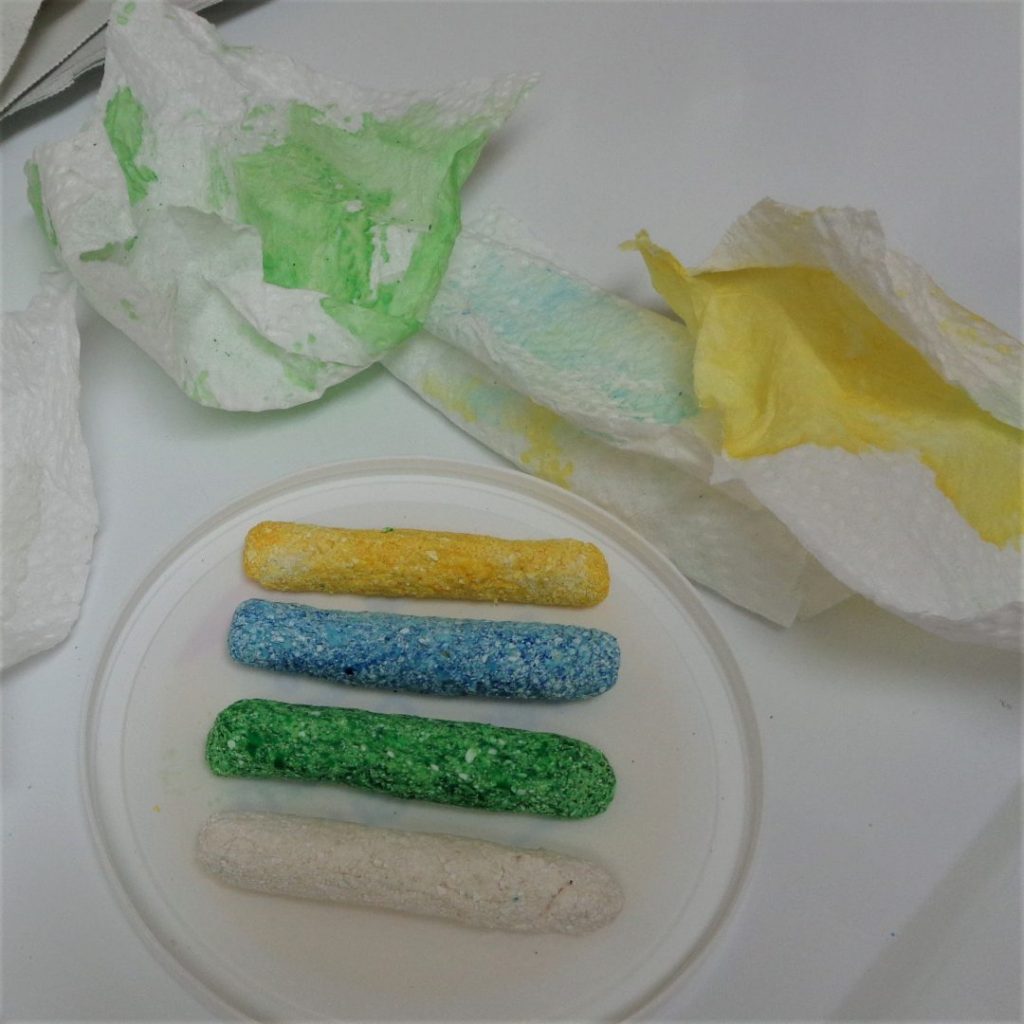
Now is the time to roll each piece in paper towel to absorb excess moisture. The coloured water is going to transfer to the paper towel so it can be helpful to let a roll sit for 5 – 10 minutes then remove the paper towel, fold it in half and reroll in a clean section.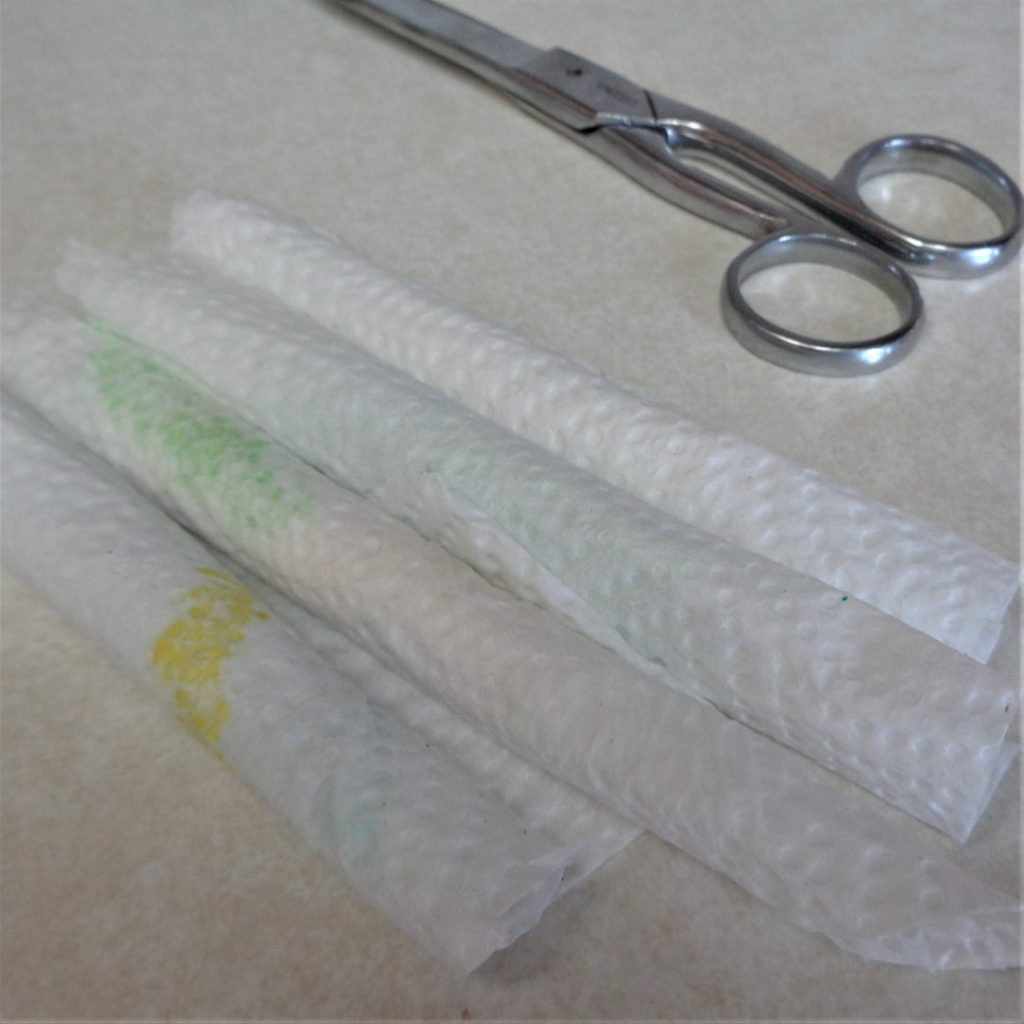 Let the chalk dry for two days and you are done!
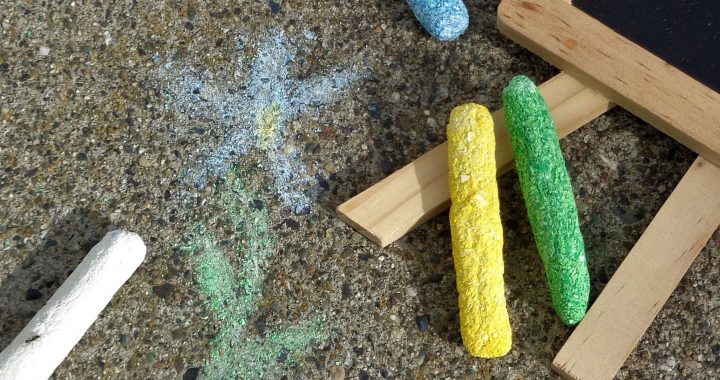
The chalk will be hard and ready to go. Unless you have managed to turn the eggs shells into a very fine powder, my recommendation is to use it outside on cement. Inside is likely to scratch a chalkboard but what a sense of achievement for a young child to know they are playing with something they made.
p.s. You can tell spring has sprung here. That’s an ant exploring the white chalk stick.