
The first thing I MUST do is give a big shout out to Weaver Creek Farms. It was an Instagram post from earlier this year that inspired me to give snow dyeing a try.
March 18th is Goddess of Fertility Day. It is celebrated yearly a few days before the spring equinox, in honour of Aphrodite and other fertility goddesses. If creating new life is no longer an option or the best option for your life at this moment, it is still possible to be in touch with other forms of creativity and through that creativity, divine inspiration.
That sense of wanting to get going, to do something, anything! is also part of spring fever. Here is an opportunity to do just that. If the snow has gone where you live, then chopped/shaved ice will also work. If you are still knee deep then just take off the top layer to get to the good stuff below.
Being part of the creative process can happen in so many different ways.
For this adventure I used:
1 meter/yard of undyed 100% cotton cloth
1/2 meter/yard hemp batting
1 Package of Tulip Dyes ( they come in several colour combinations. I used blue, teal & green)
clean snow from the backyard or where ever you can find it

The Tulip package comes with three bottles and caps. The powder dyes are already in the bottles. You just need to add water and allow to dissolve. It also contains two pairs of plastic gloves. There is more than enough dye for six or seven projects, depending on the size. So if you are thinking ahead, plan to use up the dye. The instructions say once liquified the dyes should be used up within a couple of days. (There is a video on line of someone testing her Tulip dye 3 months later and being happy with the results but I do not have enough experience to comment.)
If this post leads you down a rabbit hole, there are many other companies out there making a variety of different dyes for being creative. (More experimenting just might be needed.) I chose Tulip because it was readily available, I had a 45% off coupon for the store and an urge to just do it!
Before getting started, protect, protect, protect. I have too many stories from my chandling days of wax being clean-up-able but dyes being permanent. I covered the light coloured kitchen counter with a garbage bag and then several layers of old towels.
There is nothing in the instructions about pre-treating the material but I remembered something about soda ash from bygone days and since I had some in the house and new material, I dissolved some soda ash/washing soda in hot water (9 tsp./1 gallon water) and let the material soak for 10 minutes. For additional information check out the first 90 seconds of this video link. 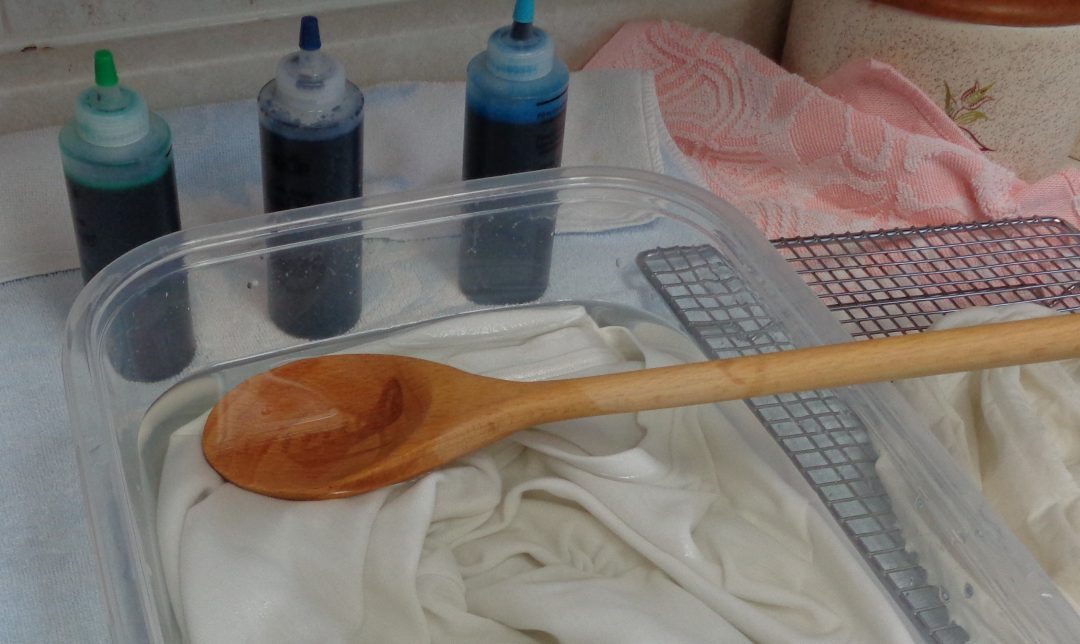 Use a stick or spoon to make sure all the material is underneath the water. I understand that it is possible to save the mixture for future projects. I choose to not.
Ring out the material. Pour out the water mixture. Return the empty, dry container to the towels and top with a draining rack. Place the wet material in crumpled folds on top of the rack, being sure to keep the material within the edges on the container below the rack. This will ensure that all the drips go into the container and not onto the towels.
Add water to the dyes, replace tops and shake to dissolve. Keep the caps on until needed. I did find that taking the caps off was work and after several uses, opening the caps held the biggest chance of getting dye on my hands if I was not wearing gloves. The caps are tight for a reason and my comment is an observation not a complaint.
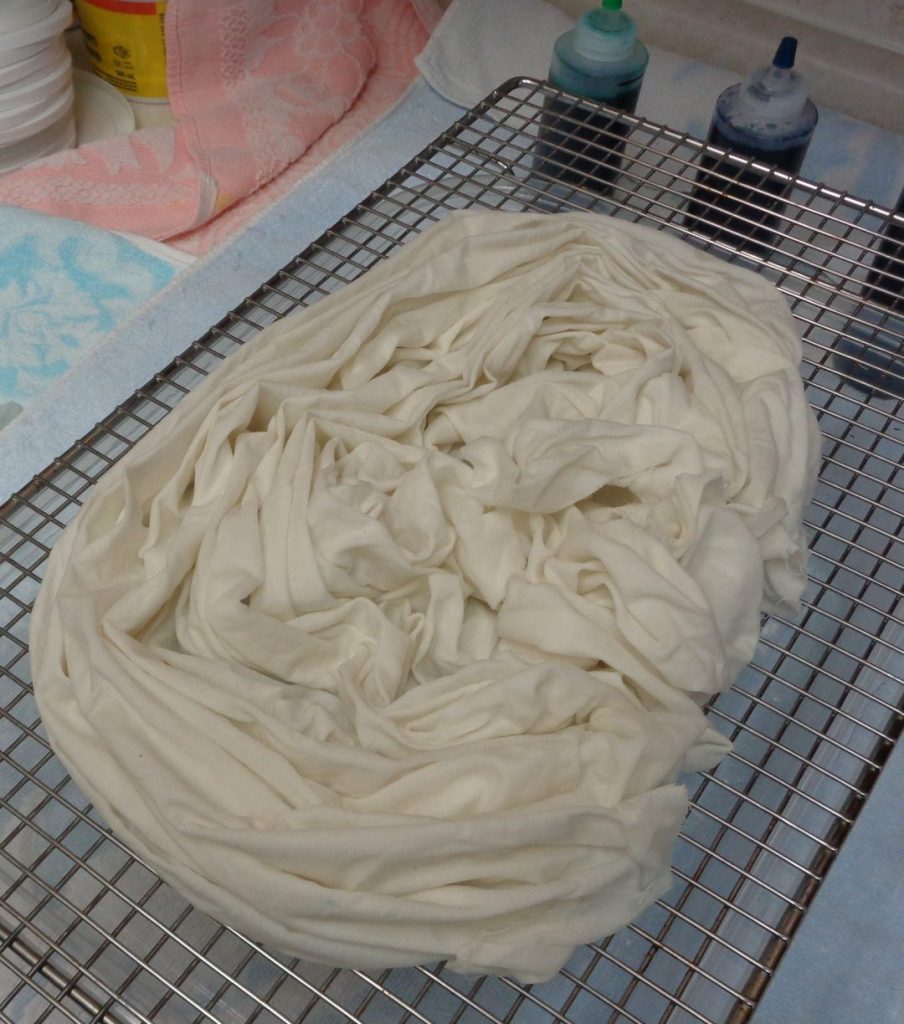
Time to head outside and collect snow. I took out a bowl and did my best to get snow from a clean untrampled location.
Place your snow, by handfuls, on top of the material, making sure it is fully covered all the way around. Check at the back as well.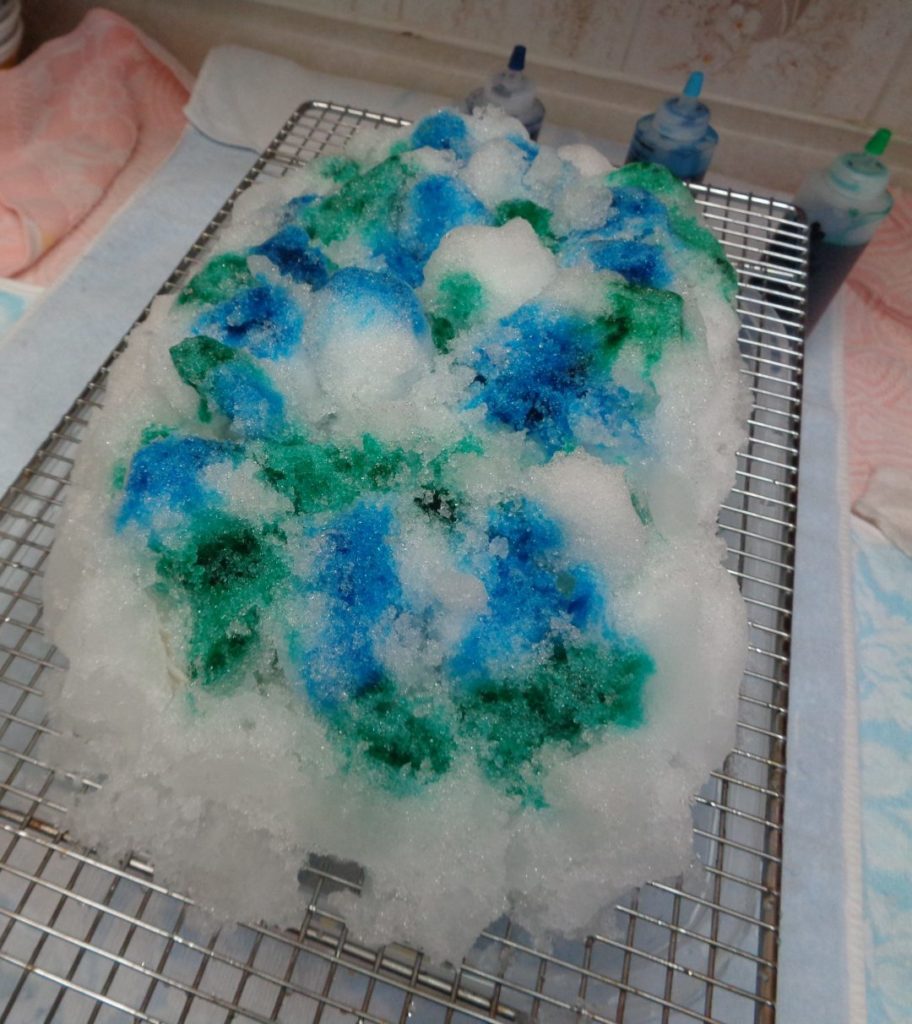
Then go to town with the colours in whatever way you see fit. There is no right or wrong. Just remove the cap tops and squeeze at will.
In the picture above you can see that the ice is able to melt within the plastic container where the dye will safely stay.

This is two hours in. The ice is melting, the dyes are draining through the snow and into the fabric….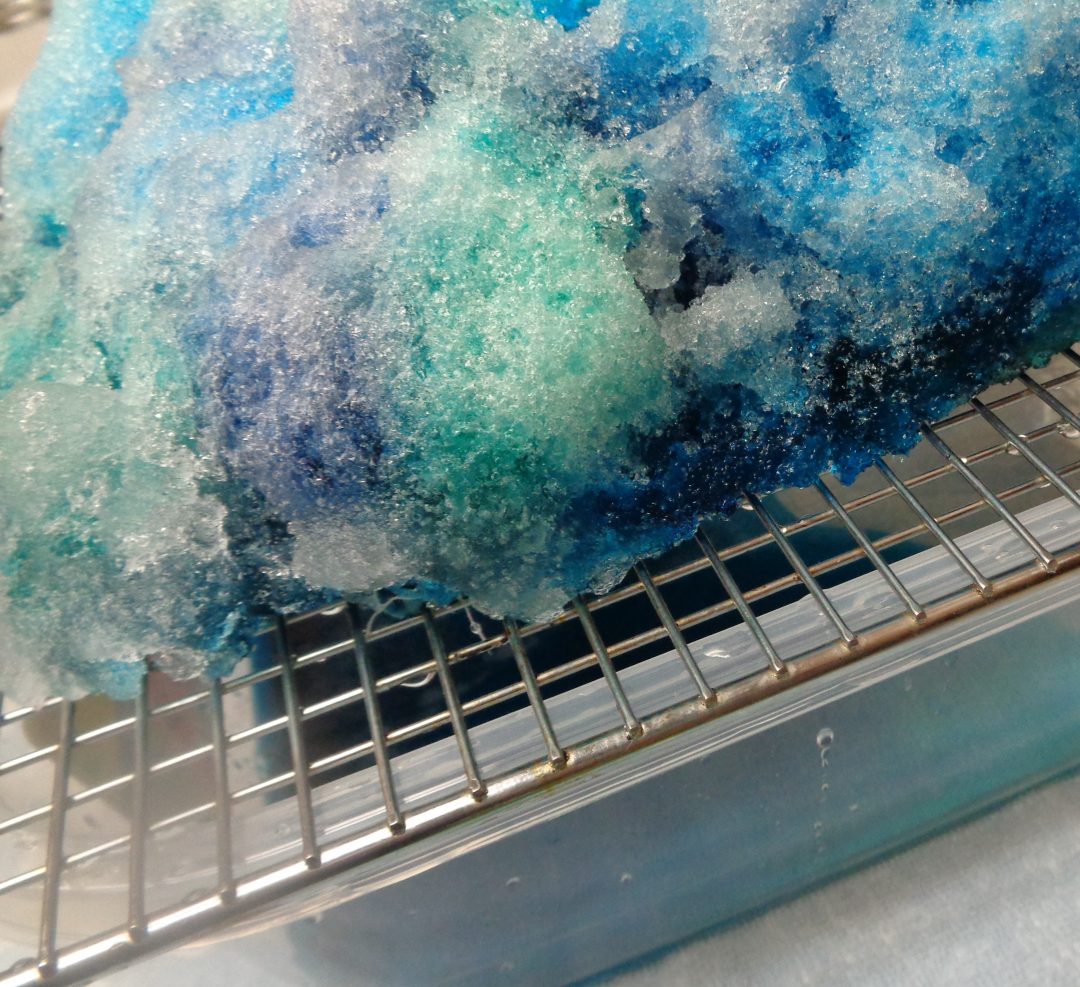
…. and then into the container below. Looking at the colours now. I was surprised with the finish product.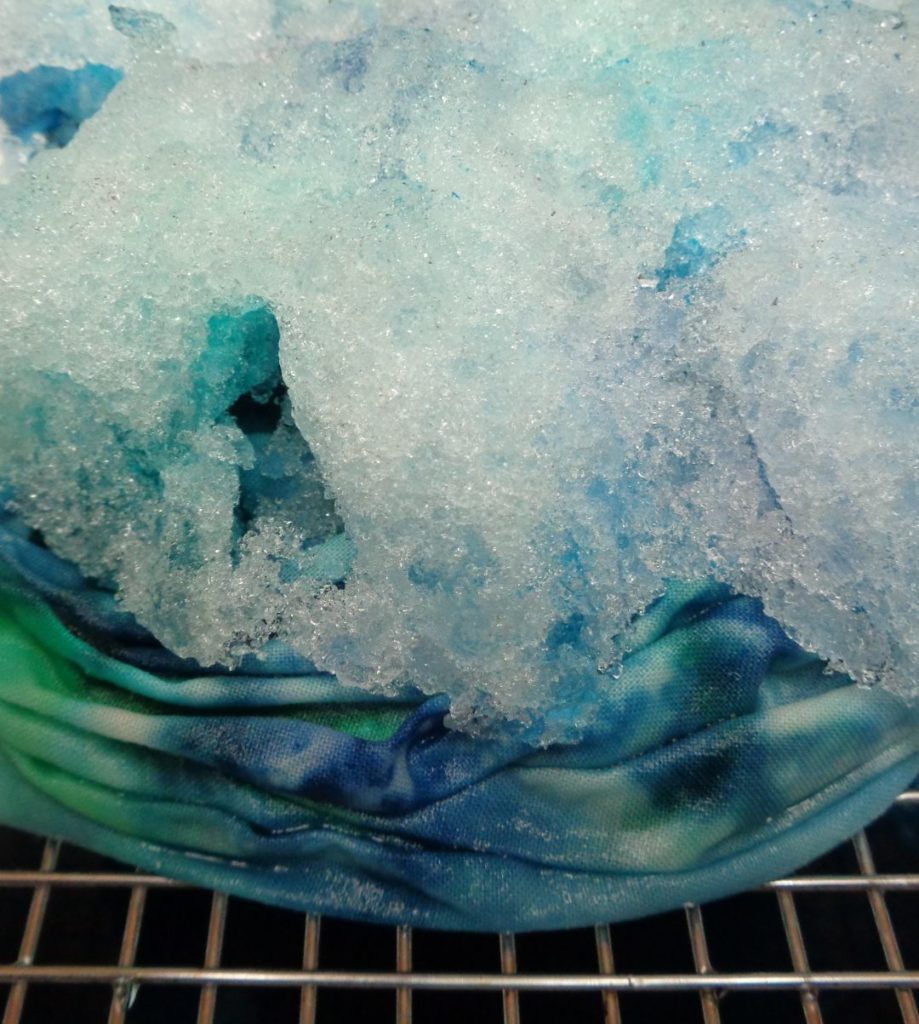
The ice is almost melted and the dyes have almost drained through the ice.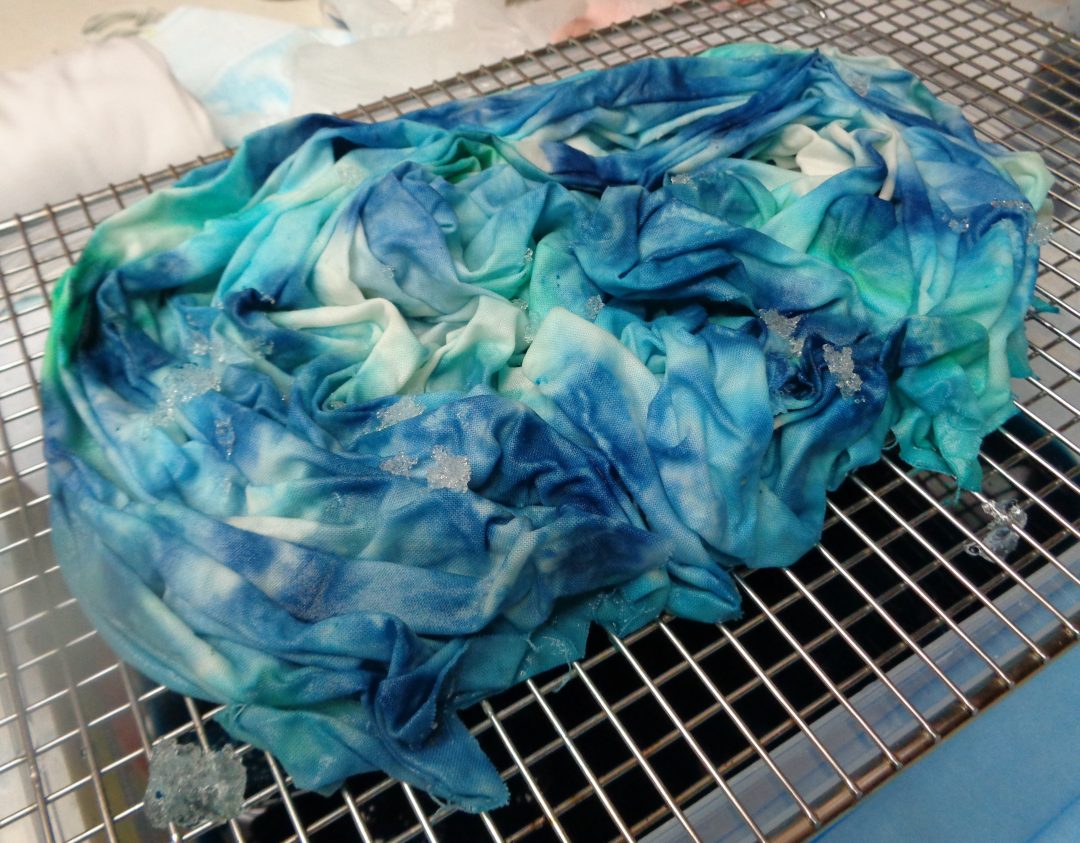
Yes, I lifted the last of the snow off the material once it had no more dye in it. I was feeling pretty good at this point.
Then the question of fixing the dye came to the fore as I was surprised at how much intensity washed away when rinsed. Again, nothing on the instructions so back to Google.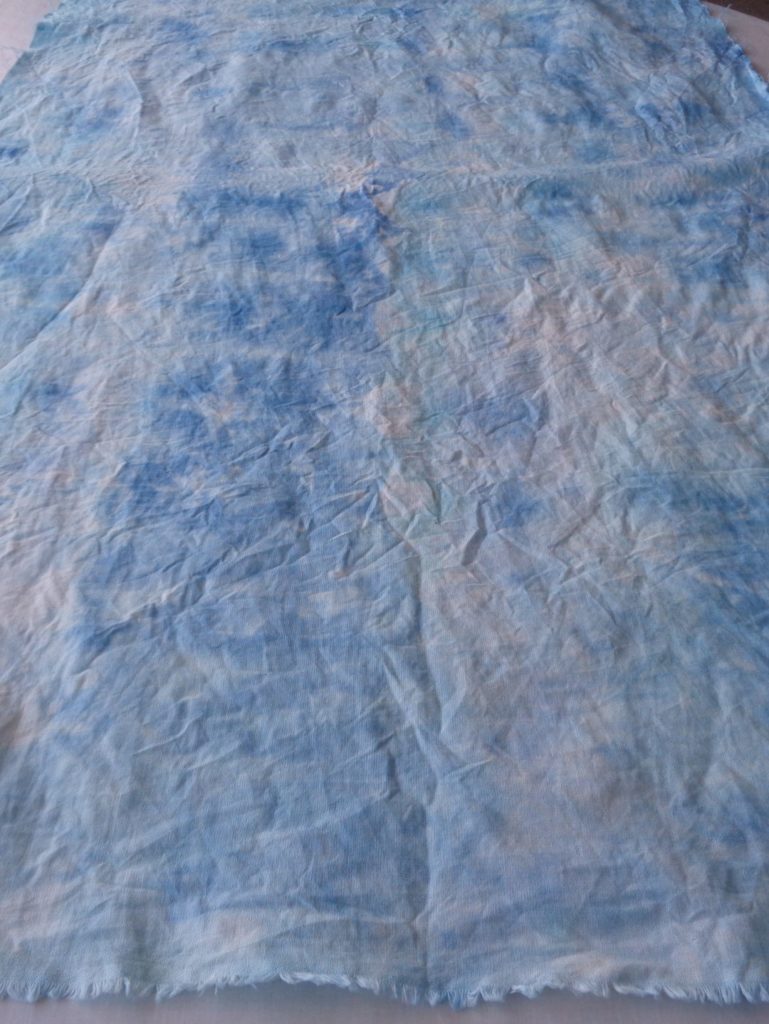
I am going to make a quick sidestep here and show you the process for the hemp. I purchased the hemp batting as filler for the heat pads I wanted to make from the material above.
At the fabric store I was told that it was important that the material be stitched every five inches or so as it was likely to come apart. It was intended for quilting. Did I listen? Yes, and I used it anyway.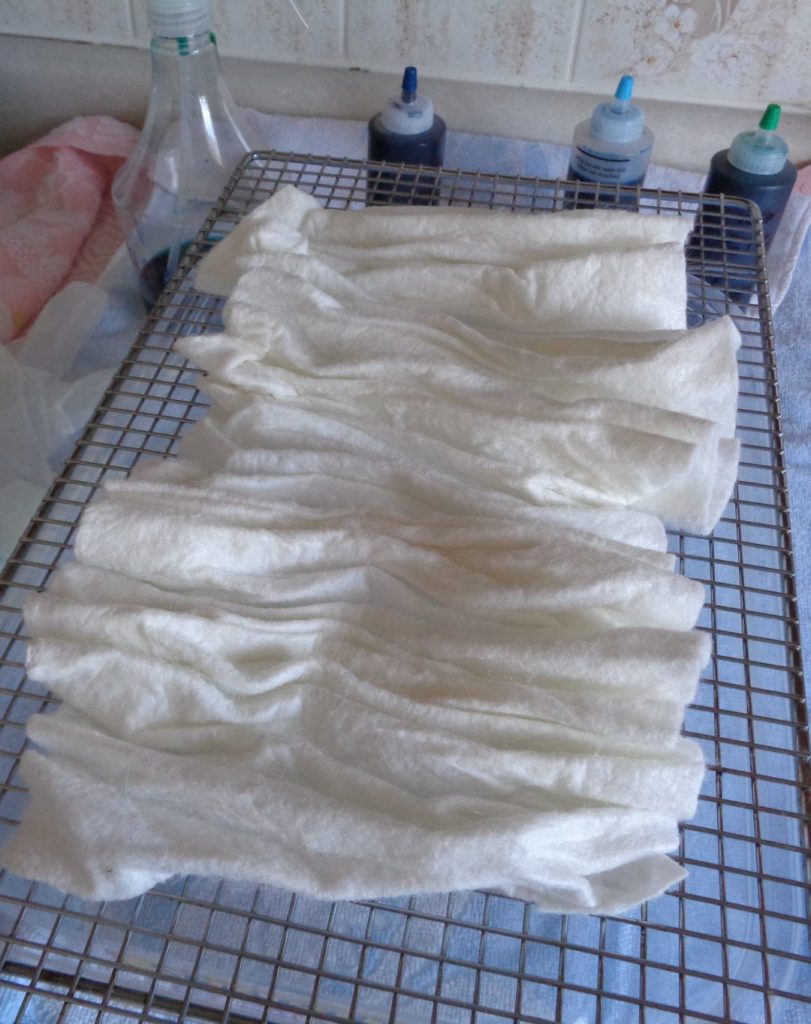
Wet batting, ready for ice.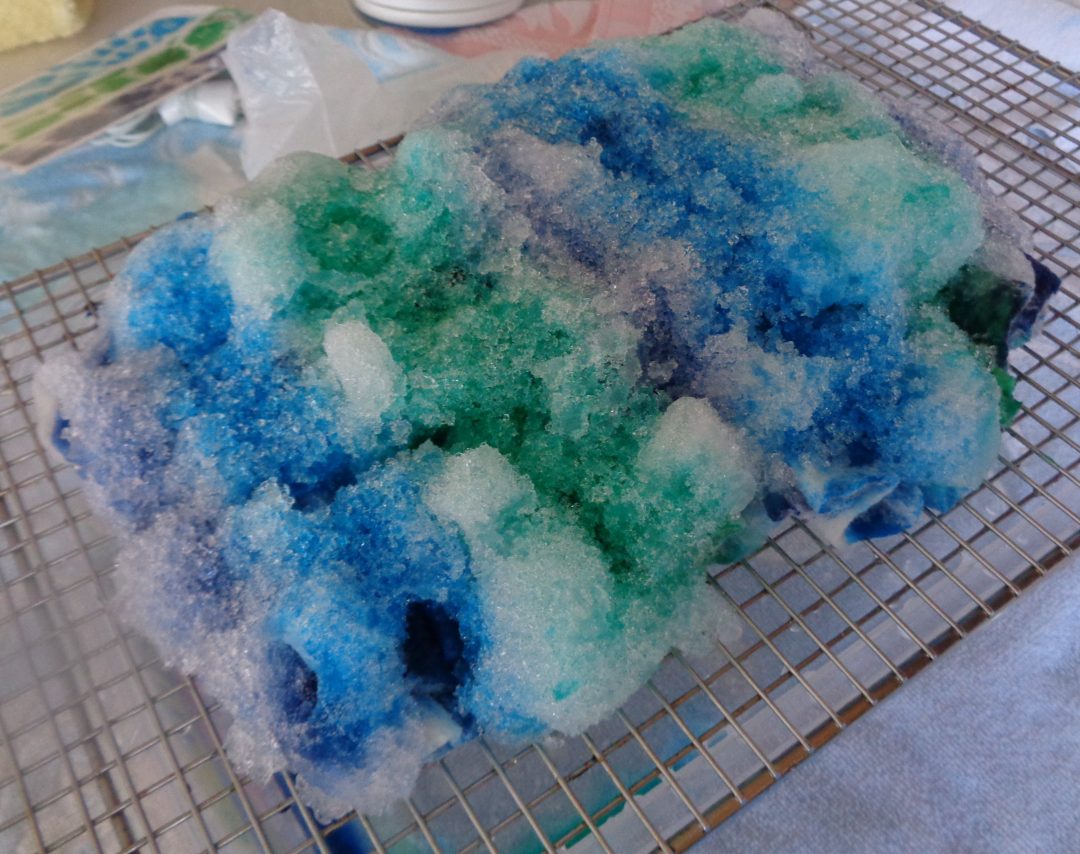
Round two, ice and dye. This time in stripes and with more dye to see if I can get darker colours.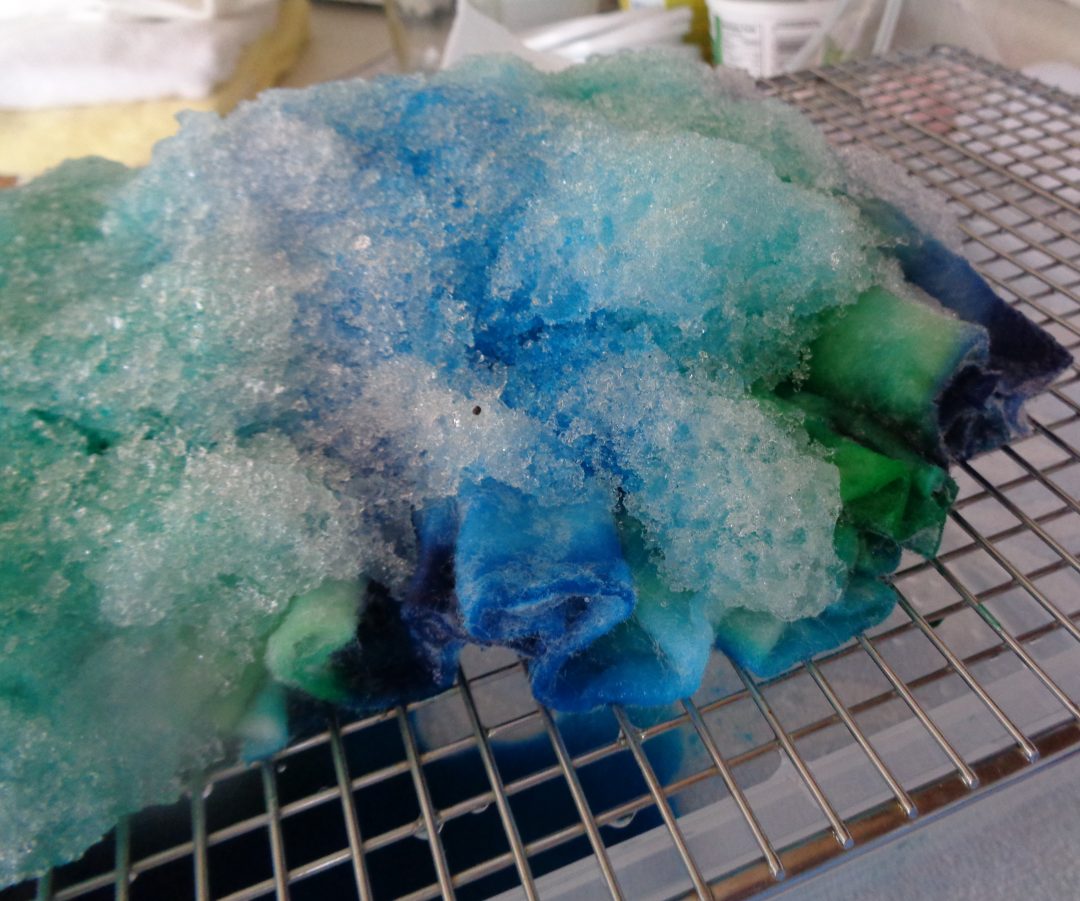
Hopeful? This time I let the entire process time wait untouched for 24 hours. You can see little specks of magical gifts from the snow on the picture below.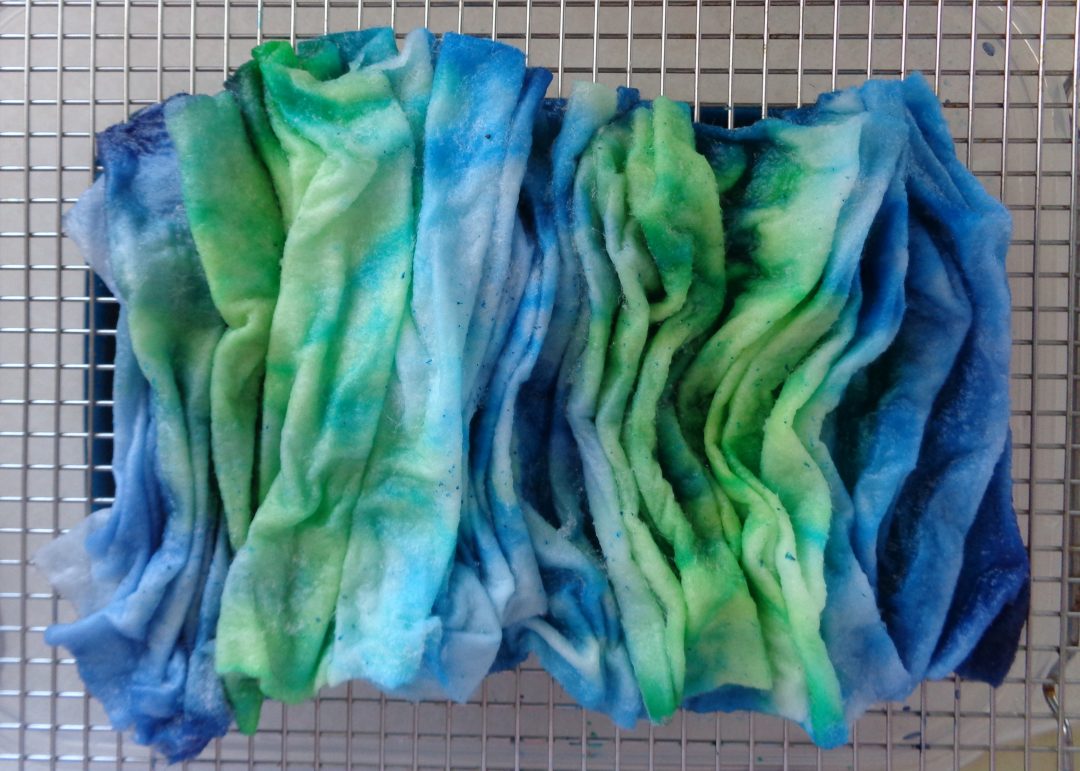
After washing, this is what the batting looked like. I will admit it got me looking into blank silk scarves and thinking about Christmas.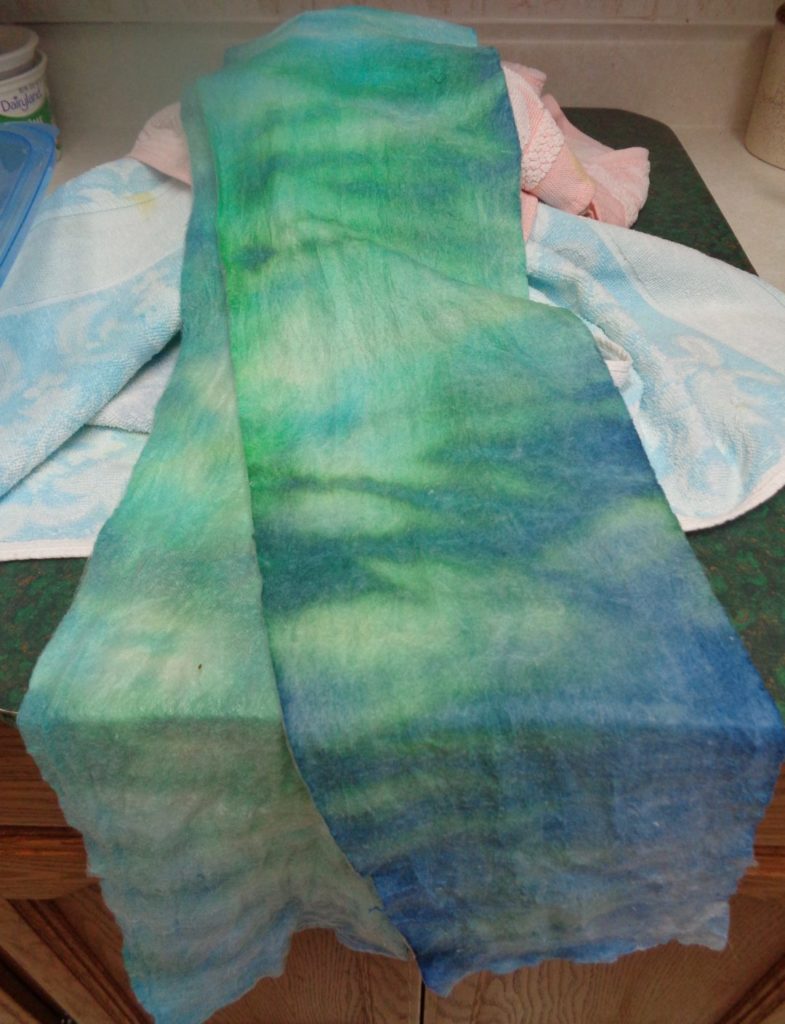
Another side step and then we will get back to” fixing”. I tried dyeing a white t shirt that was old and had spots in the leftover water and dye. I was looking for an ombre finish, darker at the bottom, moving into lighter colours and finally white at the top.
It did not work well at all. Firstly the shirt was not fully cotton but a mixture of materials, some man made. Secondly those spots, mostly made from fat based splatters bestowed in the kitchen, now looked like they had a lit neon sign behind them. I had let the sun bleach the t-shirt during the summer and that resolved some of stains but putting the t-shirt in the dye brought them all back. A heads up when choosing your projects.
Okay, back to fixing. When making candles and soaps there is a concept around keeping the smell in the finished product and not allowing it to dissipate over time. In dying it is not the smell but the colour that needs help staying put.
This is a little sample I had played with and you can see on its first dip, how much dye is releasing into the water. You want to keep rinsing until the water is clear or that colour will end up in everything your project is washed with the next time it is in the washing machine.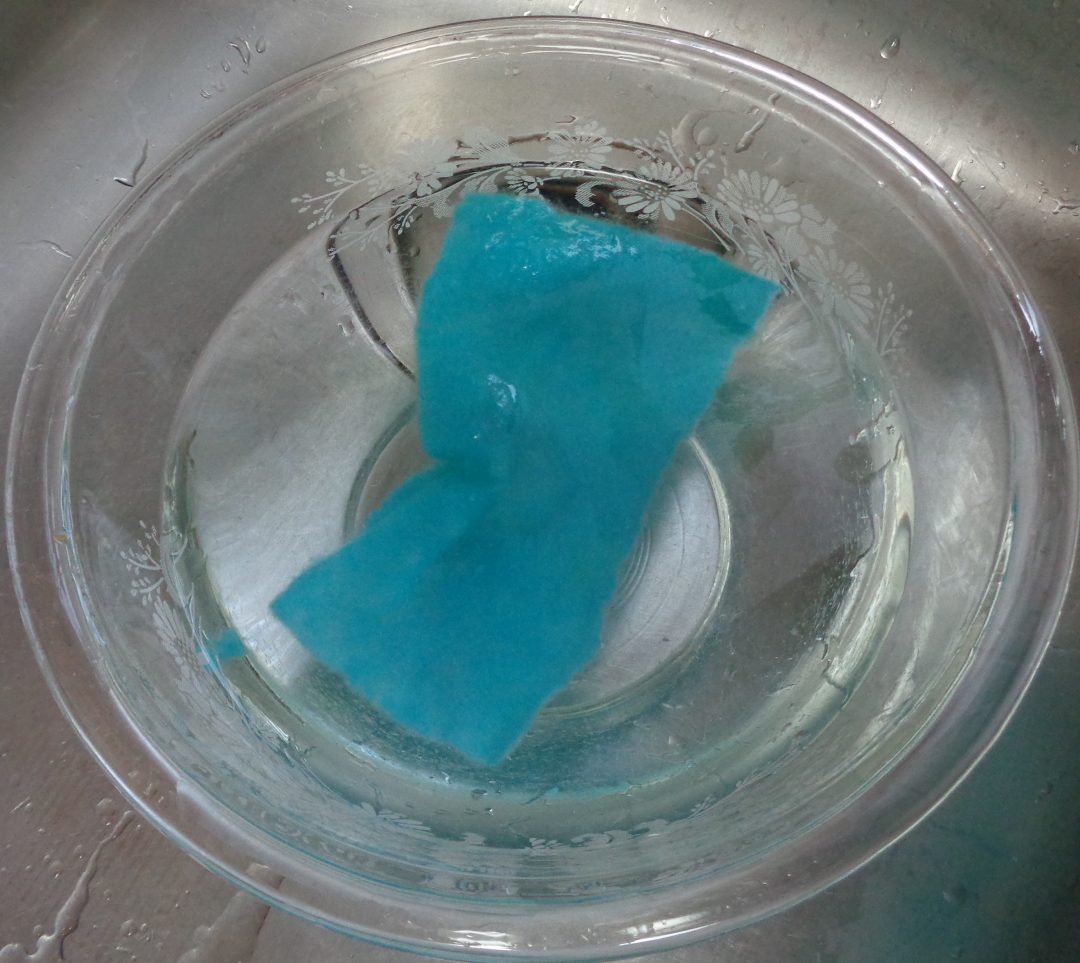
Heat and acid can be used for fixing. There are many different techniques and which one works best depends on the dye being used (check the company for full instructions) and whether the material is plant based, (linen,cotton, silk, etc) or animal based (wool).
I could find nothing on the Tulip company website or in Youtube videos that included a fixing step. So I rinsed, dried and ironed the material, then moved on. This was after all supposed to be play time.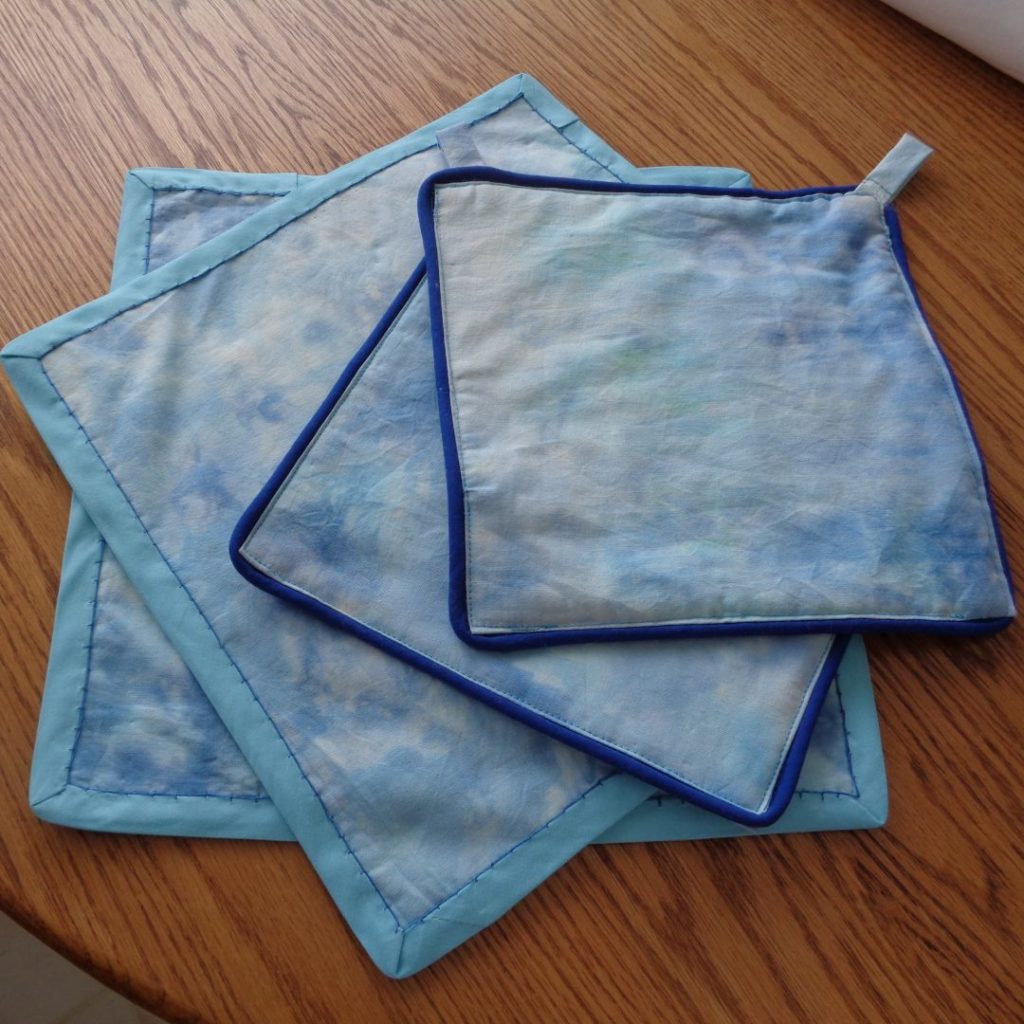 And that was exactly were play time stopped.
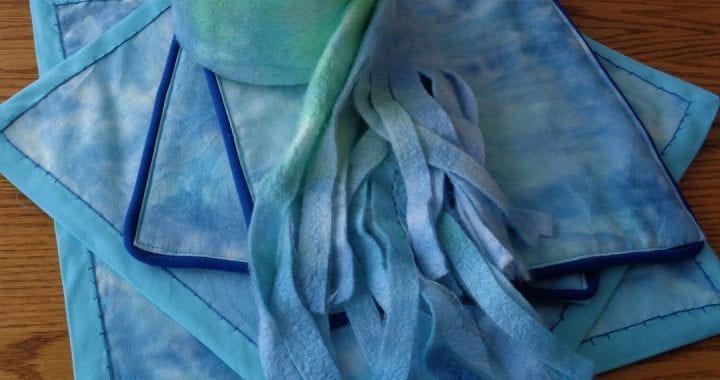
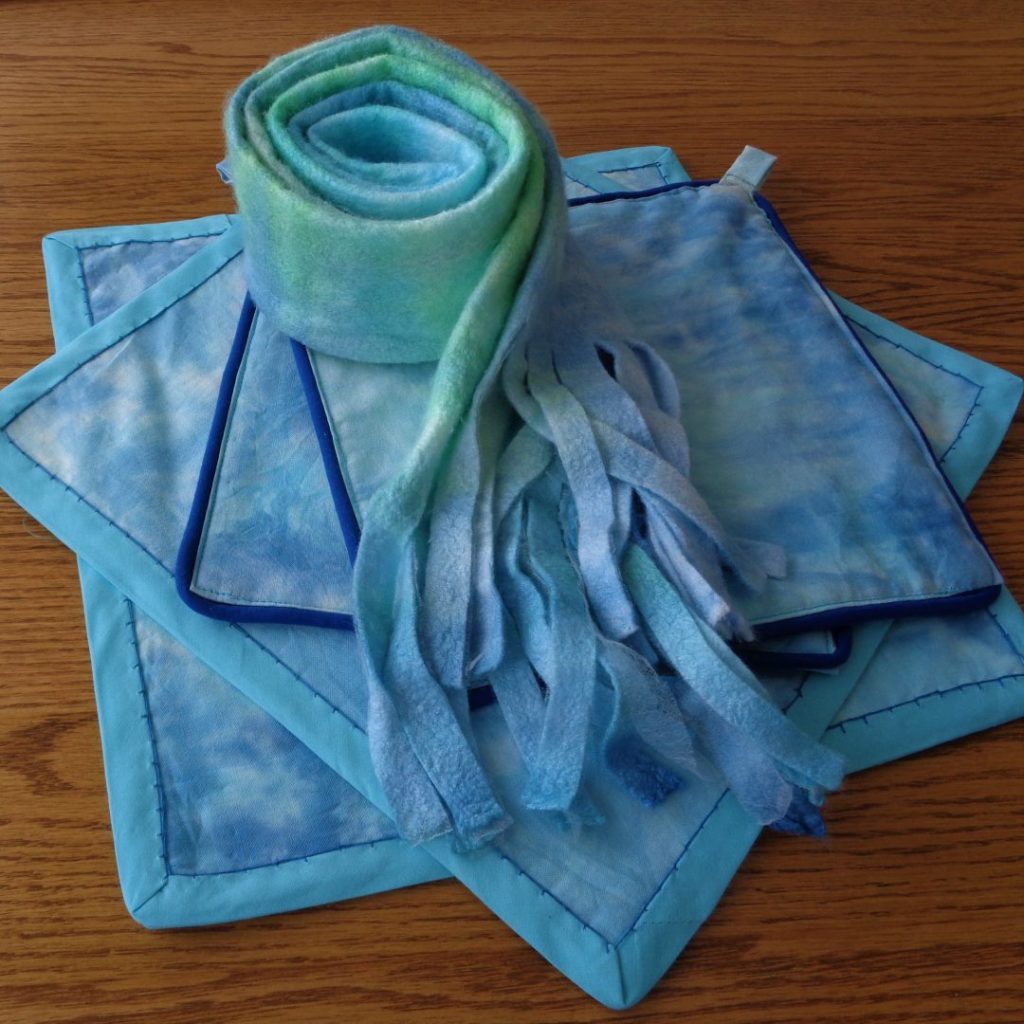
My intention was to create some pot holders and a couple of heat pads for a friend who had just finished a kitchen renovation, in blue. Life got complicated. I will never say I am a seamstress. Sewing is not relaxing for me and I could feel my blood pressure and attitude doing stressy things as I went from one sewing machine to another, trying to find a way to sew through all the layers of batting, material and for the holders, piping.
The plan was to cut two squares of batting the same size as two squares of dyed cloth. Pile the four squares on top of each other; fabric, batting, batting, fabric. Then using a large strip of seam binding, contain the four layers and sew along the seam binding. Easy peasy, not. If you have a machine that can manage the eight layers of material, go for it.

In the end I used iron on adhesive to hold everything in place. You can almost see it in the picture above. The small stripes went between the seam binding and the fabric all the way around both sides and then the entire pad was blanket stitched by hand with dark blue. Not the original plan but…..
Adding piping to the pot holders did not go any more smoothly but I had managed to locate a machine that could manage all the layers so things were looking up.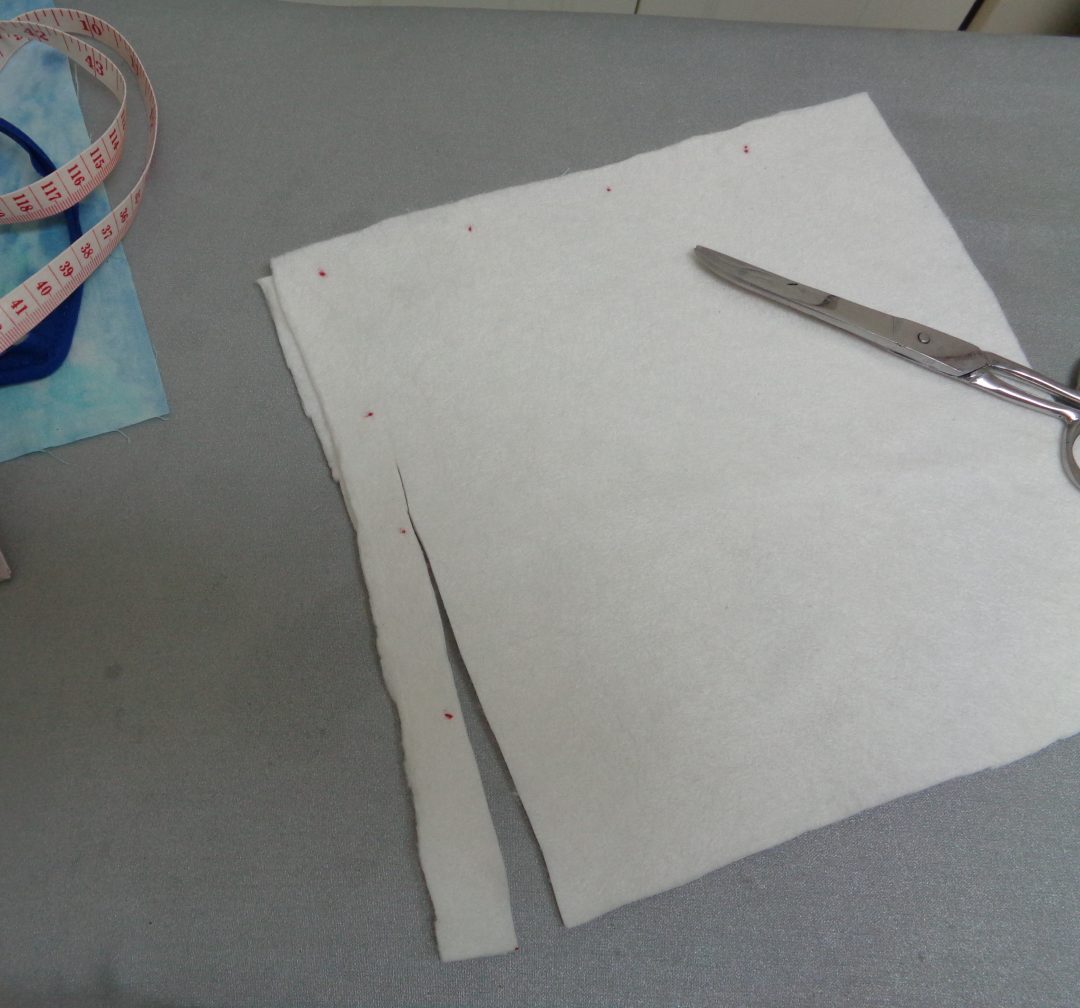
Cut the batting to the desired size. Place on top of a layer of material that is one inch wider on all sides of the batting. Fold over the material and iron to maintain the creases. Repeat with another piece of material and batting. Place both sections together, batting to batting with the piping in between. The layers will be fabric, batting, turned over fabric, piping (two layers of seam binding), turned over fabric, batting and outside fabric. Pin to keep everything in place and sew with a zipper foot. The zipper foot will allow you to get close to the piping, holding everything together. I also added a loop at the corner, so the pot holders could be hung up.
The edges of the scarf were seamed together to make the material a little thicker and protect the edges from fraying. A six inch fringe was cut at both ends. I did play with the possibility of adding ribbons and beads but decided on the K.I.S.S. method for this outing.
Your projects will be entirely different than mine. Creativity works that way. Think pillow cases to brighten a cozy corner or add a little life to the bathroom curtains. The choice is yours. It was the process I wanted to share.
I think snow dyeing would be great fun for children, especially when making something like seasonal napkins and tablecloth or fabric place mats that have been previously sewn.
What surprised me most was that whether left for four or twenty four hours, there was really little difference in intensity of colour. In both cases, I ended up with lovely pastels perfect for spring.
So, my first foray into snow dying. Would I do it again? For the right project, absolutely!
 First Time Snow Dying from My Kitchen Wand
