
The times have been are a changing and with daylight saving time gone for a few months, warm and cosy is the goal during this darker time of the year. In addition there are holidays coming and with the holidays an opportunity for gift giving ( not that you really ever need one ).
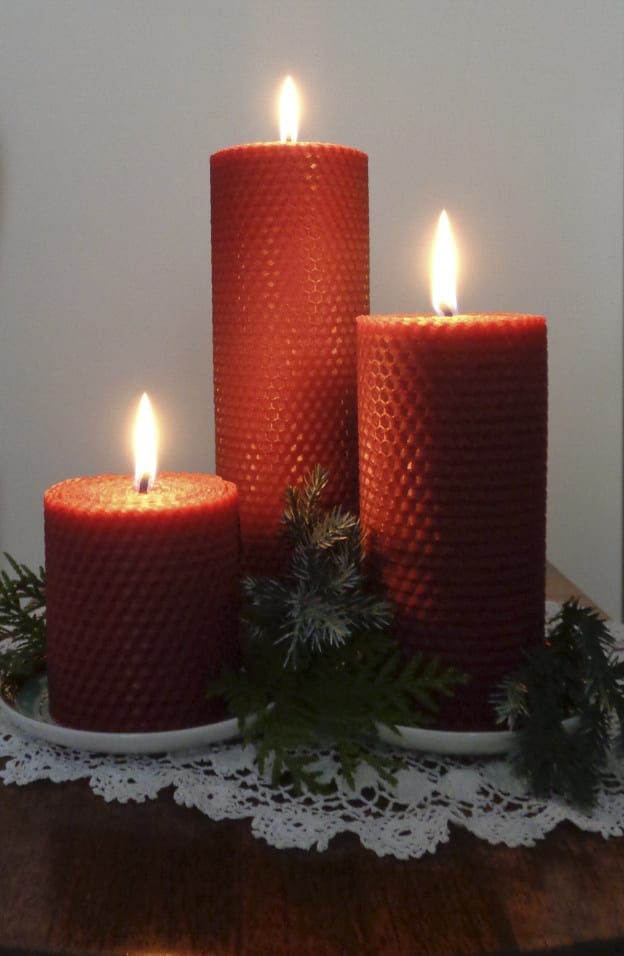
Beeswax sheets are often used for taper candles on a dining room table. Candles made by rolling the width of the wax sheet. Another option, especially for the next few months is a pillar candle, a wider candle made from several sheets of wax that are rolled along the length of the sheet.
You will need:
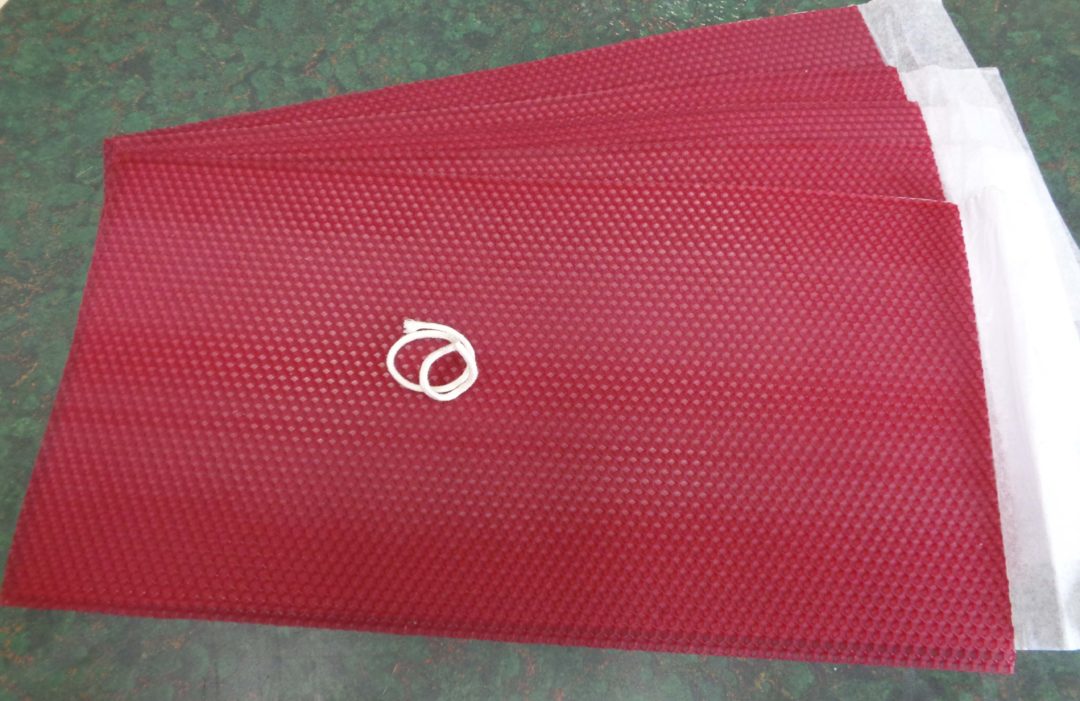
5 sheets of 100% beewax ( honeycomb design )
8.25 inches #4 wick square braid
10 sheets and 17 inches of #4 wick if you would like to make all three candles shown in the last picture below.
I have relied on Wicks and Wax now for over twenty years and they ship! If finding the supplies locally is an issue, check out their website.
These candles are a fall, winter, Yule staple. There is nowhere that I can get an 8 inch 100% beeswax pillar candle for this price ( $11.35Cdn plus tax ), unless the bees bring me the wax. This way there is also no need to melt and mold and wait. The fact that I can just roll these up means that there is very little cleanup and I can pick and choose my beeswax precoloured to match china patterns or living room decor. It also means that little hands can help.
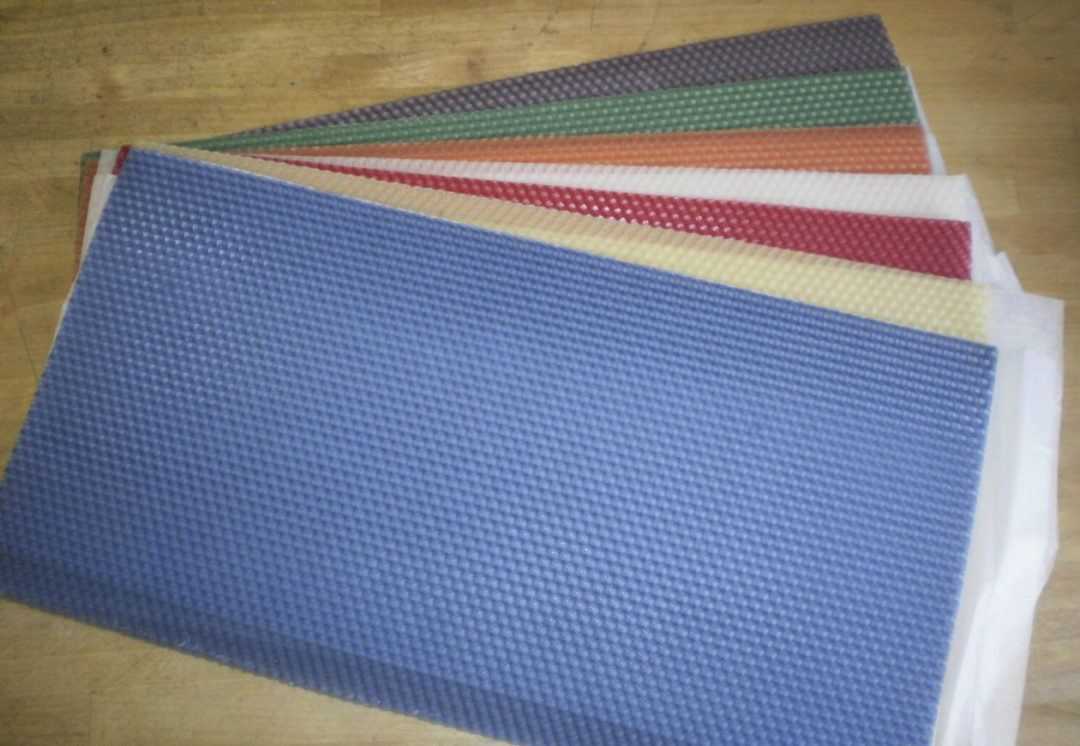
Beeswax sheets with no colour added are also available in several tones, shades of tasty honey and white; sheets that have been charcoal filtered to remove all the goodies naturally found in a beehive.
A very nice thing about honeycomb sheets is that they are tolerant. If you decide that rerolling is in order, it is possible to unroll, reposition and reroll, great for beginners and something that does not happen with flat sheets of beeswax.
Also please consider that beeswax is sticky and working directly on the dining room table is not recommended as there will be a little residue that stays behind. Try something easy to clean like a cutting board or laminate countertop.
 Wick size is determined by candle width. I choose a #4 square braid for this project because living above the 49th parallel means that darkness falls early in the winter and it would not be out of the question for a candle to be burning six hours. Keeping the wick at #4 ensures there is no overflowing and I can tip the soft edges into the center pool if needed. #5 wick can sometimes be too much for a long burning candle. If the plan is to only burn for 2 – 3 hours a #5 will be fine. That means that all three candles today will use the same wick size even though the heights will differ.
Take a close look at the square braid wick. Can you see the four sides? Two opposite sides will be larger. The sides will look like a french braid for hair. As the sides weave inwards a “V” is created. On the larger side of the wick look for the “V” and place the wick on the was sheet so that the bottom of the “V” is facing the bottom of the candle and the open end of the “V” is facing the top of the candle. This will give you a better burning flame as the individual threads in the wick open up like a flower while burning.
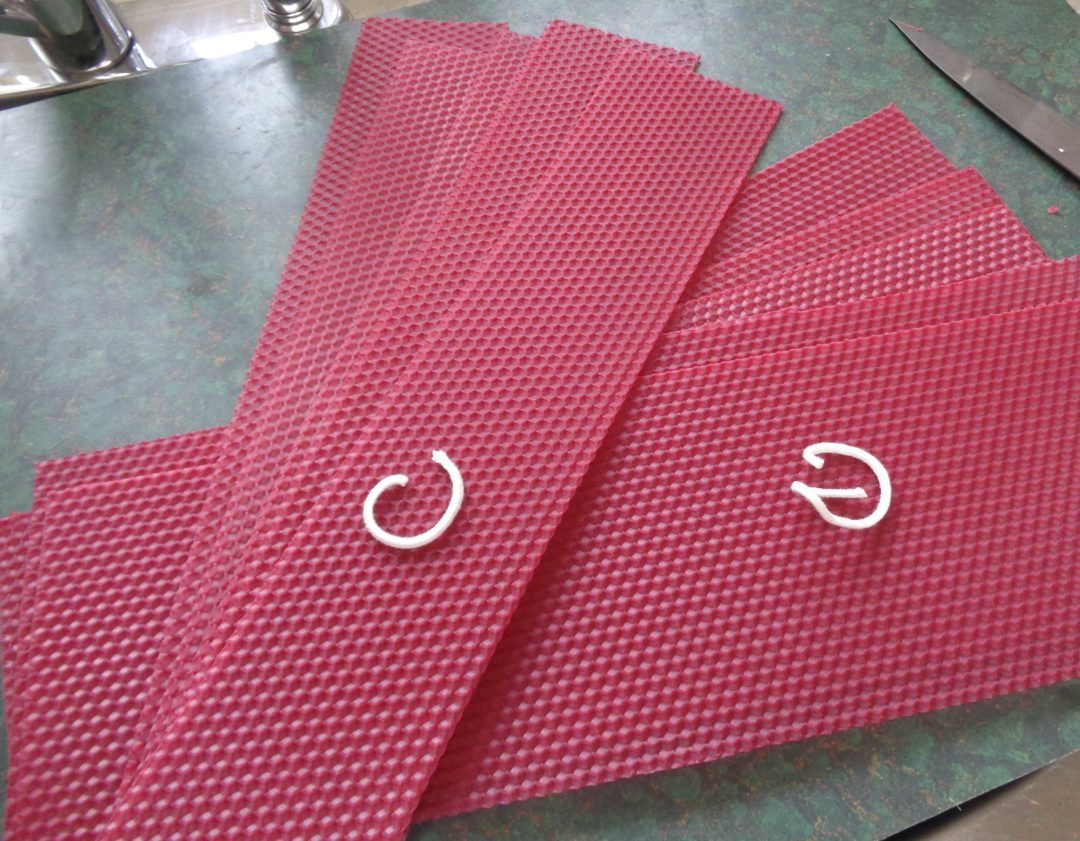
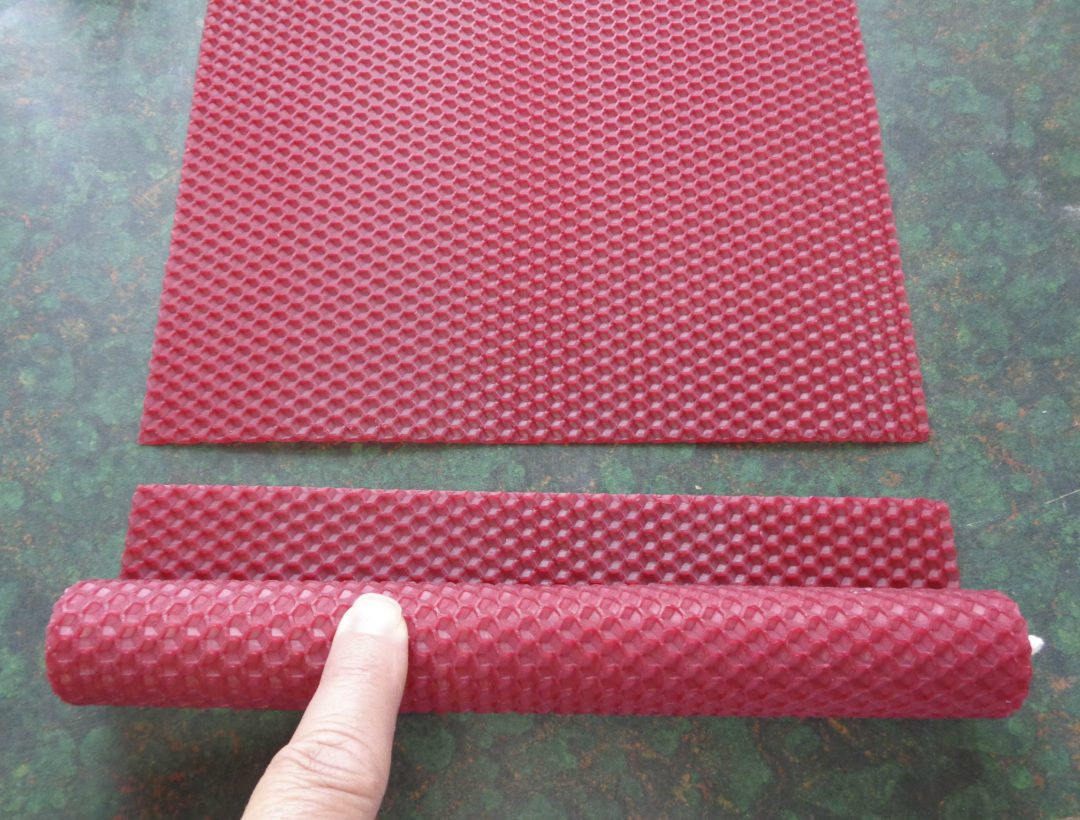
 I am going to make an 8 inch candle with full sheets of beeswax and then two smaller candles by cutting the sheets lengthwise for one 3 and one 5 inch candle. Two 4 inch candles will also work especially when rolling for gifts. All these candles will be made by rolling 90 inches of wax around a wick ( 5 sheet lengths of approximately 16 inches each ).
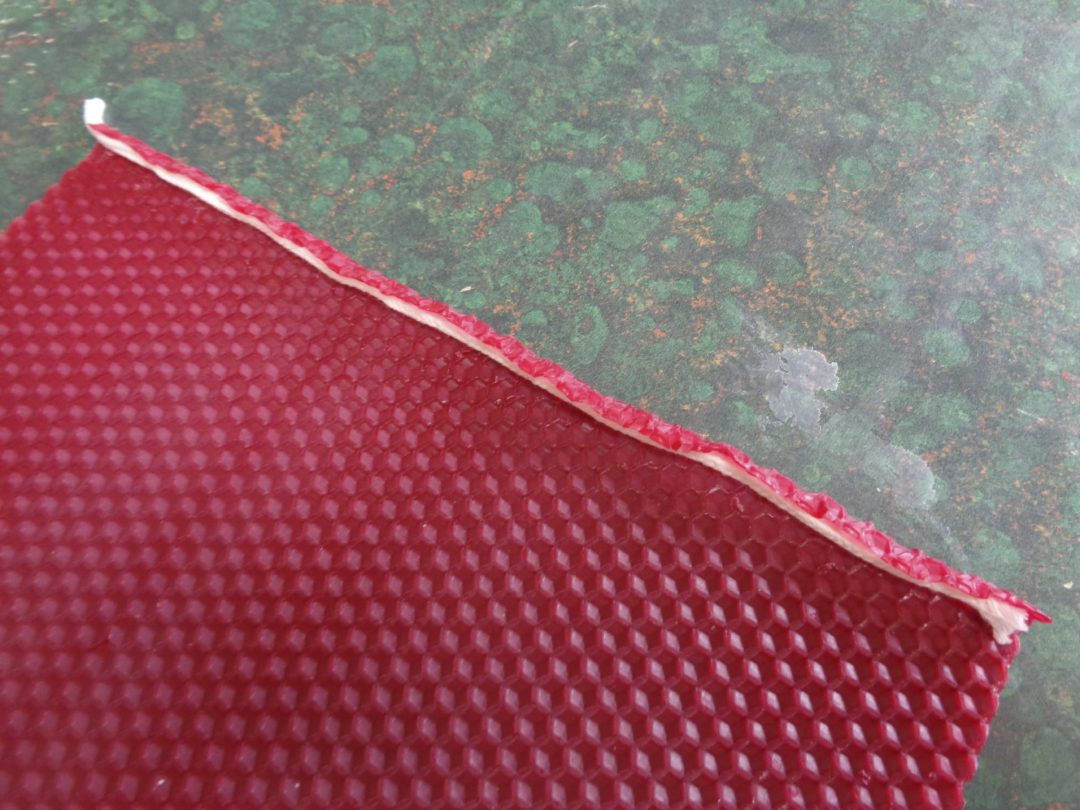
Begin by placing a piece of wick, the height of the candle on the edge of the beeswax sheet and folding the edge over the wick. It does not need to go all the way over. Just enough to start and create a circle. Folding it fully over can sometimes create a flat envelope or a triangle. Do the best you can to start a circle.
 If the wick is a little short and does not go all the way to the bottom, do not worry. Simply slip the wick up so that there is a 1/4 inch wick peeping out the top and leave the bottom of the candle empty.
Once the first turn is completed. Turn the wax over again, starting at one end and working your way down to the opposite end. By now the wick should be fully enclosed with the wax around the wick tightly holding the wick.
 Continue now to roll up the wax. It will become possible to use the heels of your hands to guide the wax along. Keep an eye on the edges of the sheets as you roll. Keeping the edges aligned will create a straight roll. If something seems out of place, stop, unroll an inch or two, adjust the candle and continue rolling.
At the end of the first sheet, the candle will be about an inch in width.
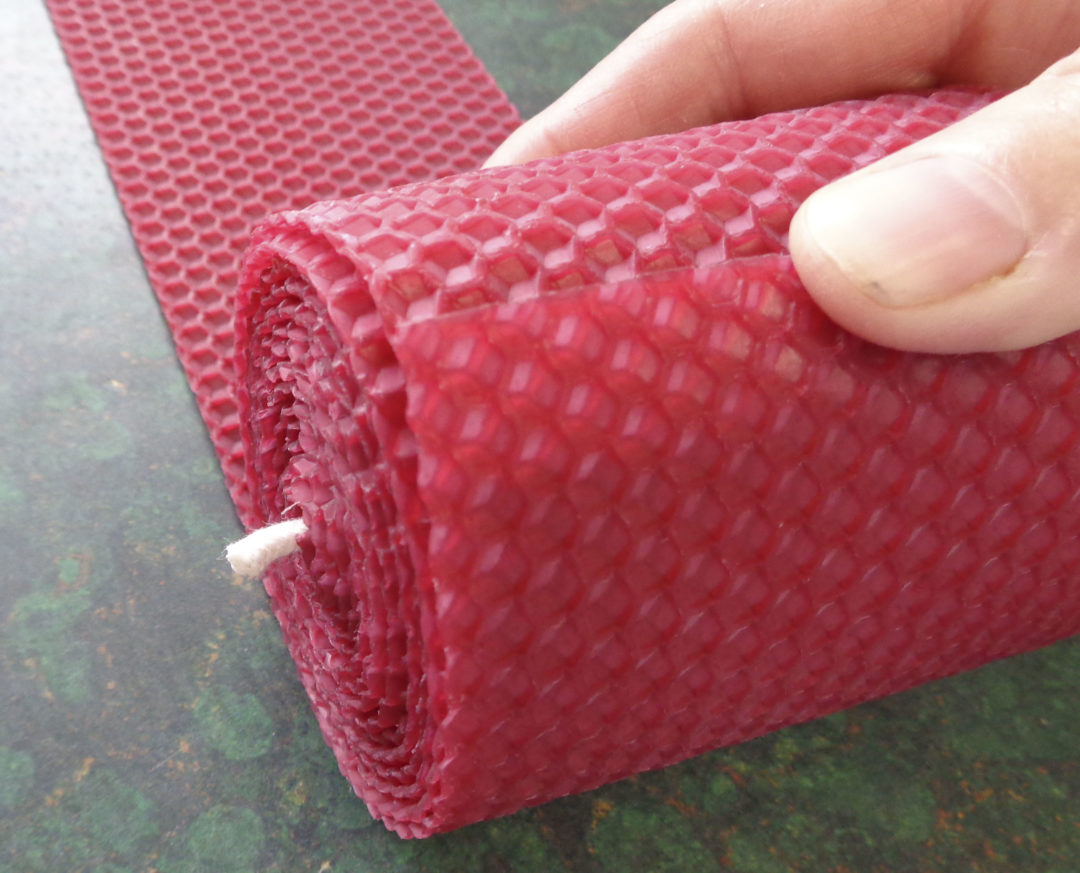
Place the second sheet of wax in position. Match the edges and continue to roll. Repeat this for all five sheets. As the candle gets wider the number of times the sheet will go around the candle before a new one is added will reduce.
 Note: When cutting for shorter candles, it can happen that not all the pieces turn out the same width. Arrange the pieces from shortest to tallest and start with the shortest piece, leaving the tallest piece for last. Use the top of the candle as the guideline for keeping everything straight and flatten the bottom edges if needed once all five sheets have been rolled.
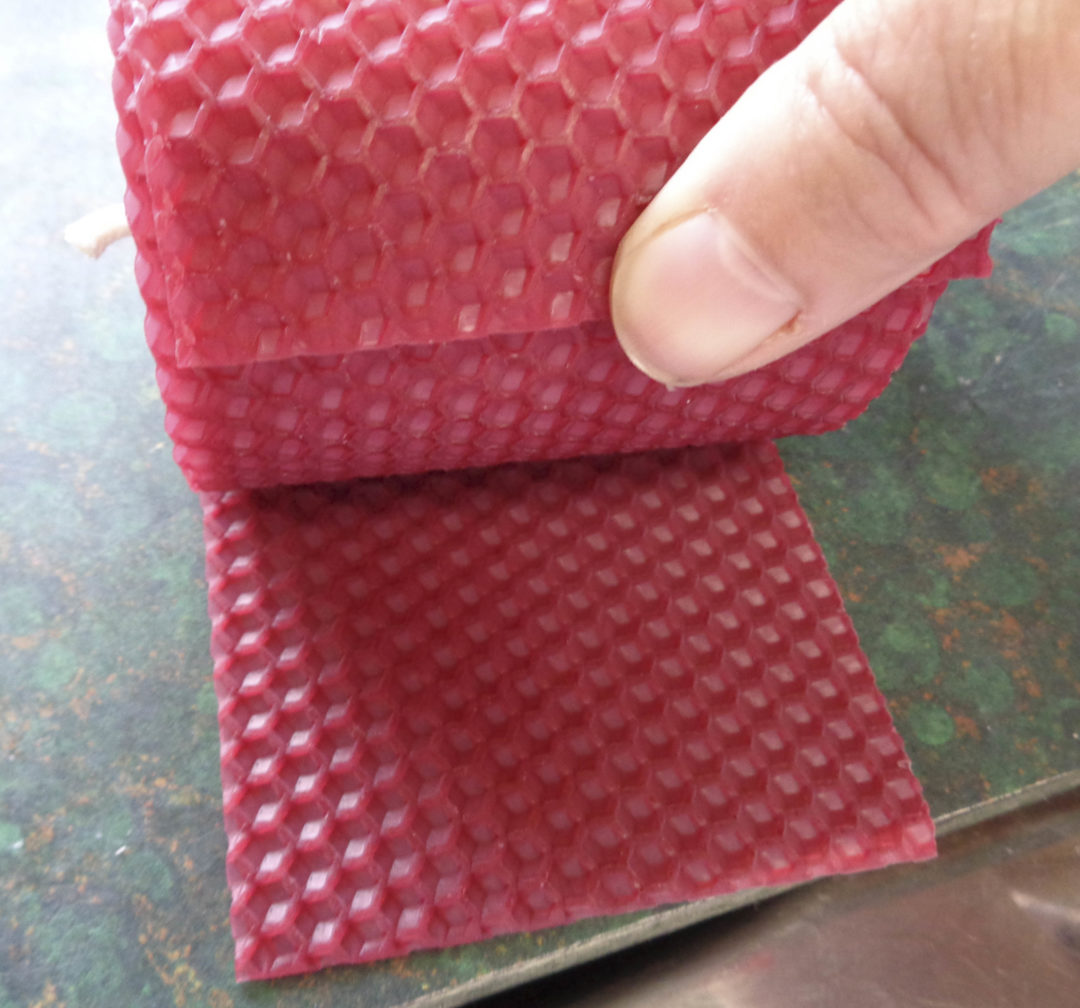
It is helpful to place the candle on the fresh sheet of wax and to use the candle to get the first curve. The placement of the new sheet does not need to be exact. The purpose here is just to start the bend. Once the first bend has the proper angle, release the new sheet and position it at the end of the previous sheet properly. Continue rolling.
 When all five sheet lengths have been rolled, roll the candle back and forth a couple of time on the place where the last roll ends.
The additional pressure will help keep the candle together. Although beeswax is sticky, it is good to give the sheets a little extra help to stay in place.
And we are done!
When you choose to light and enjoy your candle, four things to remember. One, the wick should be no more that 1/4 inch in length ( and over time it may be necessary to trim the wick back to that size ). Two, always place the candle on a fireproof surface like a saucer or candleholder. Three, never leave a burning candle unattended. Four, the wick will have nothing to consume when first lit and will need about 30 seconds to burn down to the wax and get its first “drink”. Once the flame catches, it will grow.
A Japanese study years ago determined that beeswax gives off the highest percentage of negative ions of any wax tested. All candles release negative ions but beeswax was best. Those negative ions will combine with the positive ions in your environment ( coming from computers, televisions and cigarettes ) clearing the air, becoming neutral and dropping to the ground.
So as the nights get cooler and earlier, take a few moments and roll up candles that will glow brightly from the side table in the den or the corner of the bathtub. Then relax and enjoy the warm cozy ambience you created.
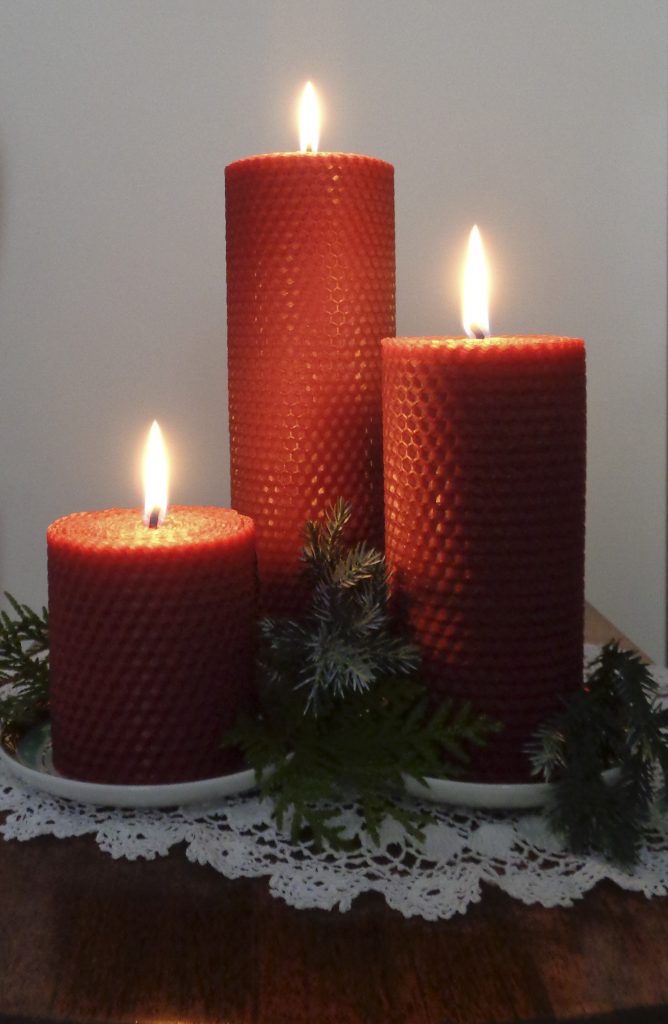
Rolled beeswax pillar candles from My Kitchen Wand
