
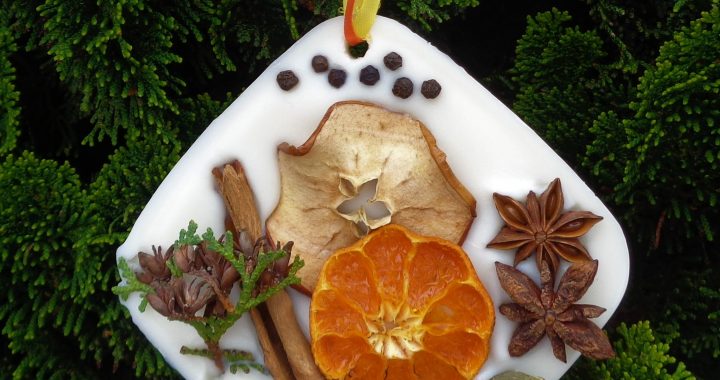
Merriam-Webster defines sachet as “a small bag containing a perfumed powder or potpourri used to scent clothes and linens.” This is a variation on that idea, made with scented wax and decorated with nature’s beauty.
Glitter, embeds and other whimsical items are also decorating options. Be aware though that anything dyed (such as crafted leaves) may run when set into warm wax. Test to be sure there will be no surprises.
These scented sachets can also be used for Yule decorations and gifts making holly, ivy and even candy cane pieces options to incorporate in designs along with mint or cedar scents.
In need of hostess gifts? Scented wax sachets will fit the bill year round.
Before we get started let’s cover a few points. There is no one right way to make these sachets.
 There are simply reasons and choices around what works best for you. Let’s cover wax, scent and mold options.
Using up leftover bits of paraffin candles works for me. I like the idea of not throwing out candle stubs.
That said, the colour of the stubs may not match your decorating theme and starting from scratch with uncoloured wax might be the right choice for what you are envisioning.
Higher end tapers will be white on the inside, making the melted wax a lighter colour than the outside of a dipped taper stubs being melted, generally speaking a good thing.
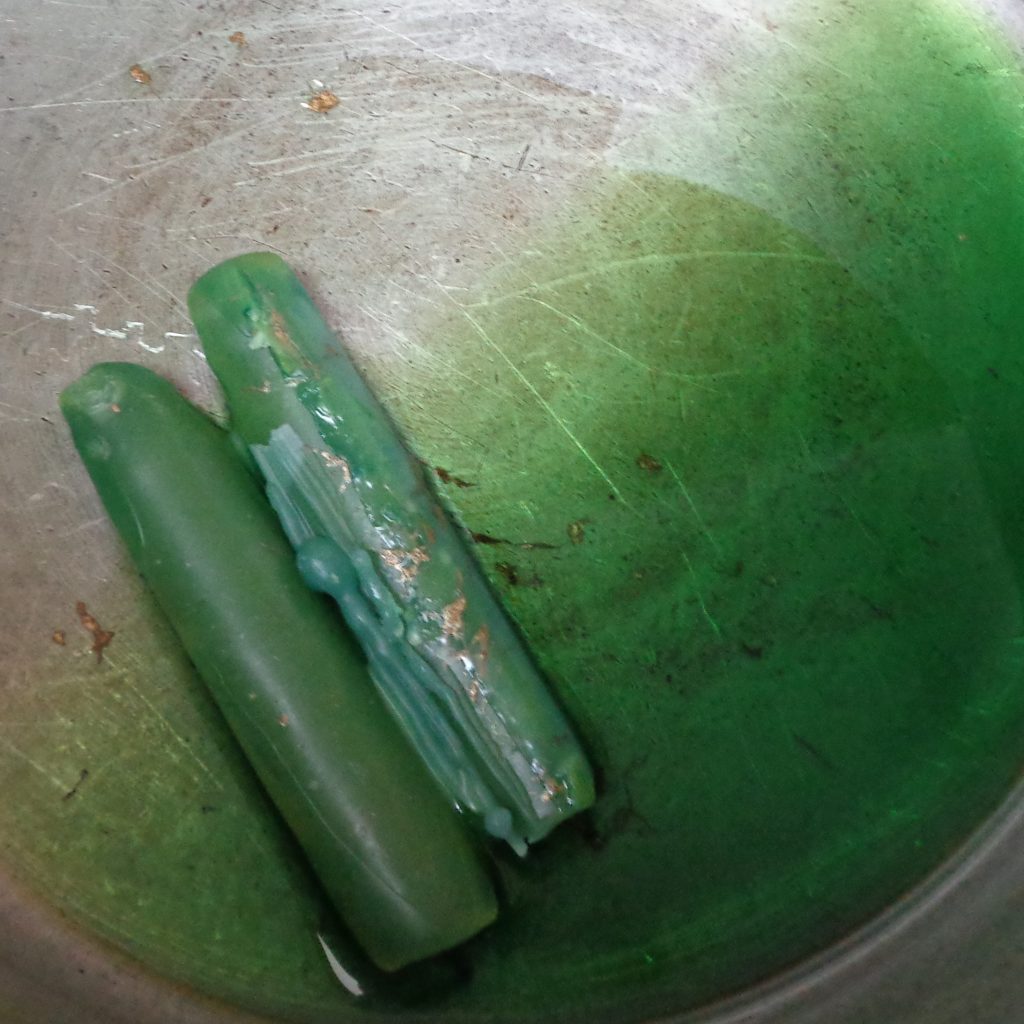
Remelting coloured wax can alter its shade so always a good idea to test for the dry colour before making any sachets. Simply let a half teaspoon or so of melted wax sit to cool or drop into a bowl of cold water for even quicker results. Colours can be combined and wax added to get the tone and amount needed.
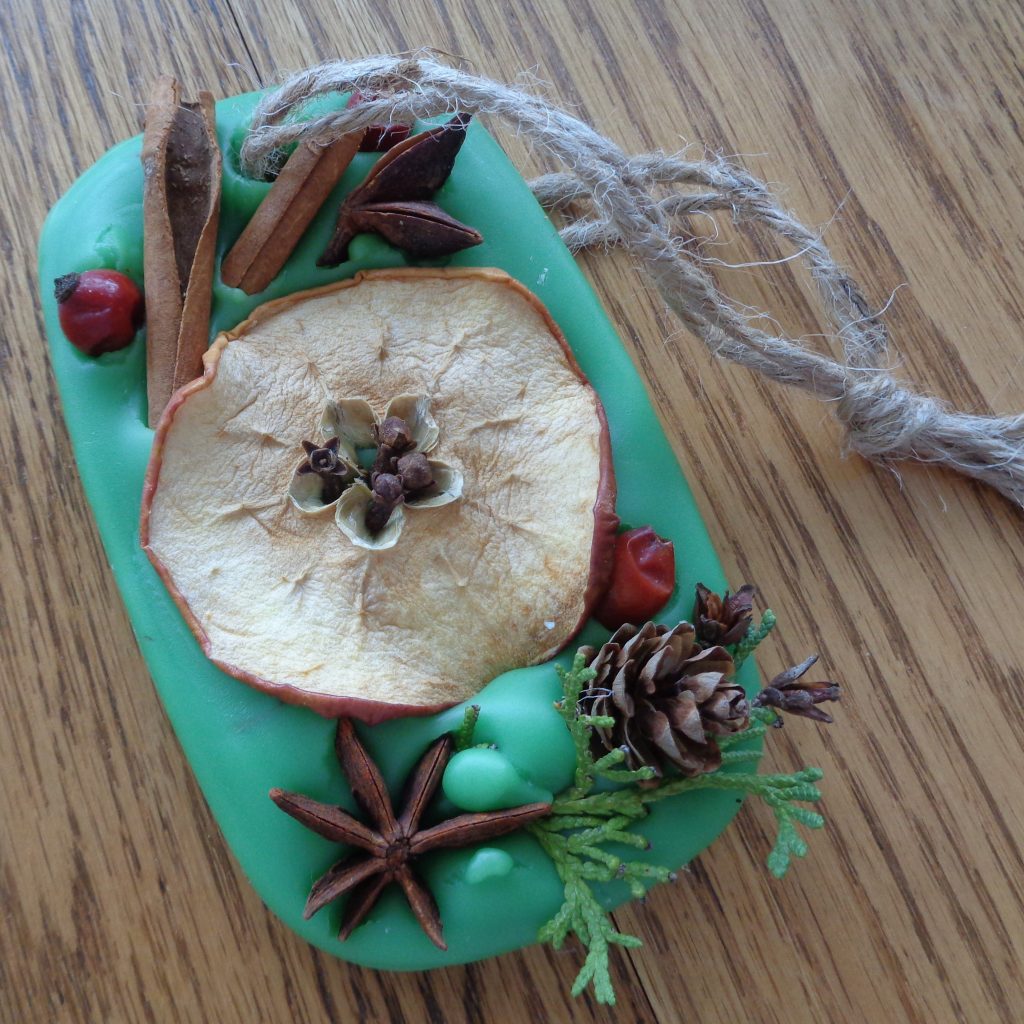
The sachet below was made from the wax melting above. The actual colour was not really turquoise (camera/light issues) and it did go greener as it cooled but you can see why testing is recommended.
 Additionally, if you have no idea what the melt temperature of the leftover waxes are, it doesn’t matter as this is not a candle and there is no need to consider wick sizes.
Lastly, paraffin is a harder wax option and as by definition, a sachet is traditionally, going to be around cloth, I prefer not getting a softer wax, like soy, on non candle making clothes.
Beeswax is also an option. It smells (in my opinion) wonderful all on its own. It is however stickier than other waxes and will need mold release added to the melted wax if you are using plastic molds. Generally, 3 times the amount suggested on the label for paraffin wax. When using rubber molds no mold release is needed but it is important to be gentle when manipulating the molds as they can tear.
Beeswax and soy in combination is another option.
Soy wax is an easy melt and pour option. It has a longer working time than most paraffins so getting the timing right for things to float on top and still stick can be easier. It comes in container and pillar wax options. The container will be a softer wax but both are usable.
Essential oils and candle scents are the choices around aroma.
Candle scents will give a wider range of scent options. Smells like Hazelnut Latte or Sugar Cookie won’t be available as an essential oil. Candle scents also come with a fixative included which will hold the scent in the wax for a longer period of time.
Essential oil choices are all the lovely smells of nature. Some naturally contain fixative qualities but they are usually the heavy base note choices, such as frankincense and black pepper. Try adding a small amount of orris root (a pinch per sachet) to your liquid wax and stir well. This should help keep the aromas contained in the wax for a longer length of time. Add the essential oil as the last step before pouring and at the lowest temperature possible. Adding at high temperatures will only evaporate the oils more quickly.
 The third decision is around molds. It is possible to purchase silicone molds just for this purpose. They are flexible, making it easier to loosen and remove the finished sachet. The molds often come with a hole for hanging already included in the form.
Looking around the house may also offer options. This sachet was made with the lid of a small container.
I have also used cookie cutters and cookie cutters combined with lids from large yoghurt containers.
When using what is available at home there will probably be a need to create the hole for threading through a way to hang the sachet. This can be done with a knitting needle, a straw, a heated nail or something similar.
 When using a straw, be careful with paper options. If left in too long, the wax, having soaked into the paper, will harden and make the straw difficult to remove.
When using a warmed nail coming through from the back will give a cleaner hole.
What is nice about soy wax is its cooling time. It is malleable for a longer duration, making it easier to still create the hole if you get called away or distracted.
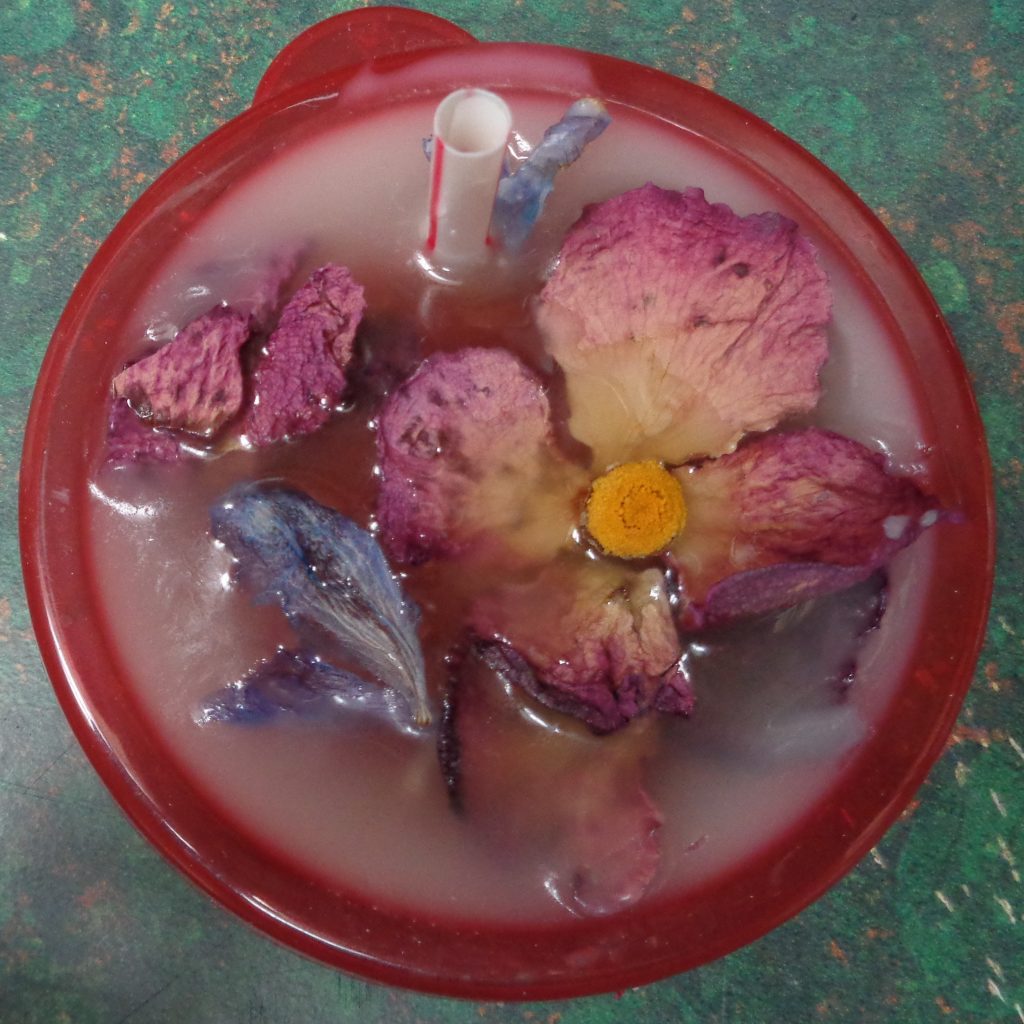
Please make note of the difference between what is visible before and after the sachet cools. What looks like a complete flower can loose its integrity once the wax is cooled and opaque. Keeping the petals on top as much as possible is a good idea.
When working with cookie cutters, a little added weight is helpful for keeping the wax inside the cutter.
 Place the cutter on parchment paper in a pie plate for easy removal and containment.
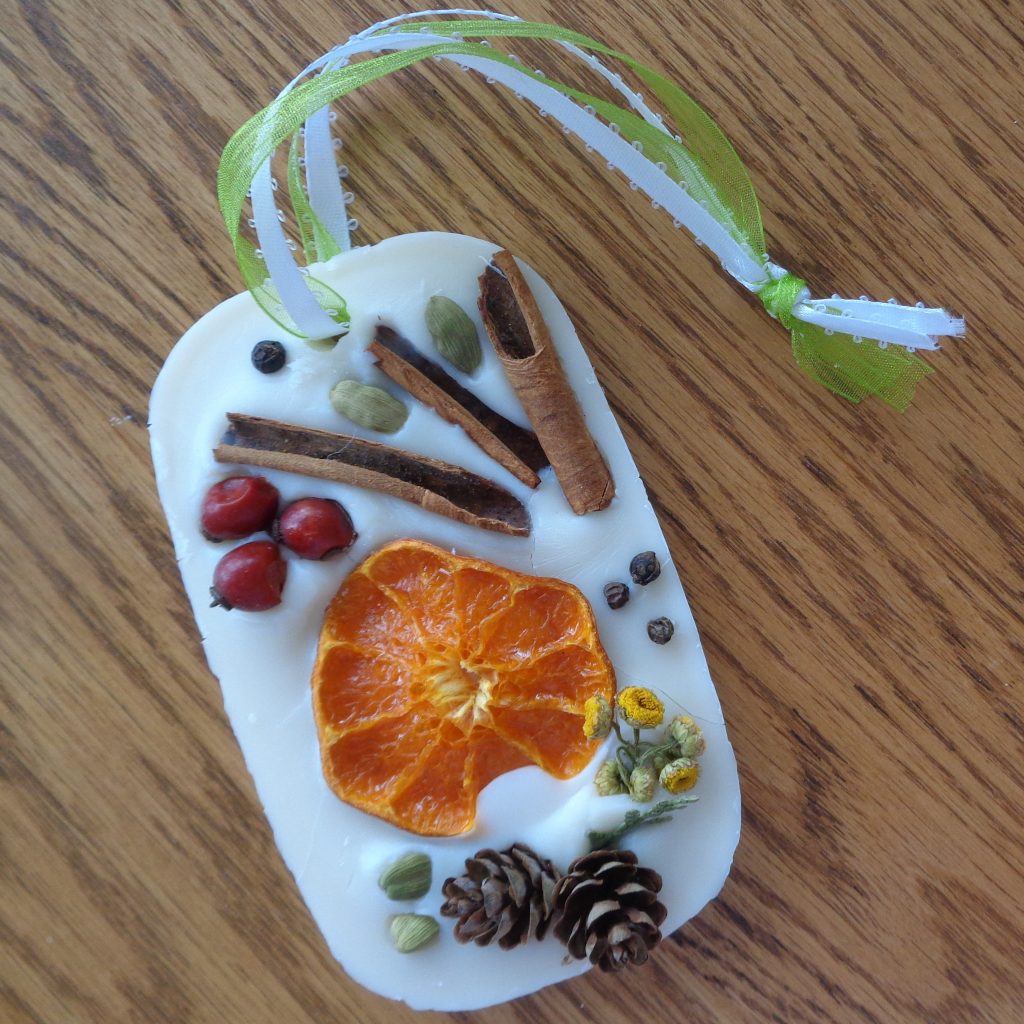
This option was filled with an assortment of dried flowers and then the liquid was poured in. There was no intention for a hole as this style of sachet can be added to potpourri or several can be displayed in a small bowl.
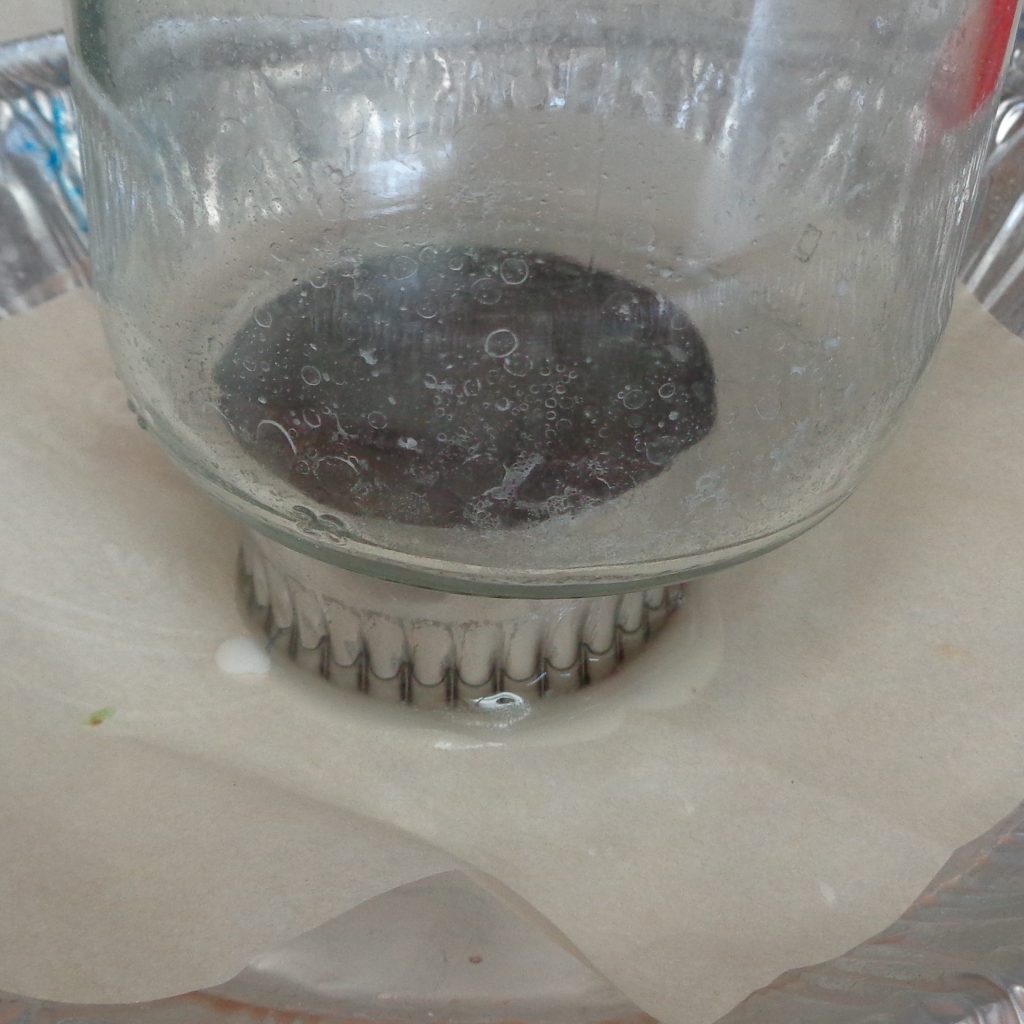
A jar was placed on the cookie cutter to add a little extra pressure and keep as much of the wax inside the cookie cutter as possible.
A little did seep out but it can be easily reused in the next sachet.
Something to keep in mind is that it is best to use a cutter whose pattern goes all the way to the top. Can you see that the scallop pattern only goes halfway up the sides? These cutters were intended for dual use when cutting thin cookies but for what’s happening here it means the scallops were lost on one side of the finished disc.
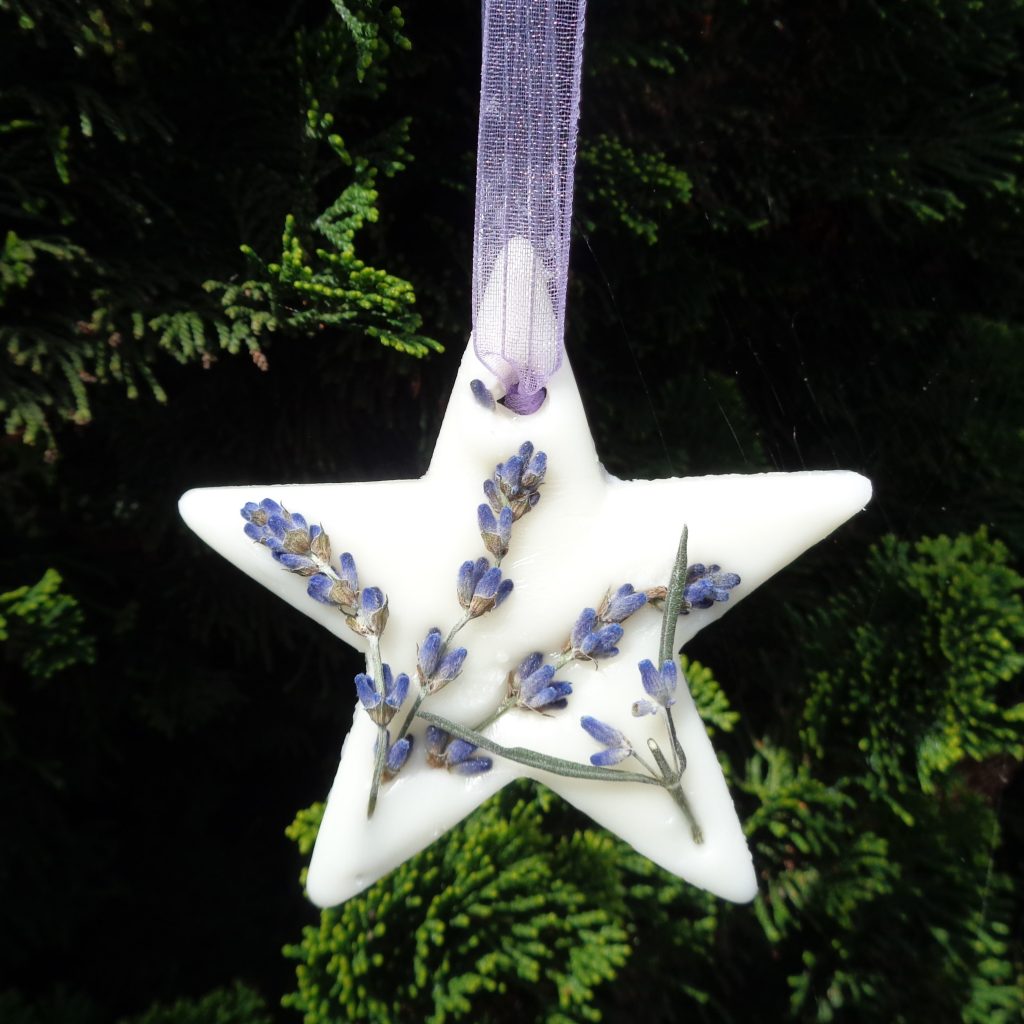 This sachet was made by placing a star shaped cookie cutter on the flat lid of a yoghurt container and filling the entire lid with lavender scented wax.
The lavender flowers were laid on top once the wax had cooled enough to support the weight.
The hole was cut out and then left for 20 minutes before removing all the wax outside the cutter, gently removing the sachet inside the cutter and allowing it to fully cool before adding the ribbon.
With flowers being such a part of the symbolism of Beltane, these would make lovely crafts with whatever is naturally blooming in your part of the world mid spring.
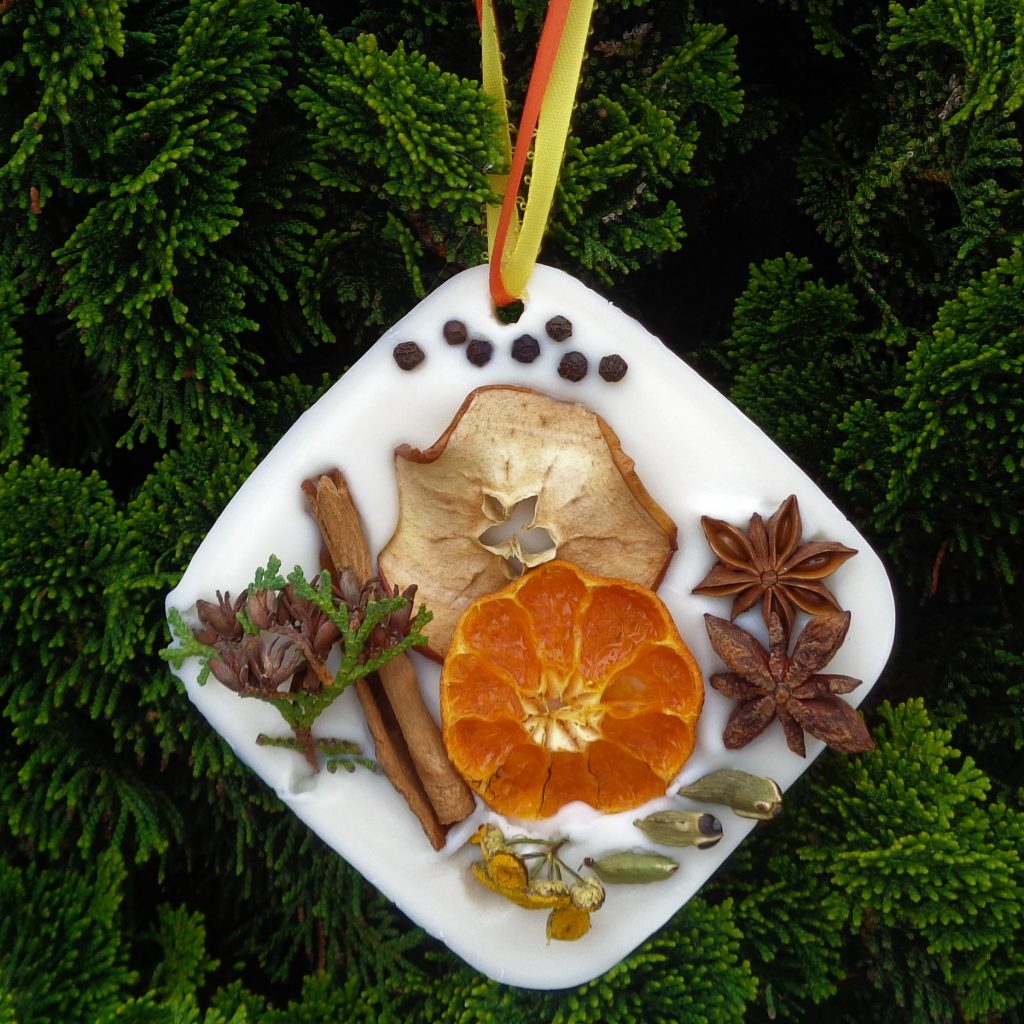
 On the other hand, fall is an ideal time for collecting and drying fruits, herbs and spices.
Make sure that orange and apple slices are small enough for the size of your projects. These were made with mandarin oranges as navels were too large for the form.
There are unlimited options for putting sachets together.
Let’s get started:
Gather and prepare the decorations. Drying apple and orange slices, rose hips or hawthorn berries can take a day in the oven or a dehydrator. Flower petals can be air dried on a rack and will take longer. Helpful to prepare at least few days ahead so everything is ready and waiting.
Collect spices, small pine cones, greenery as needed for your designs. Ensure there is twine or ribbon on hand.
These designs are made with natural items but they are not the only options.
Chose your mold types. If the decision was to purchase molds online give yourself extra time for delivery.
Decide on wax and scent, both type and aroma options.
 Melt wax keeping the temperature to about five degrees above the melt point. Once the wax is about 90% melted, gently swirling the wax will probably get the last 10%. There is no need for the wax to get any hotter and wax that is too hot can warp vacuum formed container lids.
Add the scent and orris root if using essential oils, (about 1/4 – 1/2 teaspoon to 1 cup soy flakes ), stir well. Start with 1/4 teaspoon essential oil to 1 cup soy flakes and adjust to meet your preferences. Candle fragrances in candle making run 2% – 13% by volume. Check the instructions on the label of the product chosen. Whatever scent is used, be aware that each has a different viscosity and if not well combined, the oils can simply separate and sink to the bottom. Additionally, adding oils to wax will always soften the wax. Pour into your chosen molds.
Let the cooling commence! As the sides begin to turn solid begin placing the decorations in a design of your choosing. Leave space in the top center section for the hole. Either place a short piece of straw and remove the wax at this time or wait until the sachet is out of the mold and create the hole with a warmed nail. Allow to rest until cool and then pop into the fridge for about 15 minutes before attempting to gently release the sachet from plastic molds. Silicone or rubber molds will not need the fridge time, just gently manipulate the mold until the sachets release.
Add ribbon, hang and enjoy!
