There seem to be as many origins to the Yule Log as there are web pages that mention them. Yule Log beginnings are traced back to almost every country in Northern Europe and I would not begin to suggest that any page is incorrect.
The Yule Log is a symbol of prosperity and protection, usually brought into a home by as many strapping young men as the log needed. It was sprinkled ( feel free to read drenched ) in spirits, in some places that meant wine in others beer which the helpers would also share. At a time when the only available light was fire based, protection would be an understandable feeling connected to the heat and light of a bright burning log, an abundant place to be, compared to those without.
The Yule fire was started with a piece of the previous log that had been safely stored away during the year. In some parts of Holland, safe meant under the master’s bed.
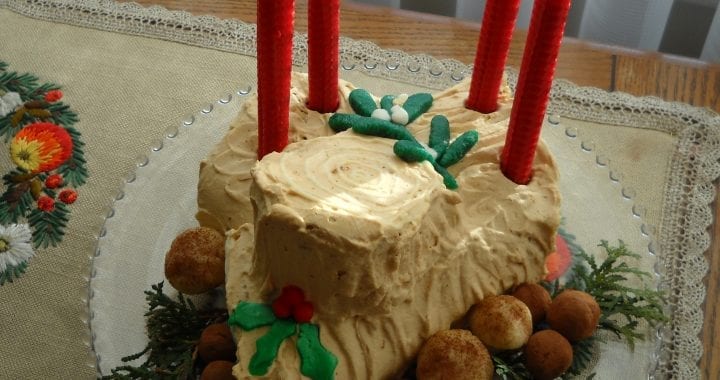
Traditions alter to suit the place and the times. The era of open hearth fireplaces has passed and today you are more likely will see a smaller piece of wood with space for candles or an edible version for the Yule table.
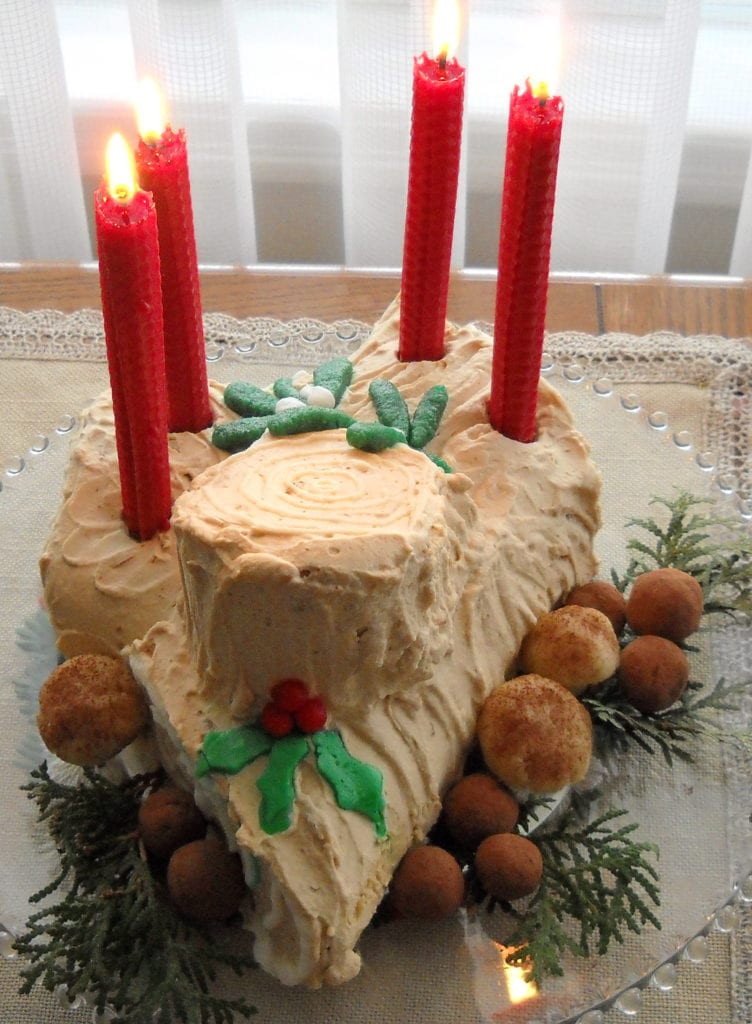
Today we are going to make the edible version using a nut (an homage to the tree) roll cake with a whipped cream/Kahlua (homage to the spirits)/coffee filling. I made the cake several weeks ago as part of that group of 85th birthday celebrations and popped it in the freezer to finish now. The pictures will show two rolled cakes being made but the recipe is for only one.
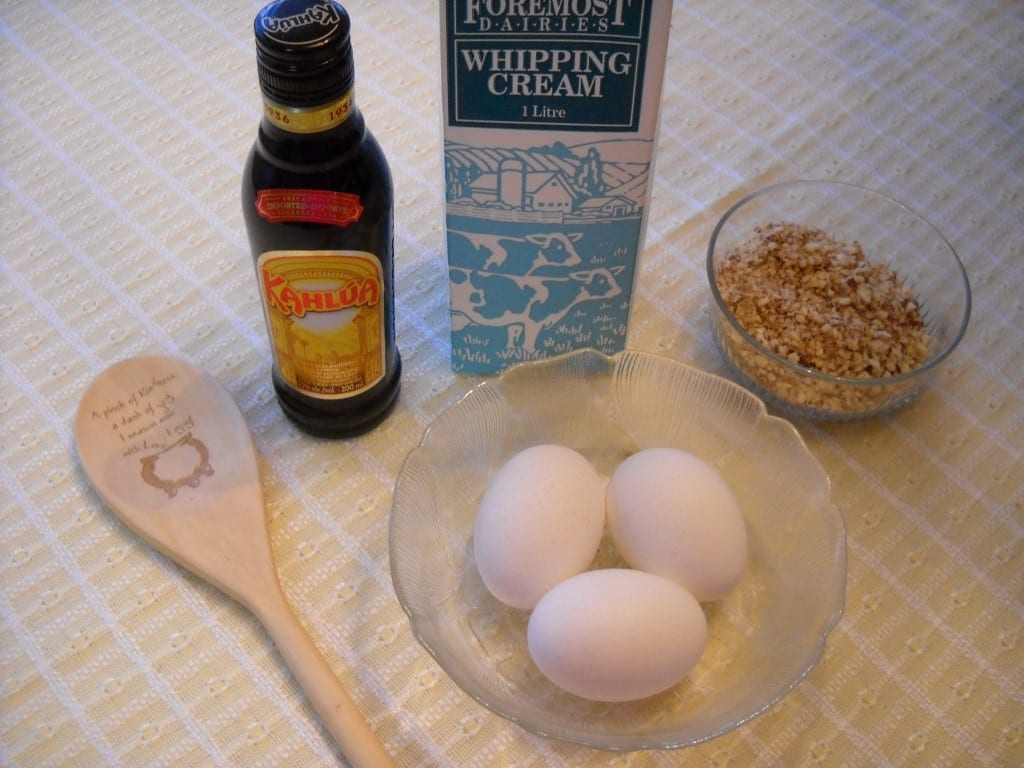
For the cake you will need:
3 eggs
5 – 6 Tbsp. warm water
1/2 cup plus 1Tbsp. sugar
2 Tbsp. Vanilla sugar ( if you have none, up the regular sugar )
2/3 cup flour
6 1/2 Tbsp. cornstarch
1/2 cup almonds, finely chopped but not meal
1 tsp. baking powder
 ” Winter Solstice Goddess,Holda, be with me. Guide my hands with Love and Joy, That my baking Blessed Be ”
Prepare the pan by folding a piece of parchment paper in a size to cover the bottom of a lipped cookie sheet. Be sure to give yourself an inch or so extra. Fold it under so that you have an easy starting point when peeling it off later when time will be an important factor.
Separate the eggs.
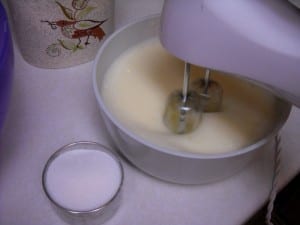 Beat the egg yolks at a high speed and add the warm water. You will find that the warmer the water the more the mixture will get fluffy and thicken.
Slowly as you are beating, add 2/3’s of the white sugar and the vanilla sugar to the mixture.
In a separate clean bowl, with clean mixing beaters. Beat the egg whites until stiff while slowly adding the remaining sugar.
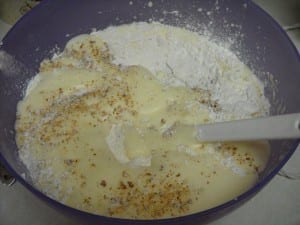 At this point I go back and beat the egg yolks a little more as you will find that there is a thin layer of liquid at the bottom of the bowl. Allow the egg whites to slide on top of the egg yolks and gently fold both mixtures together a few times.
Sift the flour, cornstarch and baking powder over the mixture. Sprinkle the nuts, do not dump.
The air you keep in the mixture, helps keep the cake light and fluffy. Fold gently until mixed and do not over mix your batter.
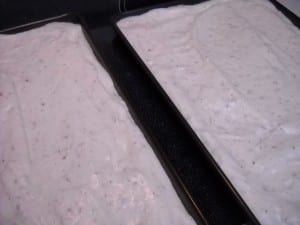 Overworking will also reduce the air you have mixed in by beating the eggs so well.
Pour onto cookie sheet and spread to the edges of the pan.
Bake at 350 degrees for 10 – 15 minutes or until, the edges are lightly browned and the top is firm.
If you are making two cakes at once, gently switch them top and bottom at the six minute mark. Be sure to be gentle as we want to keep all the bubbles in the batter happy.
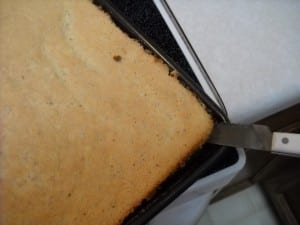 Now you need 5 minutes of undisturbed time. The warmer the cake is while dong this the happier you will be with the results. Have a clean tea towel or more parchment paper ready on the counter.
Once the cake is removed from the oven use a knife to loosen all the edges. Flip the cake upside down onto the towel/parchment. The cake should fall out with the parchment going with the cake onto the towel/paper.
Gently take a loose edge and peal back the paper. You can see that extra lip of free paper in the shot below.
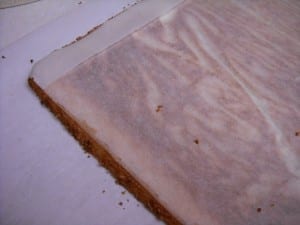 This will help get you started. You may find a knife will help to pry off any little pieces that are stuck. Be careful, the cake is warm and fragile.
This is not difficult, It just needs a little patience. Once all the paper is off, roll up the cake together with the towel/paper.
If you have a few broken places at the edges, do not worry, It will all get covered with yummy stuff later.
Allow the cake to cool rolled up on a cooling rack for air flow. This will let the cake stretch and curve so that when you fill it, it will happily return to a rounded shape.
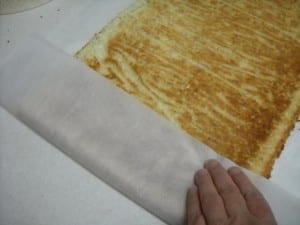 If you allow the cake to cool flat and then try to roll it afterwards, the cake will break at each quarter turn.
This portion of the Yule Log can be prepared ahead of time and frozen or stored somewhere cold for 4 to 5 days.
If dinner is at your house and preparing ahead makes life easier, go for it.
If this is your contribution elsewhere, just make sure the cake is cool before filling and you will be good.
The filling for this Yule Log is quick and easy. A traditional French filling is chestnut based but I chose Kahlua as an homage to the custom of dressing a real Yule log with alcohol but if you would prefer to leave it out that is okay too. Substitute water as you will need something to soften the gelatin and instant coffee in. You might also want to add a 1/2 tsp more instant coffee to the whipping cream for a little extra strength in flavour.
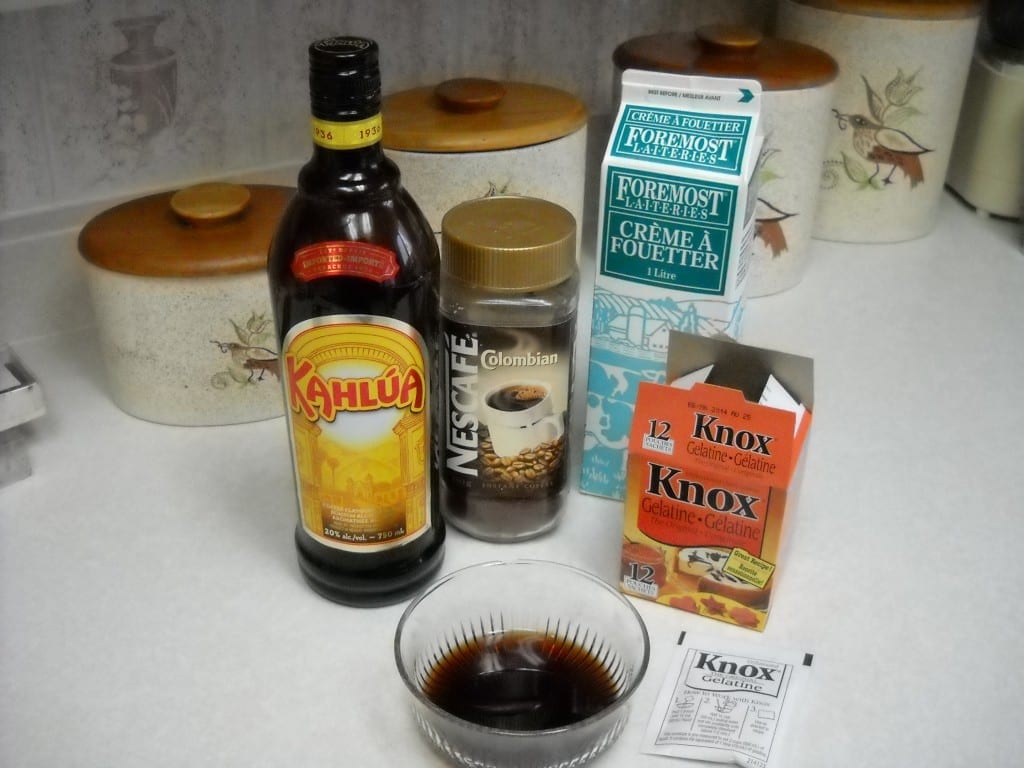
For the filling you will need:
3 cups whipping cream
1/2 cup Kahlua
1 package gelatine powder
1 heaping tablespoon instant coffee
1/4 – 1/3 cup sugar
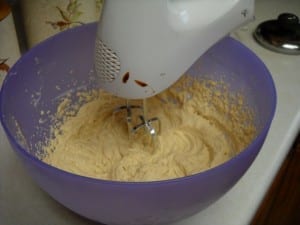 Put the gelatine and instant coffee in a container with the Kahlua and place in microwave for 10 seconds to soften. If the gelatine needs a little more time, another 10 seconds should ensure that everything is melted.
Whip the cream, slowly adding the sugar to taste. As peaks start to form, by table spoon add the Kahlua mixture and beat in. Once stiff you are ready to fill the roll cake.
Unroll the cake and add the first line of filling along the edge. When rolling the edge up, making it as round as possible is a good thing. You can do this by lifting up and helping the cake fold over. It will assist in having round logs as opposed to oval ones.
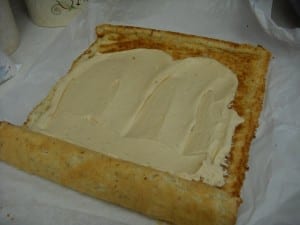 Fill the roll with about half the whipped cream mixture and roll up. If the mixture does not go all the way to the edges, that is okay as you will have the chance to fill it later and if the mixture oozes out the ends, that is also okay. It can be used to cover the outside.
Now a regular jelly roll would use the rest of the filling to cover the outside and all would be finished and ready to cool at this point. We are going to take this a step further and create what in France is called a Buche de Noel.
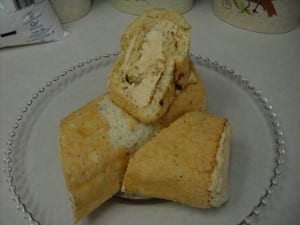 To turn the roll into our Yule Log, cut a diagonal slice off each end of the roll.
Place one wedge on one side of the the log and place the other wedge on the top of the roll. Use a little of the filling as glue to keep the pieces together. It would be nice to be able to angle your branches but they will fall off so keep to side and top. The size of your cuts and the placement of your branches are up to you. I wanted to make sure there a plenty of space around the plate and room for candles but you can add your cut branch parts in any way that makes sense to you.
With the remaining whipped cream mixture, cover your log. I made the edges that were supposed to have been cut off smooth and swirled the parts that where bark would be. Once iced place in the fridge or a cold place and allow the gelatine to set up.
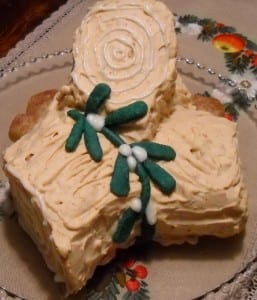 The fun part! Decorating is again a personal choice. I used some leftover white icing and piped the age rings onto all the cut ends. I used white but you could also choose to do it in chocolate or at least an icing with a little cocoa added.
In France to tree of choice for a Yule log is Cherry, in Scotland it is Birch and in England Oak. Now, NO Druid of worth would ever cut down a Mistletoe supporting Oak for a Yule Log but for the purpose of decorating I took a little license. These add-ons are all free hand from icing and nut paste. I have added a recipe below but it is also possible to purchase almond paste at your local store.
( You can make a quick and easy nut paste with one to one ratio of blanched almond meal and icing sugar and a little whipping cream/egg white/alcohol to moisten just enough to be able to squeeze the mixture together and have it hold.) Use green food dye with just a toothpick tip of blue to deepen the colour and get it a little closer to real mistletoe. Massage the colour through the mixture and free form the mistletoe as shown. Start with a long piece that will serve as a stem and add the extended teardrop shapes to either side. I used icing for the berries but little balls of uncoloured nut paste will work as well.
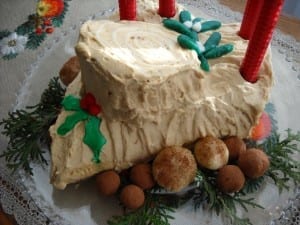 With the remaining nut paste, I fashioned three mushrooms and dusted them with a little cocoa. Mushrooms come is all sorts of shapes so this is something that any little hands can help with.
The Holly is a little left over green icing from the yule cookie post. I rolled it out flat and popped it in the freezer until it was stiff and cut out the leaves. The berries are red dyed nut paste.
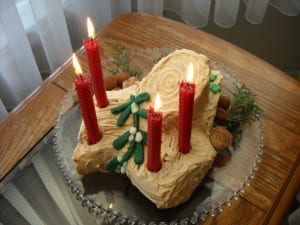 I put all the ingredients together the day before I needed the cake, so I could take pictures and I am not sure I would do that again. The green dyes started to run and although I was able to fix things up, I would be inclined to do it the day of rather than the day before.
I also had truffles from a Chocolate making class the day before and since there were already mushrooms in the decorations “fungi” seemed a natural addition.
This Kahlua and Almond Yule Log served 14 at our meeting last night.
 As we welcome the coming of the the Sun/Son, upon whichever path you walk… May your holiday season be filled with loving friends and family; fond memories; the grace of internal peace and compassion for all the expressions of the Divine that cross your path.
May you also experience the protection and prosperity this offering represents.
I wish you Bright Blessings this Yule and beyond.

