
This past summer I dried corn husks, leftover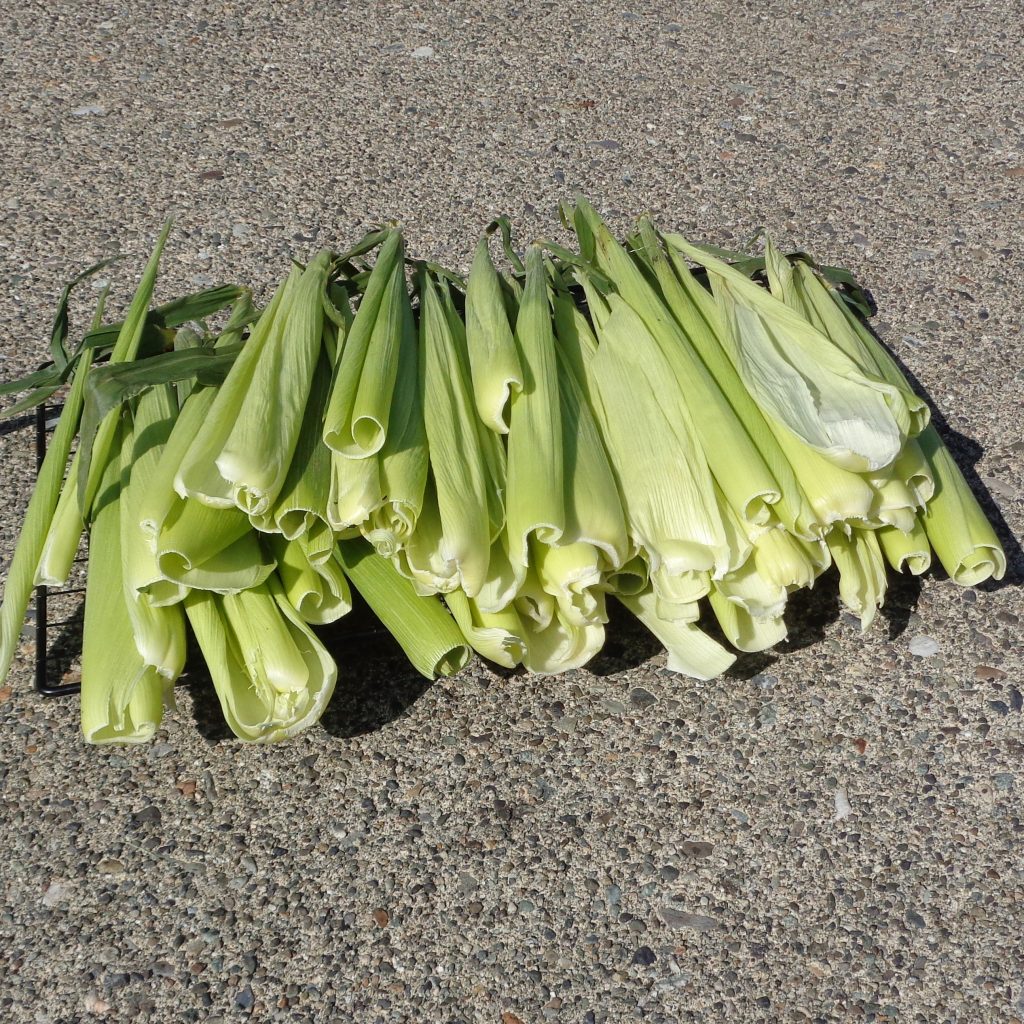 from a dinner, out in sun. Fresh corn is still available here so I am hoping it is where you are too.
It is possibly too late to dry outside in some places but corn husks will also do just fine drying in a garage or closet.
Clean off the corn silk and any raggedy bits but leave the dark green tips as it can all get used.
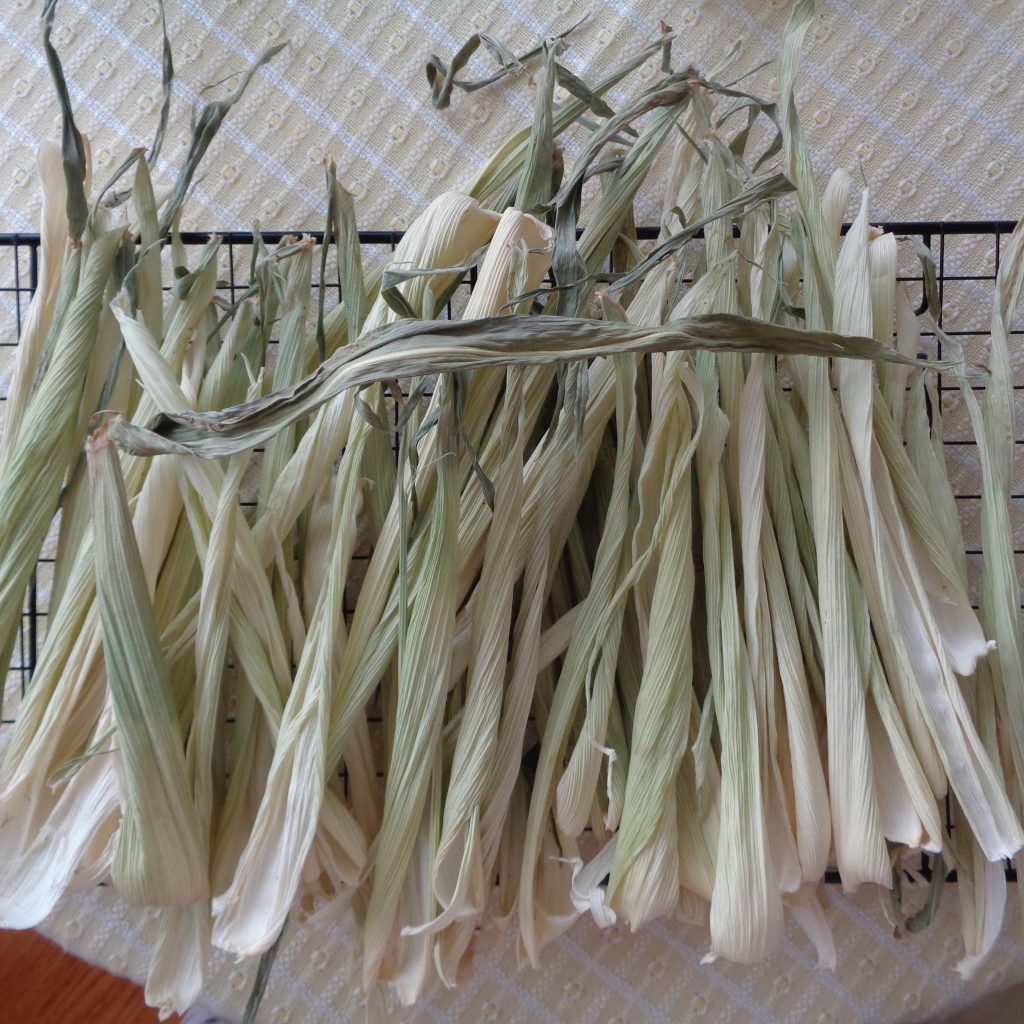
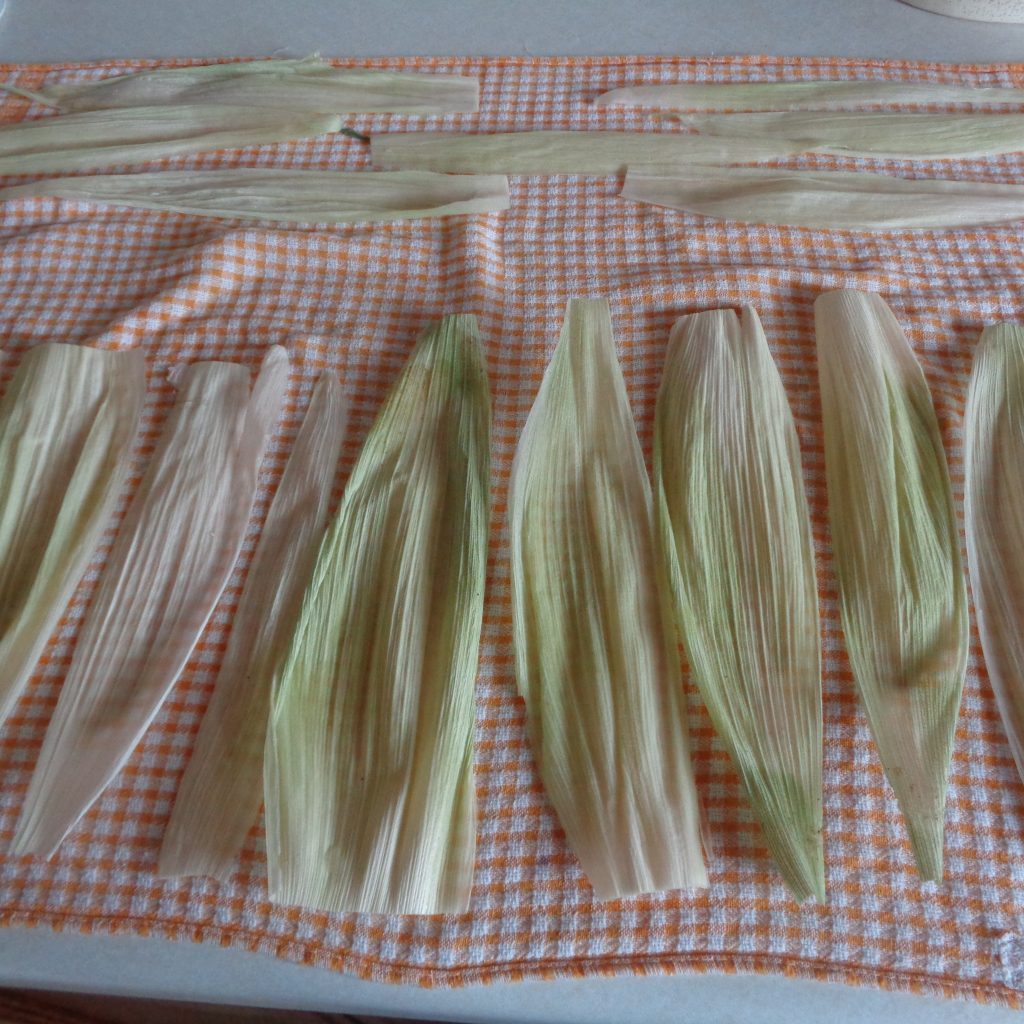
I placed the husks on a cooling rack so that air could get all around the husks and rearranged them every couple of days.
After a few days they looked like the picture below. It will take longer when not constantly in a sunny place but you will get there.
 When you are ready to craft there are a couple of steps to prepare, depending on your choice of design.
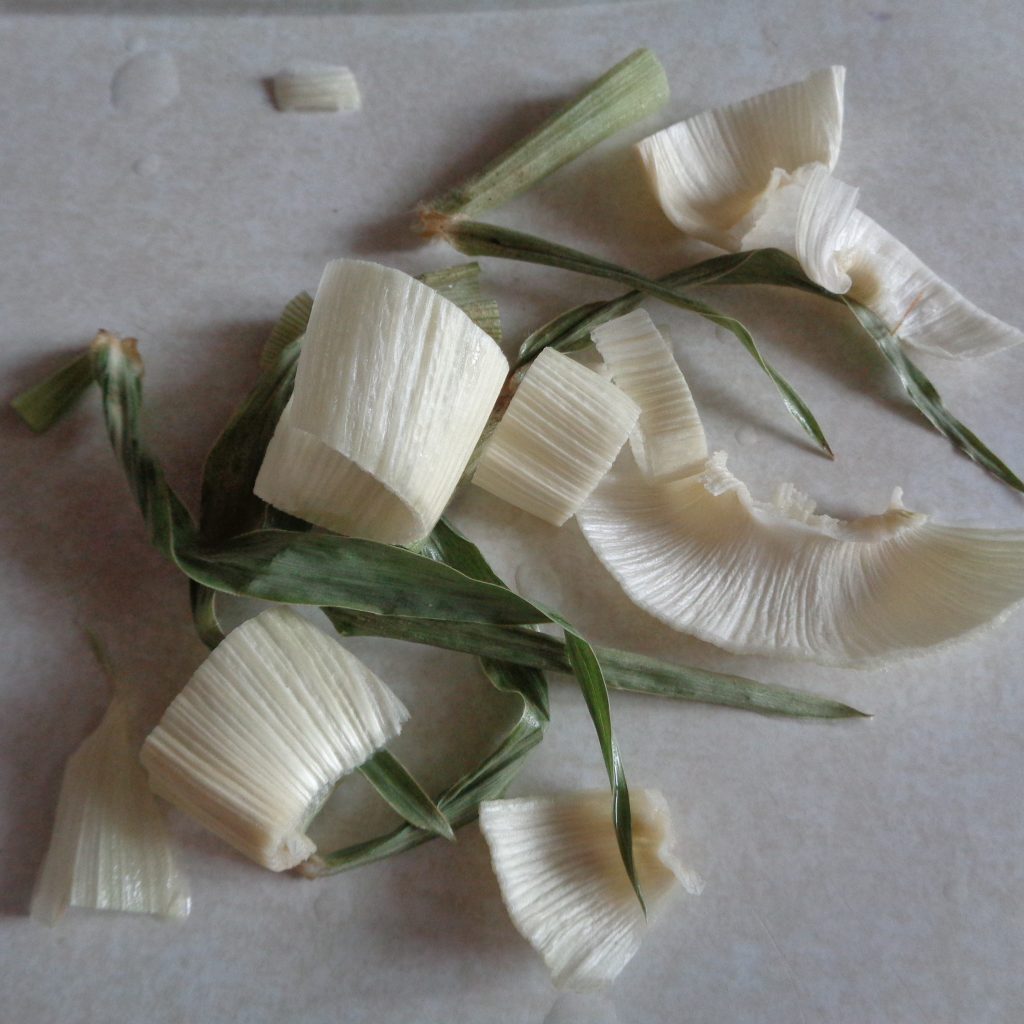
To begin with there are different textures within the husk itself.
They are thicker and therefore tougher at the ends of the husks where they were once connected to the cob.
There will be a range of shades in the husks depending on how much sun reached the material while on the plant. Outside pieces will be darker greens and inside ones closer to ecru.
Tips will be thinner and more flexible. There are no right and wrong parts. They can all be used and I will show you options below.
 Sometimes the dry husks can be used as is, all dried and twisted up.
Other times it is best to soak the husks in water as they will be much more flexible for your craft of choice.
If the husks are going into water, I would suggest cutting off the very bottoms as seen on the left. This will allow the husks to be stretched at the bottom and ultimately they will be wider and flatter when ready for use.
In the pictures below, some husks have been soaked and others not. I will note which are which. Again no right or wrong, just the final look that is achieved.
 Soak the husks in water for at least 15 minutes.
They will uncurl and become flexible.
The water can be room temperature and a little warmer is fine too.
Once the husks are rehydrated, place them on a towel and when the towel is full or the task complete, place another tea towel on top and weigh them down by adding a few pots on top of the second tea towel.
This will help to dry and flatten the husks.
The second to last choice is how to bind the husks to the broomsticks. I used twine but there are other options as well, thin strips of corn husks, hot glue gun, ribbon. etc.
 Let’s discuss the broom section and then you will be ready to design.
The neighbours down the street were cutting down a cedar and I was able to select a few pieces that I cleaned up for “standard” size brooms. I looked for branches that were crooked.
Remember that branches will get smaller as they arrive at their tips and therefore less able to bear weight if that is going to be the section closest to the ground. The tips are generally also the more crooked parts so it can sometimes mean a compromise.
At the bottom of the picture is the first piece I chose with the “v” on the right hand side. I thought it would be more stable when leaning against the wall and could support the corn husks expanding outwards and forming the “broom”.
My second choice was the long, thin, straight branch at the top. I cut it into four pieces, three for mini brooms and one that was about 3 feet long for what I am now thinking of as my magic wand broomstick.
So! Let’s get started.
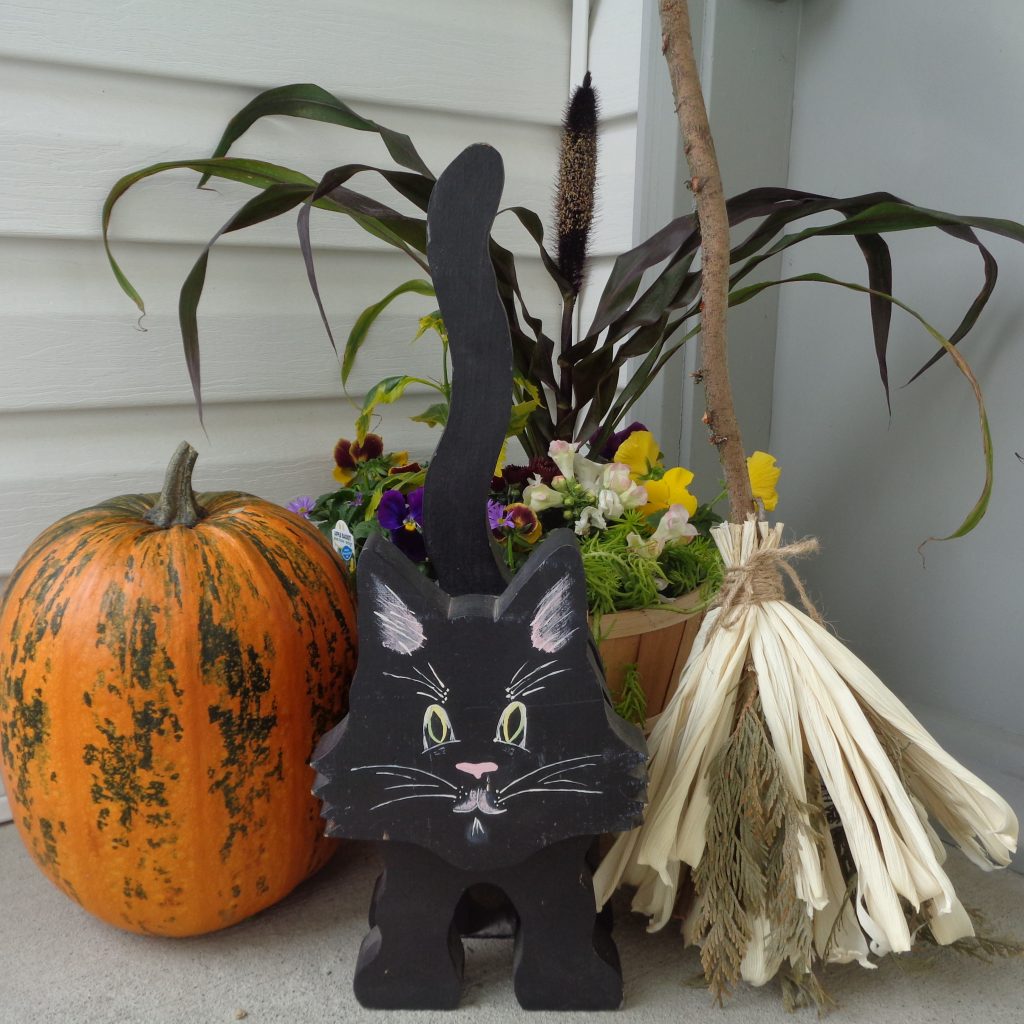
The first one is made with unrehydrated husks and cedar. The thicker stronger ends of the husks are at the bottom and the thinner weaker ends are at the top so that when the twine is pulled tight they spread out. Mixed in are a few pieces of cedar that over time have gotten lighter. There is about an inch of corn husks that stick out over the twine at the top and they have been cleaned up with a trim after being tied in place. The “v” of the branch is inside the corn husks to help give it support. This one will go outside for the season.
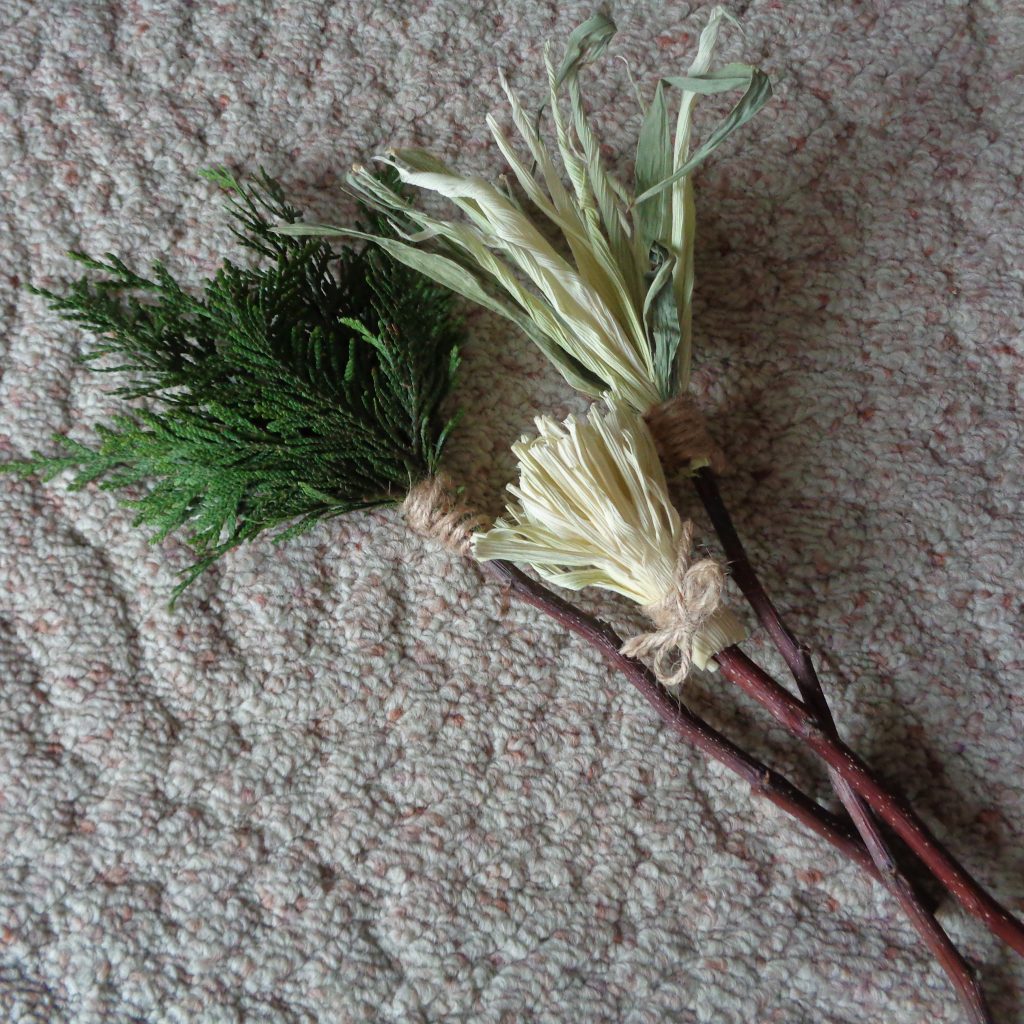
These are three different minis, made for table centers and accent pieces in fall flower arrangements. The broom section is around 13 inches long.
The one on the right is made from a selection of multi-coloured tips left over at the end.
One is entirely cedar and interestingly, it has been inside since it was made and while it has dried out, has also maintained its colour unlike the larger broom sitting outside.
The third broom was made from the thick end of rehydrated husks, cut in strips. Each solid section of husk overlapped the next one until the desired thickness was achieved. As I remember it there were six or seven strips. Twine was then tightly wrapped around the pieces and tied off. A pair of scissors was used to cut down the strips, creating the thin slices of husk and then the broom was dried with the head up to help the slices stay as far apart as possible. I came back and bent them as well a few times, just to loosen them up a bit.
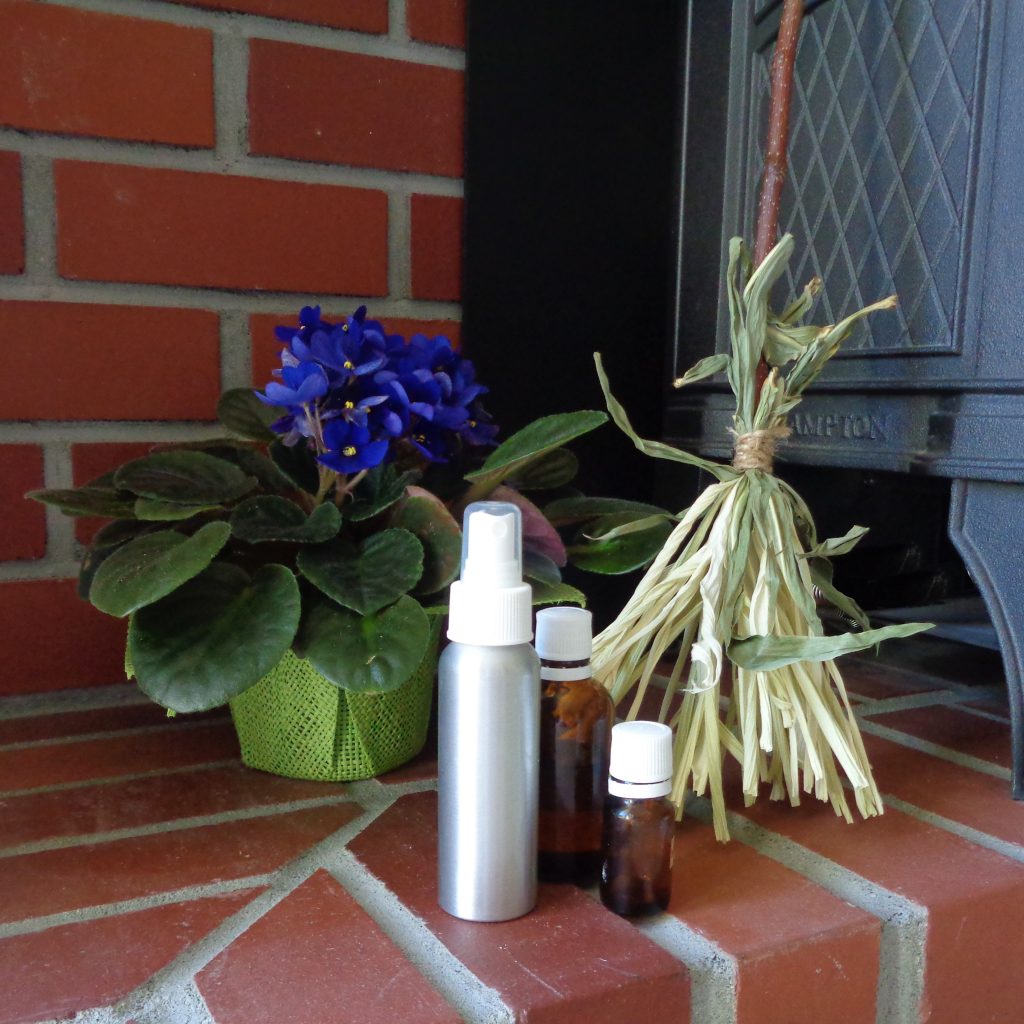
The one below is the one I am enjoying the most. I like the whimsy in the broom and from some angles it reminds me of a princess dress, the ones that come with an overlay of fabric that stops part of the way down the skirt of the dress. The lighter section was made with rehydrated husks, the top sections from the same husks cut and used on the mini broomstick. First the lighter sections were wrapped around the broomstick with the tips at the top and the cut section at the bottom. Then the dried green parts were added on top, forming a wispy, raggedy edge. The twine holds it all together. When everything was tight, scissors were used to cut the lighter husks into slices and the finished broomstick was left to dry. This one is just the right length to get to the ceiling of rooms and is a fun was to distribute essential oils into hard to reach areas. Simply place a few drops on the husks and wave into the area in question.
Hoping you come away with lots of additional ideas for how to make and use your own corn husk broomsticks this year! You deserve some play time.
3 Corn Husk Broomsticks from My Kitchen Wand
